In the mood for something sweet that’s a bit lighter? Today’s your day!
I’m not really sure how to classify this dessert. My grandmother, who taught me how to make it, called it a cake. In fact, she made it for my grandfather’s birthday every year. But darn it, whenever I make it, I just see a pie. So we’ll go with that. Sorry, Grandma.
Whatever you call it, this dessert is fabulous and easy to make. It’s one of those happy recipes that is mind-numblingly simple to create but that will still impress the masses. Impressing your fans is important. You want people to think that you worked so much harder than you did.
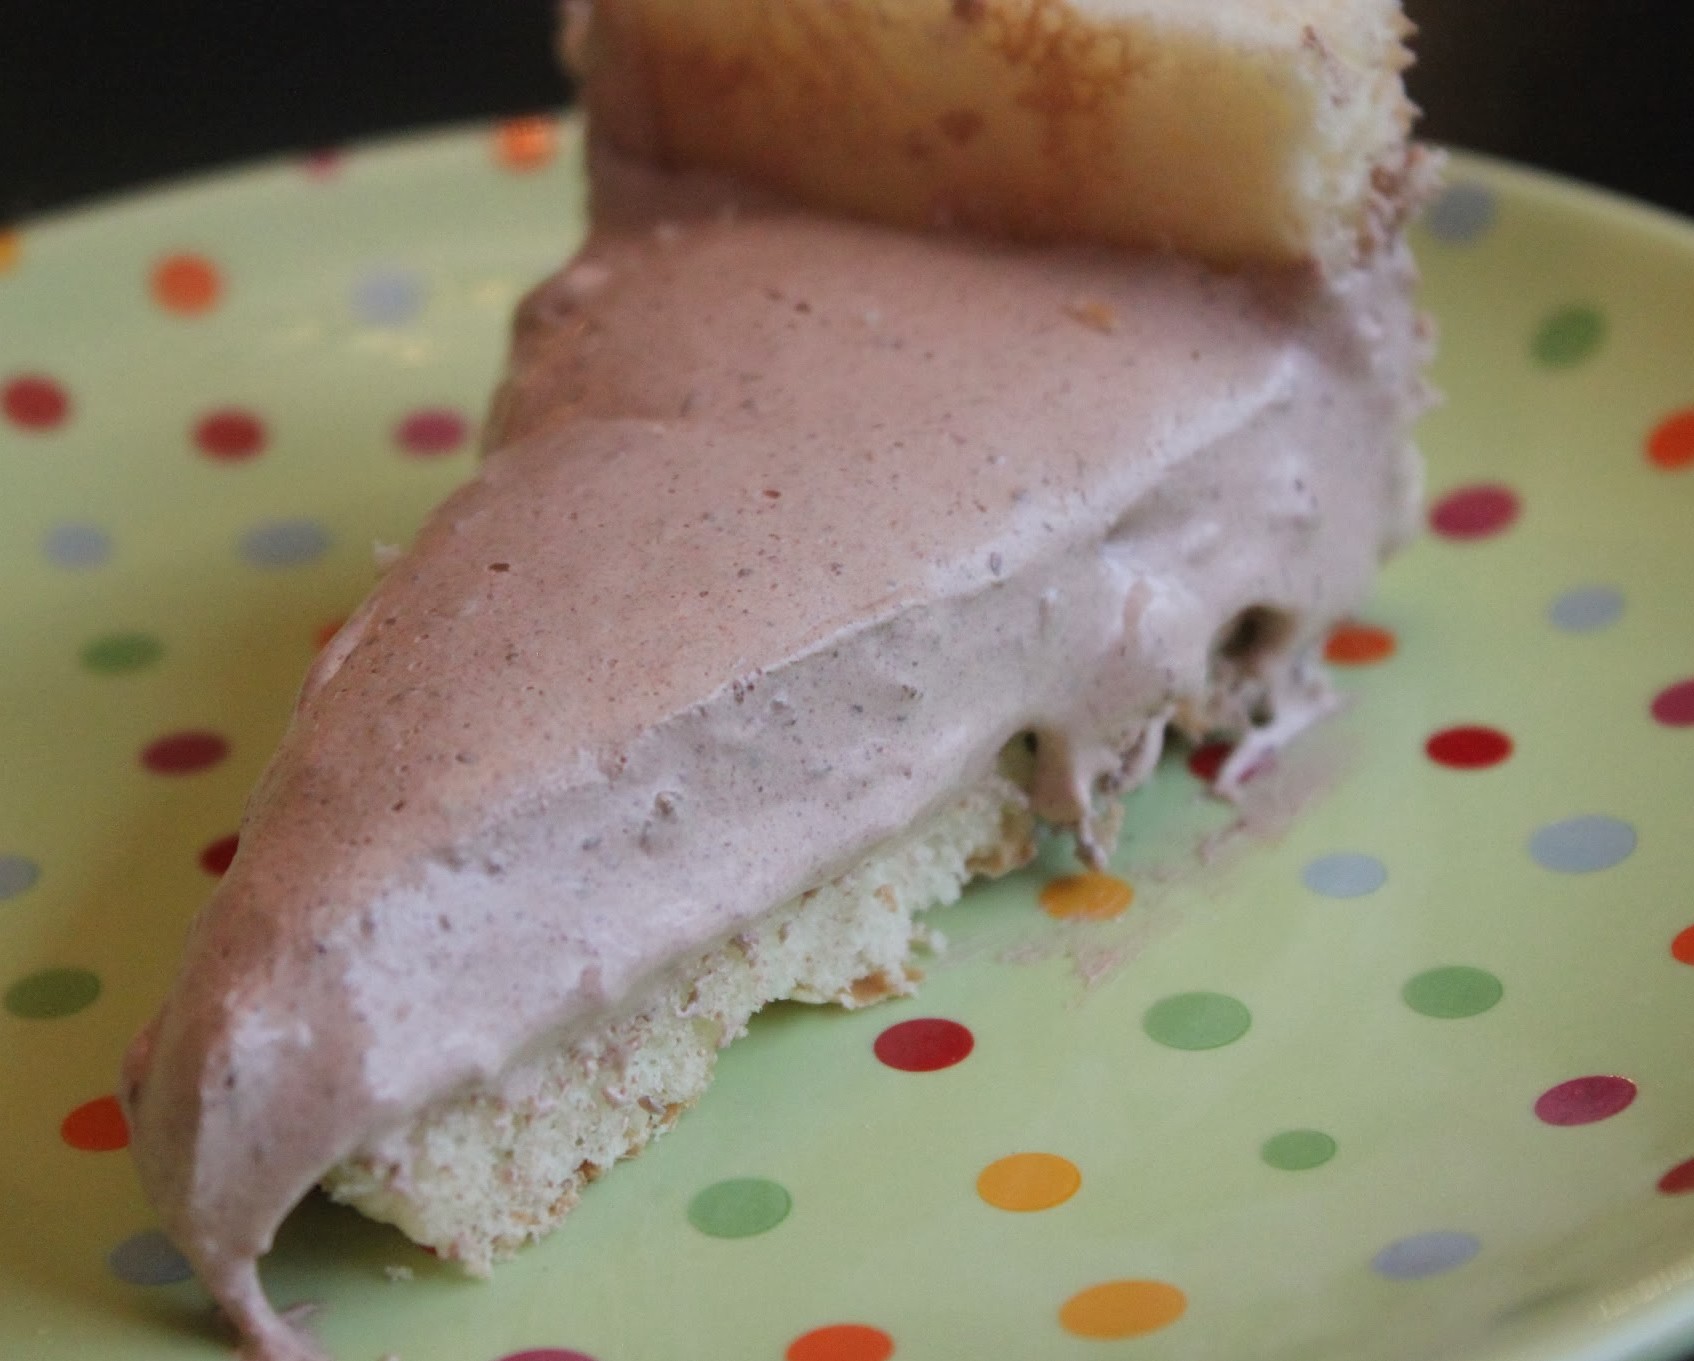
If you’ve seen my peanut butter brownie trifle recipe, then you’re familiar with this mousse base. It’s a great solution for people who don’t like to eat traditional mousse because of the raw egg factor but who still want to have that dessert experience. The answer is to combine thawed Cool Whip (in this case, light) along with melted chocolate chips and to let the mixture chill and set.
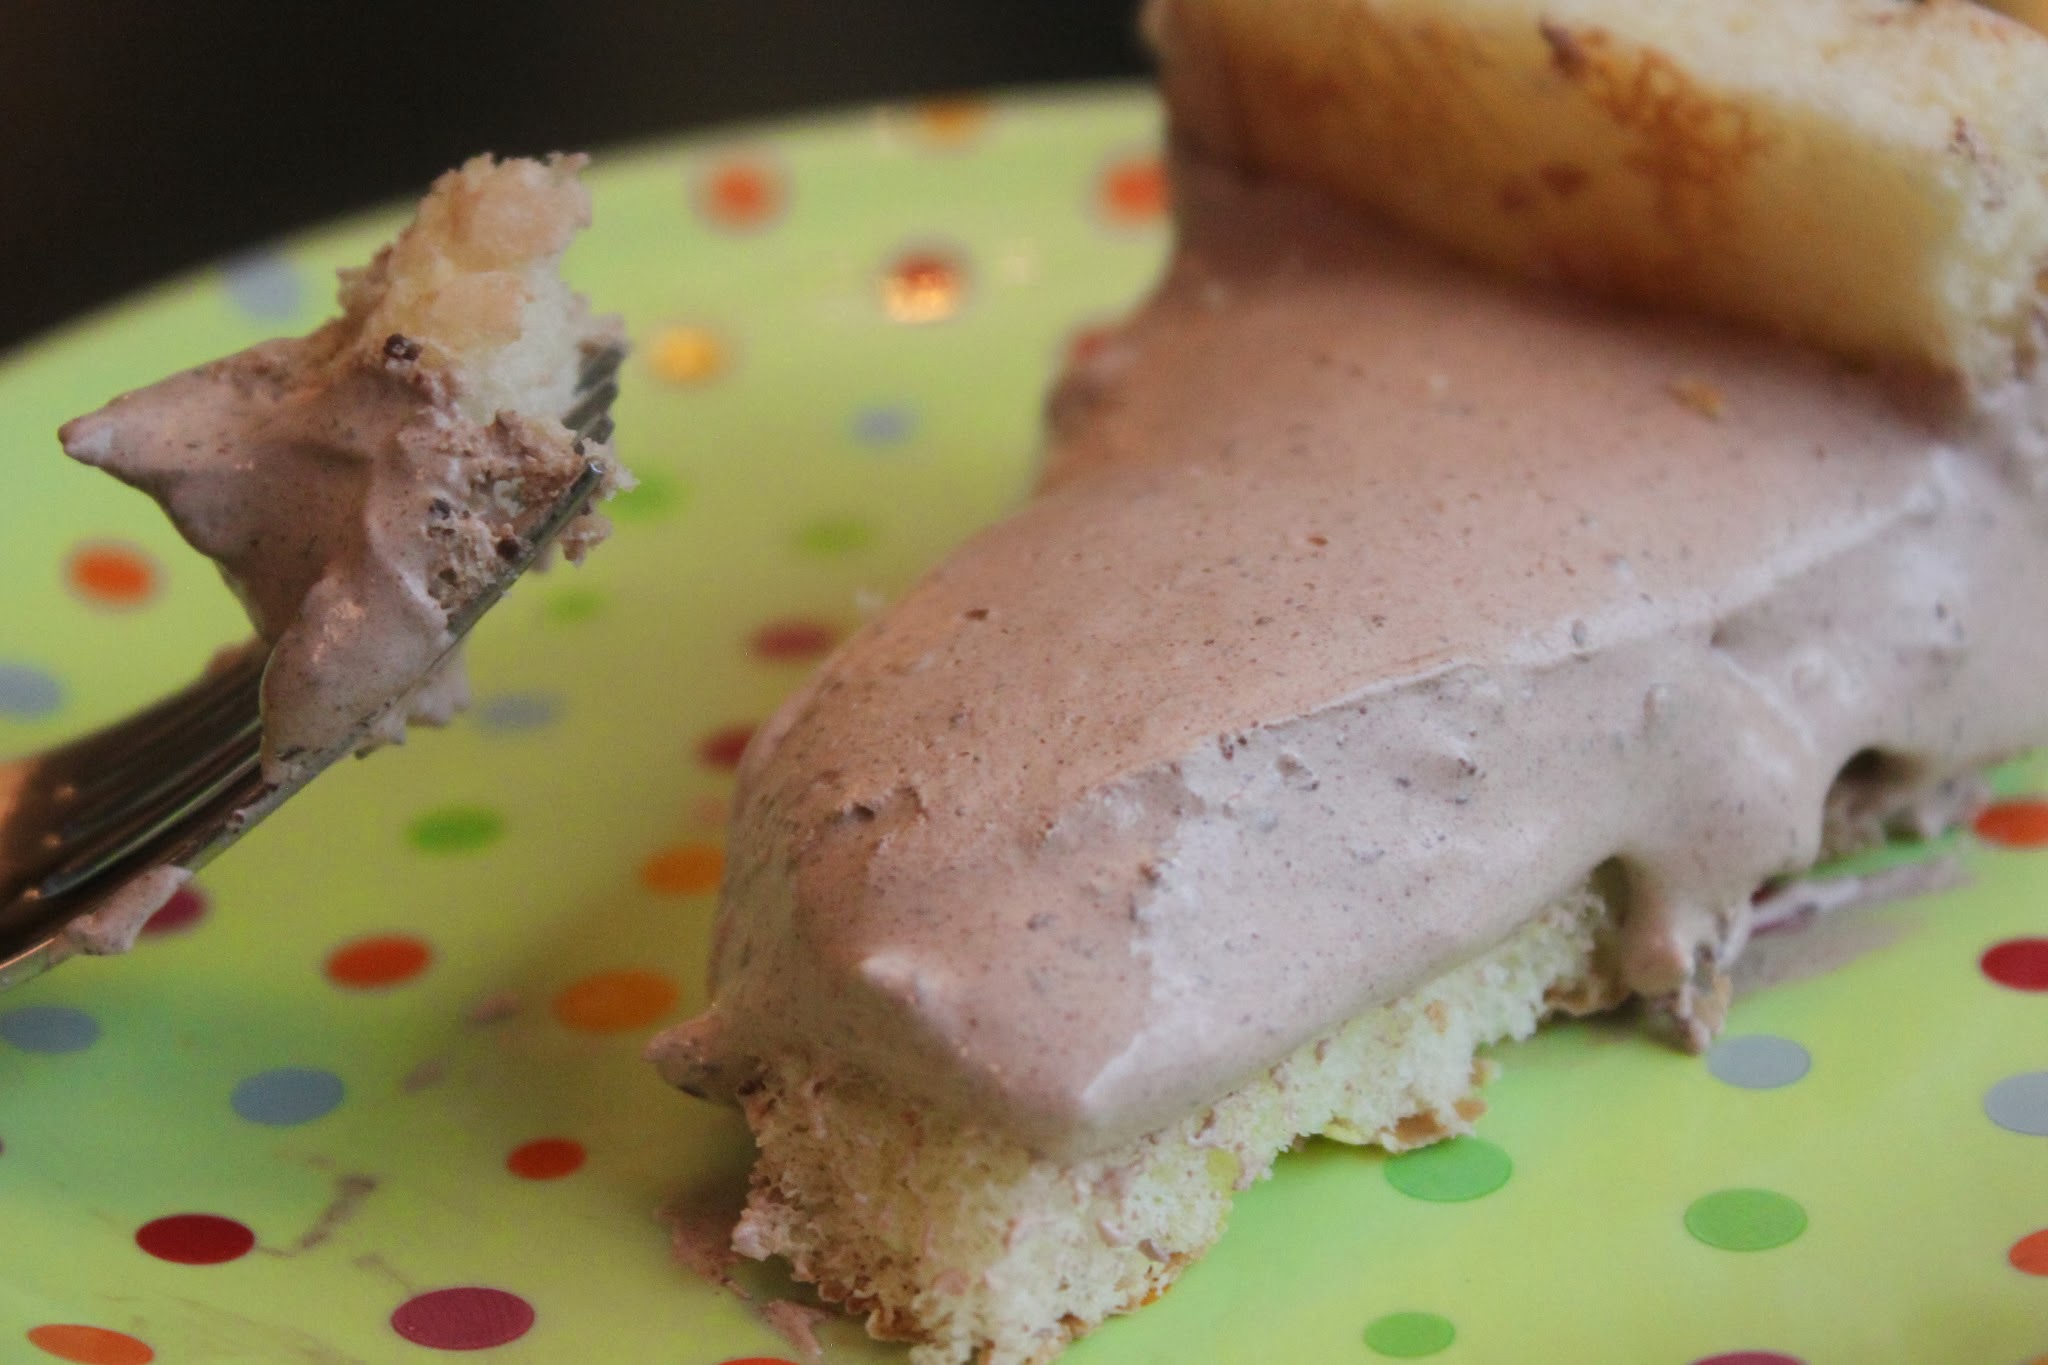
The pie is made in a springform pan with lady fingers forming the mousse’s crust, or outer shell. Lady fingers are typically stored in your grocer’s bakery section. When I went to my local supermarket, I had to ask the bakery to get some out of the back storage for me. But fear not: they still exist, and you can find them!
How you place the lady fingers is up to you. You need to evenly cut a bit off the bottom of the cookies and then you either put the cut side down to make them sit flat against the pan, or you can flip them the other way for a straight edge. That’s what I did, but my grandmother used to prefer the scalloped edge, so she’d put the cut side down, like this:
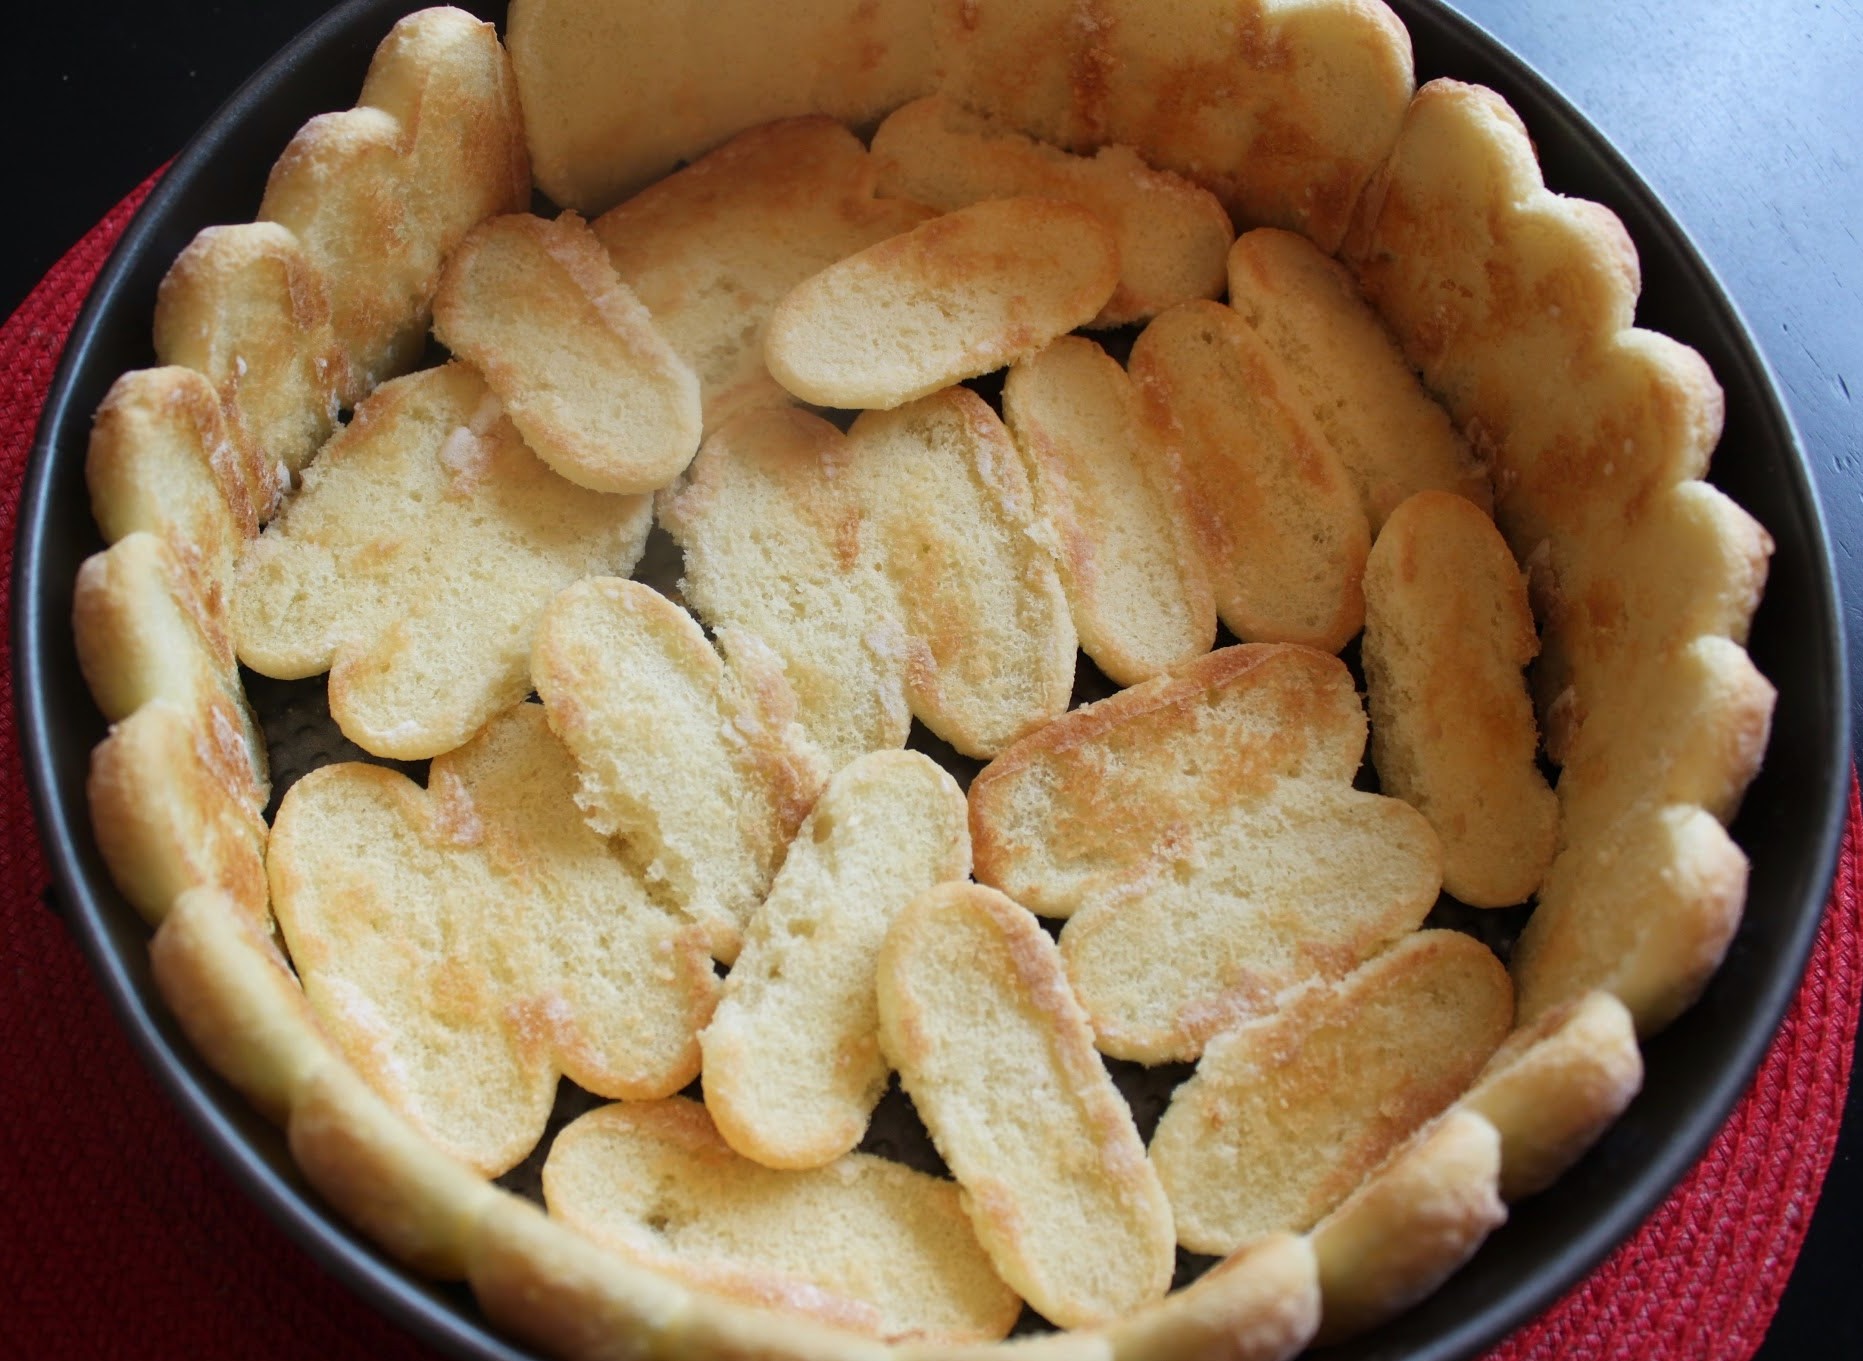
Anyway, you line the lady fingers along the sides of the pan, and then you fill in the bottom with your remaining cookies. The spongy texture of the lady fingers absorbs the mousse really well and reminds me a little of ice cream cake.
Once you’ve made your filling and set up the lady finger crust, pour the filling into the pan and then let it chill for at least a few hours, though overnight is better. When the mousse sets, it’s ready to eat!
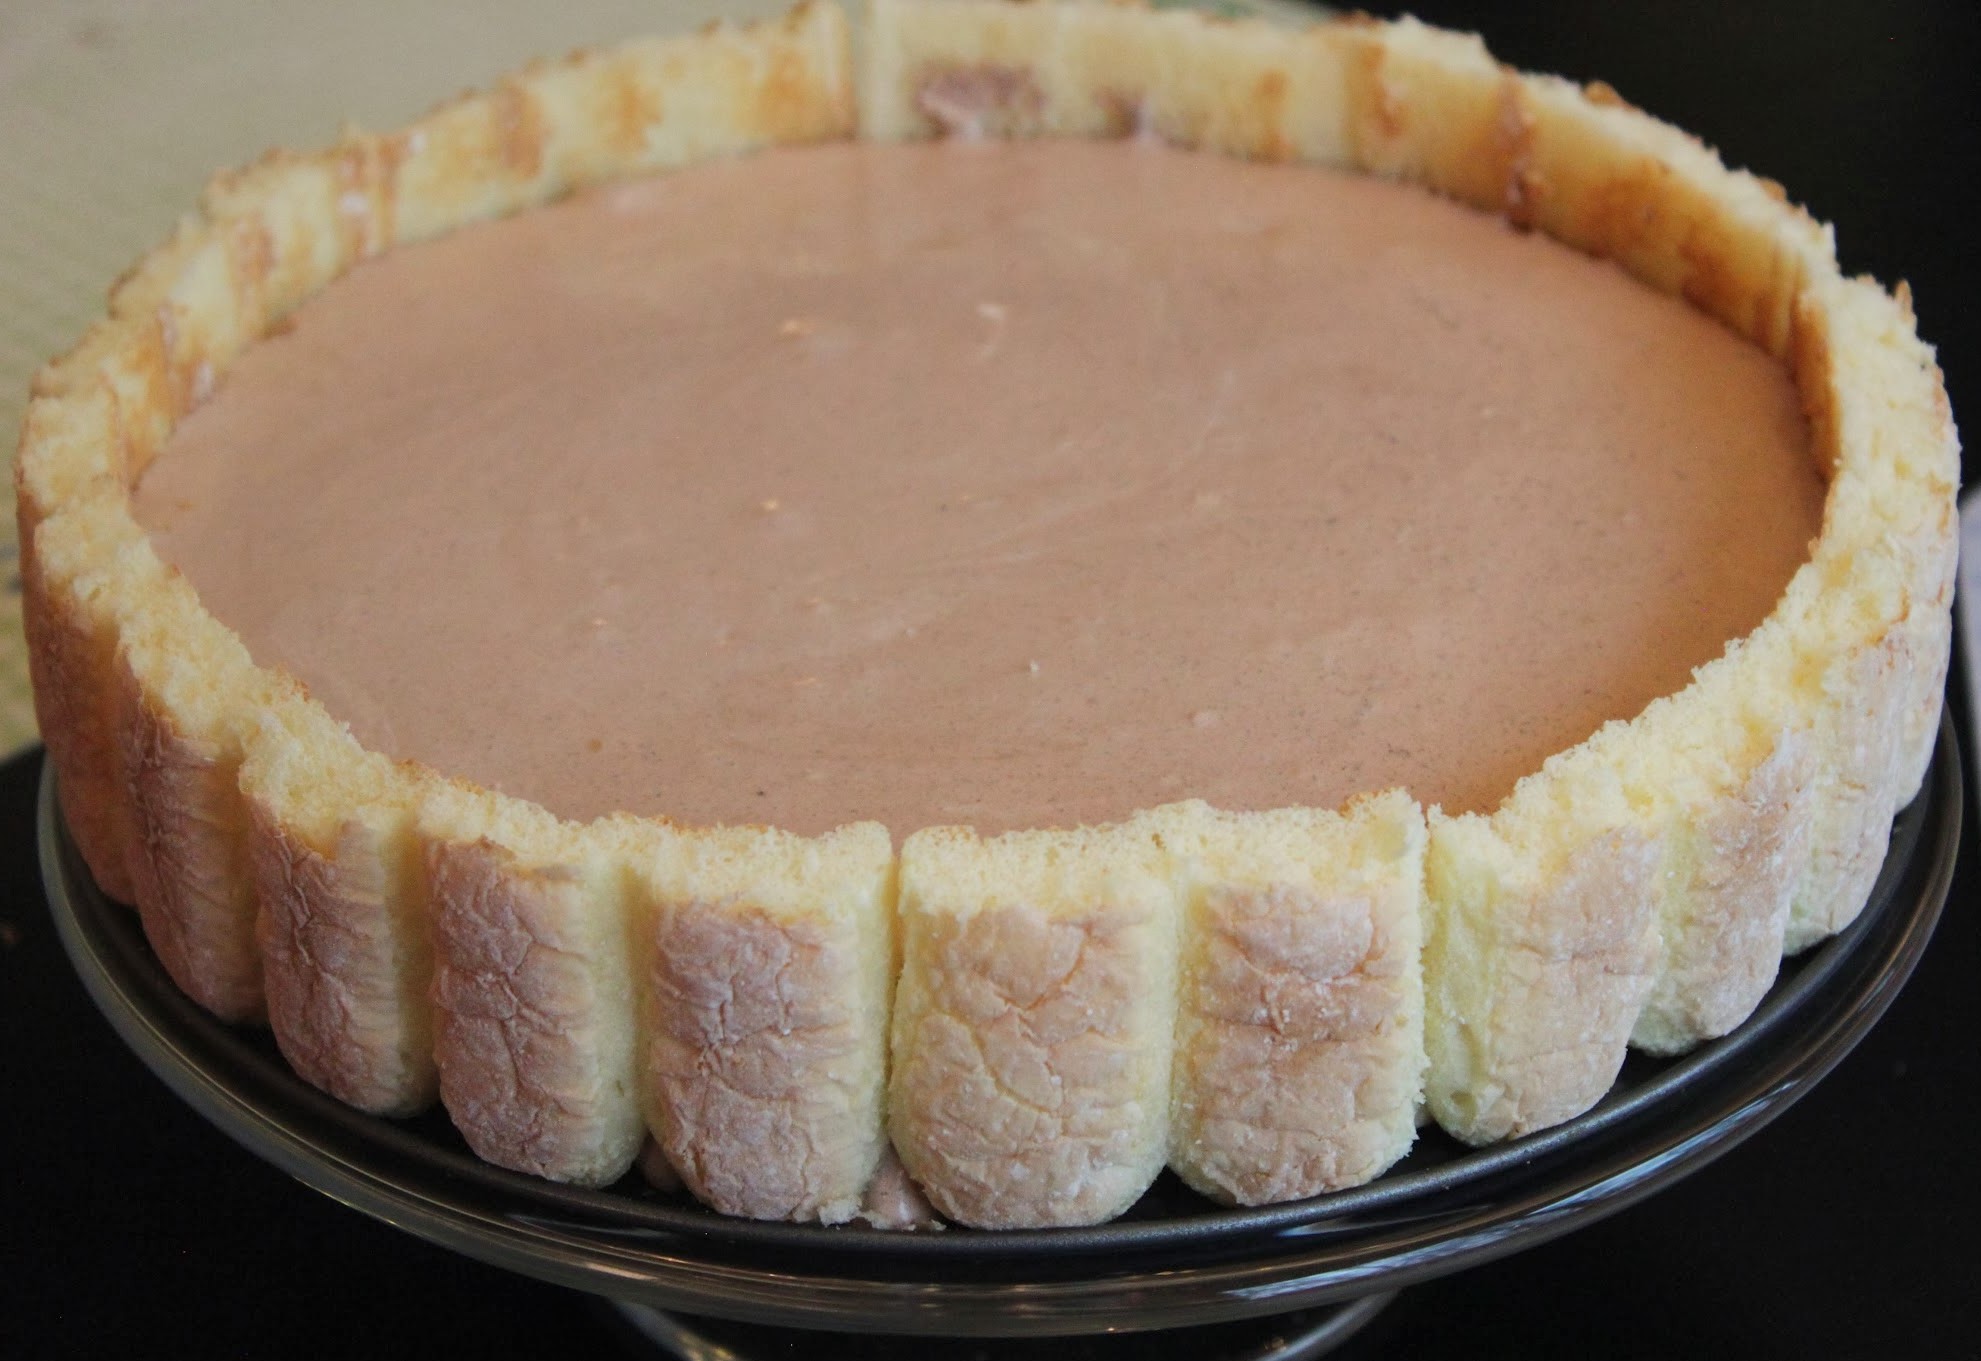
People will be super impressed with your culinary skills. They’ll think it looks so pretty and impressive, and will never guess how little time you spend making the mousse. And all of that ease and deliciousness will give you more time to do what really matters in life: play with kids, read magazines, take a bath, or just stare into space. Why not?
Ingredients:
- 8 oz. (1 cup) semi-sweet chocolate chips, melted
- 16 oz. Cool Whip (I used light), thawed
- 2 packages lady fingers
Instructions:
Line a springform pan with lady fingers, starting with the sides and then filling in the bottom (see post above for more specific instructions).
In a microwave safe bowl, melt the chocolate chips. Heat for two minutes, and then stir. If the chocolate isn’t melted, heat in 30-second intervals, stirring after each interval, until the chocolate is melted and smooth. Be careful not to burn the chocolate.
Working in batches, add the Cool Whip gradually to the chocolate, stirring after each addition until the two ingredients are smoothly incorporated. There should be no white streaks in the bowl.
Once the mousse is ready, pour it into your lady finger crust.
Place the mousse in the fridge and chill for several hours or overnight.
Serve when ready! Keep the pie in the fridge when it’s not being served.


What an incredible pie, Mir! I love the mousse base, such a great idea to use cool whip and chocolate chips. And the lady finger crust is so creative! This looks like the perfect chocolate pie, and so easy to make!
Gayle @ Pumpkin ‘N Spice recently posted…Cheesy Egg and Hash Brown Cups
Thanks, Gayle! I love mousse, but using eggs just weirds me out. This way, no egg and it’s so easy, too!
I love the idea of making pie crust using lady fingers!! Genius!
ami@naivecookcooks recently posted…Bhakarwadi
Thanks, Ami! I thank my grandmother. She was an amazing baker!
Snap, I totally see a pie too … that’s ok, cheesecake isn’t really cake either. The ladyfingers are such a genius change up from the traditional Oreo or graham crusts! And that filling looks like the perfect balance of light texture and decadent flavor. Don’t judge that I’m envisioning thirds already …
Mary Frances recently posted…{The Best Healthy} Chocolate Peanut Butter Popcorn Puppy Chow
Honestly, I wouldn’t judge you for the world! Especially because the pie is so light that you can kinda eat half of it without noticing. Thanks, Mary Frances!
I love that the filling doesn’t have any raw eggs in it! This looks so easy and delicious, a perfect light dessert too!
Danielle recently posted…One Hour Cinnamon Rolls
Thanks, Danielle! I get weirded out by mousse with raw egg. This works out!
Oh yeah, that’s my kind of an impressive dessert!!! Sounds fabulous 🙂
Aimee @ ShugarySweets recently posted…Apple Pie Poke Cake
If it doesn’t take long to do, I’m in! Thanks, Aimee!
Love that Mir! It looks fancy schmancy! I bet it’s delicious.
Michele @ Alwayzbakin recently posted…Bisquick Apple Pear Cobbler
You know I’m all about the fancy schmancy. 😉 Thanks, Michele!
I loooove the use of ladyfingers here! What a creative idea 🙂
Medha @ Whisk & Shout recently posted…Trail Mix Granola Bars (Vegan + GF!)
Thanks, Medha! And we all thought ladyfingers were so retro!
I love how simple and easy this pie recipe is.. I bet it’s jam packed with deliciously sweet flavours too! I need to try out the recipe, it’s great because I have all the ingredients on hand. Thanks Mir!
Thalia @ butter and brioche recently posted…Croque Monsieur with French Onion Relish
Let me know if you try it, Thalia! Have a great weekend!
This looks so light and luscious! Thanks for linking up to Sweet and Savoury Sunday, stop by and link up again. Have a great day!!
Laura@Baking in Pyjamas recently posted…Toffee Crisp Chocolate Treats
Thanks, Laura!