You know that I can’t go more than a week or so without doing something PB-related. It’s the ABCs of me, baby, and I’ve embraced it. Just like I’ve embraced the role of sugar in my life. More on that in a bit.
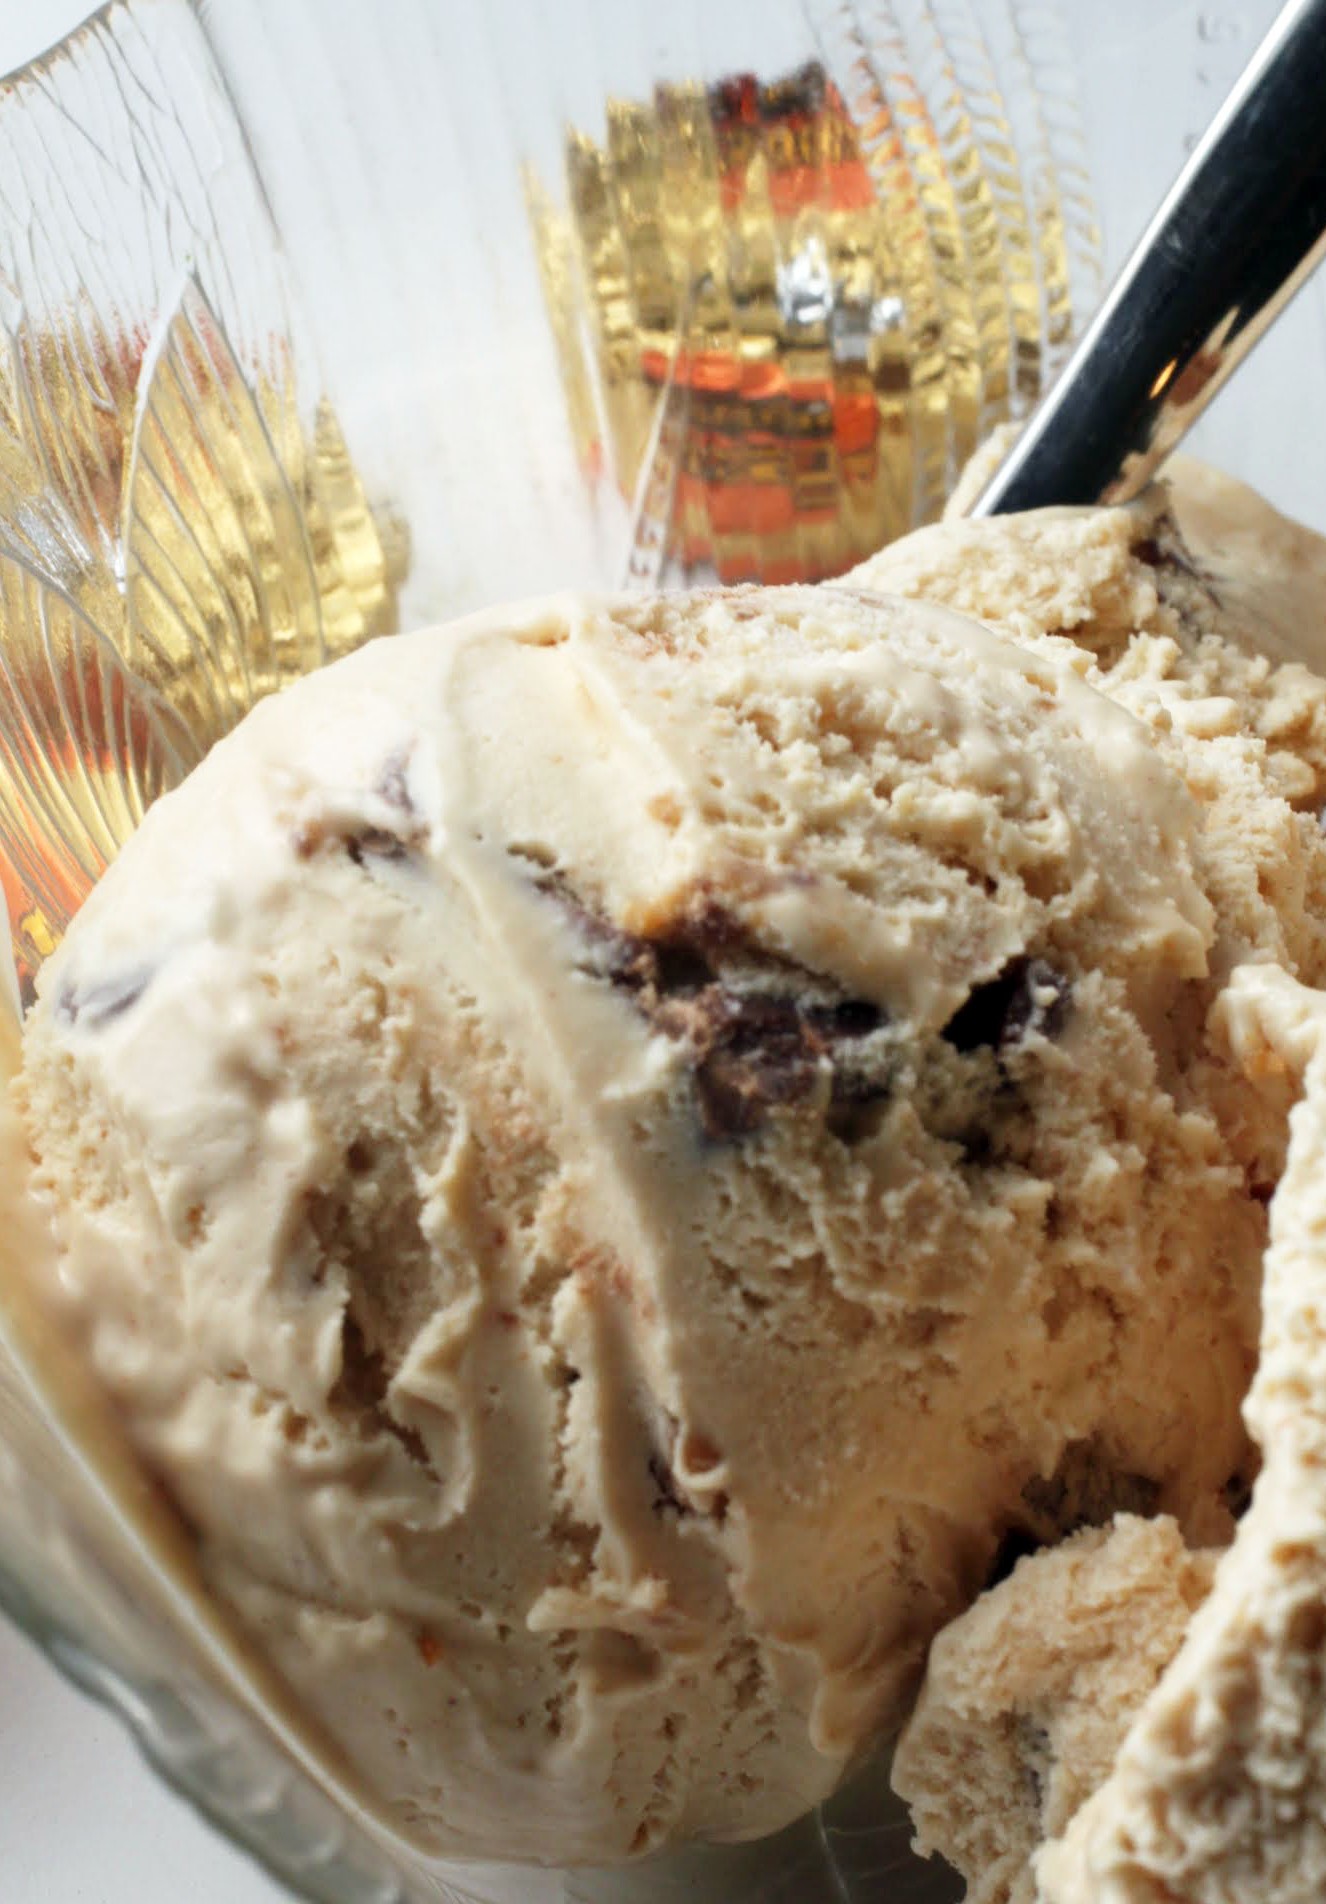
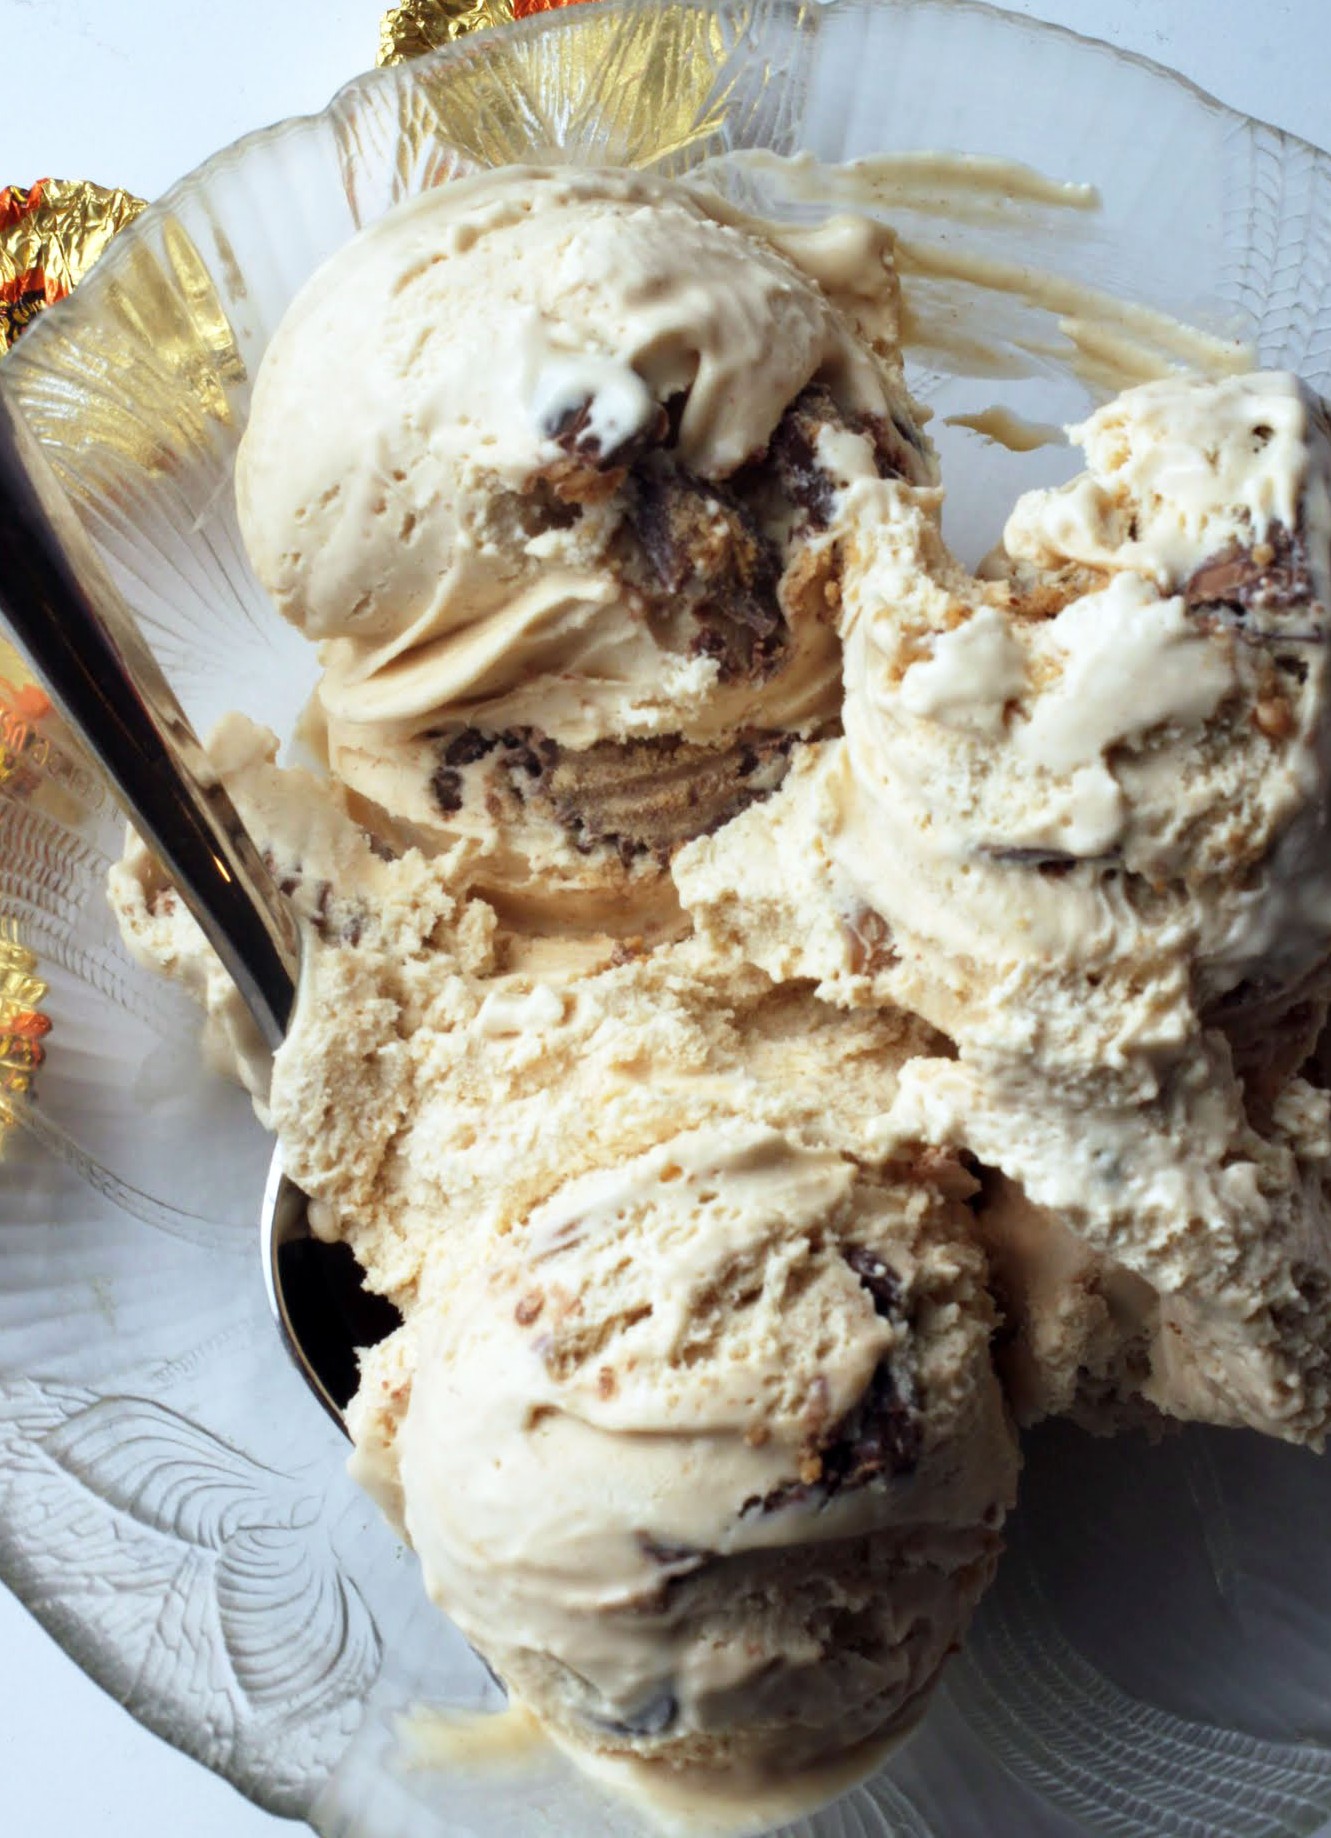
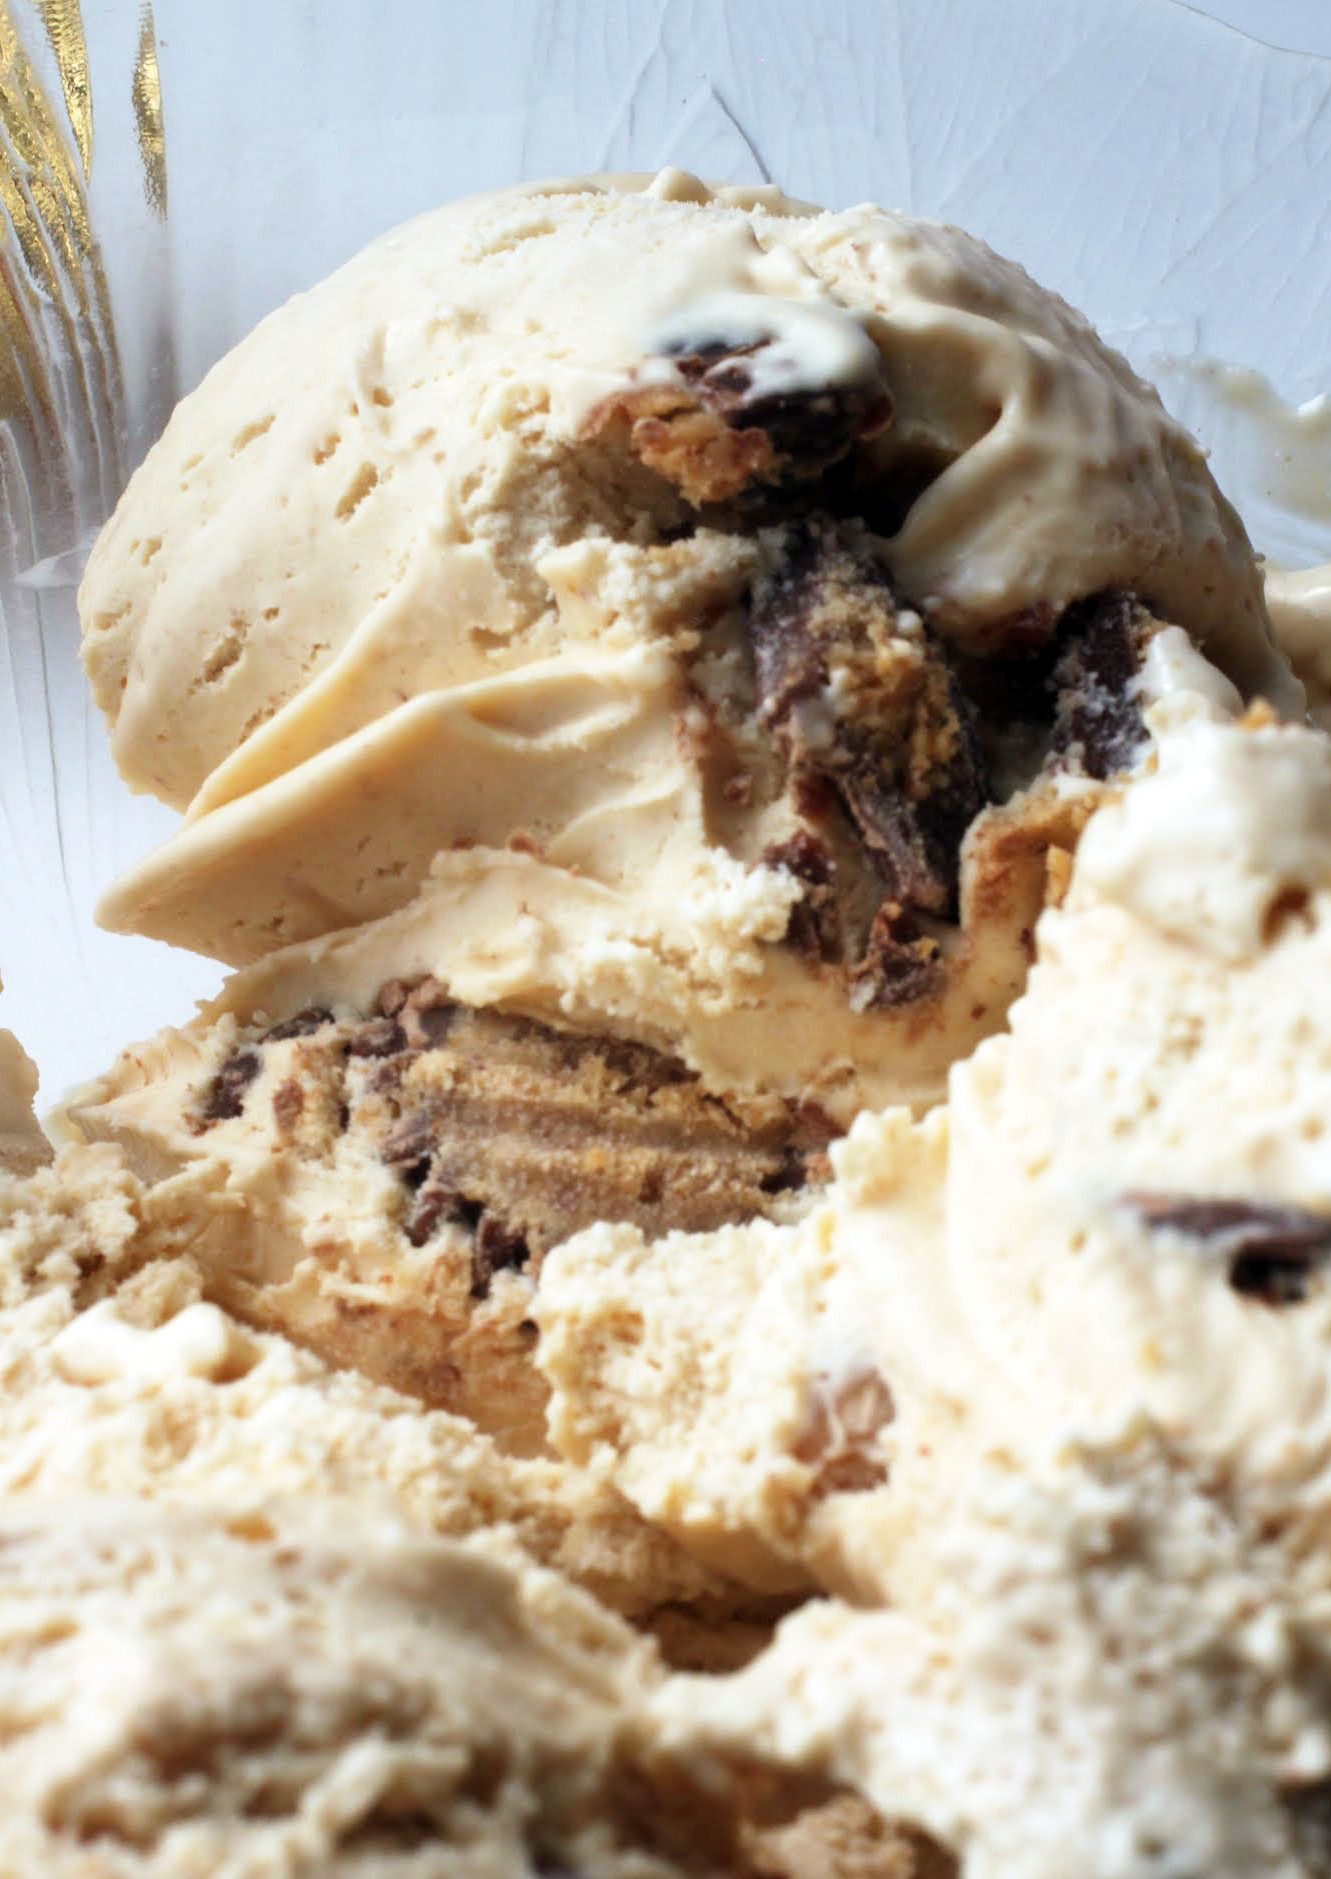
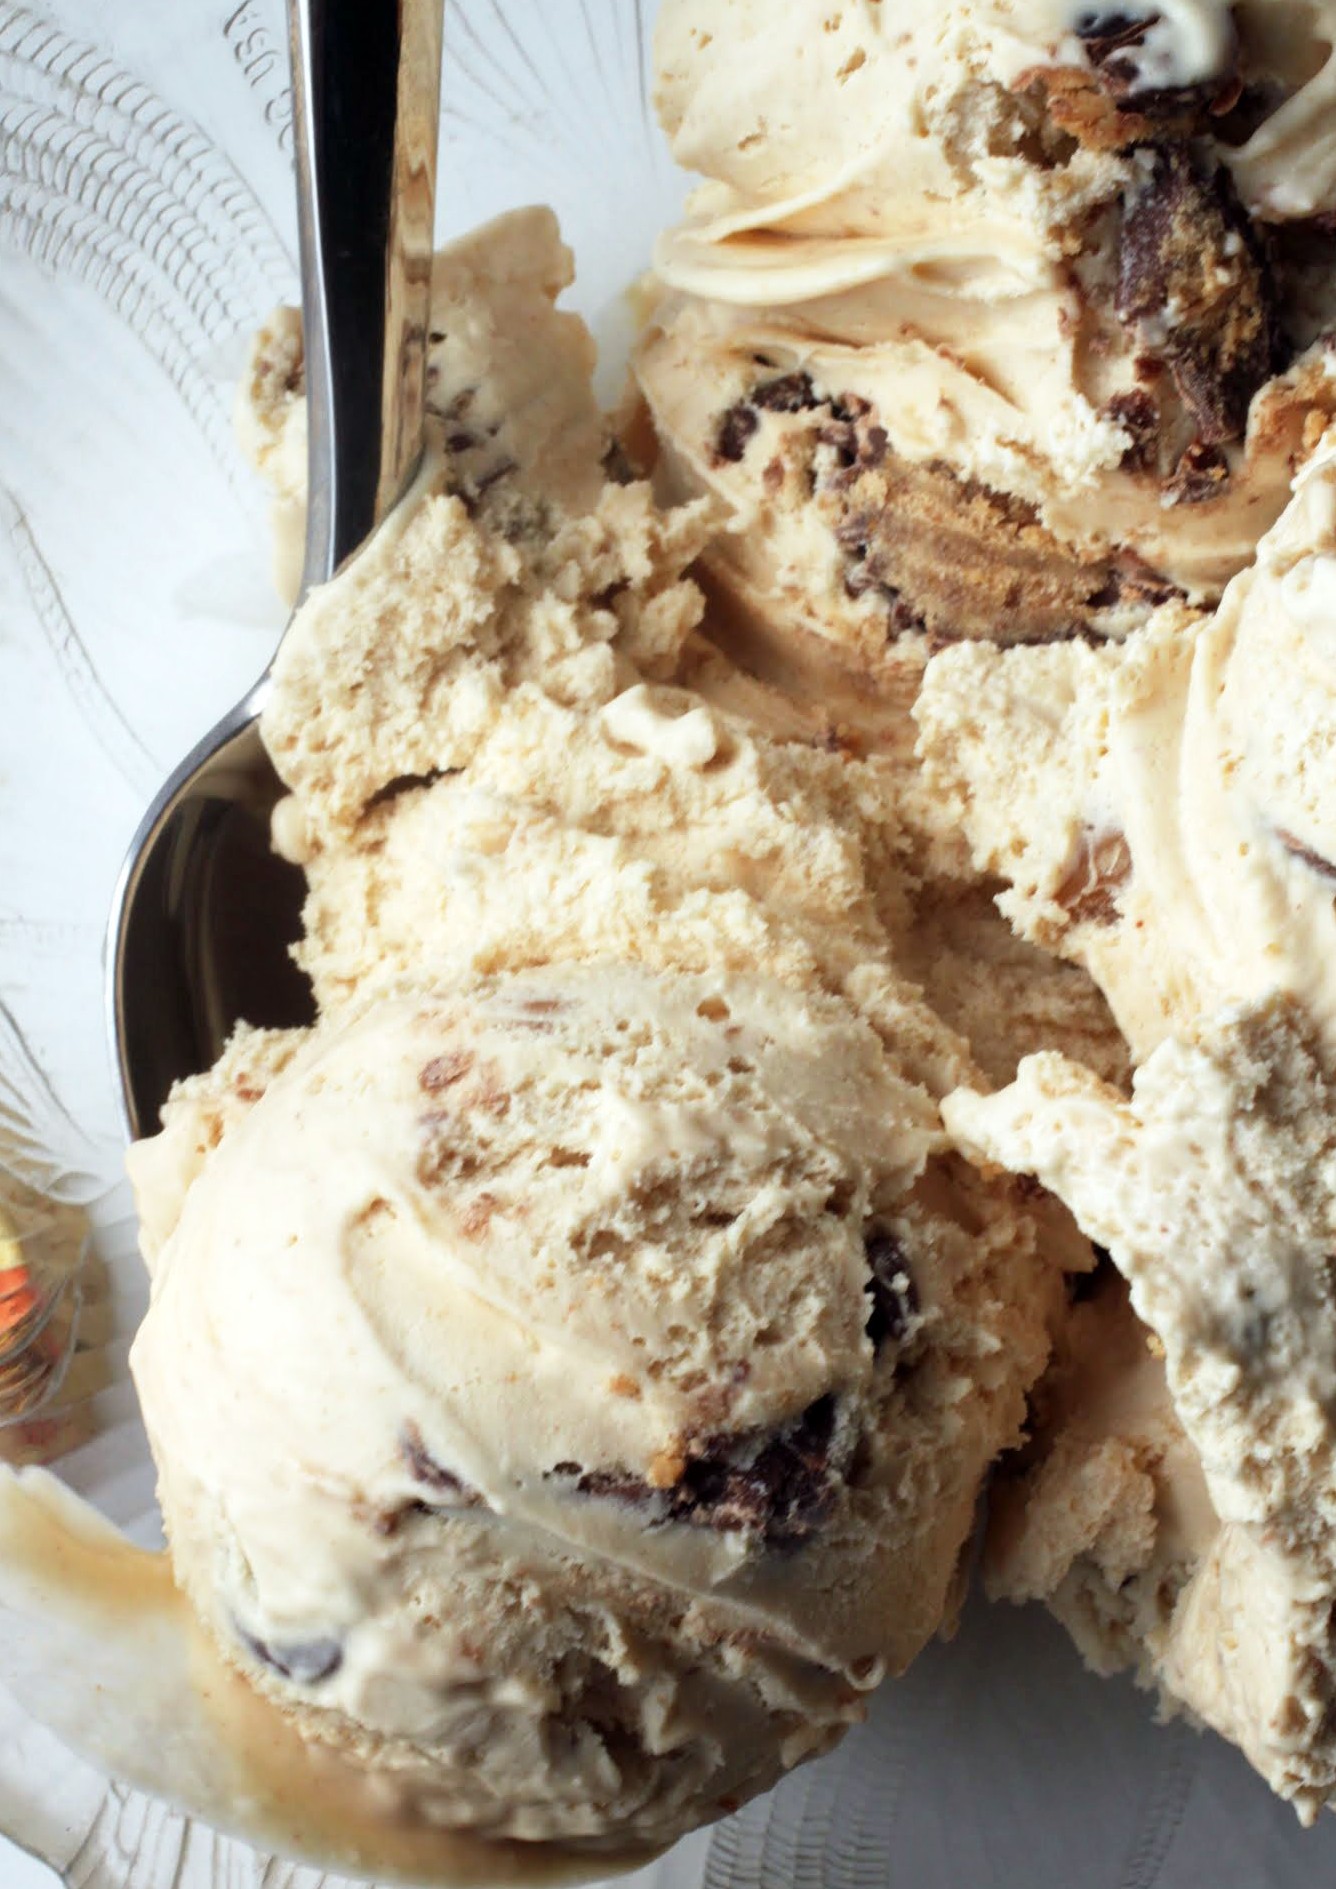
If you get frustrated because your peanut butter ice cream isn’t peanut buttery enough, or because it doesn’t include enough mix-ins, look no further. This no-churn option will satisfy all of your frozen peanut butter dreams!
I’m tired of the war on sugar. Yes, I realize I’m a baking blogger and so my credibility is lessened here, but I’m going to be very real with you.
First of all, a qualifier: the following thoughts do not apply to anyone who cannot have sugar for medical reasons or anyone who has disordered eating habits. I’m not a doctor or a nutritionist (clearly), so the following thoughts are just opinion.
A few years ago, after reading endless articles about the evils of sugar, I tried it cutting out. To call it a disaster would be fair. It’s not that I had withdrawal (I didn’t, shockingly) or any other noticeable symptoms. People told me I’d feel better, and that didn’t happen. I felt no different. Life was a little more boring, and I had to say no a lot, but that was about it.
What prompted the disaster was a lot of sudden weight loss. I’ve always been petite, and I have always worn sizes in the low range of the spectrum. But with the cancellation of sugar, I quickly lost 20 pounds and became very obsessed with maintaining what I now see was an unsustainable diet. I spent a lot of time chopping veggies, eating lean protein, and feeling virtuous.
Along with that came insecurity, doubt, a constant nagging hunger and the desire to eat everything in sight. I didn’t realize it at the time because it all seemed so healthy, but I was depriving my body of essential nutrients. What looked like fitness and health was really dysfunction.
Thankfully, I pulled myself back from the brink. As a result of this experience, I refuse to cut out food groups anymore. Did I put the weight back on? Yes. And I’m grateful for it, for my muscles (thanks, barre workouts!) and for whatever curves I like to think that I have.
When I see people turning sugar into the enemy, I get angry. It’s not sugar that’s the problem. It’s the extreme approach to food and the lack of emphasis our society puts on balance. I haven’t mastered balance, and I might not ever. But I’m sure gonna keep trying.
There’s your PSA. Now let’s get our sugar on!
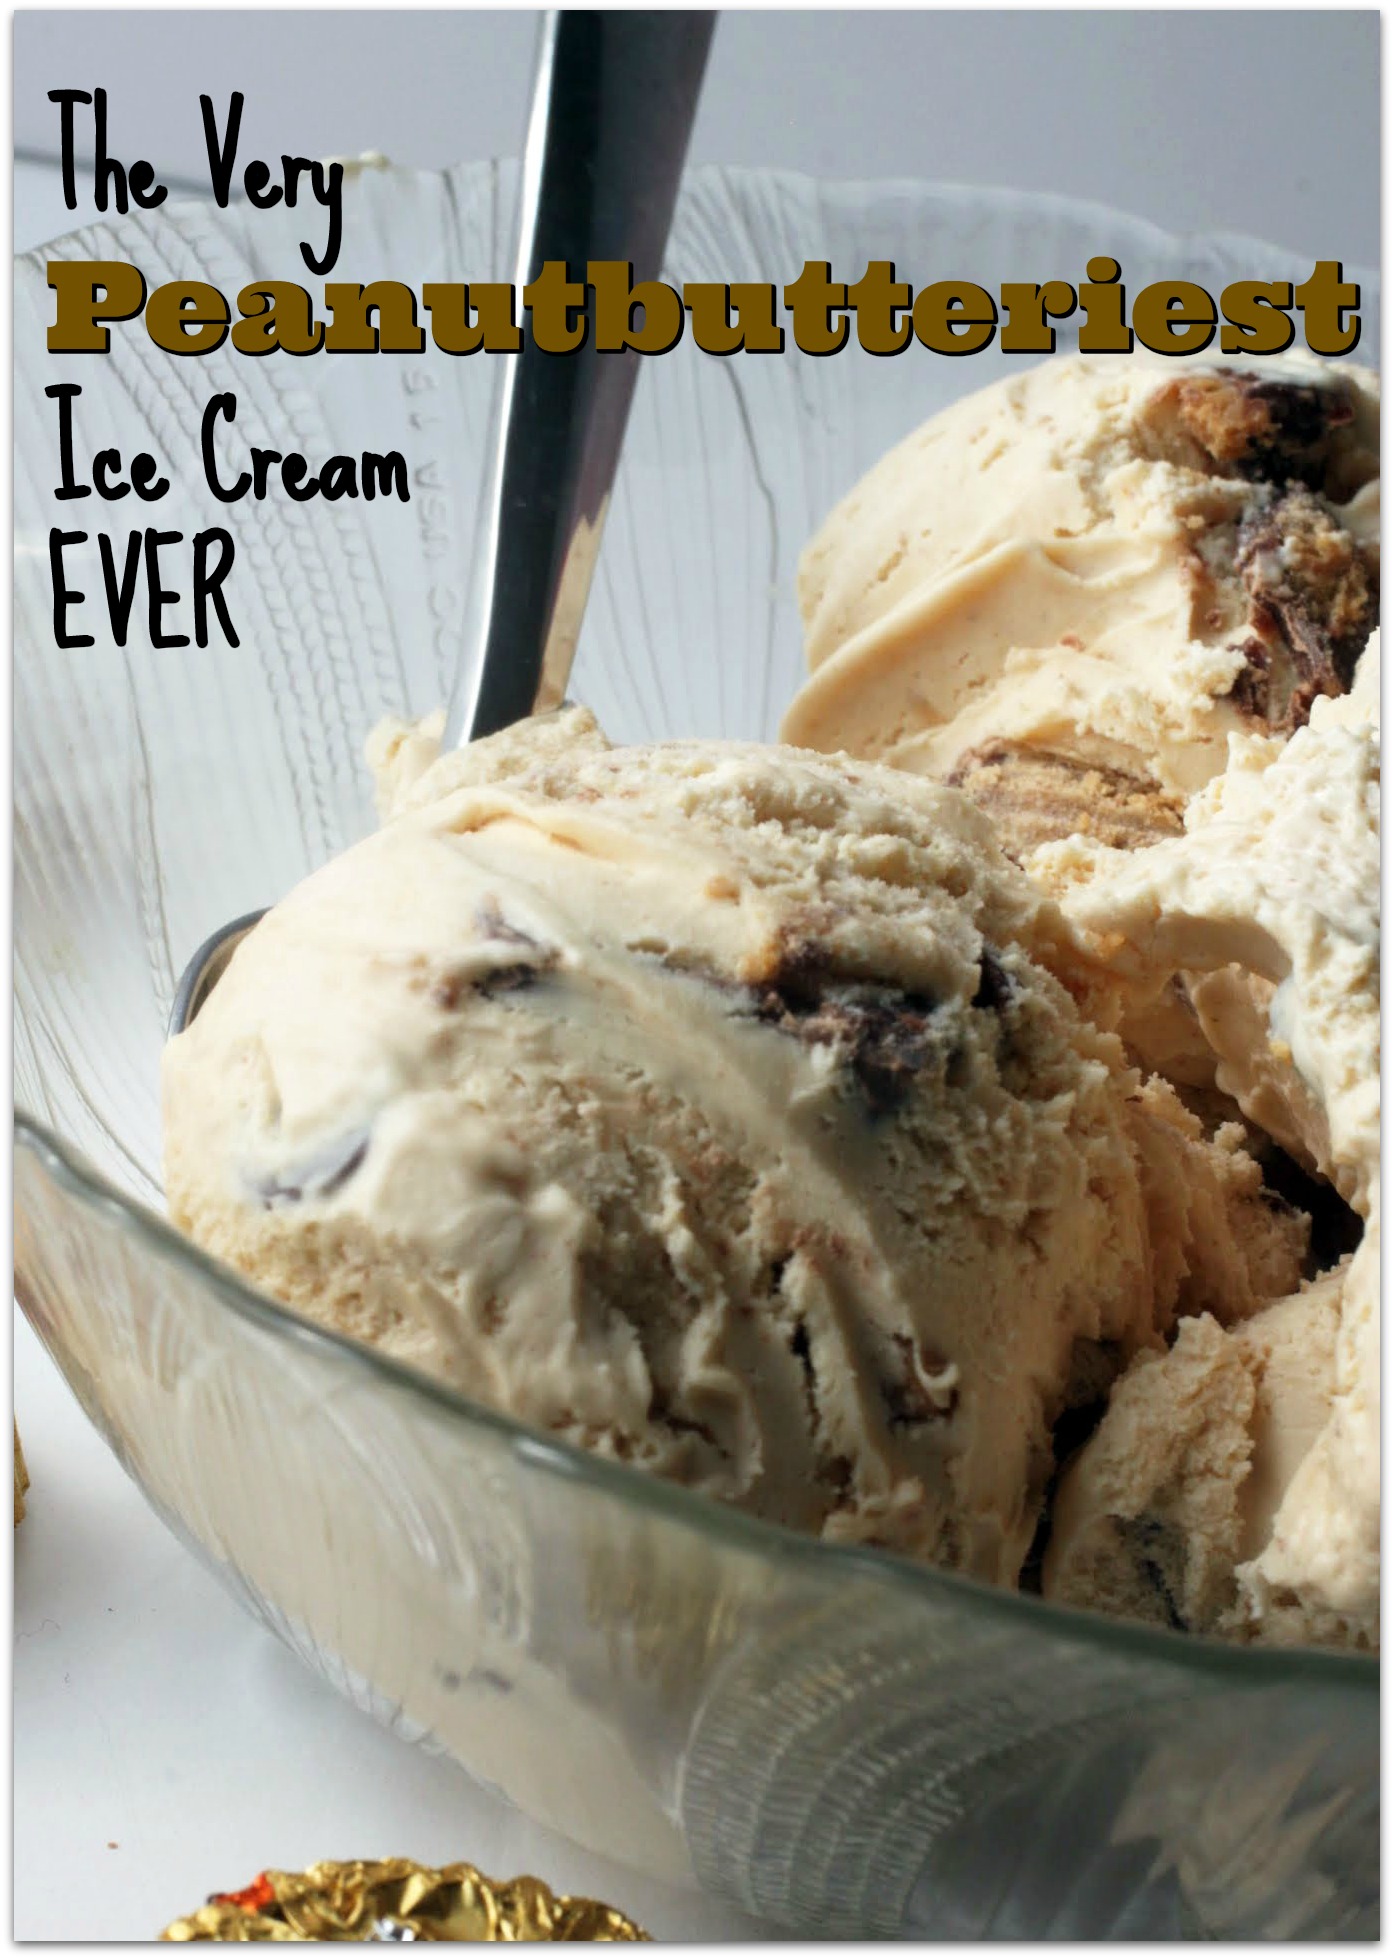
This ice cream is full of it, not gonna lie. It’s got peanut butter, sweetened condensed milk, and whipped cream. You can be lazy and use Cool Whip (no judgement), but I like the less chemical taste of the whipped cream. And then I loaded the whole thing down with peanut butter cups, peanut butter chips and milk chocolate chips.
Suffice it to say, I’ll be eating a lot of this ice cream later. Probably a little more than I should. But you know, that’s life. And I’m happy that I don’t have to say no to anything anymore!
Ingredients
Instructions
- In a large bowl, combine the condensed milk, vanilla and peanut butter until smooth.
- In the bowl of a stand mixer using the whisk attachment, beat the whipping cream on high until stiff peaks form.
- Fold the whipped cream into the peanut butter mixture gradually, making sure that no streaks are left in the mixture. Gently add the mix-ins and stir again.
- Place in a freezer-safe container or pan and freeze overnight.
- Store covered in the freezer.
]]>
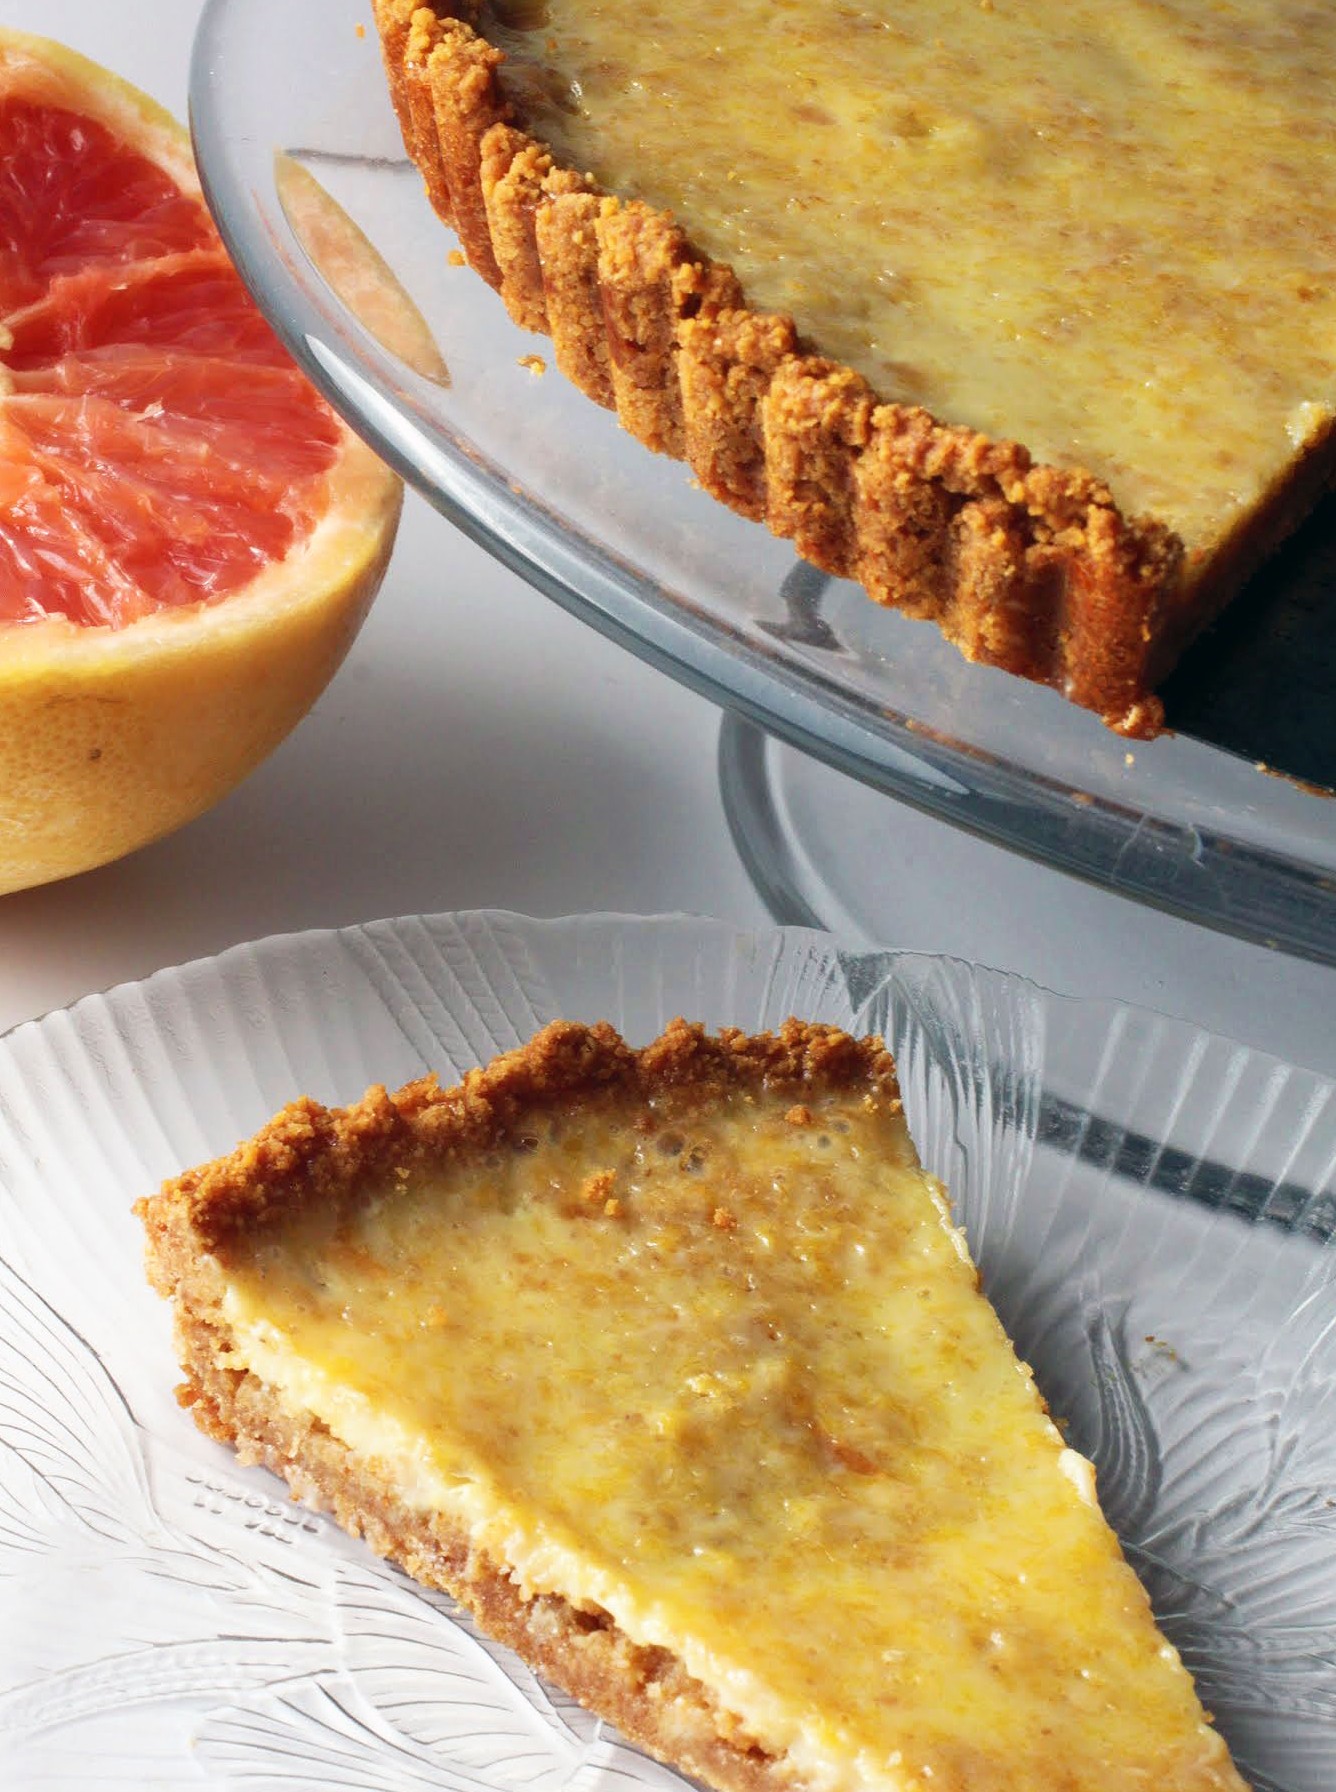
I. Love. Grapefruit. I know it must come as a shock that a sugar-addicted fiend like me actually eats fruit, but my diet is reasonably healthy. And I eat half a grapefruit every day.
In fact, I love grapefruit so much that I’ve specifically avoided going on a medication because it would ban grapefruit from my diet with some awful chemical reaction. I can’t do that. Every day I need my fix, and if I bake it into a tart, well, so much the better. This is a tart for the ages! You’re going to love it.
A few days ago I wrote a post complaining about my body aches and pains, and I’m happy to report that I can once again move my head from side to side. Last week my neck and shoulders went, and I had to go through my day moving like a robot. My students found it hilarious. Well, until I reminded them that if they continued to mock me, I’d have my revenge when I was all better. That stopped them pretty quick.
The act of staying healthy is a delicate balance, one that most of us struggle with. It’s not just about what you eat, or how much you move. It’s about how you see yourself. And I gotta say, mass media is working against women pretty strongly these days.
Before I had daughters, I would mindlessly read magazines on weekends, enjoying the endless (and repetitive) tips they offered up each month: how to be happy, why eating breakfast is so important, ways to organize my life, and the ever-present cover headline: drop five pounds in two weeks! Or something along those lines.
I never used to think about magazines or their covers much, but now that I have girls, I’m paying attention. I’ve gone through life being far too much of a perfectionist about my own physique, and I don’t want to pass that on to my girls. I’m careful on all sorts of levels on that front, and one way to make positive change is to get the magazines out of the house.
Really. Next time you’re in a grocery store line, read the covers. They’re demeaning. And despite the fact that the magazine industry claims to be embracing more realistic body types, they’re still classifying women in a healthy weight range as plus-sized, and associating that with shame. And their cover models are still unrealistically photoshopped.
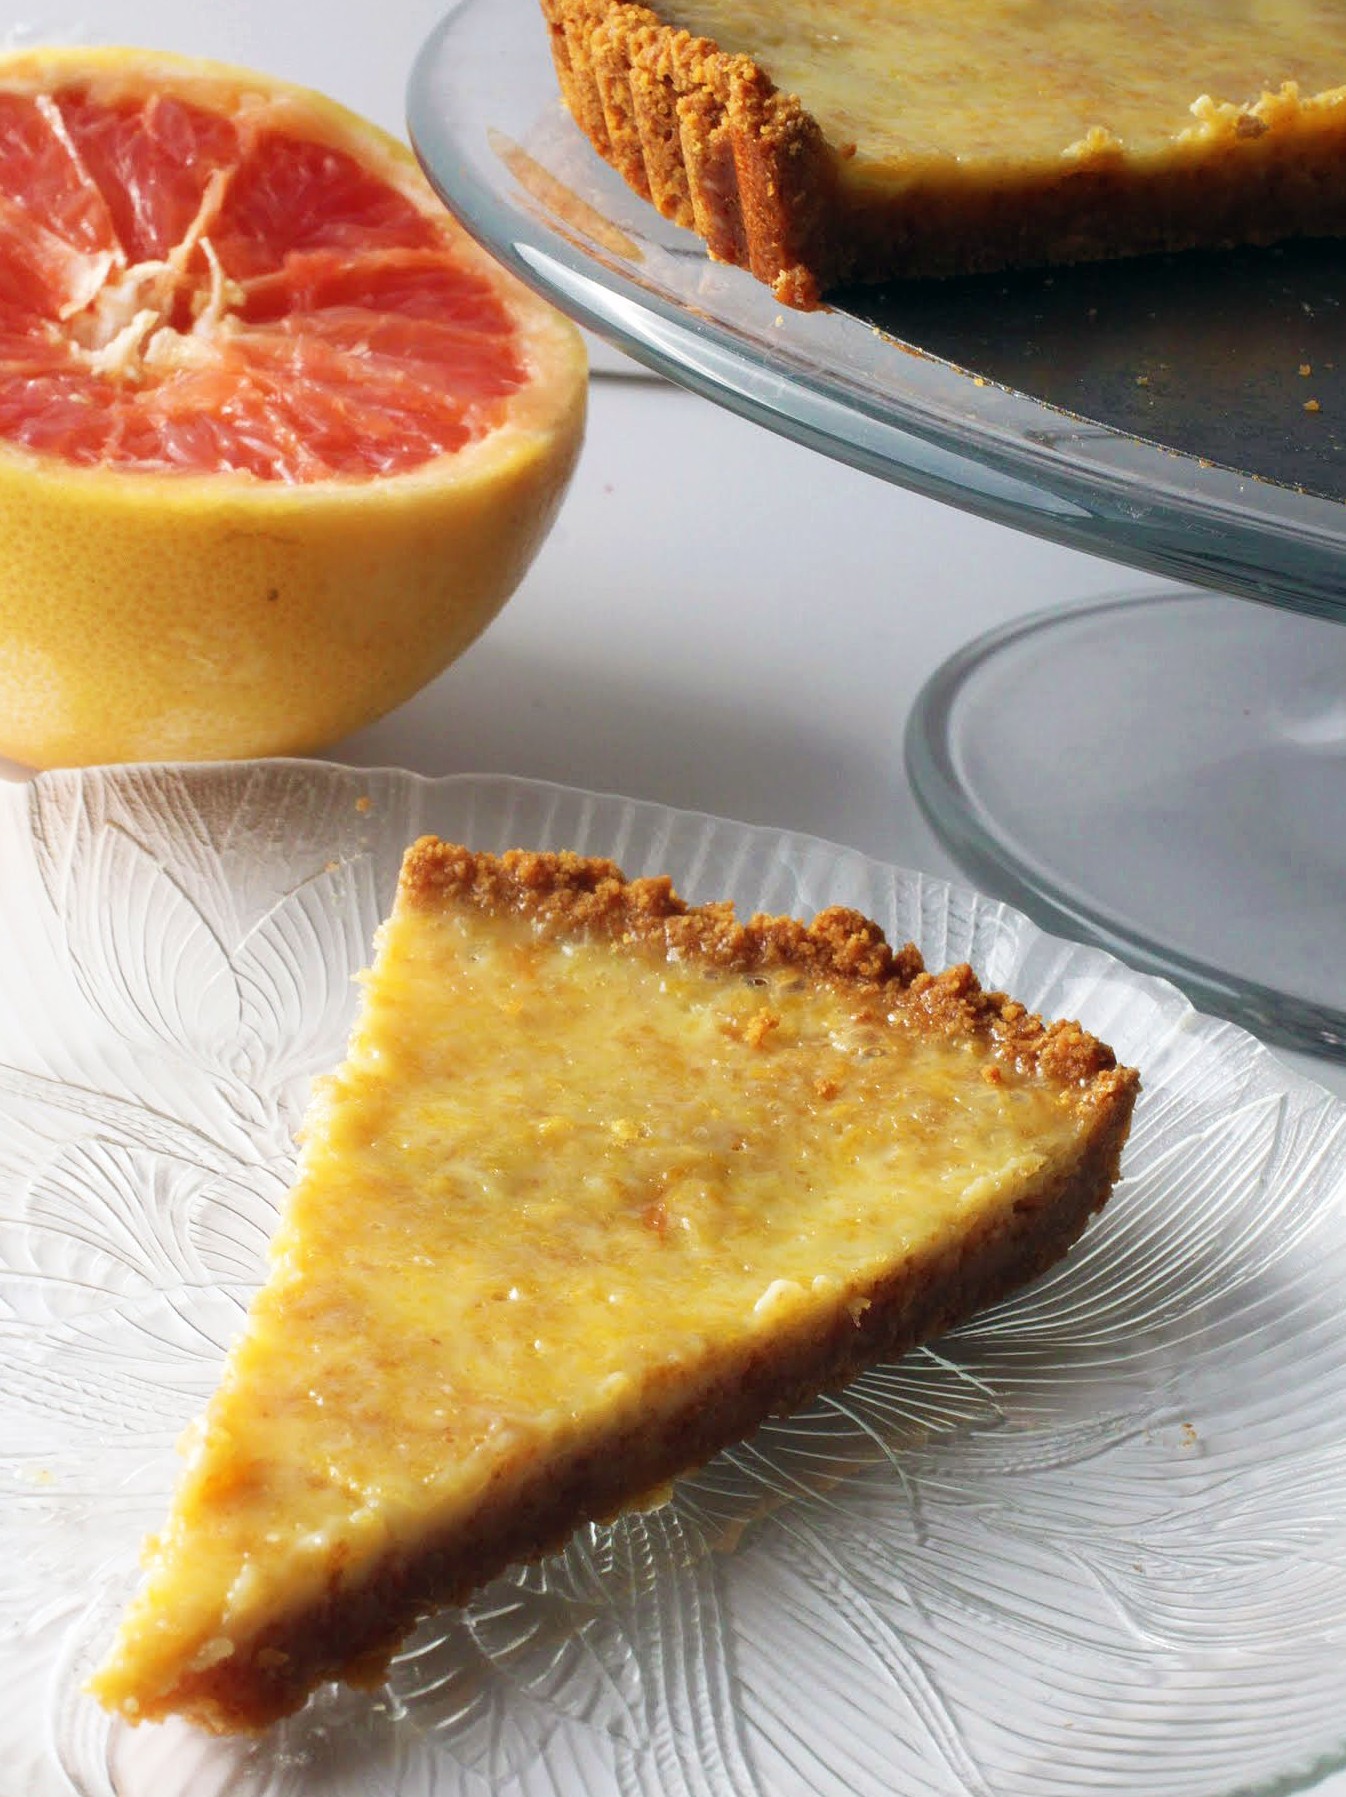
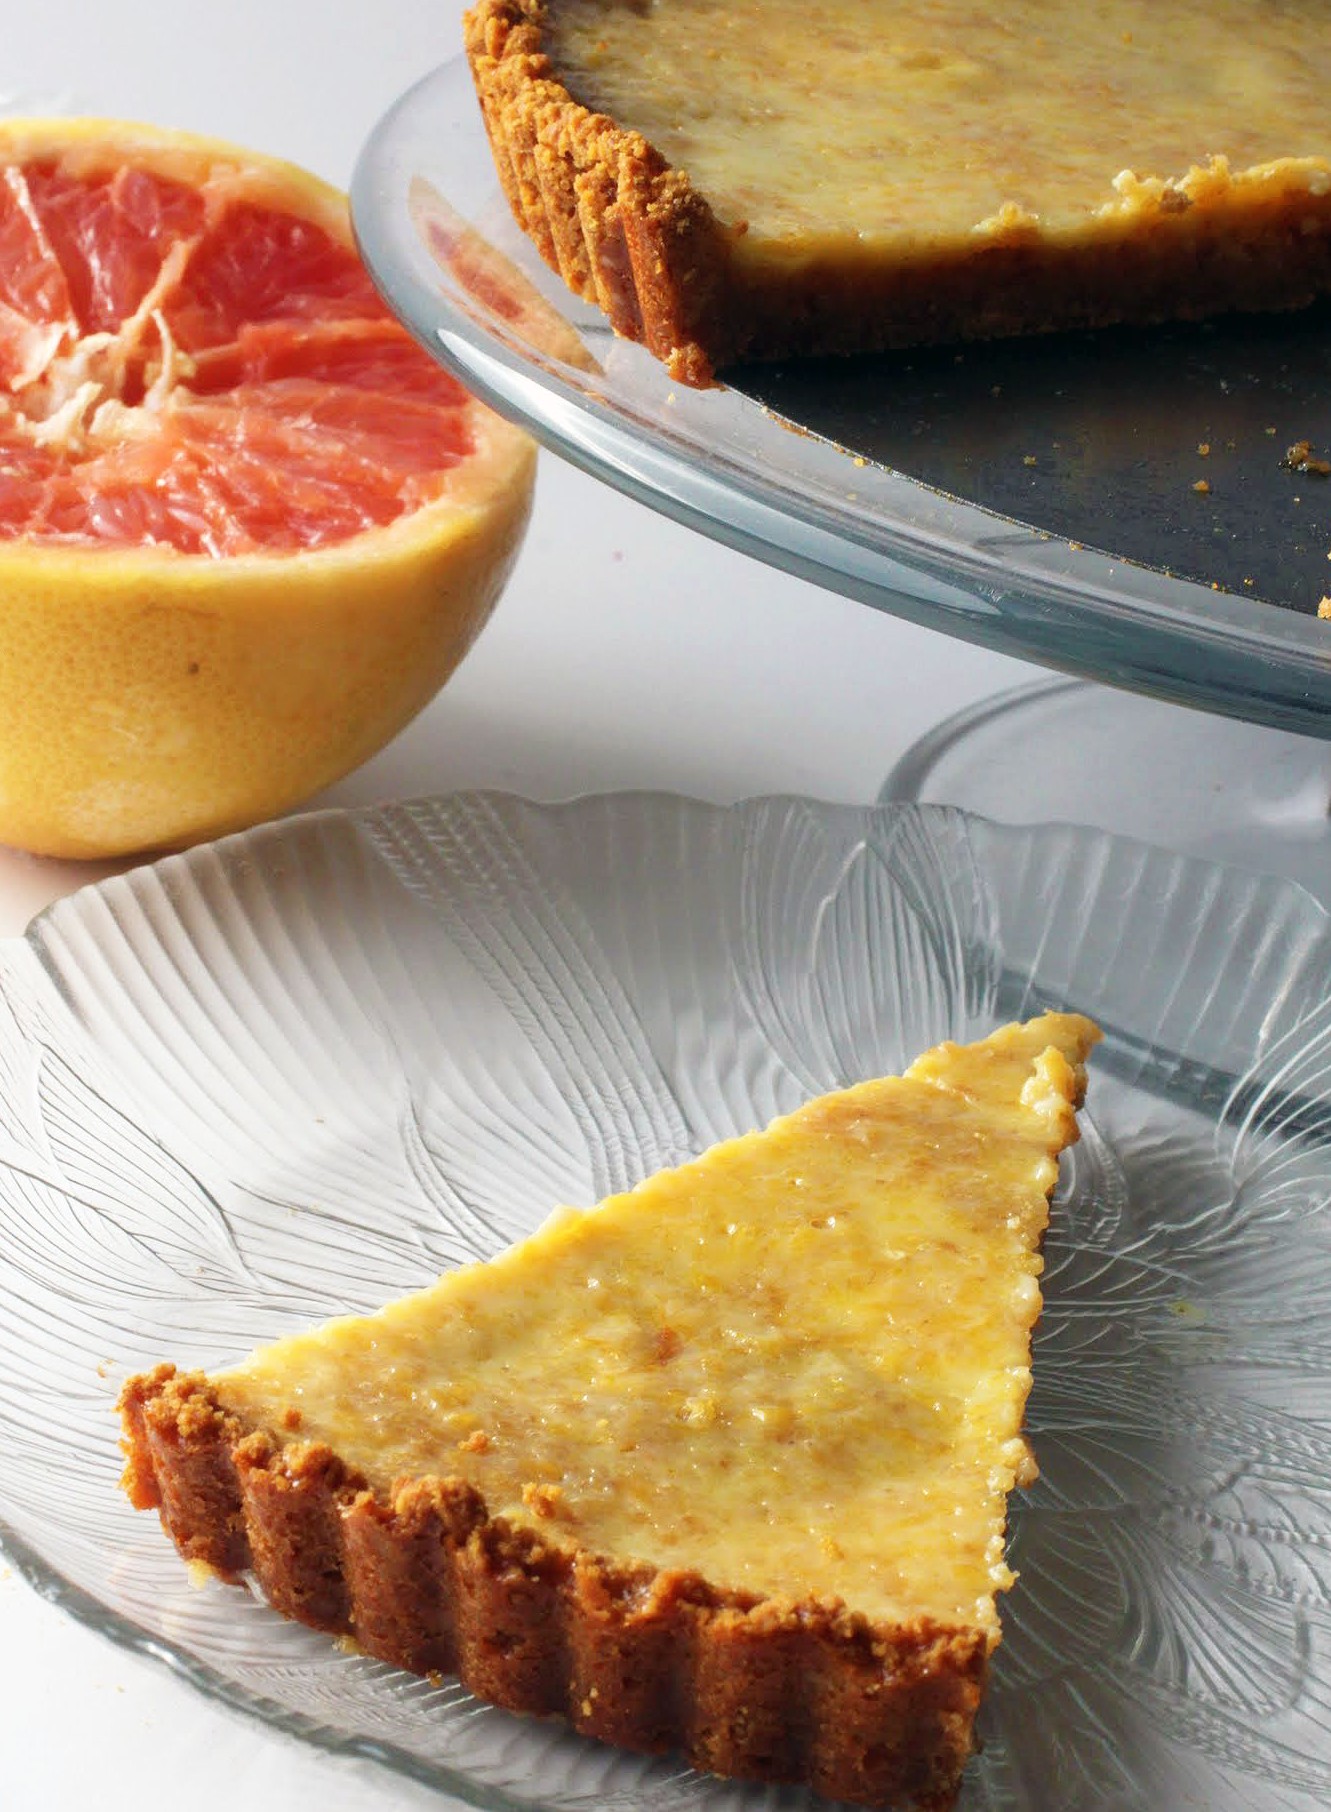
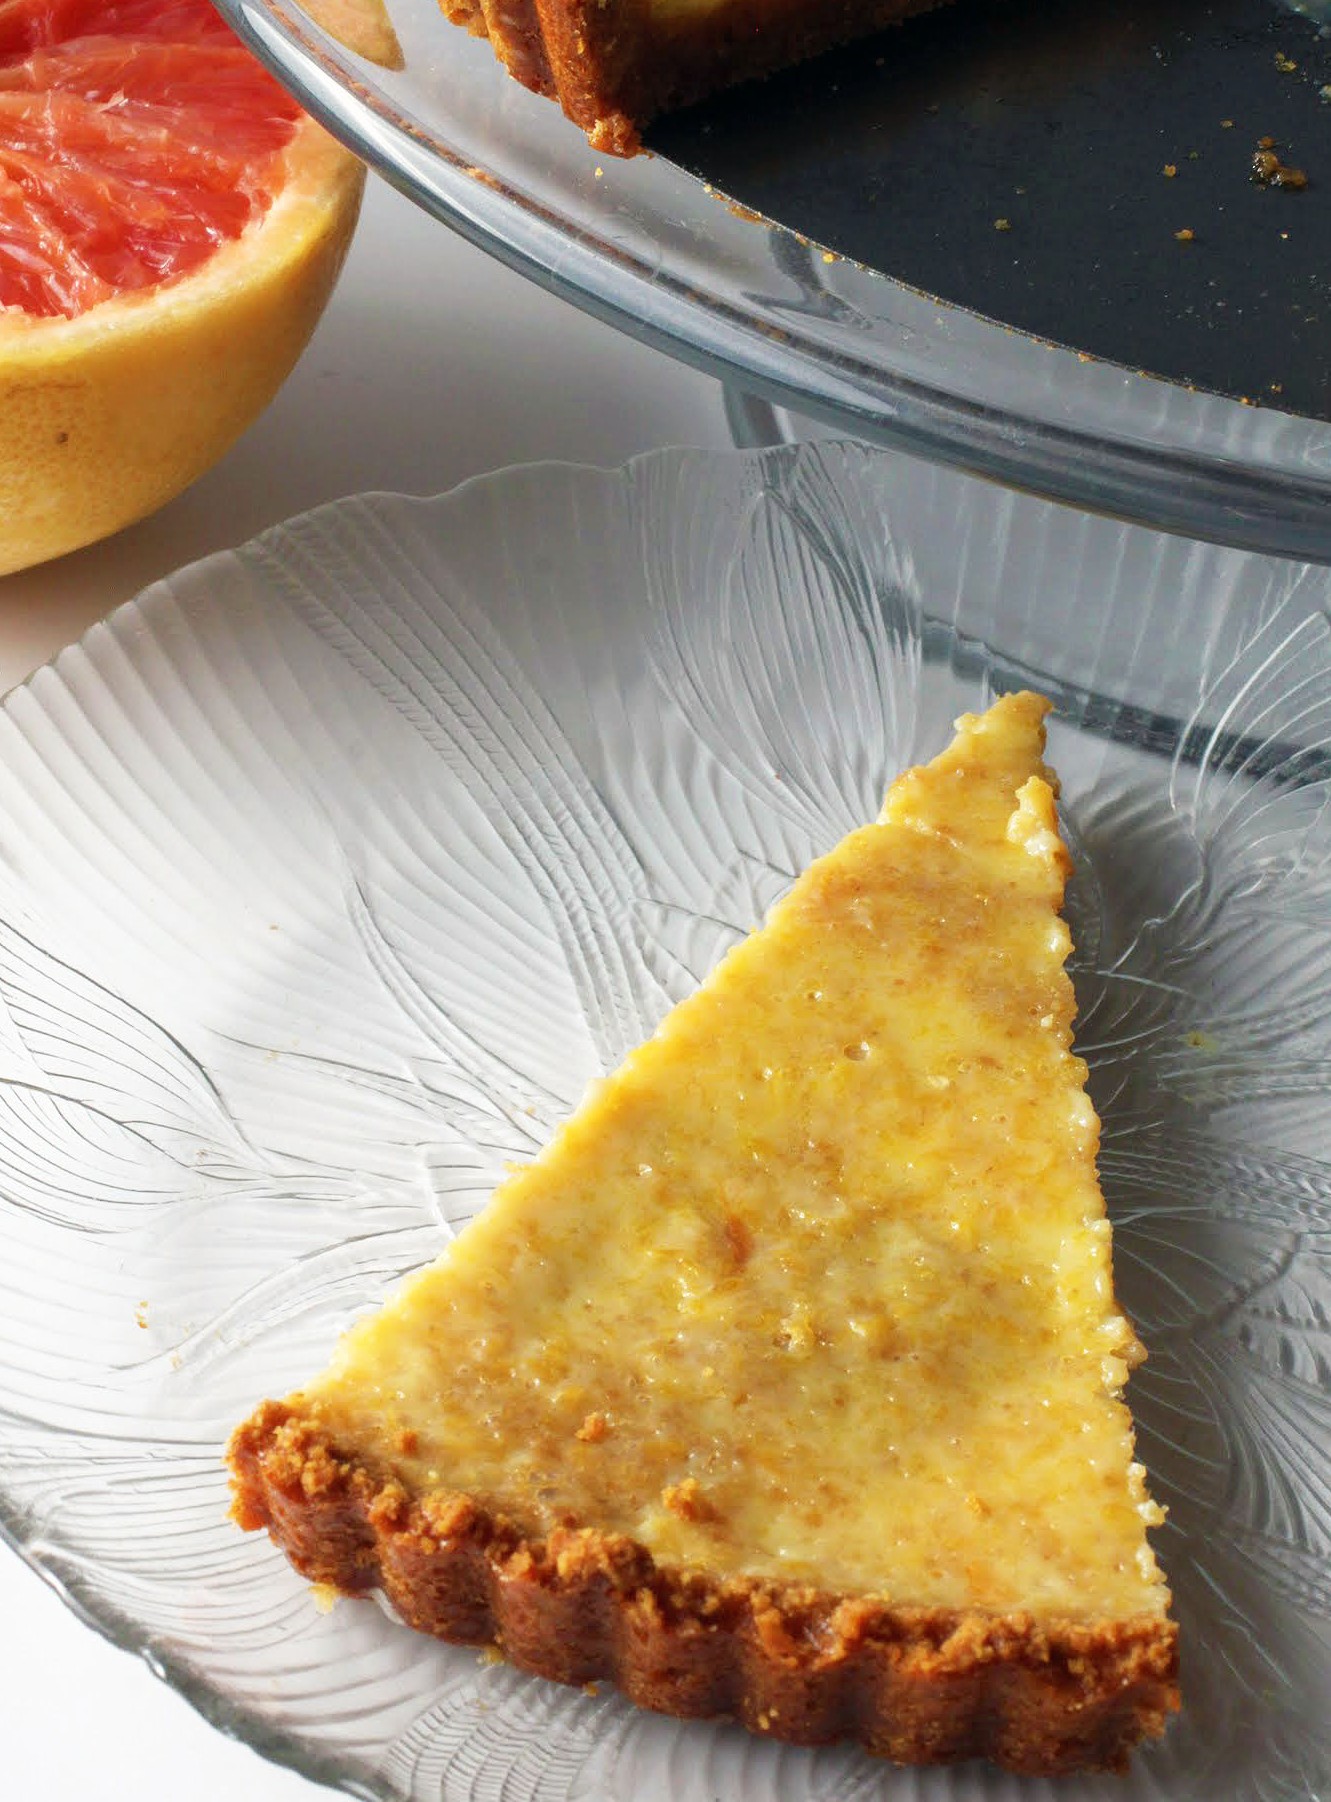
I’d like to put this tart on a magazine cover. That’s how splendid it is, and how opposite of anything horrible I find it to be. This is one of those times that I get obsessed by my own dessert. It doesn’t happen all the time, so when it does, you can bet I’ll tell you.

It’s so easy to make, too. The base is my white chocolate graham cracker crust, and the filling is just a mixture of fresh ruby red grapefruit juice, condensed milk, zest, and egg yolks. That’s all, folks.
Trying to raise kids with a healthy self-image is really hard. Trying to be a balanced, healthy eater is also hard. So make it as easy as you can on yourself, and incorporate some of those lovely fruits into dessert. They make for real showstoppers!
Ingredients
Instructions
- Preheat the oven to 350. Coat a tart pan that has a removable bottom with cooking spray and set aside.
- In a microwave-safe bowl, melt the butter and white chocolate for one minute. Stir until smooth. Mix in the graham cracker crumbs and brown sugar until the crumbs are moist. Press the crumb mixture into the bottom and up the sides of the prepared tart pan, being sure that you pack the crust tightly with your fingers or the back of a measuring cup.
- Bake the crust for 5-10 minutes until set.
- While the crust is baking, prepare the filling. Combine the zest, grapefruit juice, and egg yolks. Stir in the condensed milk and mix until thoroughly combined. Pour the filling into the crust and bake for 15-20 minutes until set.
- Allow the tart to cool completely. Refrigerate overnight. When you’re ready to serve, slice into wedges!
]]>
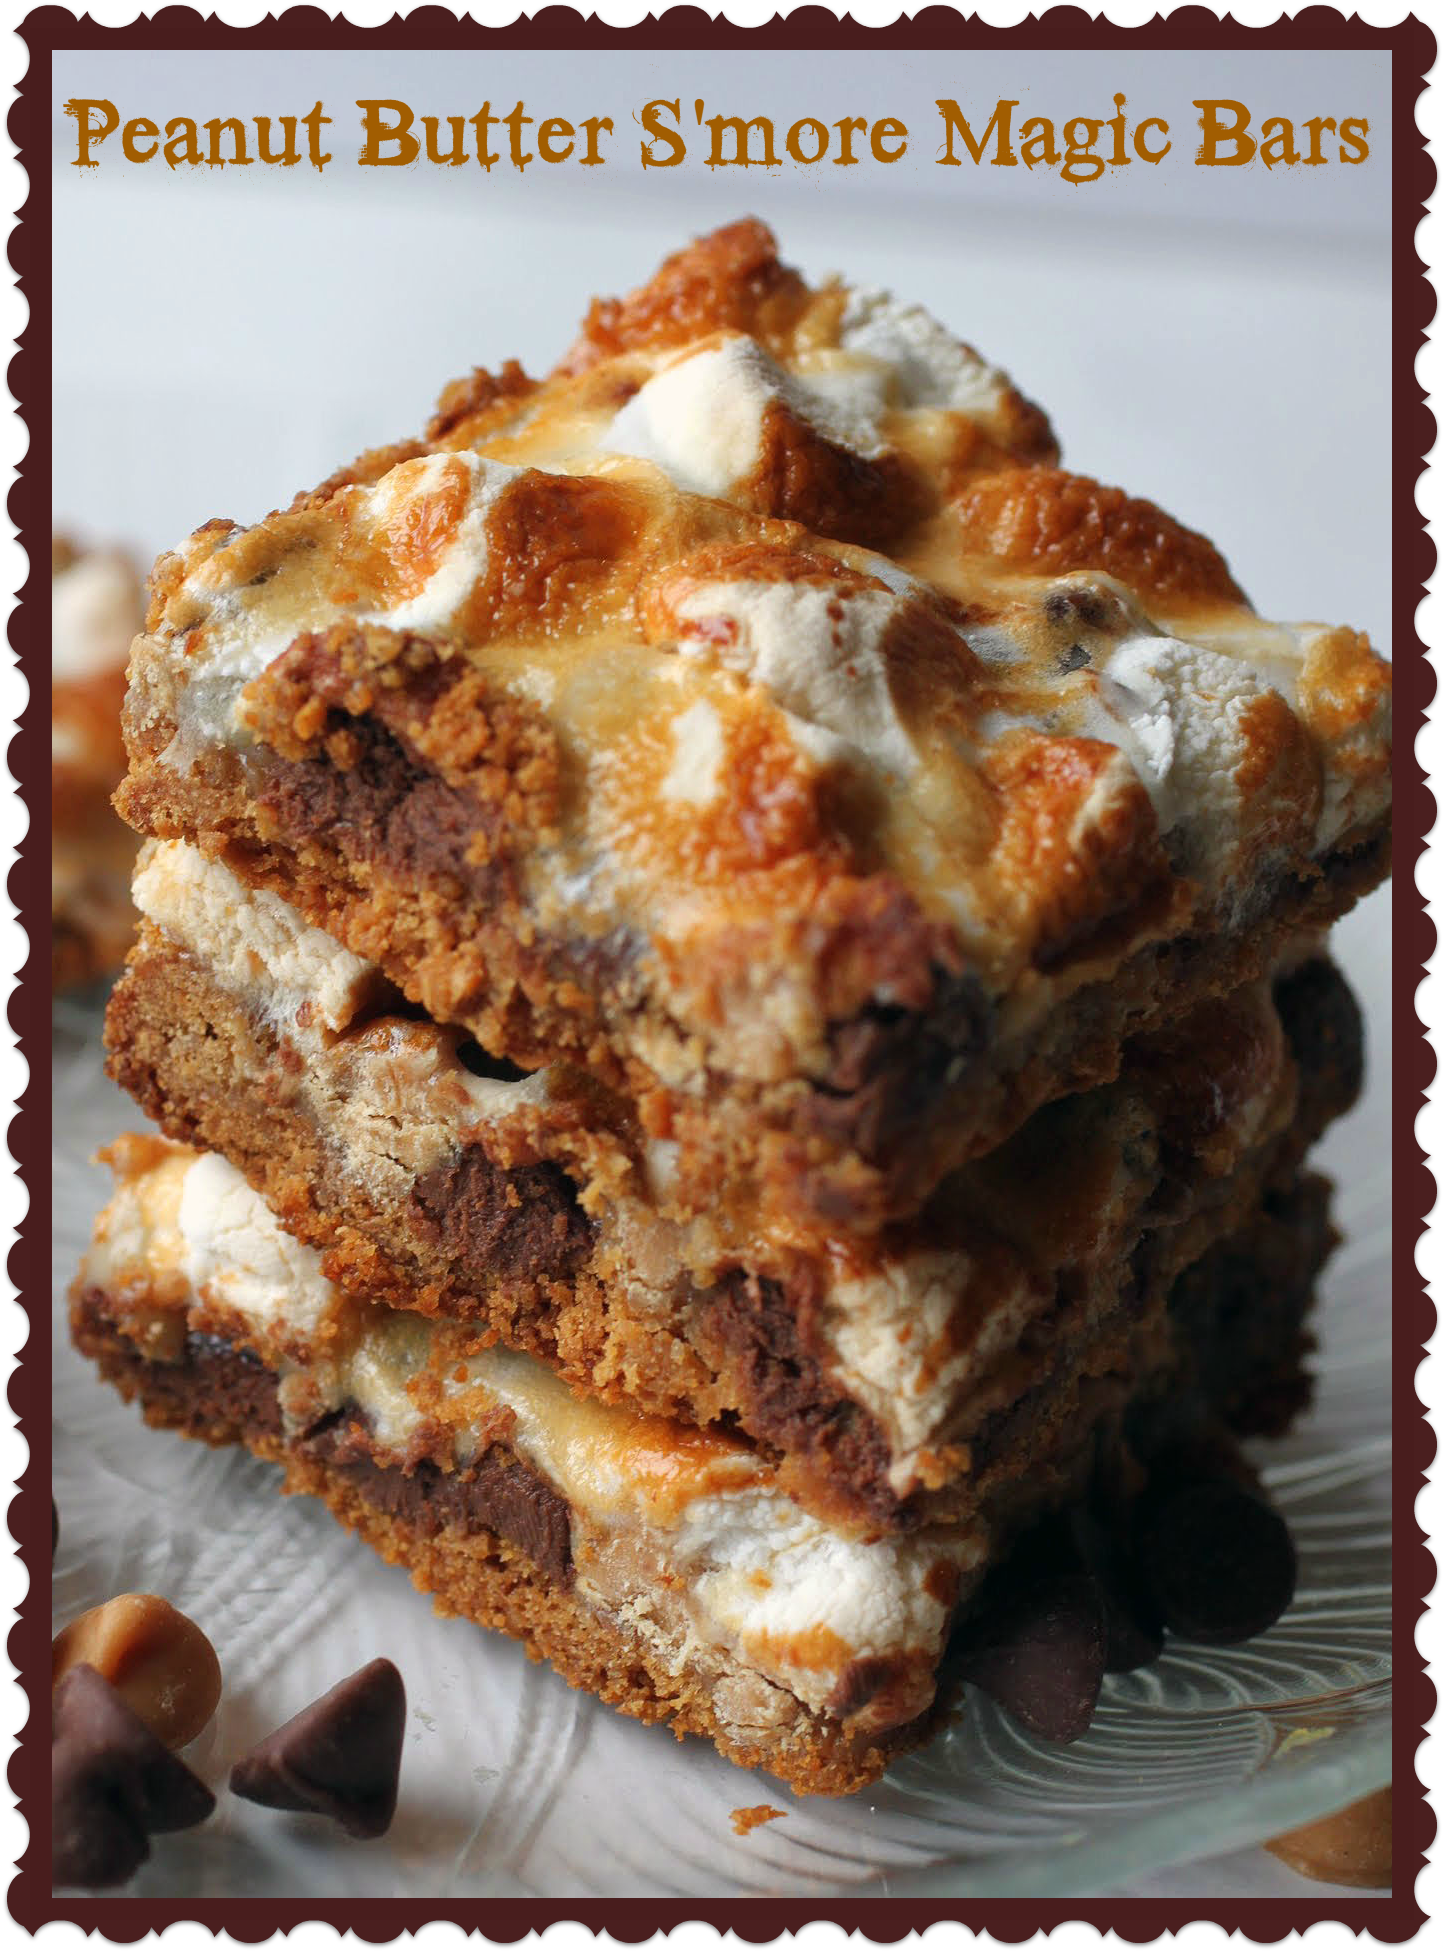
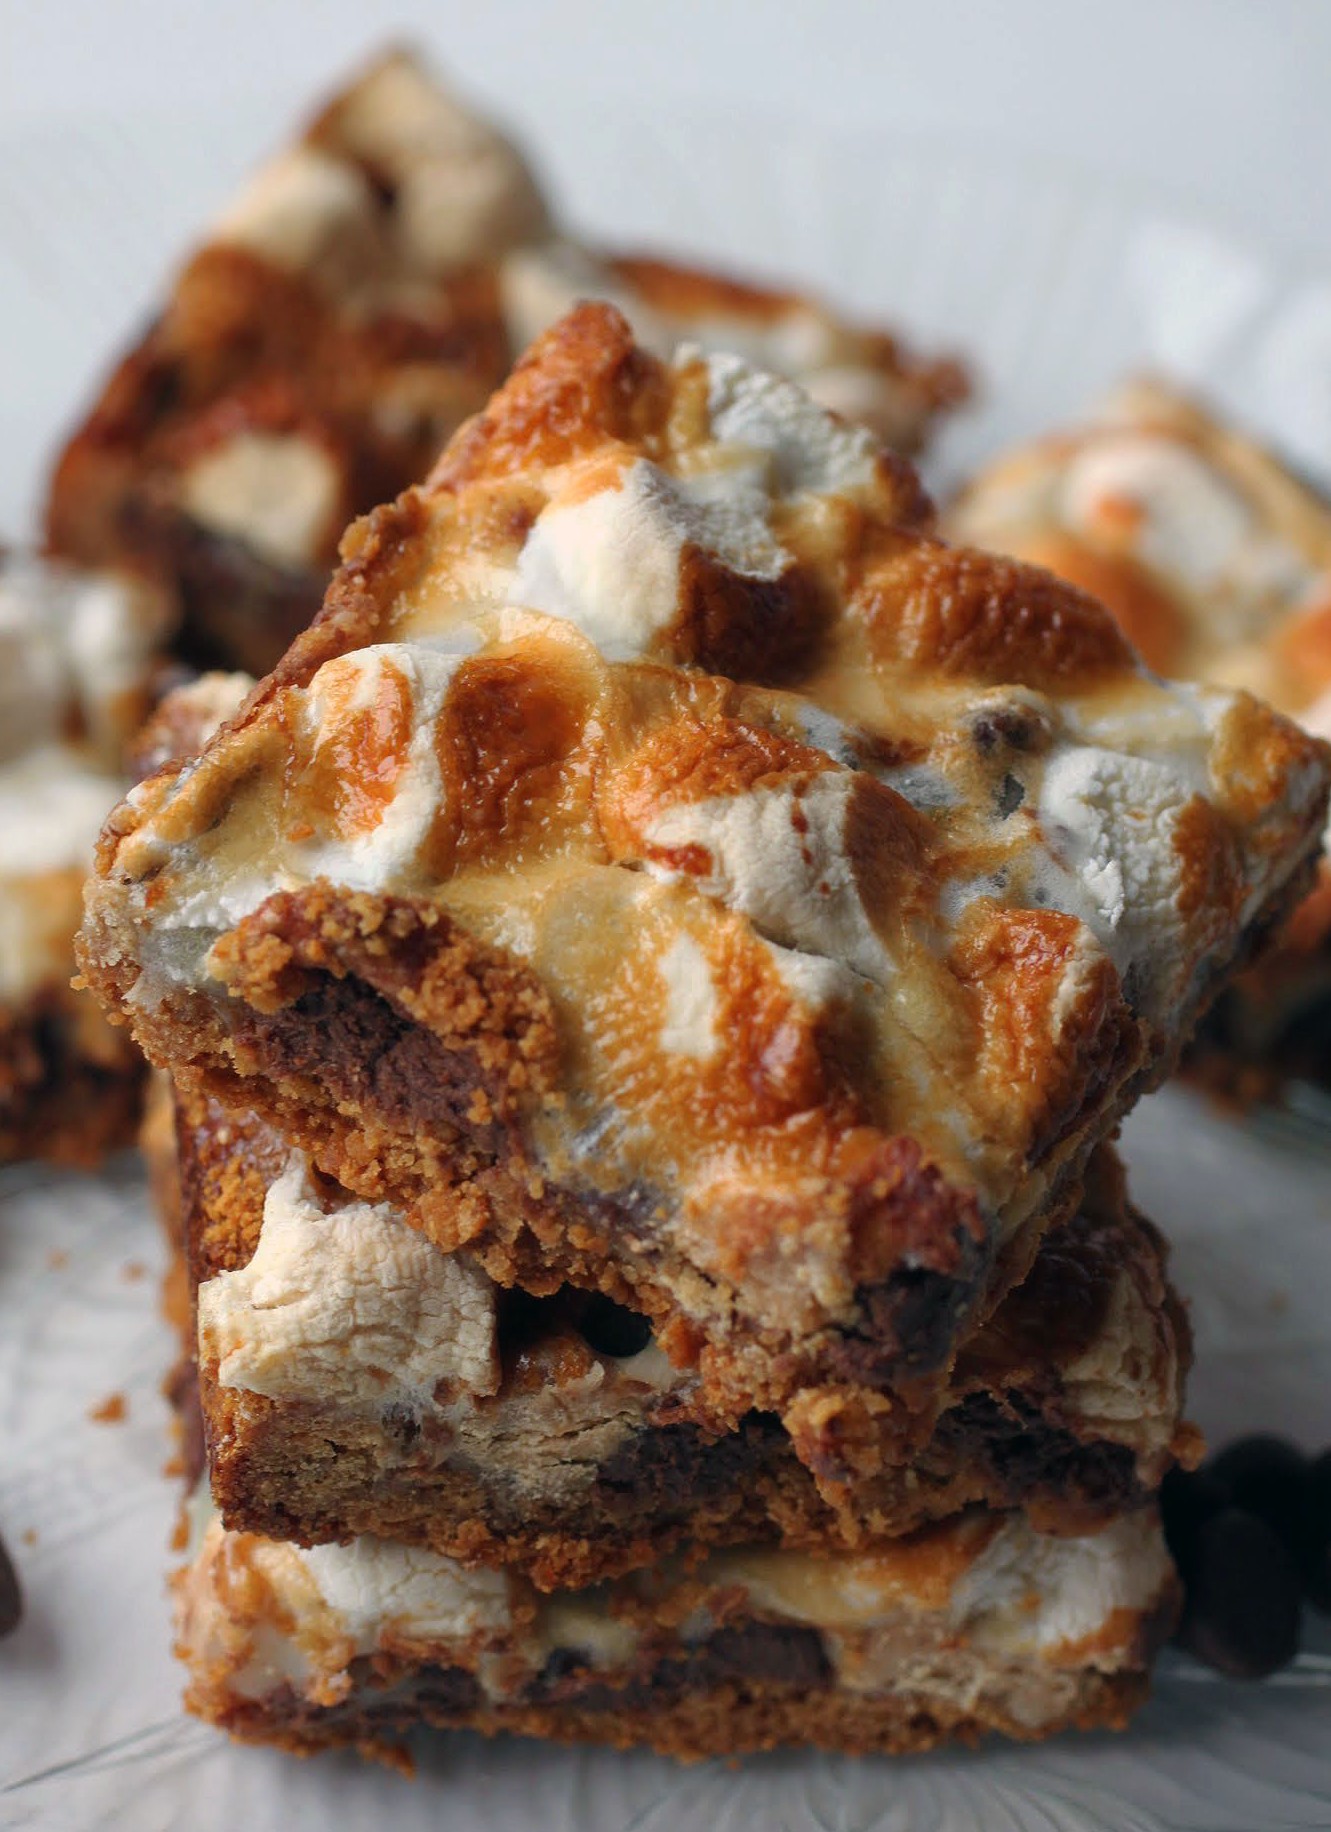
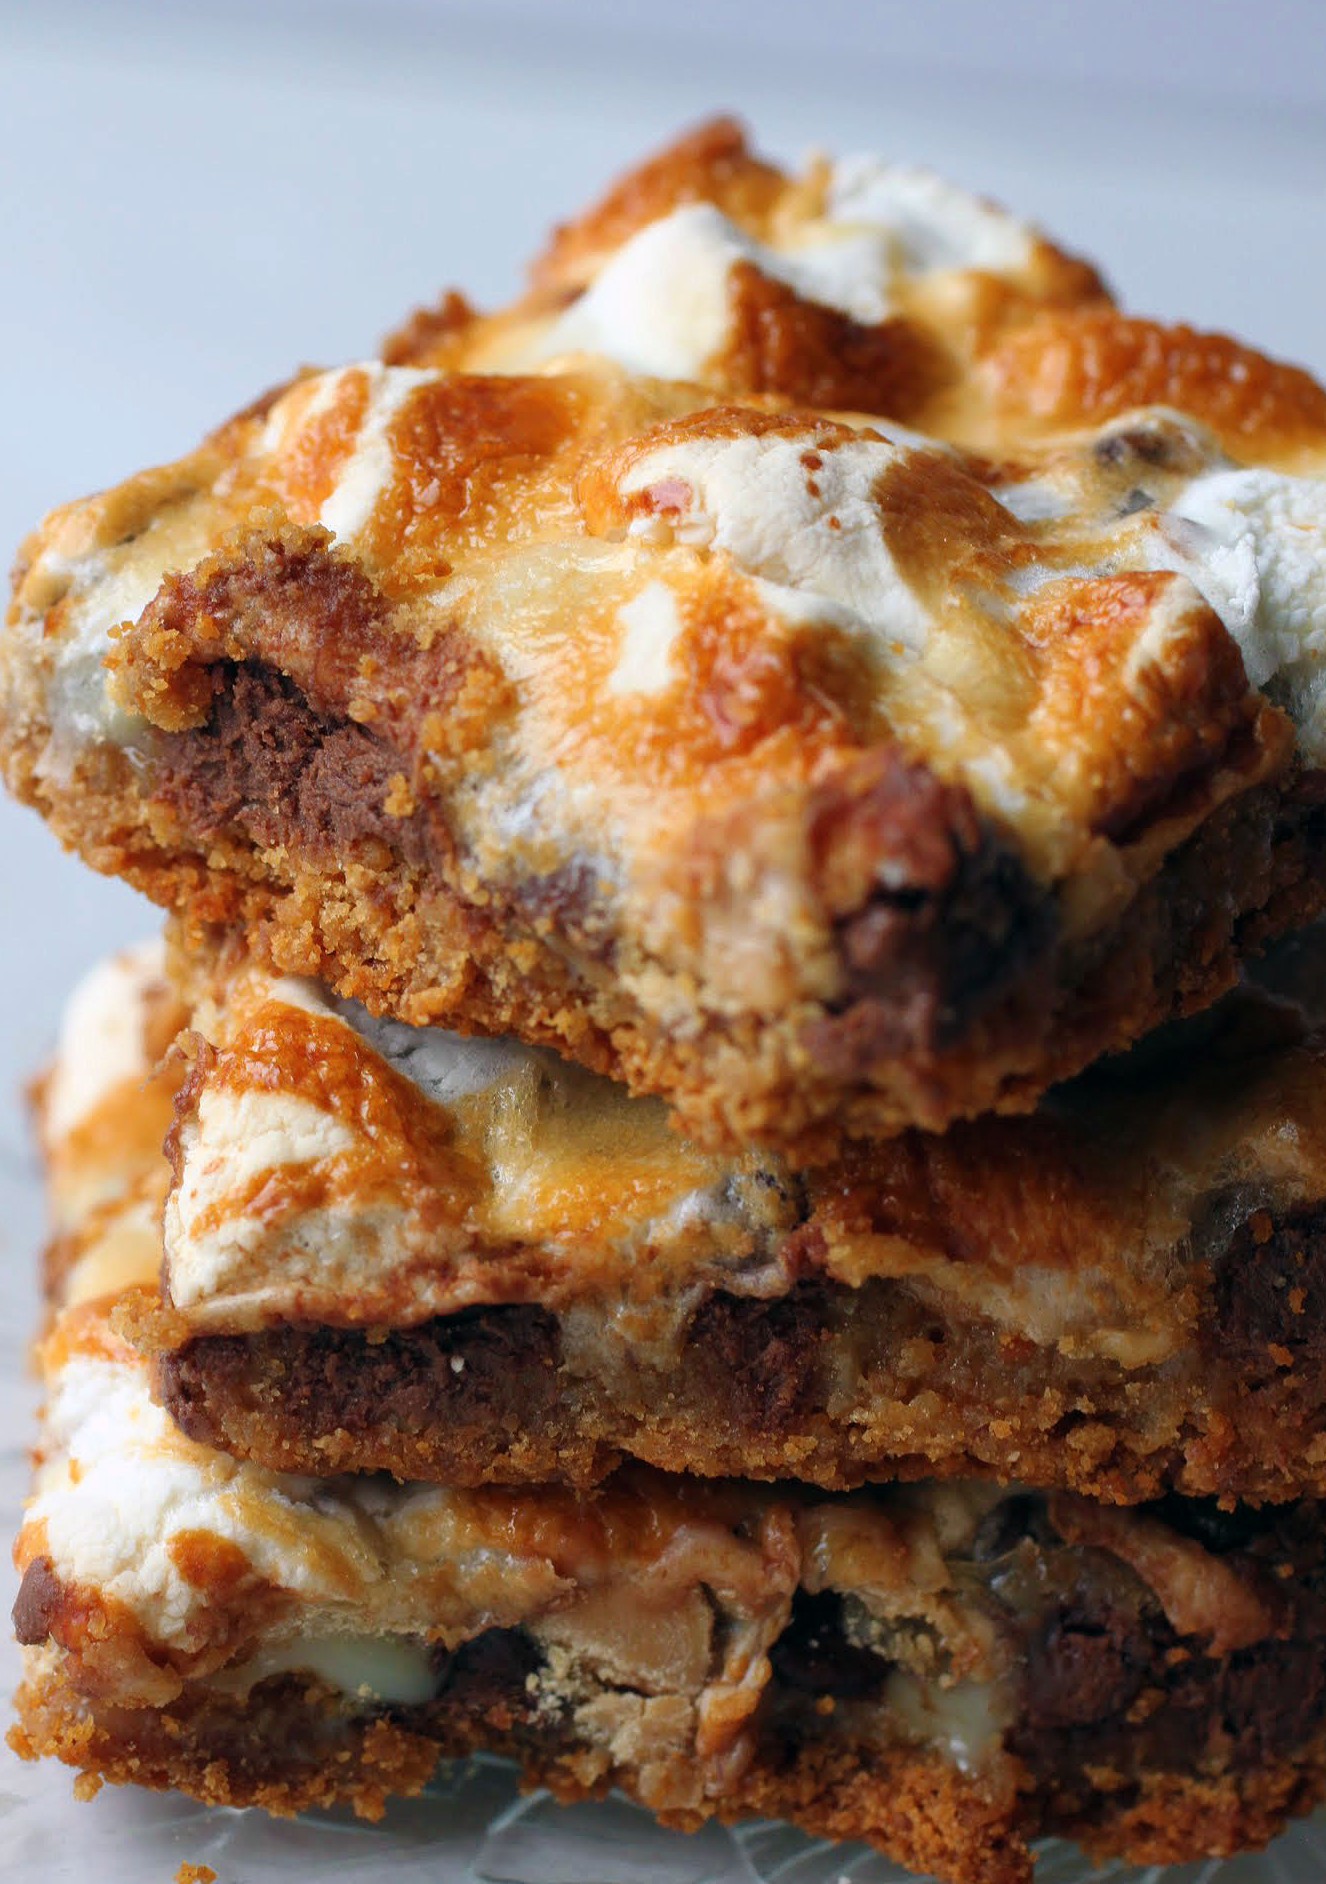
Okay, maybe that’s a tad hyperbolic. But honestly, s’mores need peanut butter like Kanye needs Twitter. Magic bars are already over the top gooey and chewy, so why not have a little mouth party up in here? The week is going to be so much more pleasant with some sugar.
These are a riff on the standard magic bar, which comes together quickly and (of course) magically with fairly few ingredients and a can of sweetened condensed milk. SCM (as we bakers like to call it) is stuff of the gods and should not be put in a corner. Nobody puts Baby in a corner.
We’re heading into birthday season in my family, and it’s always a long run. Everyone’s birthday falls between March and August, and since we all live in the same area, it’s a lot of parties and cake. Can you guess who bakes a lot of the cake? Yep. I’m cool with it.
This year, my son has requested his usual vanilla cake with…ready? RAINBOW frosting. As in, all different colors. If I didn’t love the kid so much, I would have told him in no uncertain terms that I’m not in the mood to spend the next three weeks studying YouTube tutorials on how to get a rainbow cake accomplished with the least amount of pain. At the moment, the main decision lies between fondant and buttercream, but that’s just the tip of the iceberg.
The biggest problems always center around party venue. I don’t like having the parties at home because, to put it mildly, lots of children trash my house faster than a pack of wildebeests would. So we can pay oodles of money to a bouncy place, or a nature center, or a trampoline zone. But that’s all very been there done that at this point, so I’m out of ideas. #firstworldproblems
And don’t get me started on goody bags. Just do not.
I guess all of these issues are as widespread as the age-old question of what to eat for dinner. Check out my post on the Today Food Club website and click to the left of the Facebook icon to vote for me!
If all of life’s problems could be solved as magically as a, well, magic bar, I’d be a happy kid. These are so simple to make, and they hit all my happy places!
Hey, if only party planning could be as easy as a magic bar. But we can only have so much in life! In a world with peanut butter s’more magic bars, it’s not right to complain anyway!
Ingredients
Instructions
- Preheat the oven to 350. Line a 9 x 13 pan with foil, letting the foil hang over the sides. Coat with cooking spray. Set aside.
- In a microwave-safe bowl, melt the butter and peanut butter chips for one minute. Stir until smooth. Add the graham cracker crumbs, mixing until the crumbs are moistened.
- Press the crust into the prepared pan with a rubber spatula or your hand, ensuring that everything is packed in evenly. Bake for 10 minutes.
- Remove the crust from the oven. Evenly sprinkle the milk chocolate chips, peanut butter chips and marshmallows over the crust. Pour the sweetened condensed milk evenly over the top.
- Bake for 25 minutes. Cool completely and cut into squares.
]]>
Not me, unfortunately. My beloved Indianapolis Colts exited the season before the playoffs, so I selfishly stopped caring too much about the outcome of any games, except to hope that the Patriots don’t once again take it all. Tom Brady must’ve made a deal with Satan a long time ago to be both talented and good looking. I have issues with that man.
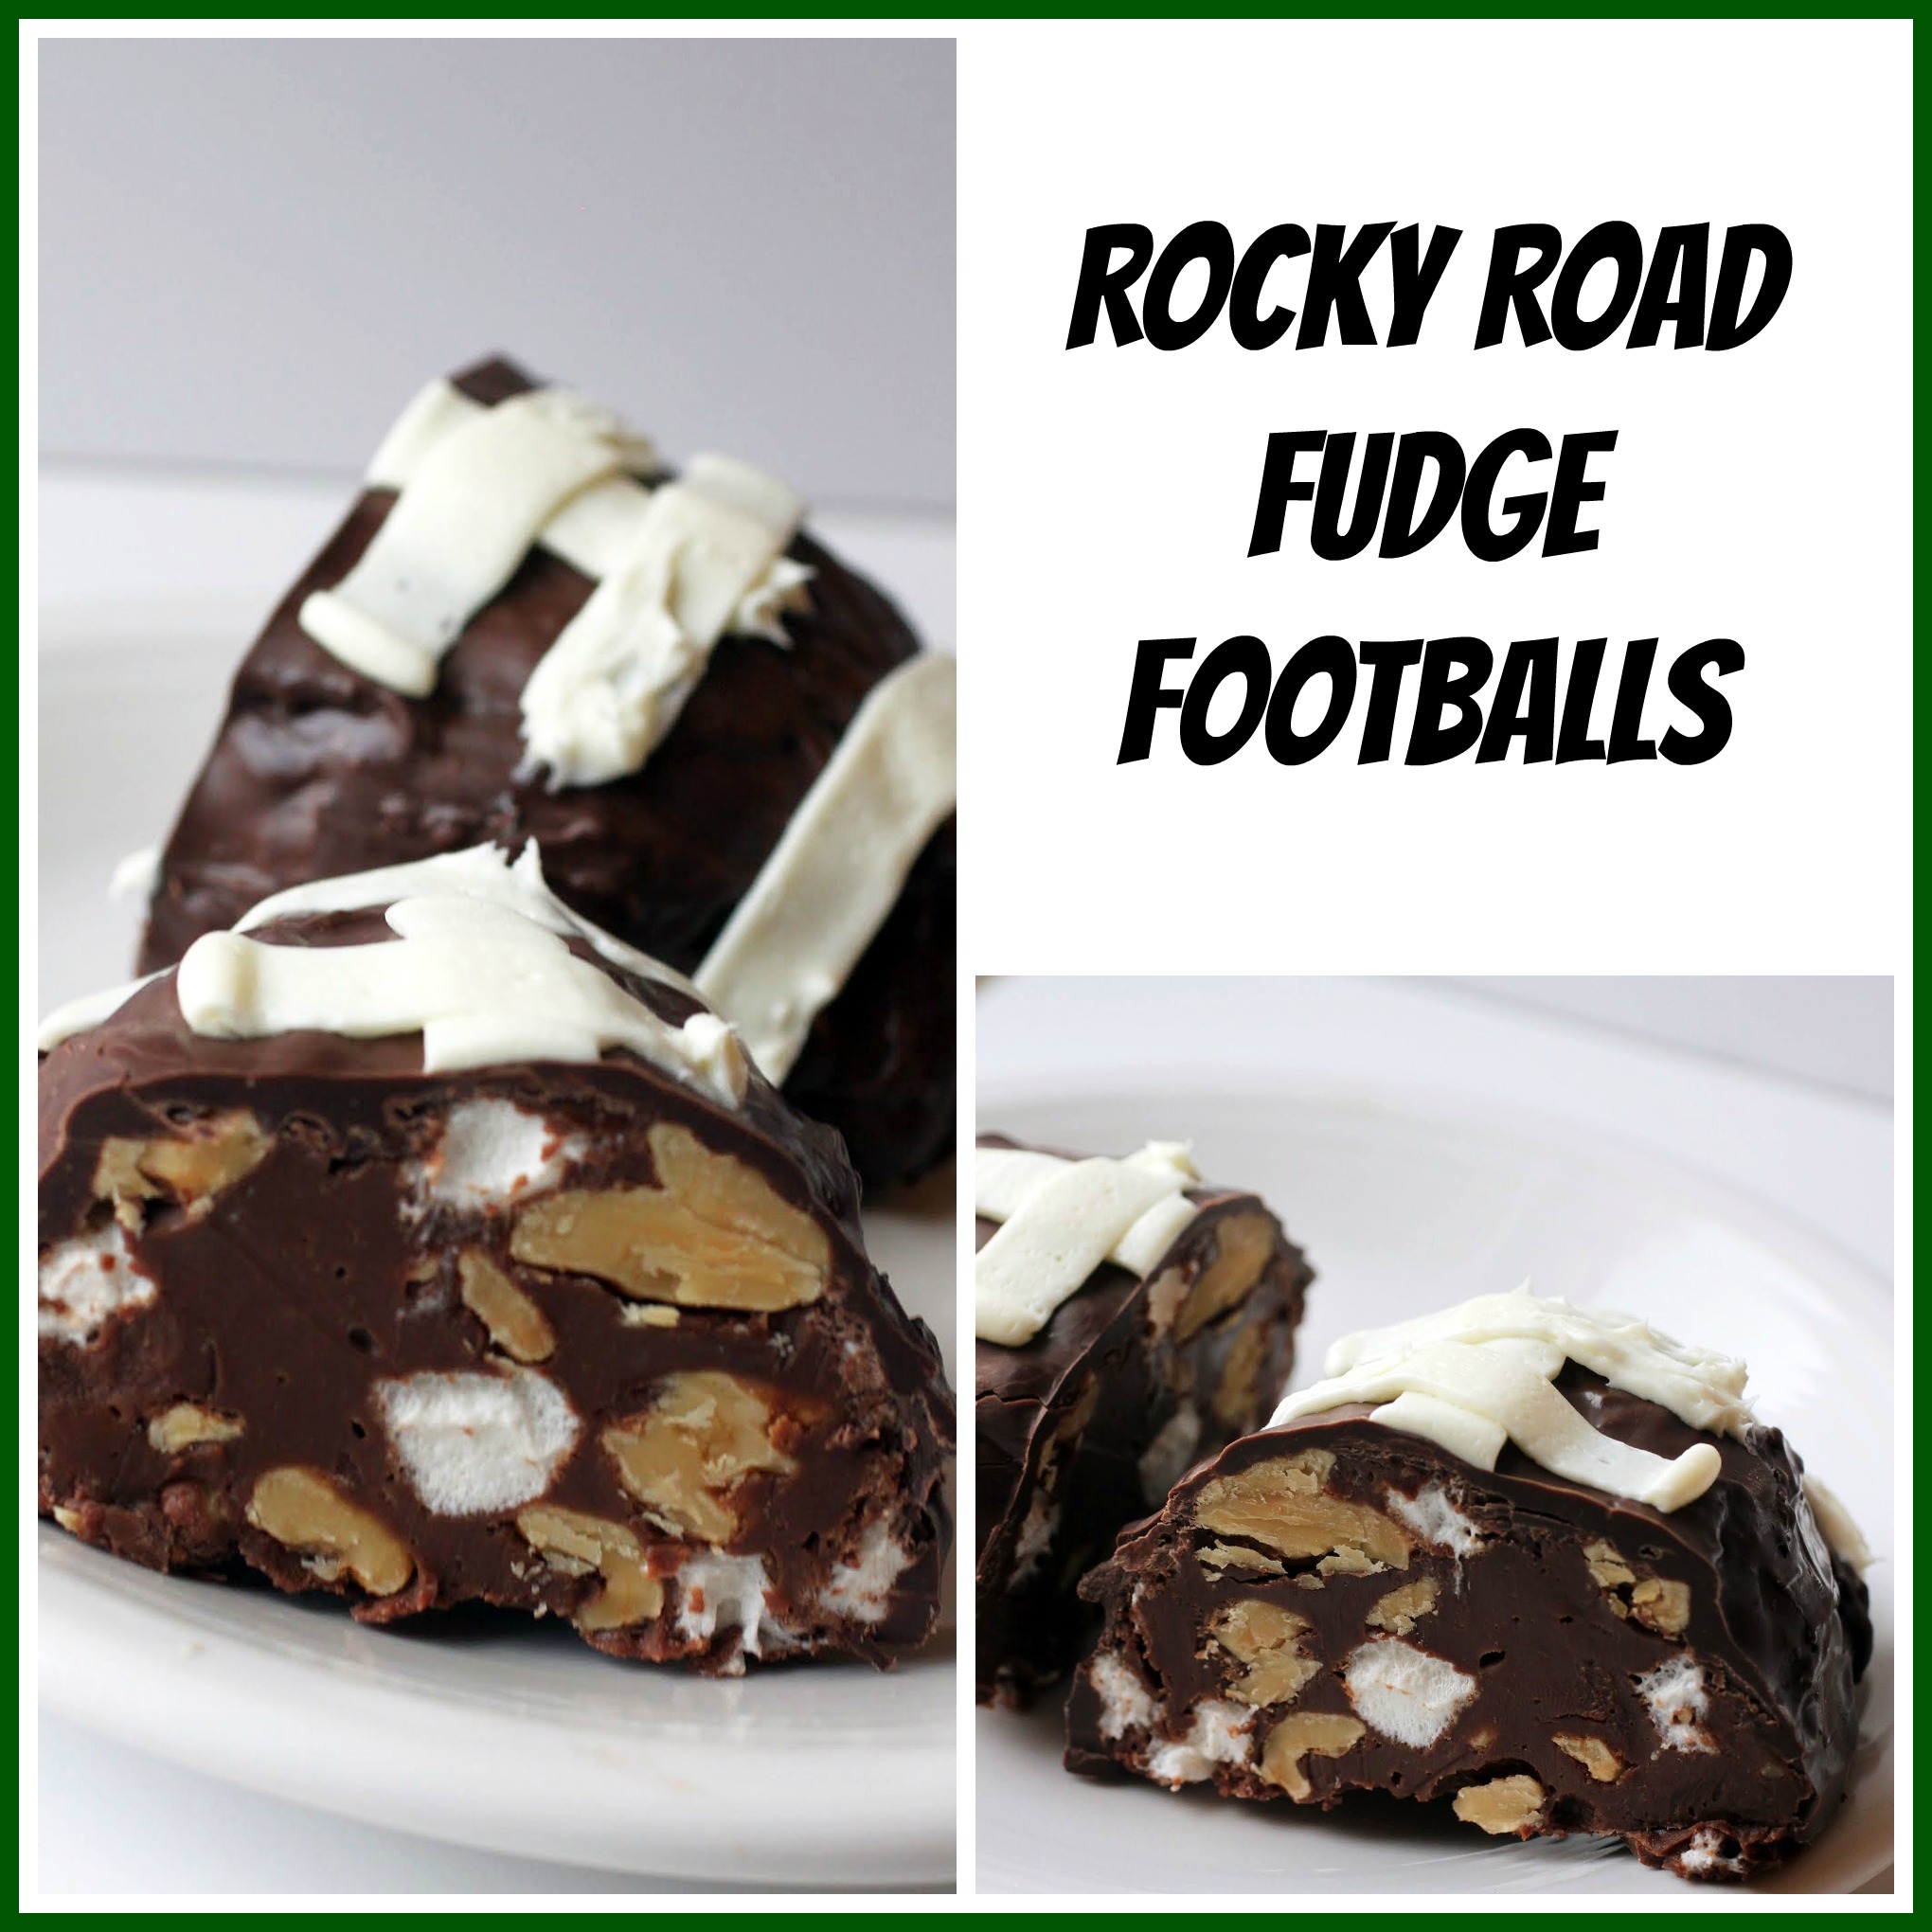
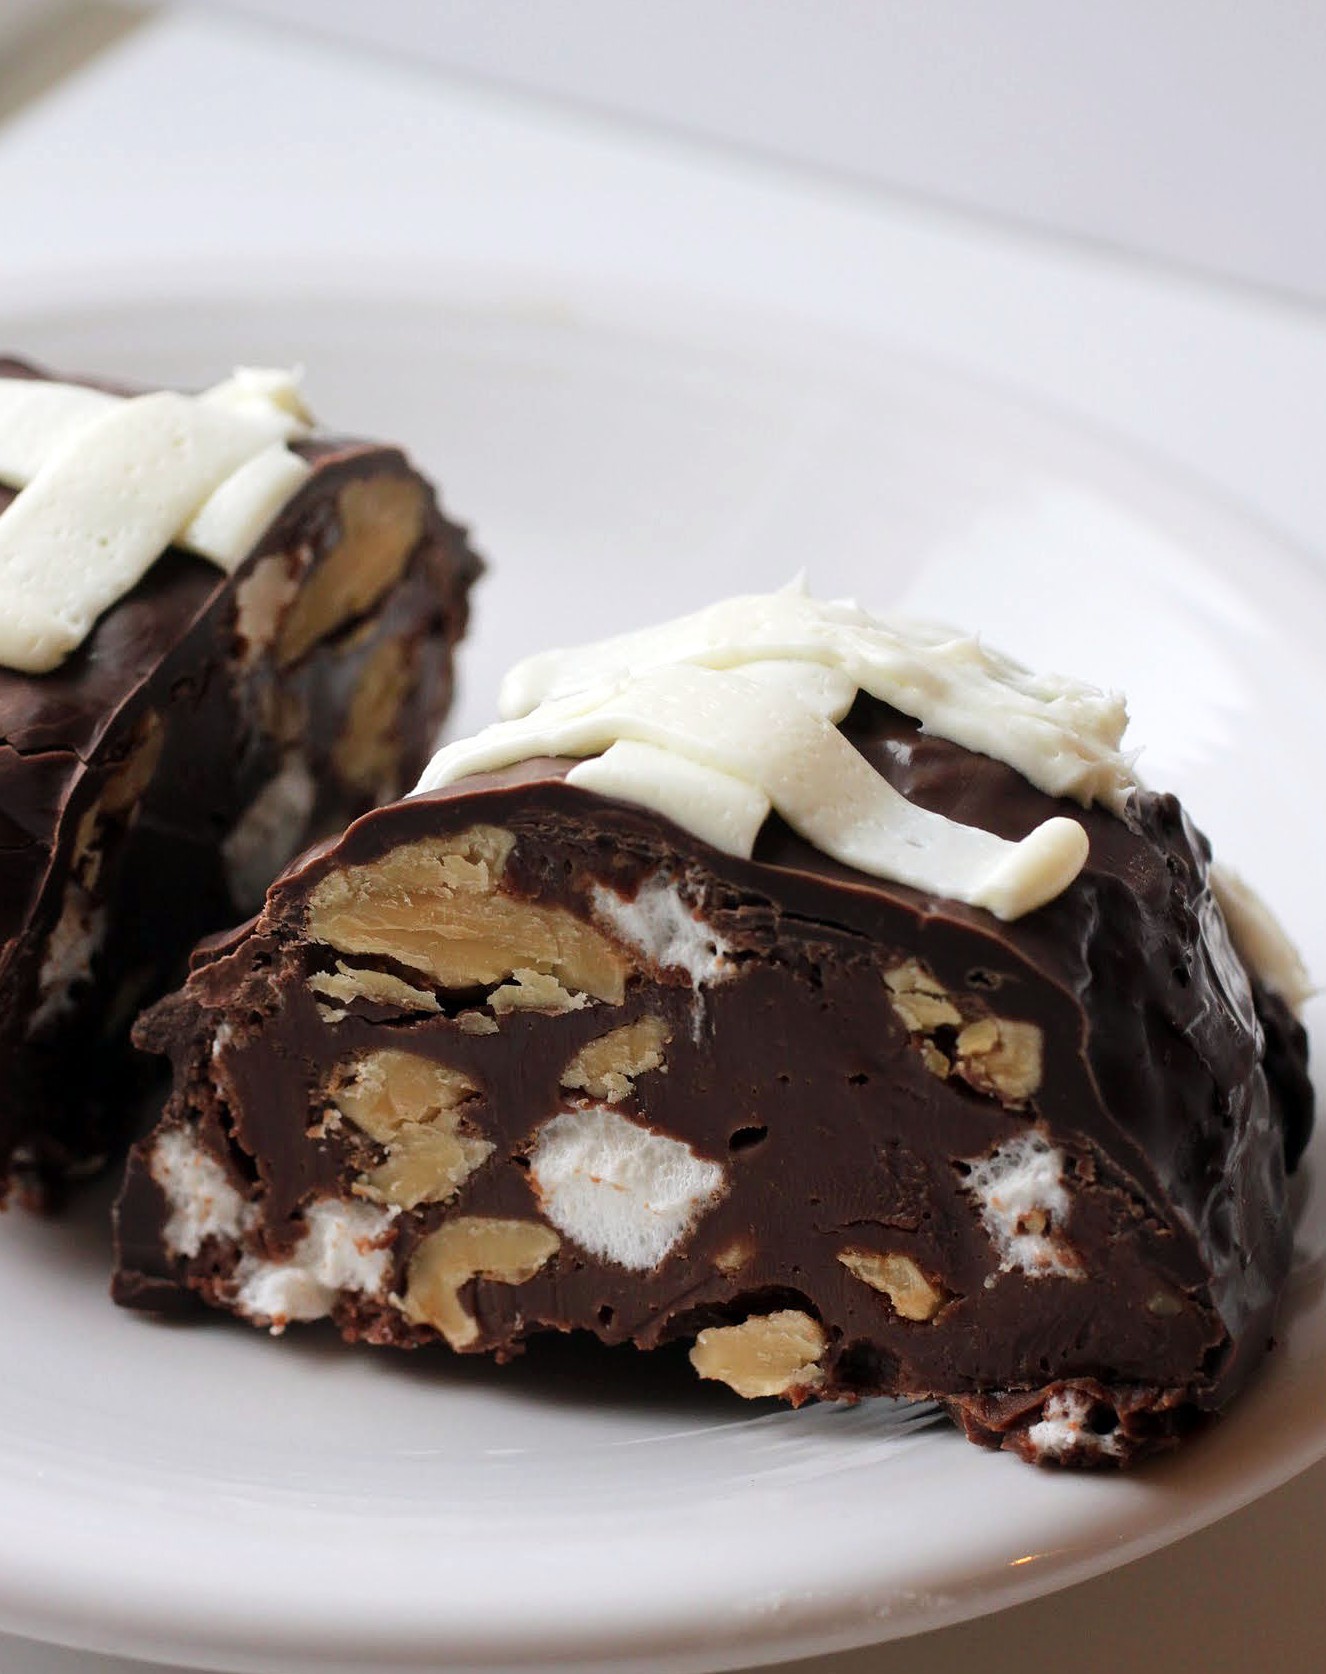
But no matter what happens with the actual game, I never pass up a chance to make amazing football food. And what better than a giant hunk of fudge shaped like a football? Nothing, I tell you. It’s the best!
This past weekend we had Monday off, so we bundled everyone up and drove out to the Baltimore Inner Harbor to their world-famous aquarium. It’s an amazing place set right over the water, and the building is ingenious. The whole building basically mimics the levels of the ocean with visitors descending via ramps as they fish-watch (or shark-watch) into darker depths.
And of course, there’s the dolphin show. Kids love a good dolphin show, and actually, so do I, as long as we stay out of the splash zone. Do you ever wonder why people like sitting in the splash zone and getting purposely doused with dirty, fishy water? And the day we went, it was about 10 degrees outside. Why would you do that to yourself? Then you could turn to a fishy water popsicle if you venture back outside.
The only bone anyone has to pick with the Baltimore Aquarium is its price tag. It’s $40 a ticket for adults and $25 for kids. We’re a family of five, so do the math. Let’s just say that we had to make sure we saw every inch of that aquarium, or we would feel that our money was not well spent. And we also were mean parents and refused to buy anyone a stuffed dolphin. The little angelic children were really mad about that.
When we got home, I wanted two things: a blanket and some fudge. Luckily, both were readily available. As you know by now, fudge is not hard to make. Watch!
My only caution to you would be to be much smarter than I was. For the football molds, I used a plastic candy mold. MISTAKE. I should have used something bendy, like silicone. Live and learn. Getting that fudge out of the mold was sheer hell. That’s why it’s not featured in my video.
We can survive any number of freezing cold aquarium trips if there’s fudge at the other end of the rainbow, so bear that in mind. And if you care about the Super Bowl outcome, good luck to your team! Unless it’s the Patriots. They don’t need no more help.
Ingredients
Instructions
- Pour the milk chocolate chips and condensed milk into a microwave-safe bowl. Heat for two minutes and stir. If needed, heat for another 30 seconds and stir until smooth.
- Mix in the mini marshmallows and walnuts. Pour the mixture into a silicone football mold (this mixture will make two medium-sized footballs and a small bowl's worth of fudge).
- Chill for three hours until set.
- When ready, pipe football stripes onto the footballs with vanilla frosting.
- Store in an airtight container.
]]>
It’s hard not to, when it’s so easy to make people happy by giving the gift of fudge for very little effort. I’d rather put the hard work into maintaining friendships and being a good person rather than standing over a stove top with a candy thermometer. Not that the two are necessarily mutually exclusive, of course.
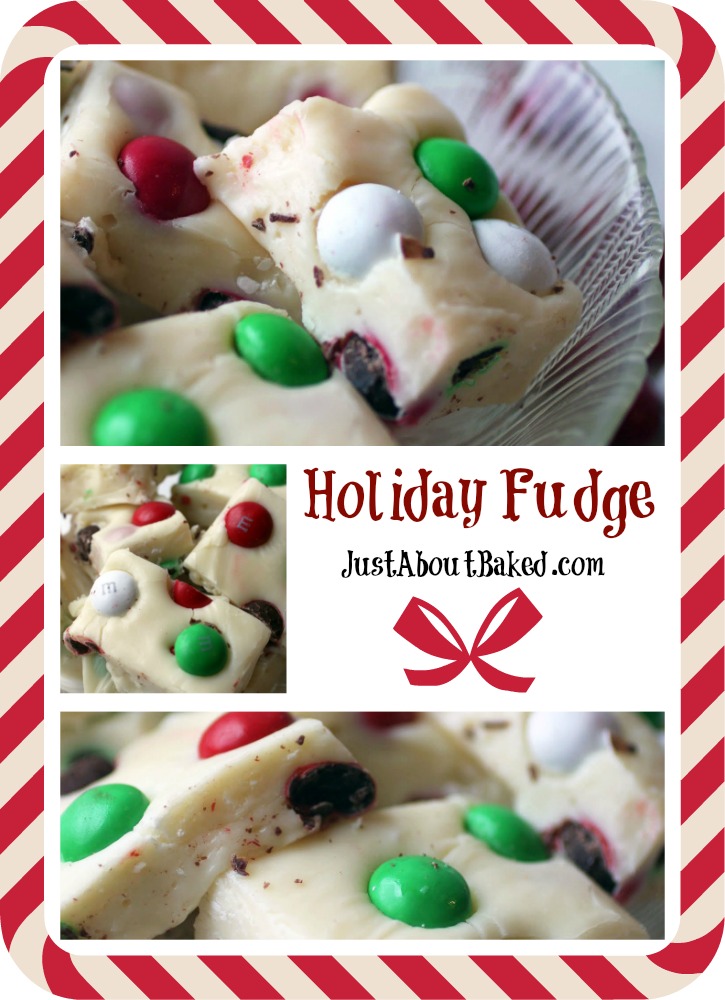
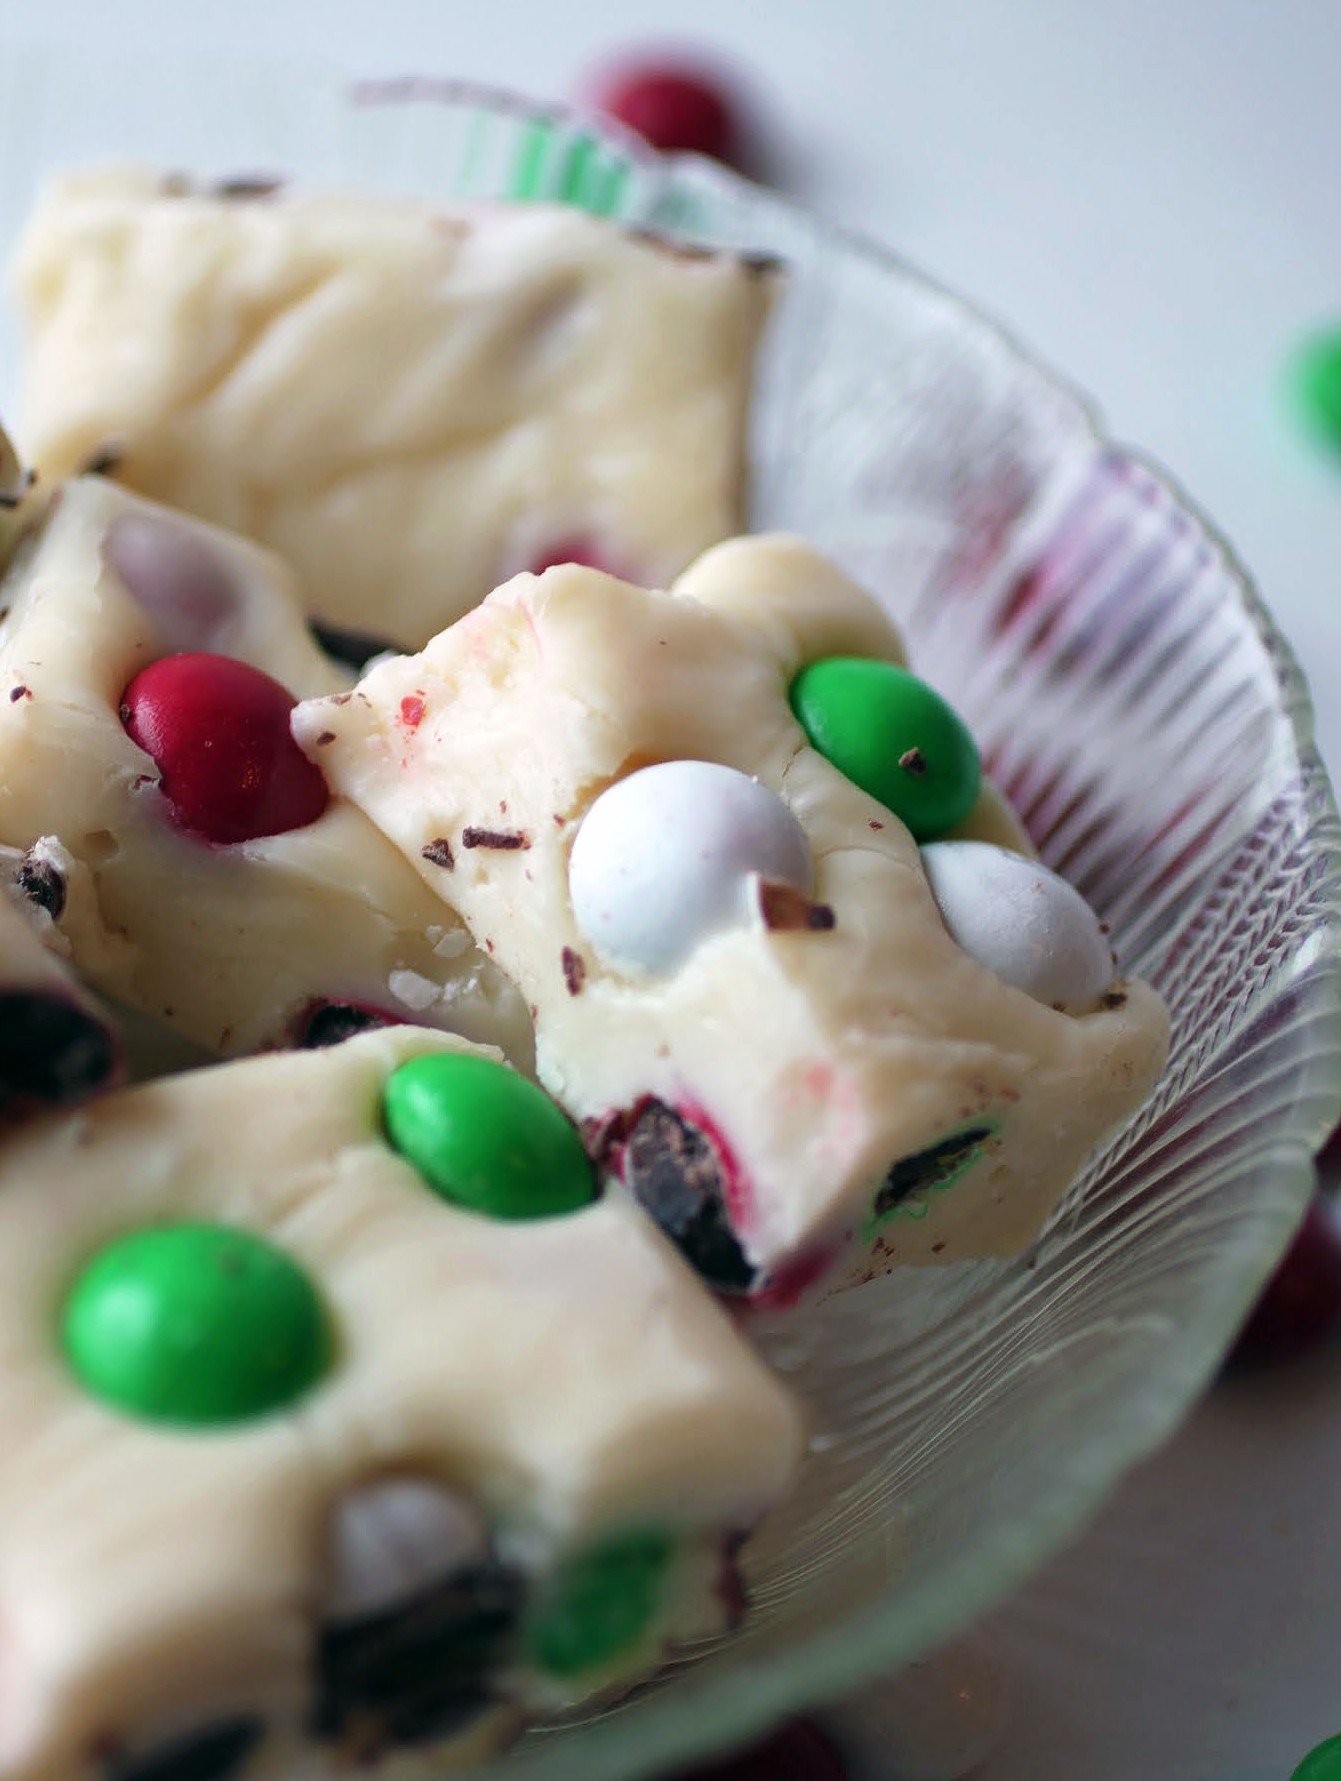
As my wise brother pointed out to me last week, there is something about the combo of white chocolate and mint that is just meant to be. So in honor of him, here’s a white chocolate fudge filled with holiday mint-flavored M & Ms. In one bite, you get both crunchy and creamy sweetness. It’s the best!
It’s important to move with the times, and in case you haven’t noticed, food blogs are all about incorporating video now. That means that just as I’m starting to figure out this whole photography thing, I am now going to have to become a cinematographer as well. It’s cool. I hope you enjoy my first effort, which took me far too many hours to complete!
Yep, it’s a first try, so don’t be too harsh. I’ll get better at it, okay? Film editing software ain’t no joke.
But you know, it’s important to learn new things. It’s good for our minds, which need to be exercised and challenged, and it’s also protection against our kids making fun of us for being out of the loop.
Since I teach high school, I’m more up-to-date than most adults about fashion, slang, and popular trends. In my deluded mind, this awareness keeps me young. But even with that added edge, I still feel like getting older is something to resist, both physically (who doesn’t love the gym?) and mentally (let’s make a video!).
Seriously, all the kids today make videos. It’s like they absorbed the skill in utero. When I was struggling to edit a clip, my son looked over my shoulder and shook his head. “No, Mommy. You have to press ‘split’ and then ‘detach.'” And he’s all of seven and a half. As far as I know, nobody’s taught him how to do this. He just knows, somehow.
Luckily, some of my knowledge transcends age, and making fudge is part of that. The best part about fudge is that it’s really hard to mess up. Unless, that is, the whole pan tips off the fridge shelf while setting. Yep. We’d best not speak of that.
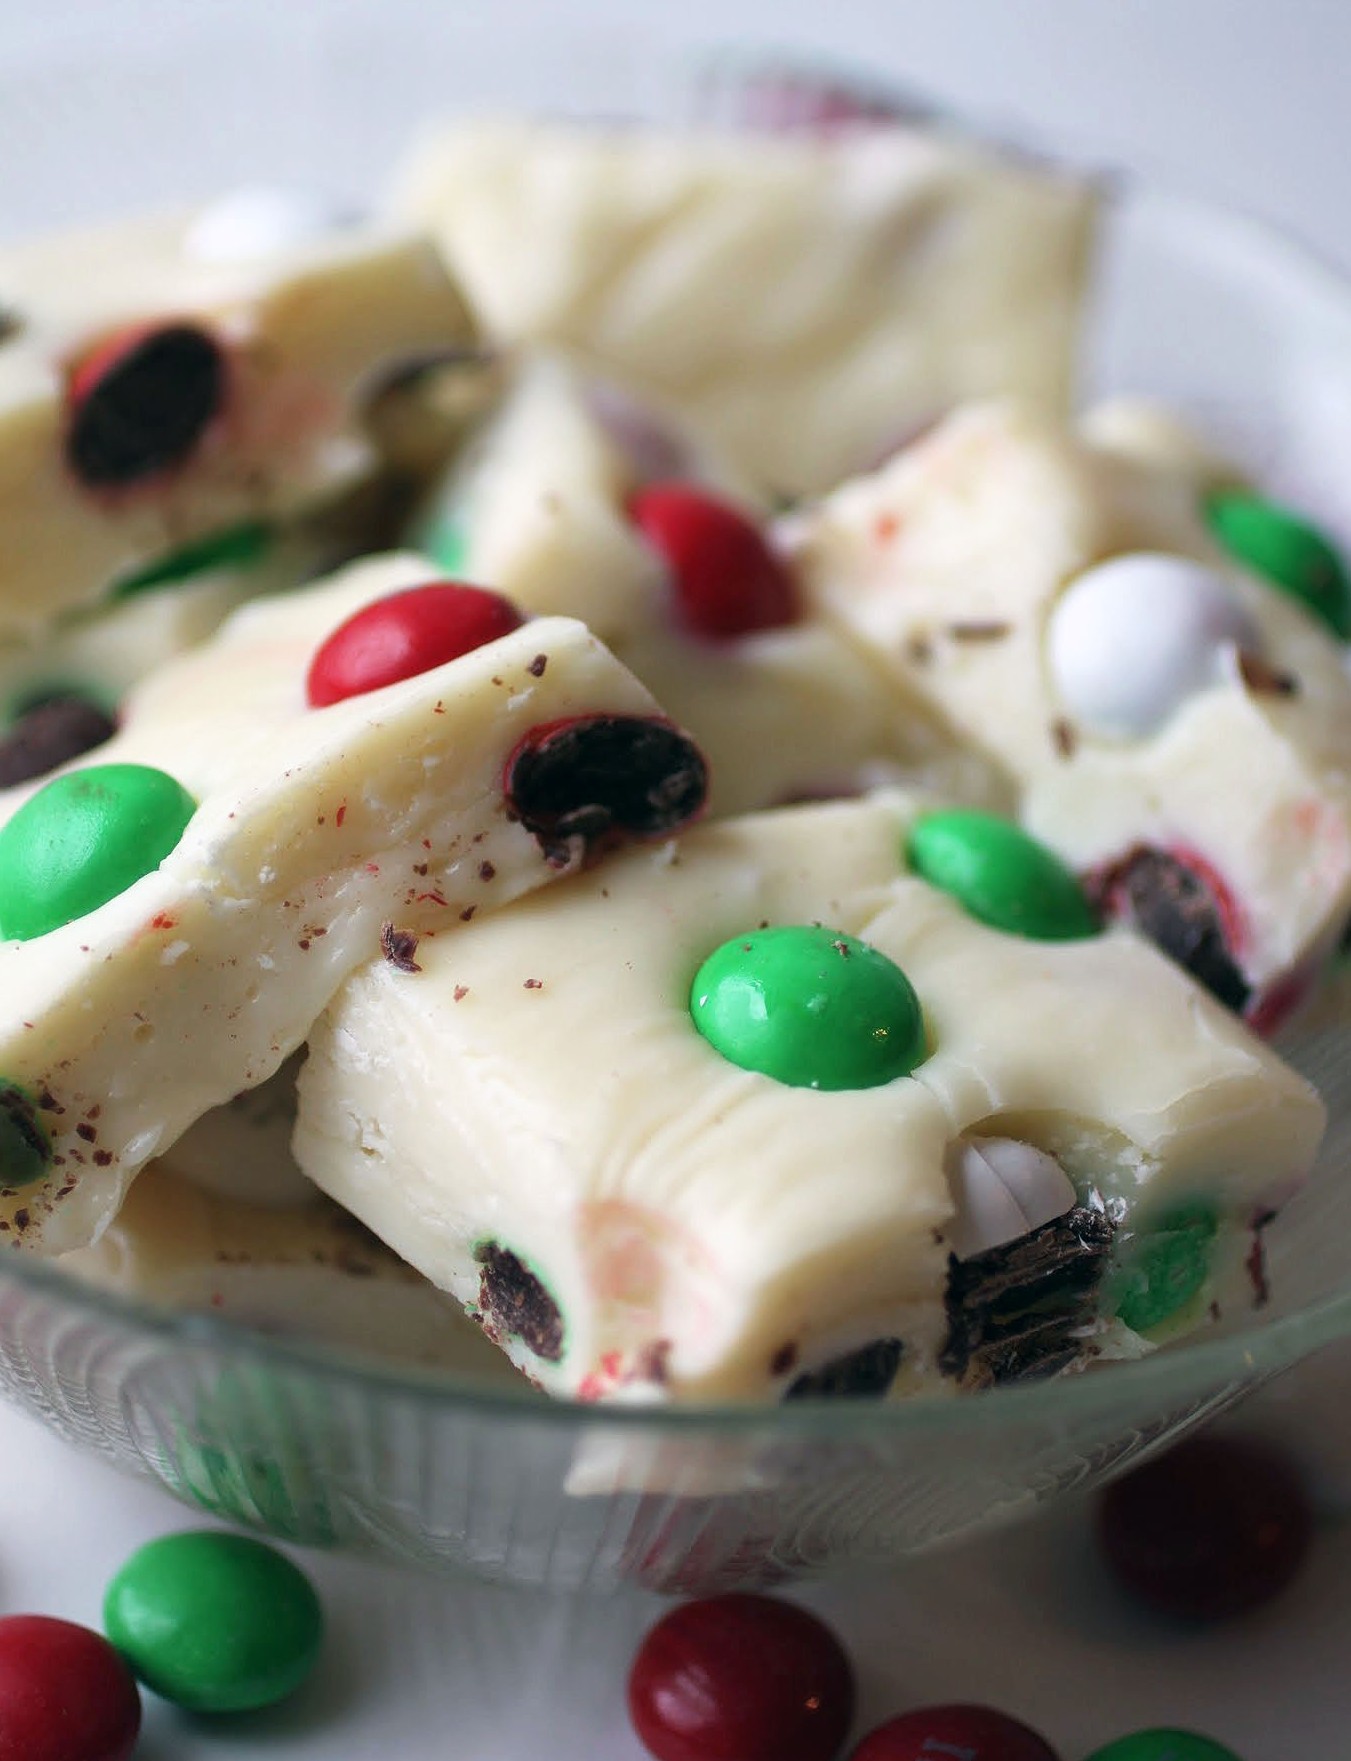
The only caution I’ll issue is that when you’re working with white chocolate, you can’t overheat it. It’s much fussier than regular chocolate and will seize up if you look at it funny. Its feelings are very tender. So in the recipe below, follow the instructions to the word. That’s right, creative soul out there who wants to tweak it! Do that next time. For now, just follow the leader.
I’m getting older, but I hope that means I’m getting wiser, too. I’m definitely learning as I go, and I hope that you feel the same. Life should be full of lessons, even the ones that are best left to the next generation to master. Let’s learn all we can while we have the chance!
Ingredients
Instructions
- Line an 8 x 8 pan with aluminum foil, using enough to hang over the sides. Coat with cooking spray. This will allow your fudge to release easily once it's set.
- In a microwave-safe bowl, melt the white chocolate chips and sweetened condensed milk together for exactly one minute. Remove the bowl from the microwave and stir the chocolate into the condensed milk vigorously until everything is melted and smooth.
- Add the M & Ms and mix them in gently, or the color will streak.
- Pour the mixture into your prepared pan. Even out the top with a spatula.
- Chill for three hours until set.
- Using a sharp knife, cut into small squares. Serve or store in an airtight container.
In case you haven’t figured it out by now, bar cookies are my absolute, all-time favorite treat.
Think about it: they’re delicious, easy, and very packable. Someone who bakes as much as I do needs to be able to transport baked goods without an epic fail, and bars are conducive to that. Whether I’m headed to holiday potlucks and parties or just to the office, bars are my jam.
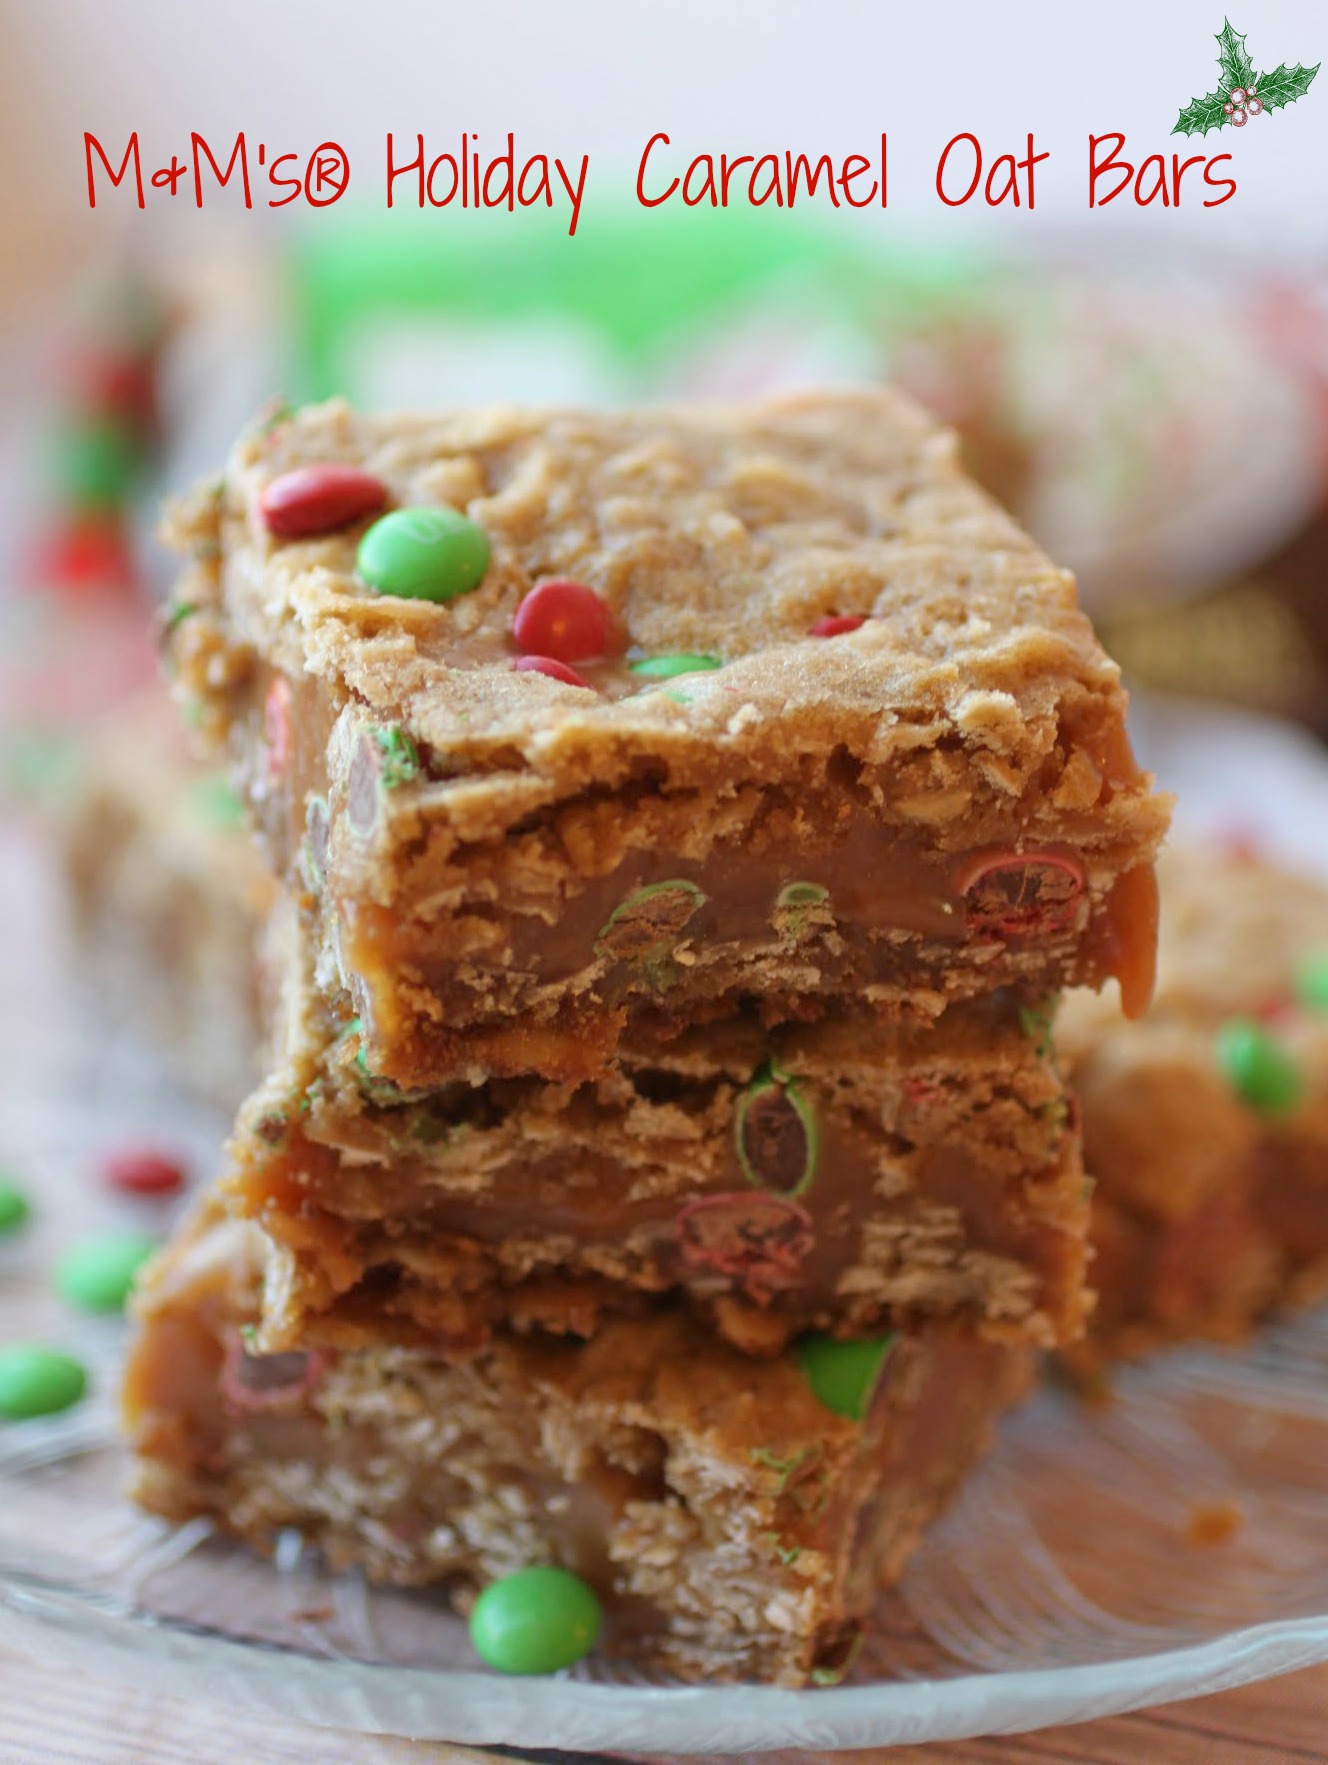
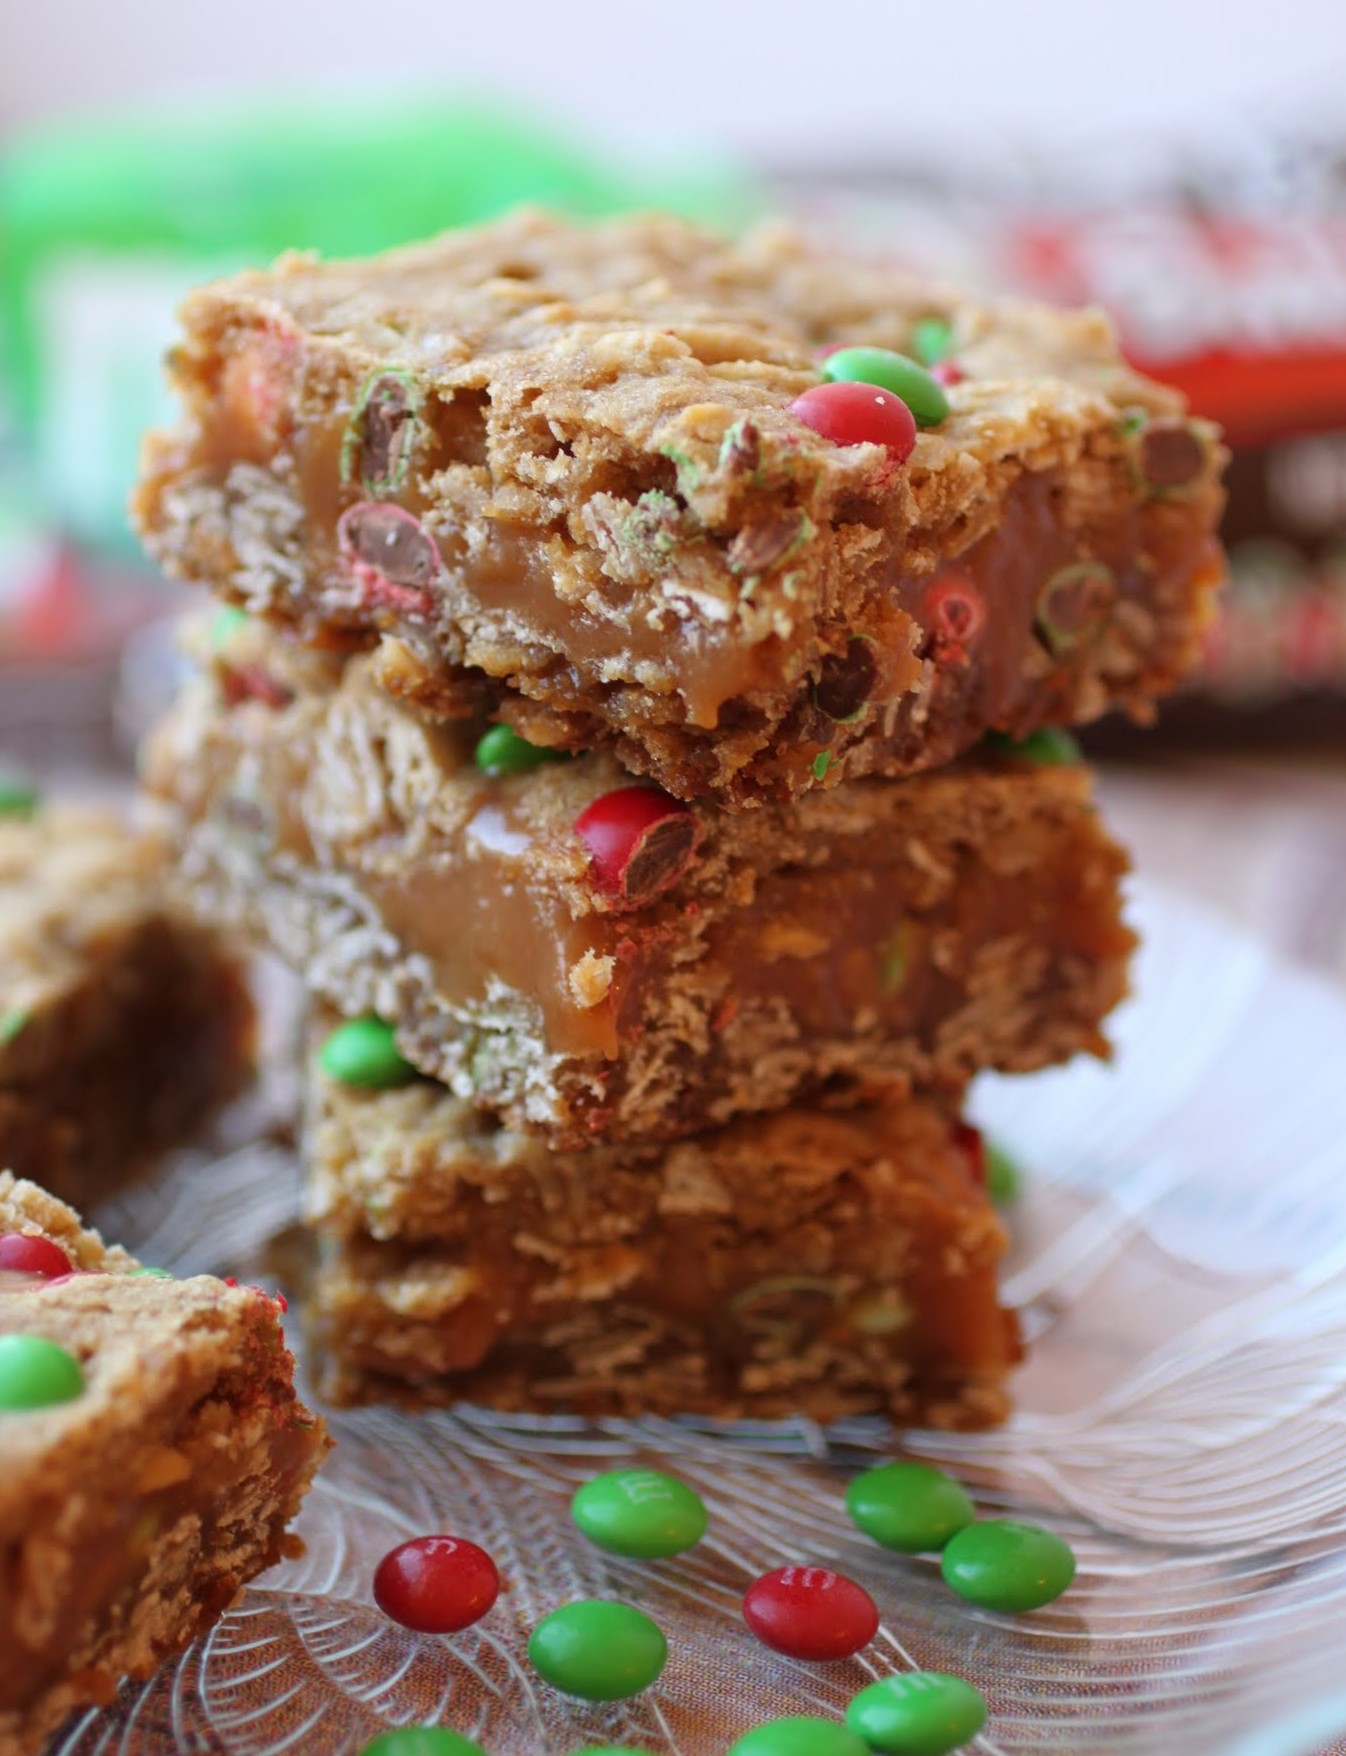
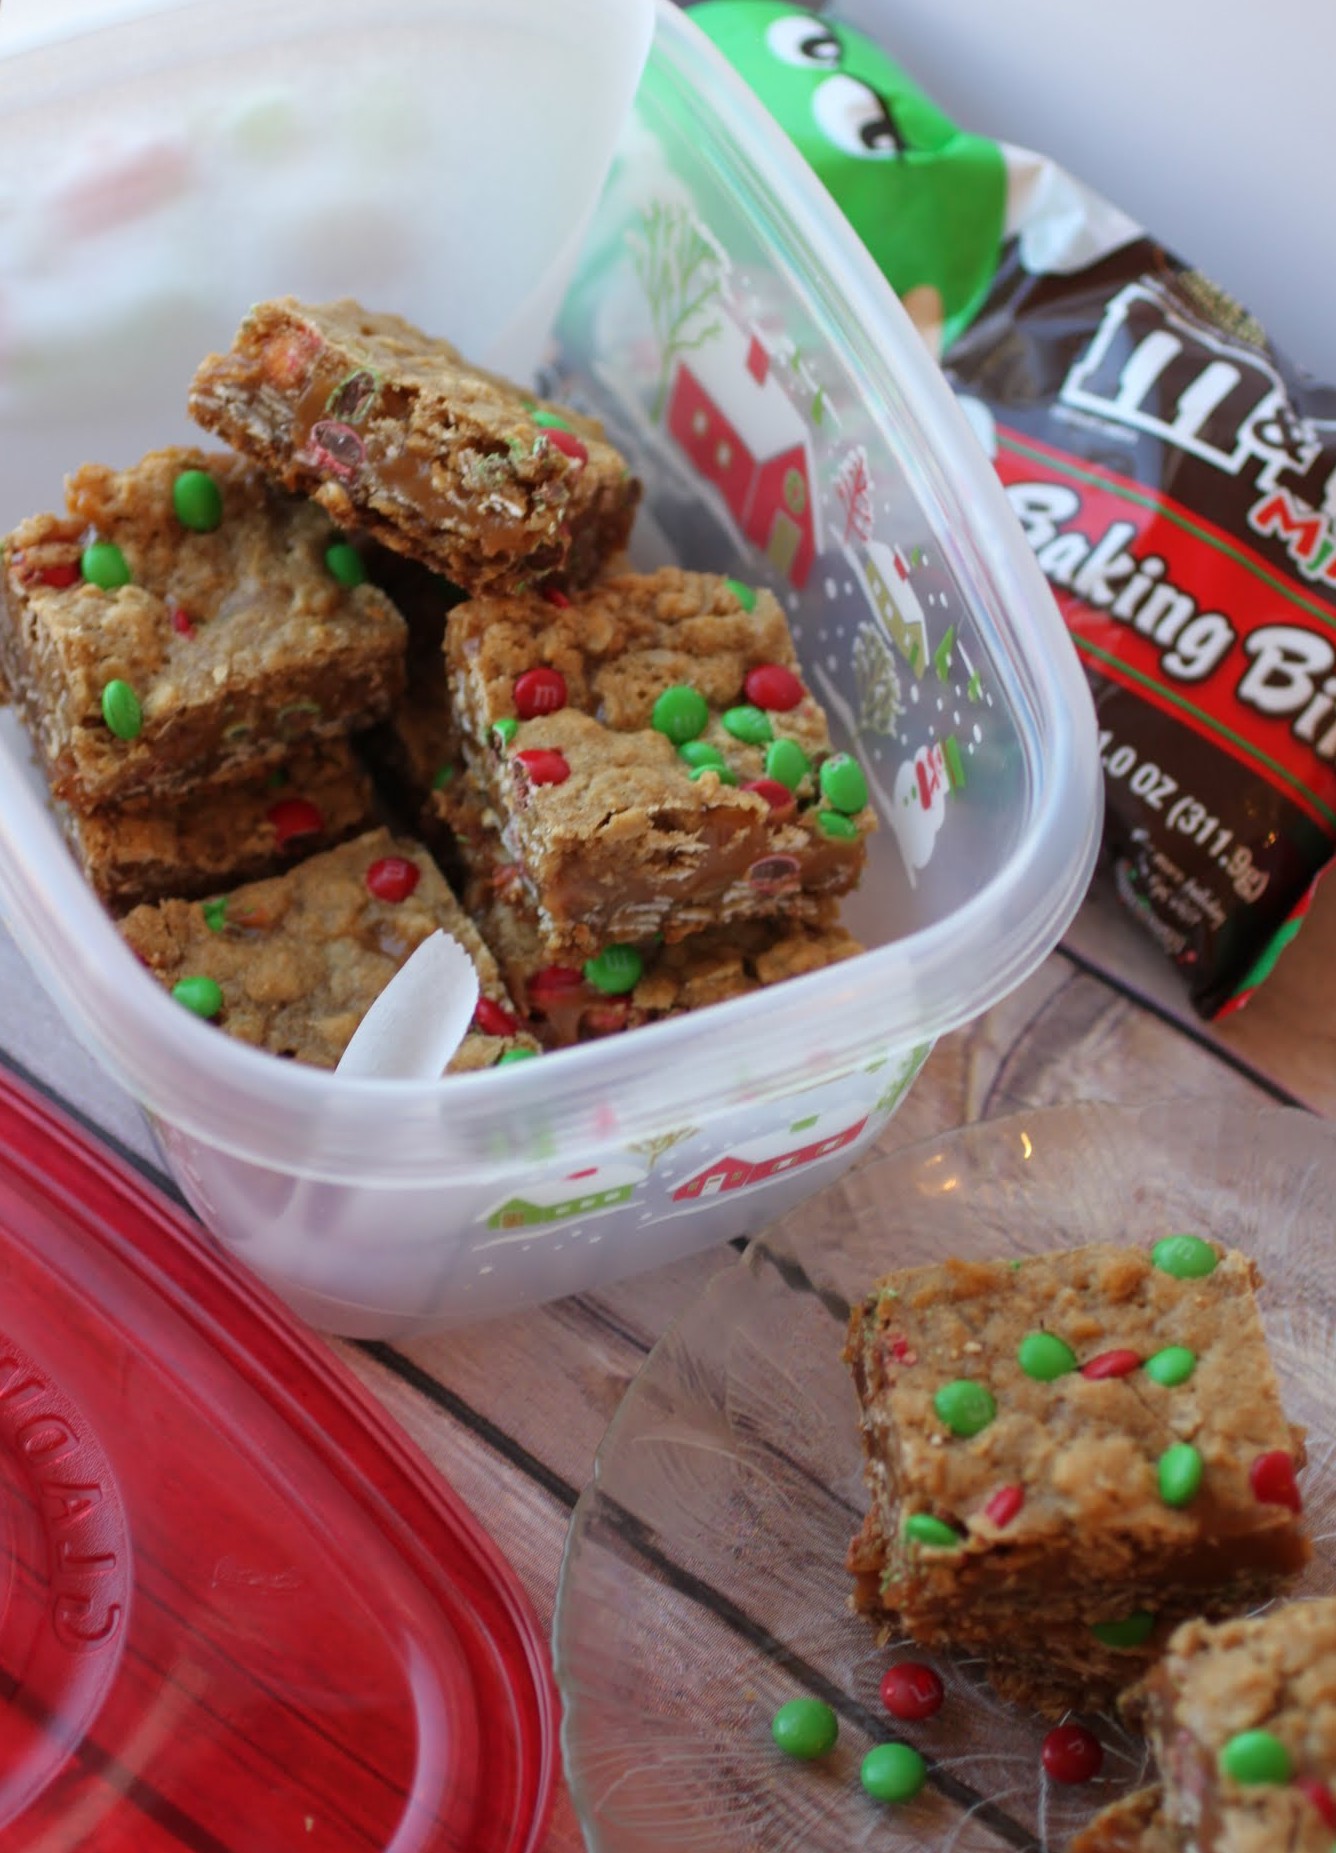
And these bars are the best. Two layers of oatmeal cookie dough ,sandwich a luscious caramel filling, all filled and topped with holiday M&M’s® bling. Who could ask for anything more?
Not me, that’s for certain. I’m trying to really focus on what’s important these days, and that can get hard when everyone is scrambling for holiday gifts. Let’s just say that while I happily shop for presents, I’m also happier when I can create memories that my children and I will share forever.
Some of my happiest memories are simple ones. For instance, I was fixing a seam the other day that had come unstitched, and my children sat there, watching me. I told them that even though I’m not much use at sewing, my grandmother taught me the basics. I’d go over to her house and she’d teach me. I still remember that when I was about eight years old, she and I made a little pink apron together for me. I still have it, put away for safekeeping.
Other memories of people long gone come flooding back at unexpected times. We would visit my grandparents in New York every year when I was young, and at the time, I was an early riser. My grandmother (this is the other one) would get up with me, meet me in the kitchen and make me breakfast. I’d sit at the kitchen table with my juice and peanut butter sandwich (breakfast of champions!) and watch her bustle around, getting ready for the day. I never realized back then how tired she must have been, and how irritating it was to be up before everyone else with just a child for company. But she did it without complaining.
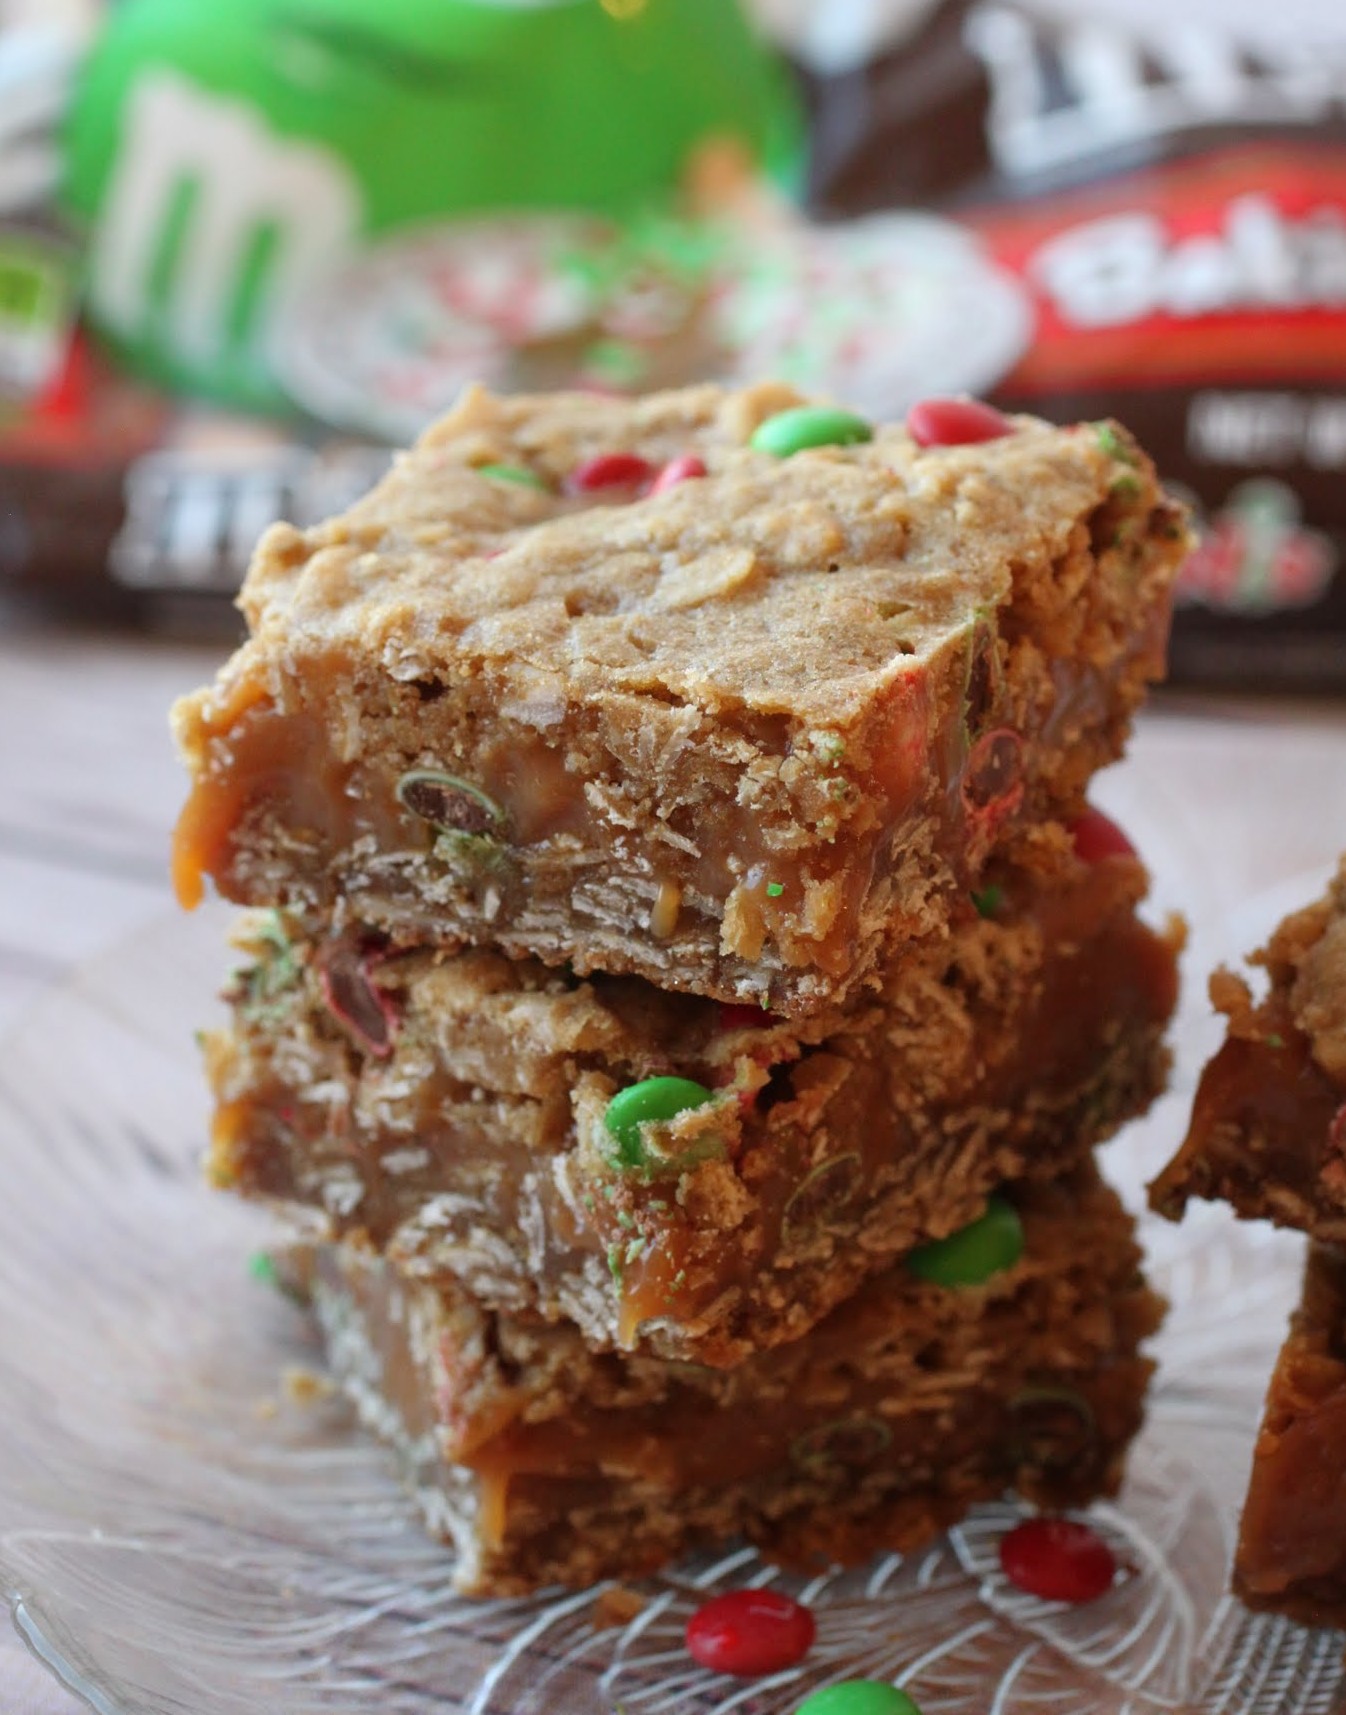
While I hope that someday my children cherish happy memories of our time together, I can’t take any of that for granted. My children don’t really owe me anything at all. Instead, it’s my job to give them the best possible life with a string of wonderful moments. Baking together is one way that I can do that. We like to raid the holiday section at Target to get all the ingredients we need in fun holiday packaging, like Quaker Oats (which is available in holiday packaging at Target) and Glad®!
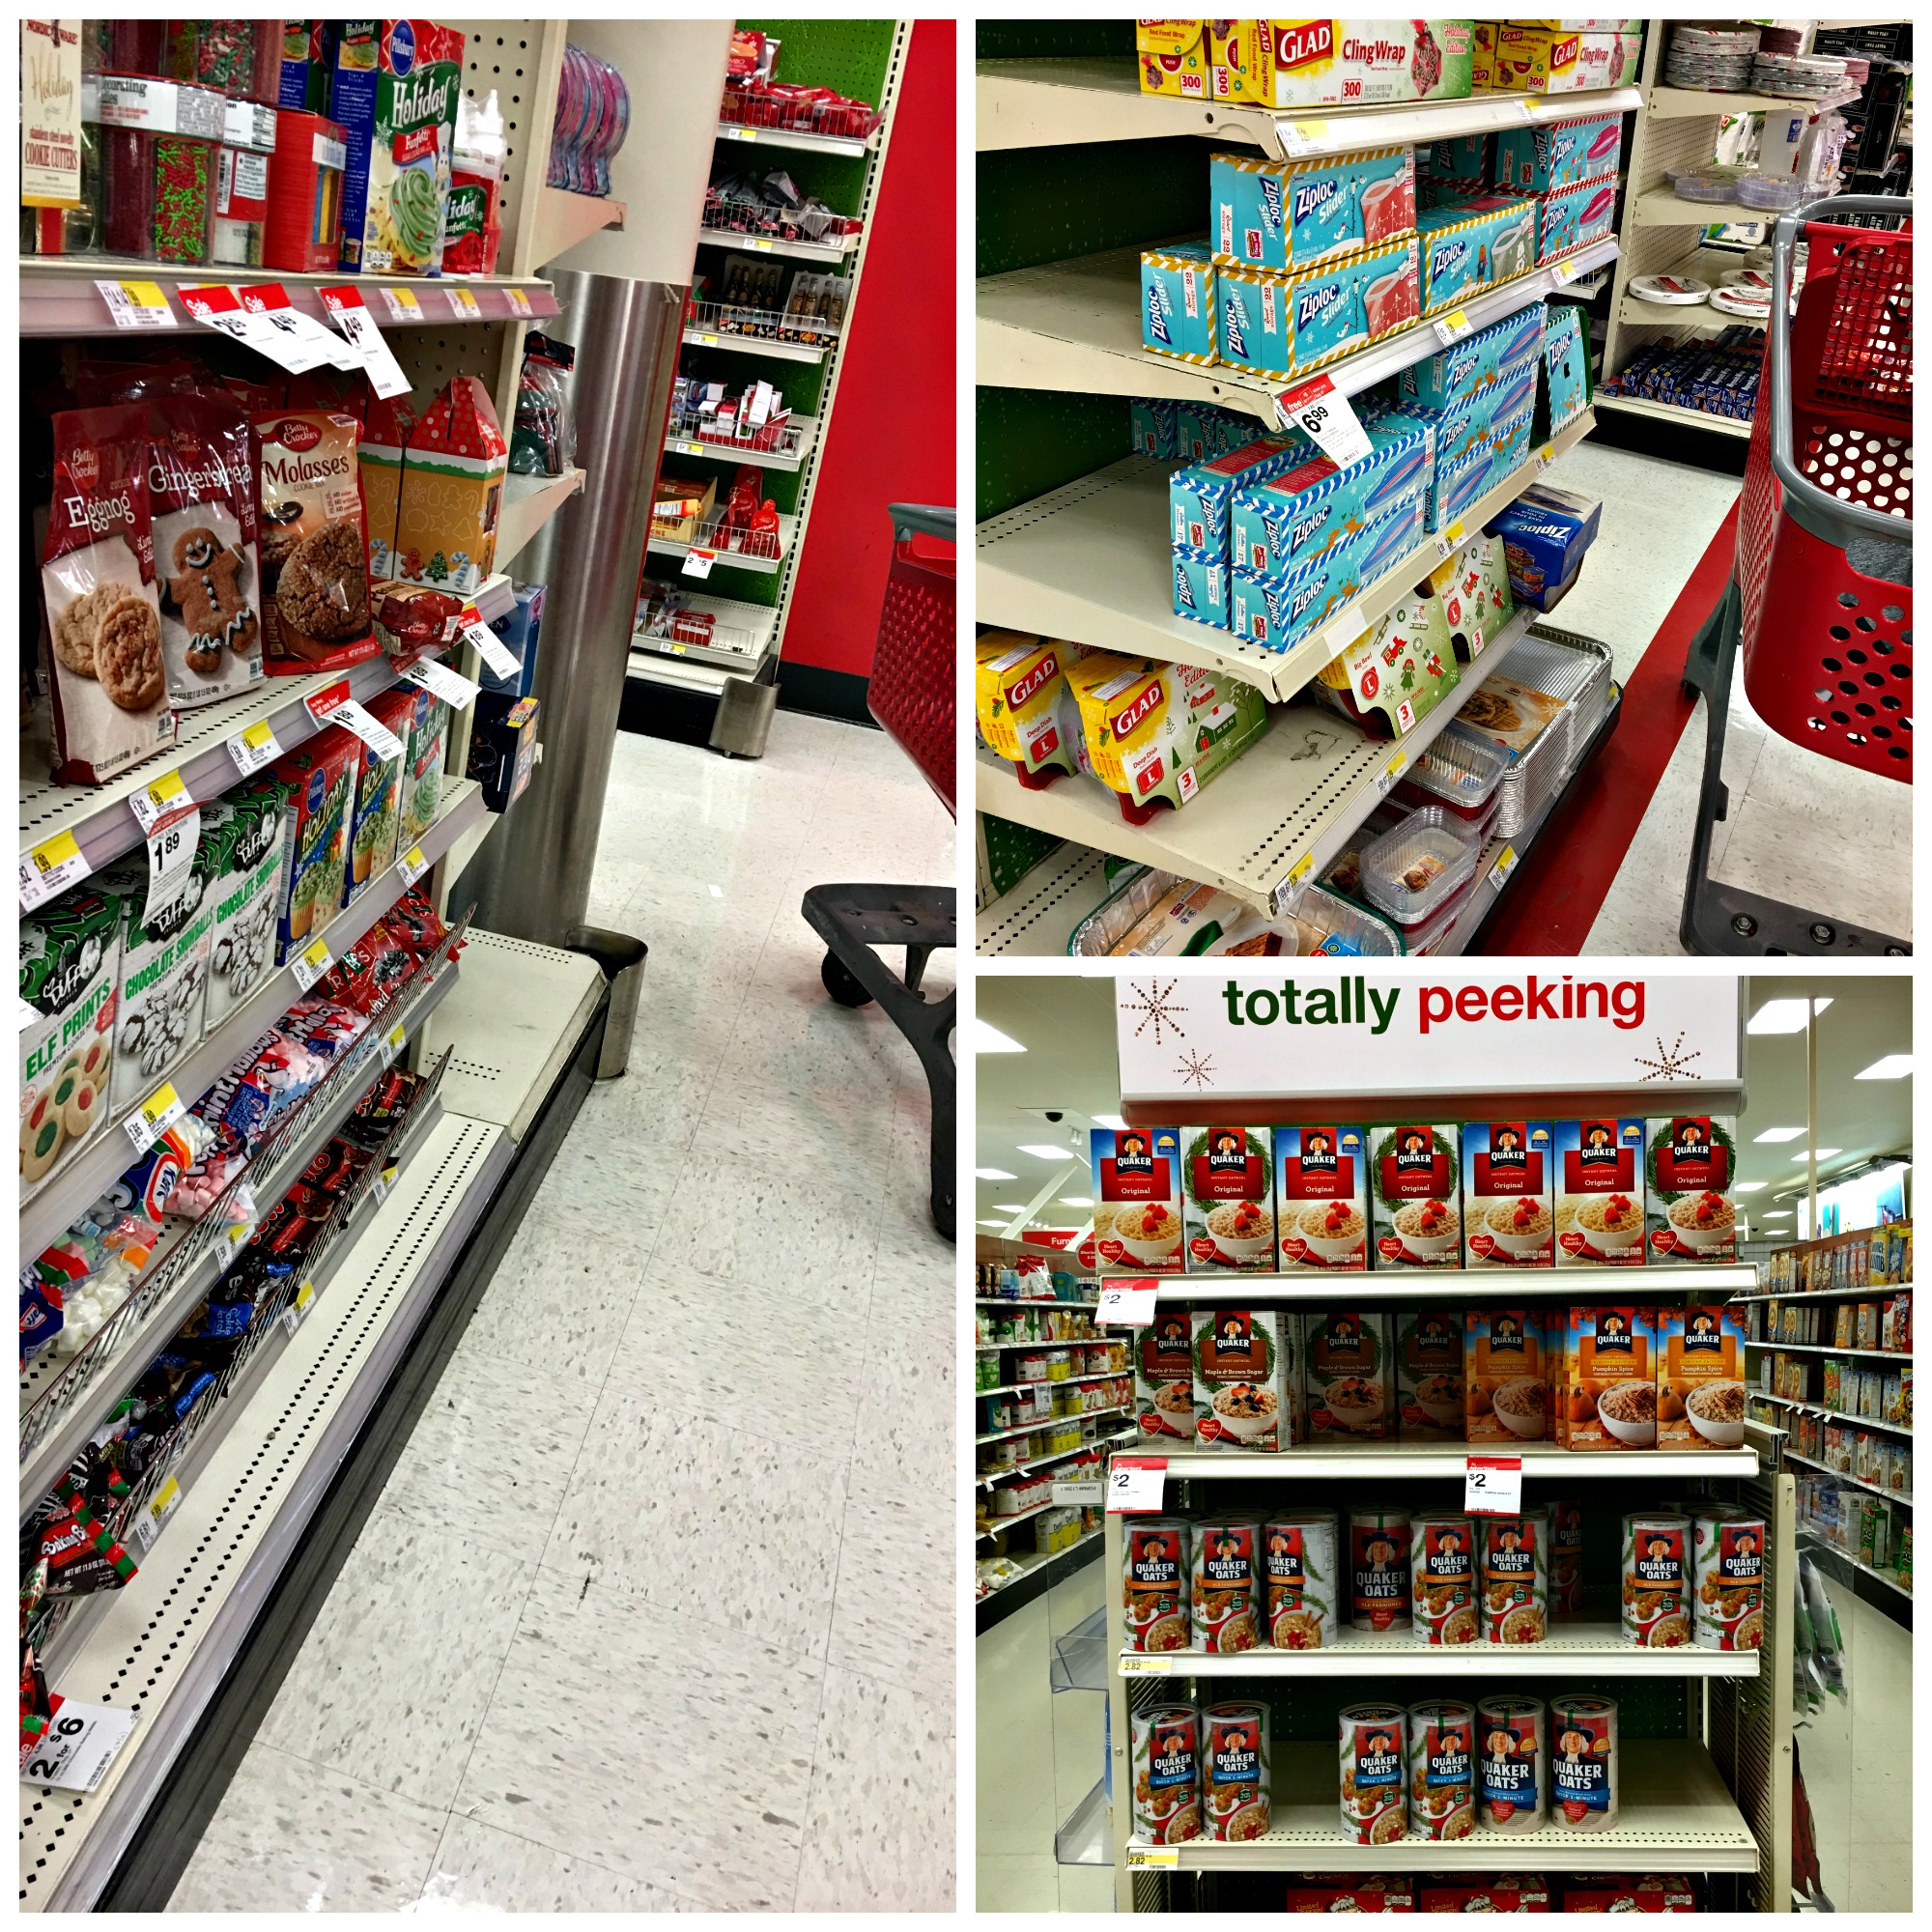
This recipe is beautiful in its simplicity, making it perfect for bonding sessions with kids. Mine love to dump in the ingredients, and they also help me pat the dough into the pan. It makes them nice and sticky. But by far, their favorite part is sprinkling those M&M’s® Holiday Baking Minis on top before baking. I mean, they get to eat as they sprinkle. I join them!
When we’re done baking, we let the bars cool, cut them into squares and pack them in Glad® Holiday Packaging containers. They’re so festive, and they let a whole batch of bars pack up tightly and efficiently.
All of my favorite holiday memories involve loved ones teaching me how to pass on traditions and skills to my own children, and I hope you feel the same way! For savings on great products like Quaker Oats, Glad®, and Mars as well as inspiration about making memories in baking, check this out!
Ingredients
Instructions
- Preheat the oven to 350. Line an 8-inch square baking pan with foil and coat with cooking spray. Set aside.
- In a bowl, combine the oats, flour, baking soda and salt. Set aside.
- Cream the butter and sugar until light and fluffy. Add the egg and vanilla and mix again. Gradually add the oat mixture, beating each time until the dry ingredients are fully incorporated.
- Press half of the mixture (it will be sticky) into the prepared pan, using a spatula coated in cooking spray to create a thin, even layer of dough.
- Bake for 10 minutes.
- While the bottom layer is baking, make the caramel filling. In a saucepan, melt the caramels and heavy cream over medium heat, stirring constantly until the mixture is smooth.
- When the bottom layer is out of the oven, sprinkle half of the M&M's® Holiday Baking Minis onto the base. Carefully and gently add the caramel and spread it over the surface of the bars. Take the remaining cookie dough and place it on top. It will not cover the entire surface, and that's okay. Just be as even as possible.
- Take the remaining M&M's® Holiday Baking Minis and sprinkle them over the top. Return the bars to the oven for an additional 15-20 minutes until the top is golden and nearly set.
- Cool the bars completely. Using a sharp knife, cut them into squares. Arrange the cooled bars in a Glad® Holiday Packaging container.
]]>
In a week or so, my kitchen will be overflowing with pans of fudge. I’ve been known to have 20 pans sitting on my counters, getting sliced up and mixed into assortments for family and friends. Somehow, everyone always looks forward to fudge with so much excitement that I have a hard time gifting anything else.
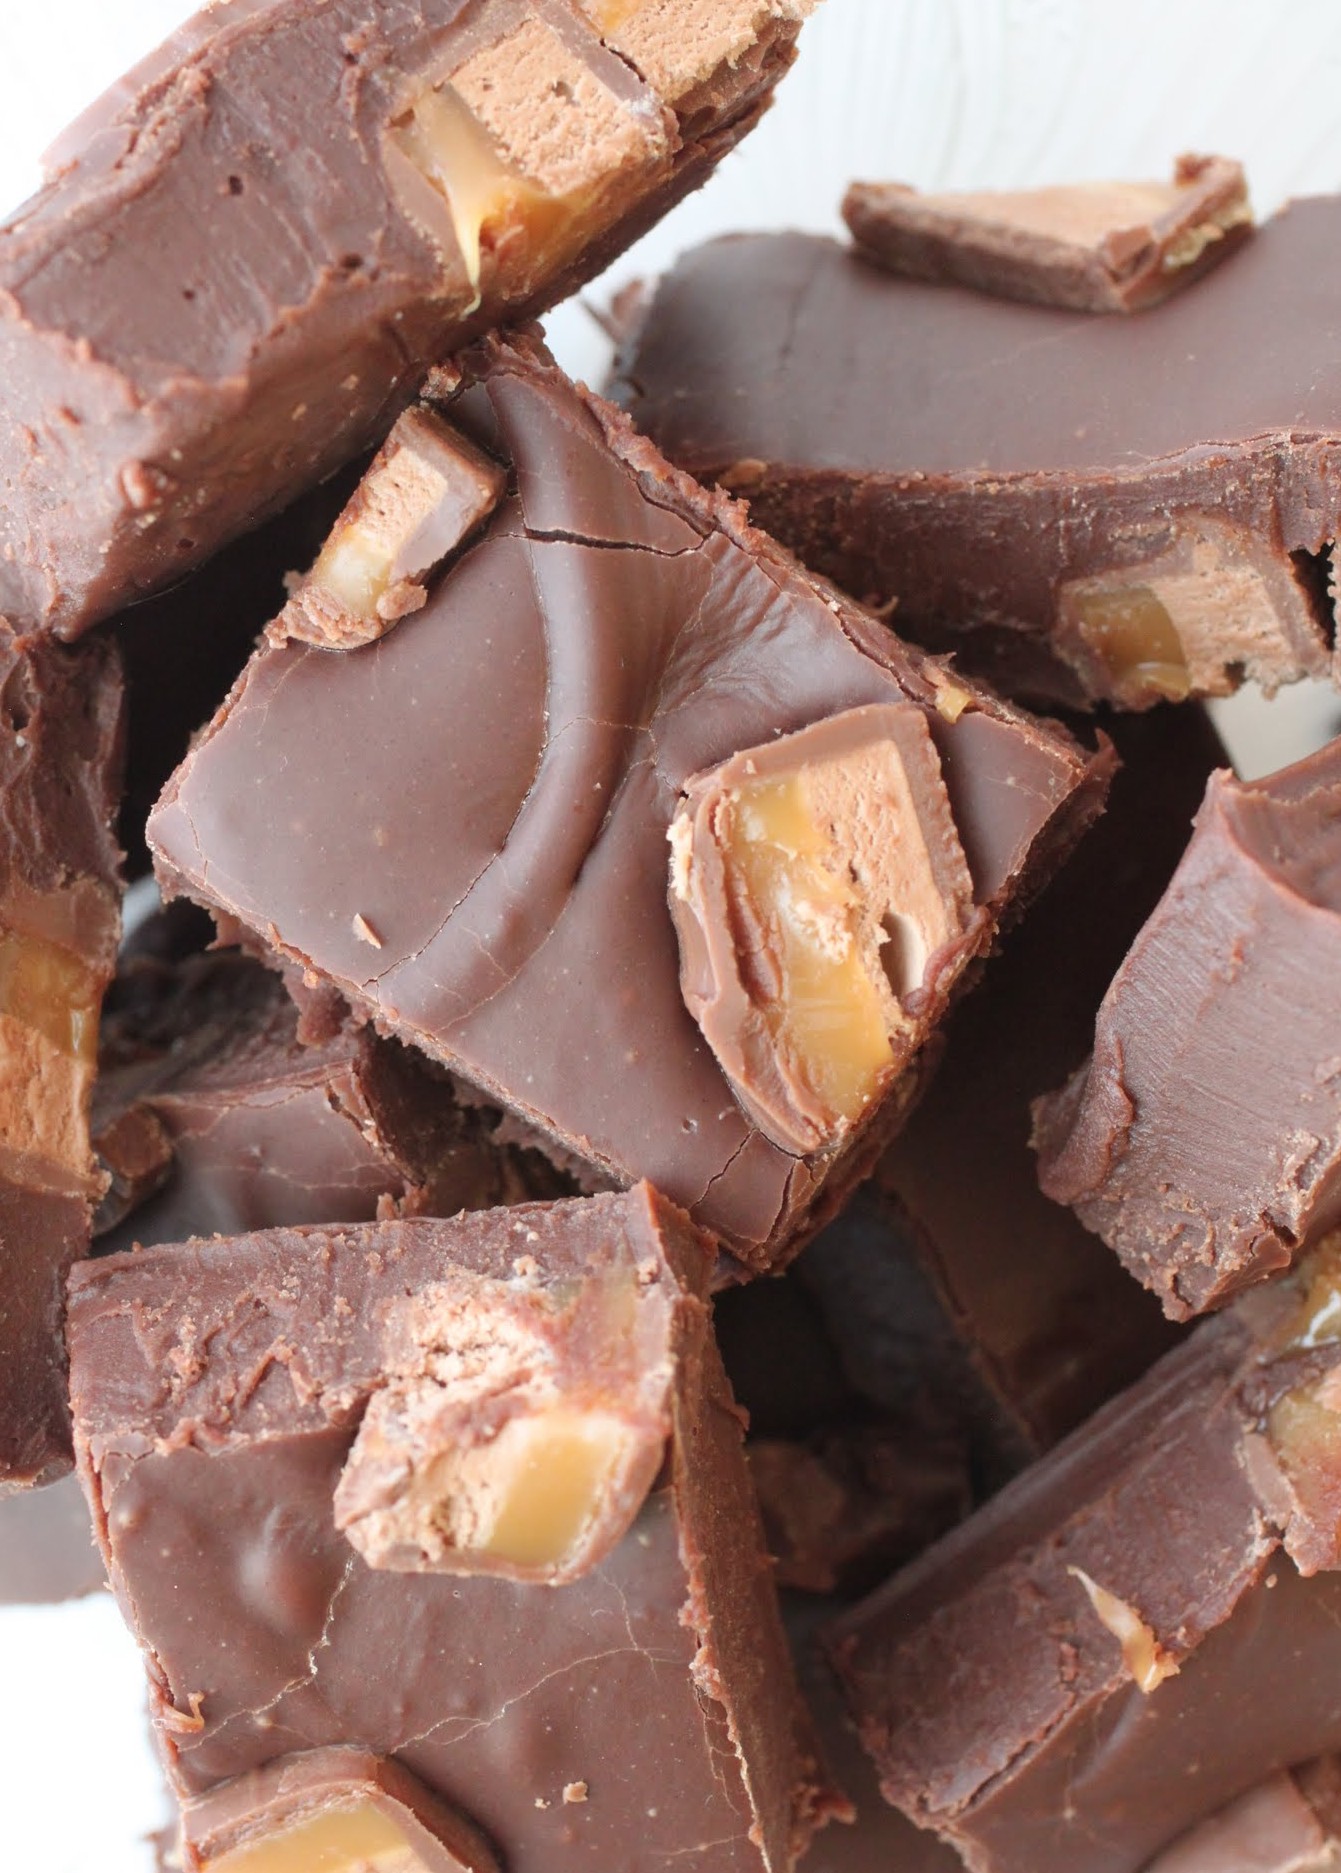
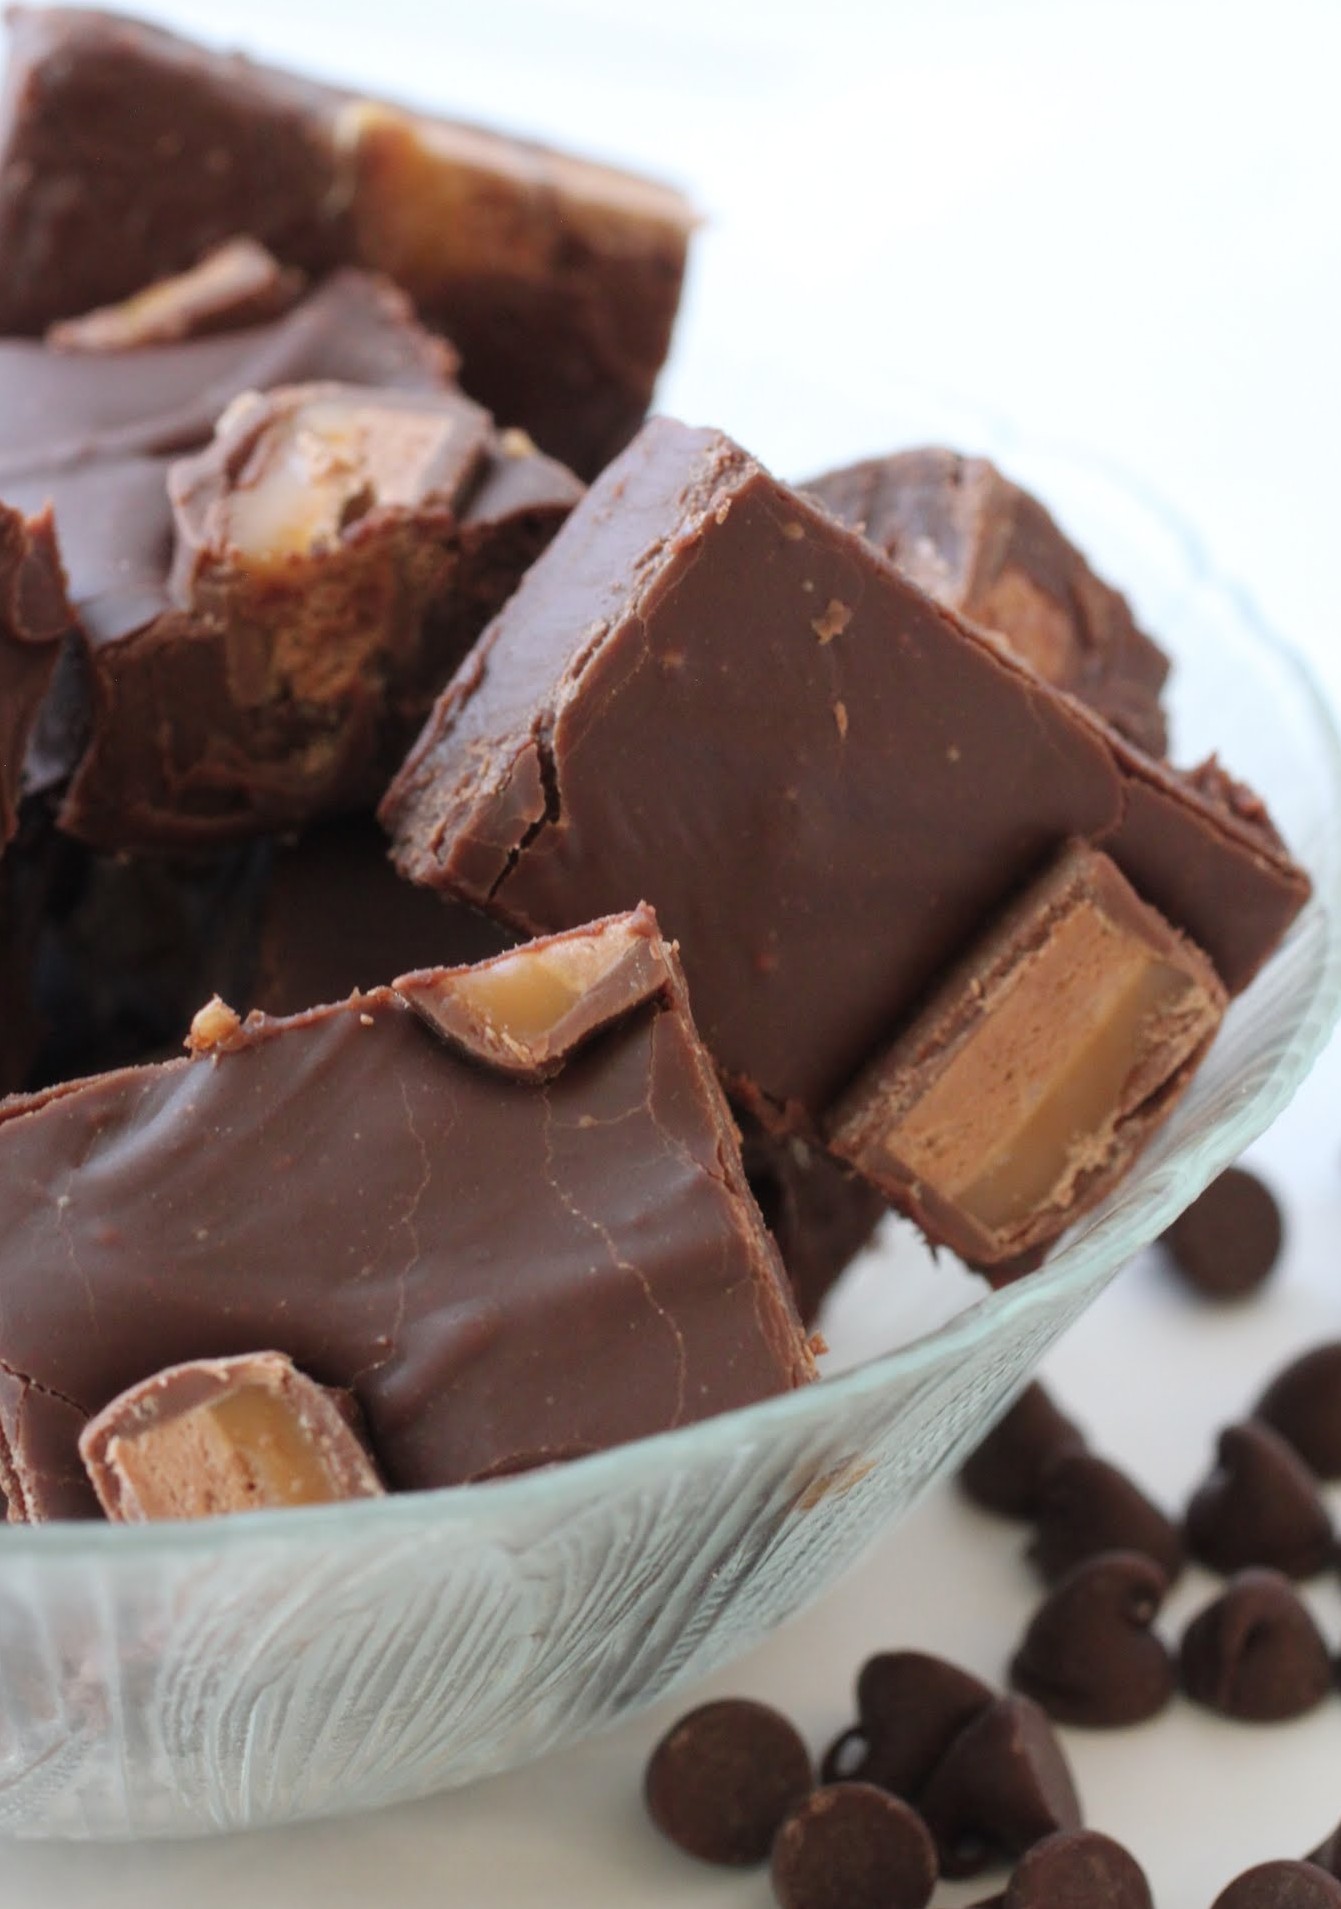
As long as we’re talking holidays, I might as well admit that I have some leftover Milky Way bars left over from Halloween. Or I should say, I had some. Now they’re all in this fudge!
Yesterday I had the most epic of baking fail days. We’ve all had them, and we pray that they’re few and far between. With this one, I actually wound up on the kitchen floor sobbing, while my daughter patted my back and said, “Mommy, just do it again.”
The “it” she was referring to was the cake I made three times in one day. Three. And it was a delicious cake all three times, but it seemed reluctant to get out of the pan without crumbling. On the final try, I was smart enough to use a different pan.
Still, by the time all was said and done, I was covered in a bag of flour (which exploded without any provocation whatsoever), there was a sink piled high with spatulas and mixing bowls, and I’d gone through a couple of pounds of butter. Thank heaven I know people who will eat the failed cakes so they don’t go to waste.
At the end of the day, the kitchen was clean, I had two packaged cakes ready to head to work, and one that didn’t fail. While I was proud of myself for not giving up, it was still way too tempting to stay on the kitchen floor and eat chunks of ugly failed cake.
We all have bad days, and I’m just lucky that when they happen, I have kids to pat me on the back and Kenny to play with them so I can keep on keeping on. Otherwise, the whole operation might fold and crumble.
In all my years of baking, fudge has never let me down, and I don’t expect it to. I love it too much, and I hope the feeling is mutual.
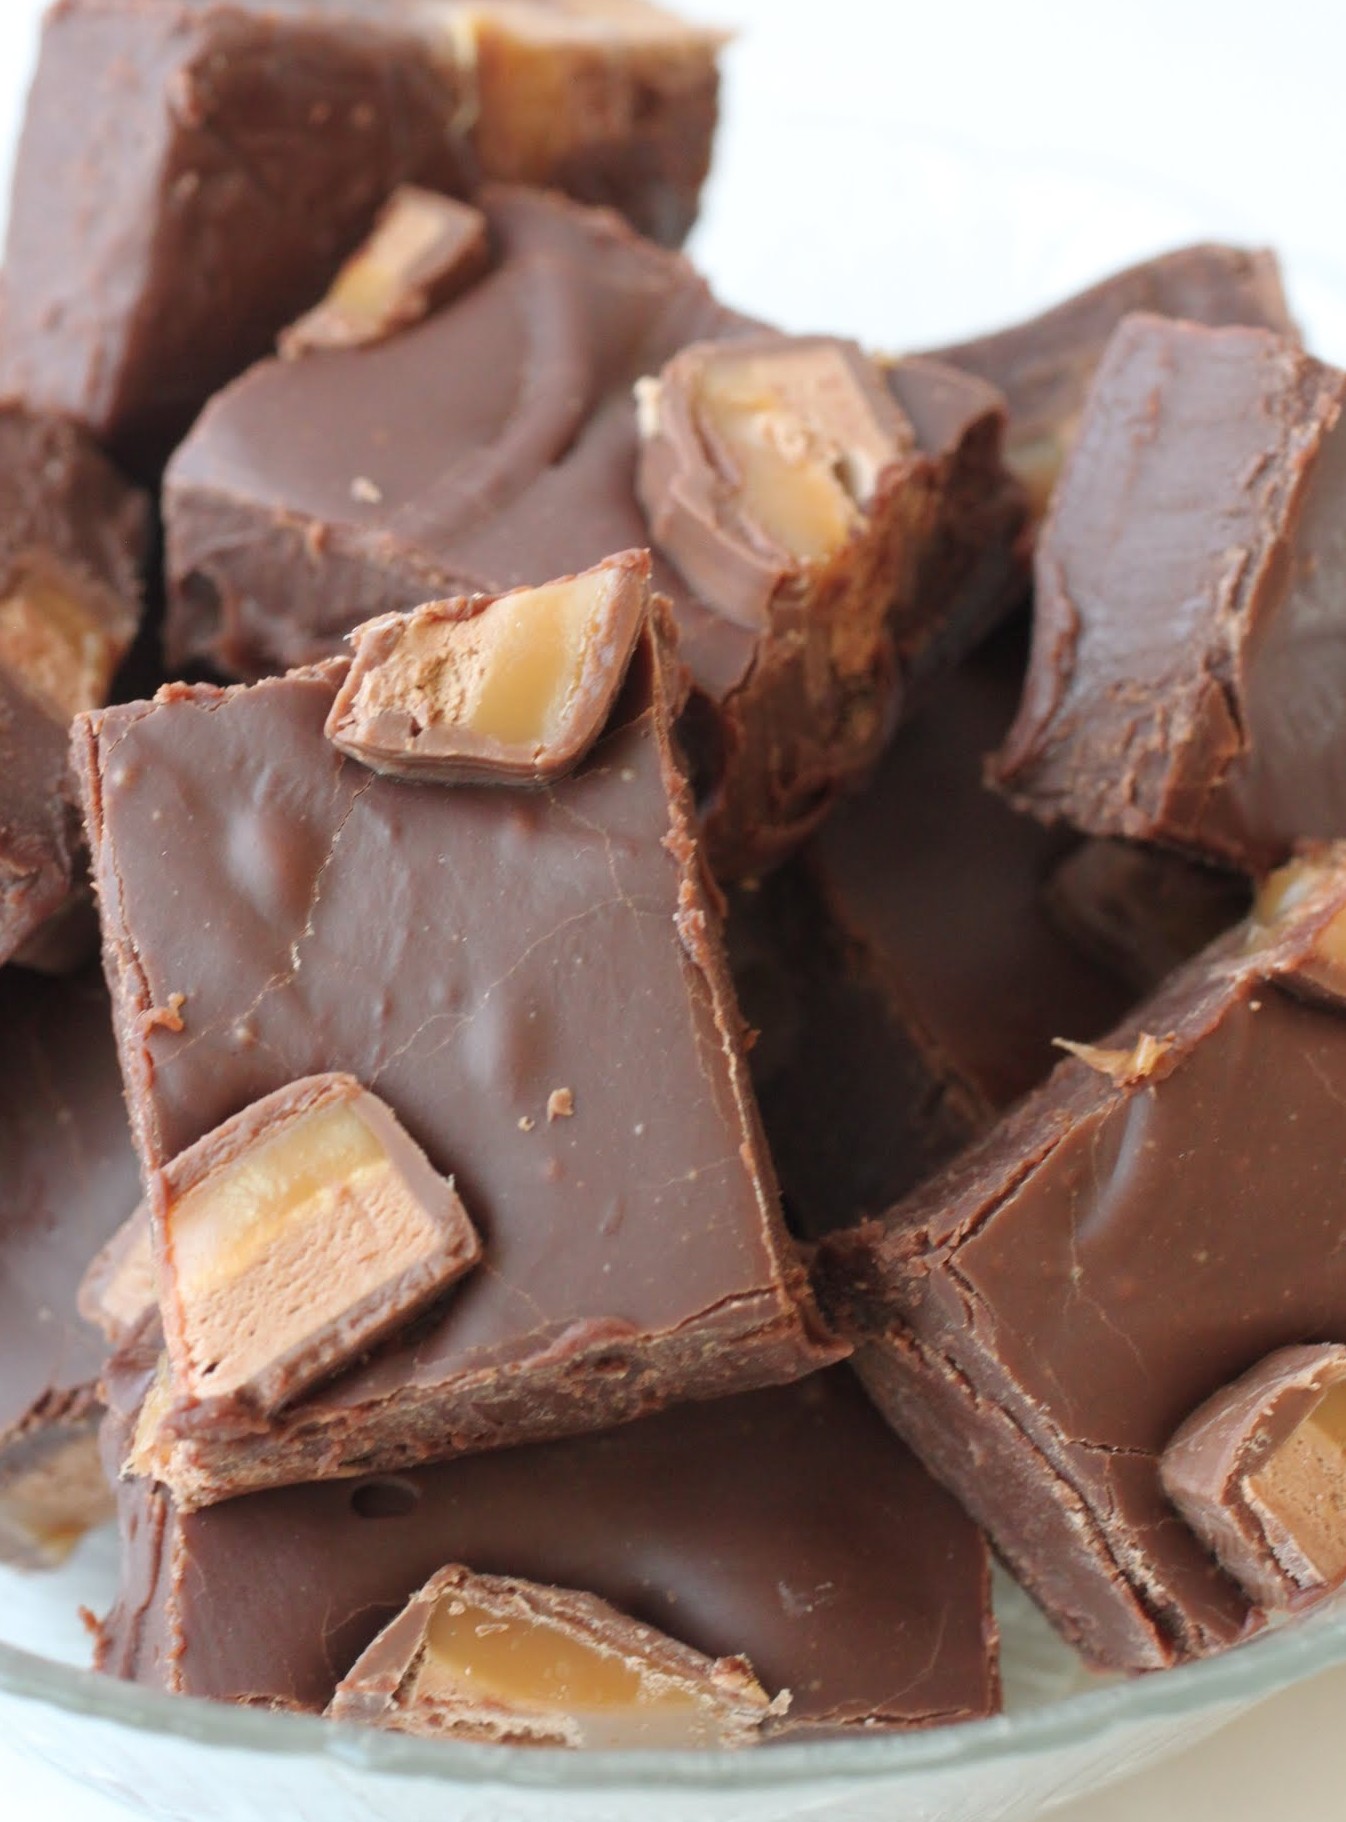
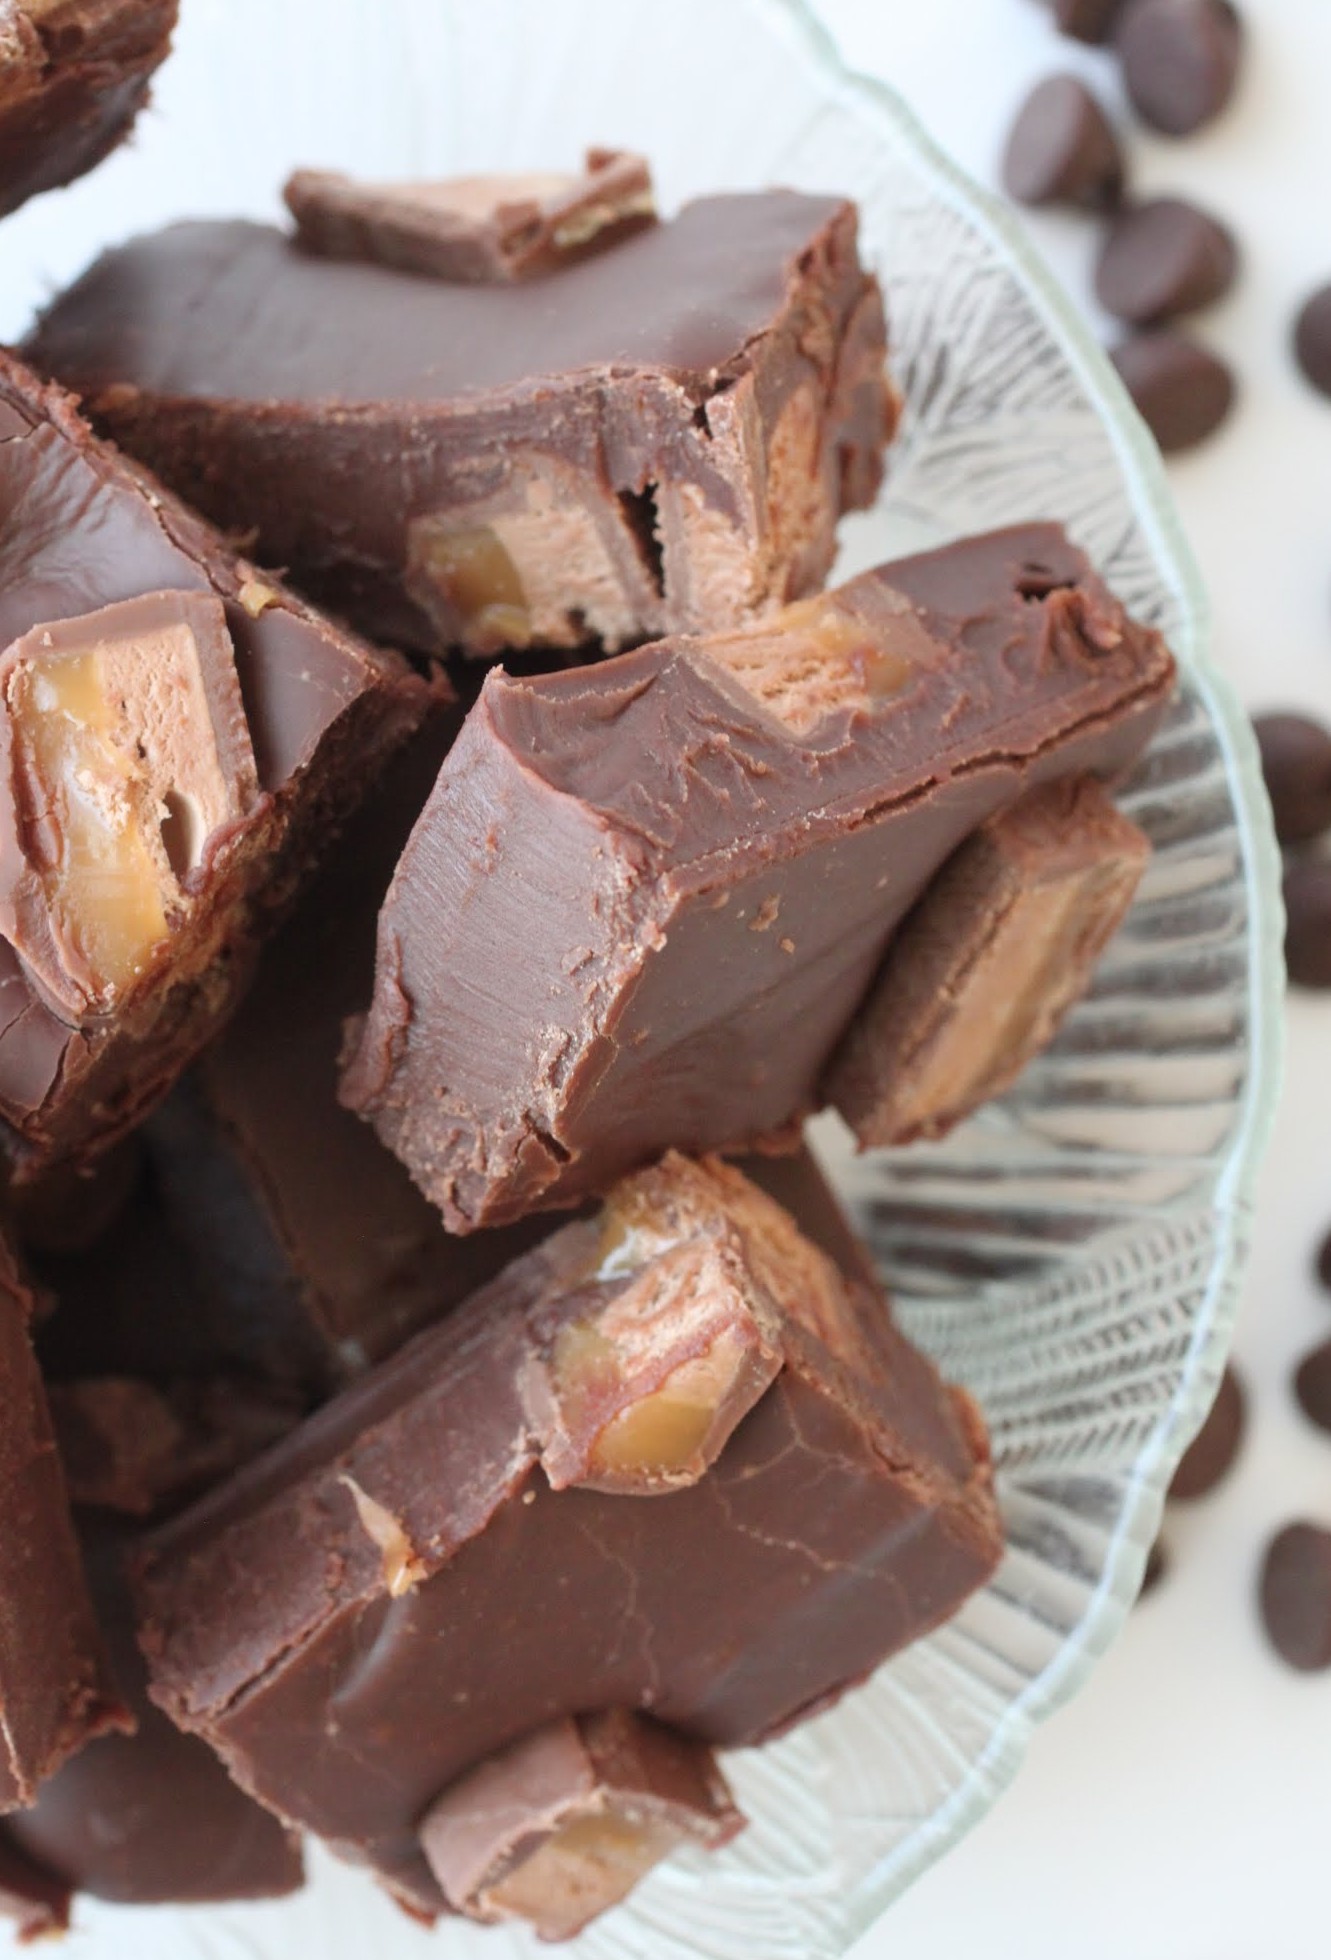
When you make this, be sure to use milk chocolate chips. Anything darker wouldn’t work as well with the creaminess of the Milky Way bars. And also be sure to layer half of the candy bars on the bottom evenly, to ensure a wonderful bite of Milky Way from top to bottom.
As the holidays near and our baking frenzies reach fever pitch, we’re all bound to have a few failures. I hope it doesn’t happen, but if it does, roll with it. Or cry on the kitchen floor, whichever suits you. The important thing is to eventually get up and keep baking!
Ingredients
Instructions
- Line an 8 x 8 pan with aluminum foil, using enough to hang over the sides. Coat with cooking spray.
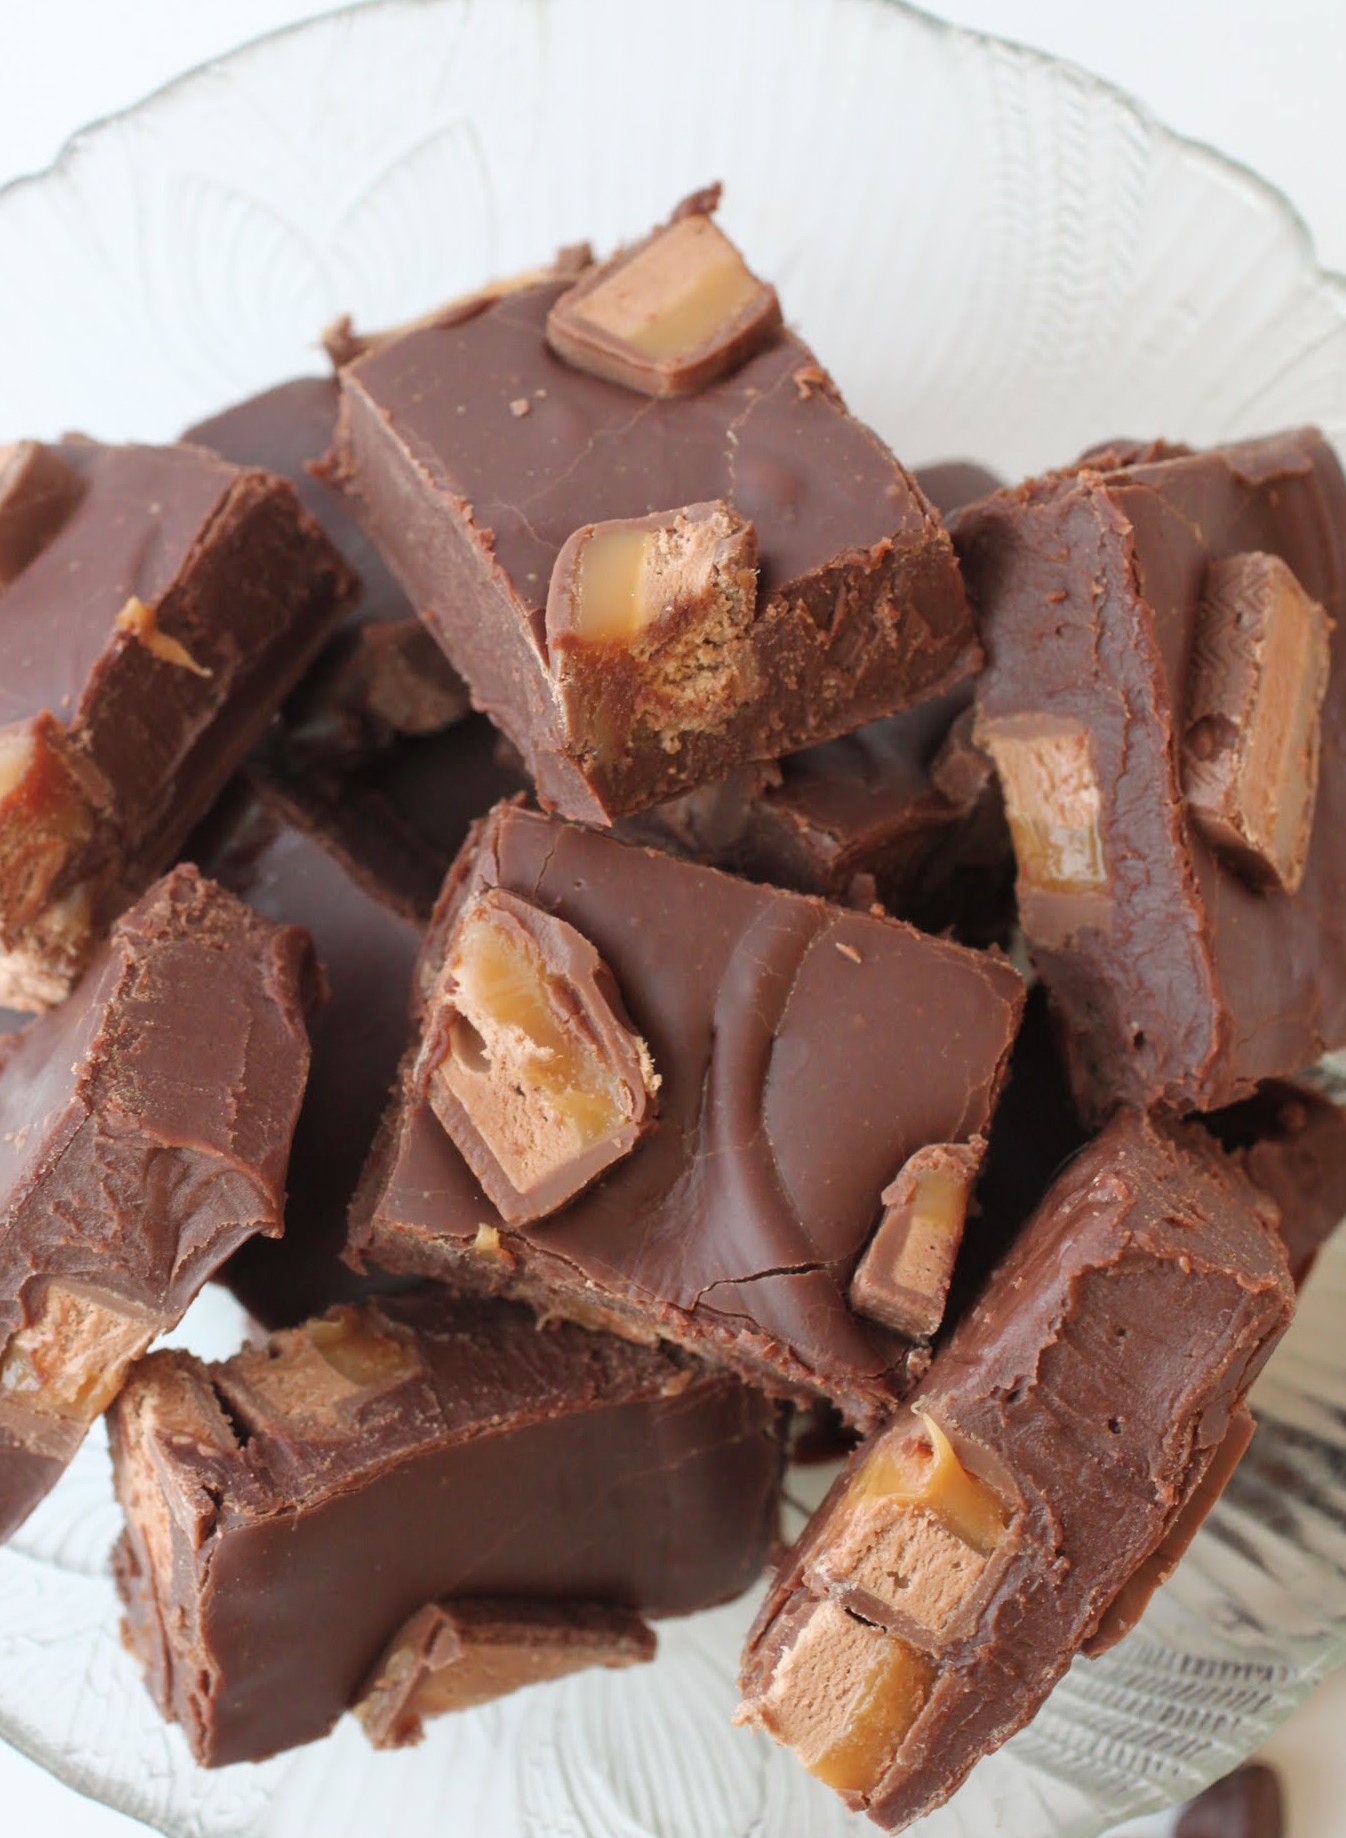
- Layer half of the chopped Milky Way bars evenly along the bottom of the pan. Set aside.
- In a microwave-safe bowl, melt the chocolate chips and sweetened condensed milk together for two minutes.
- Remove and stir until smooth. Spread the fudge carefully over the Milky Way bars in the pan. Press another layer of Milky Ways on top of the chocolate fudge.
- Chill for 2-3 hours until set. Allow to come to room temperature. Cut into squares. Store in an airtight container.
]]>
Time does speed up as we age. See, when we’re little, a month seems like forever because our lives have been pretty short. A six year-old will spend what seems like decades waiting for her birthday because, relatively speaking, a year is a huge percentage of her life. That’s not at all true for a thirty-six year old, for whom a year is a much smaller percentage of life. And by the time anyone reaches much older age, time whizzes by because the majority of years spent alive vs. any time increment is much larger.
Do I sound like a total nerd here? You caught me. I am a nerd about a lot of things, like Shakespeare, Star Trek, and getting older. Getting older scares me, and the faster time goes, the more my existential dread rears its ugly head. But since I’m also a baking nerd, I can use my prowess in the kitchen to provide some much-needed distraction from time’s unyielding march onward.
This might be the second peanut butter recipe I’ve posted this week, and do I care? Nope. I have a healthy, gluten-free carrot muffin arriving Friday to atone for my peanut butter sins. But for now, you’ll have to live with my addiction to all things peanut butter. This recipe actually came out of a sick day my son spent with me.
Kids get mysterious viruses, especially in the summer. For the past couple of days, my son has been home, languishing on the couch like a Victorian-era heroine. He has his blanket, his books, his pencils and pens, and a bottle of cool water by his side. He’s pretty much been ignoring them all, not to mention avoiding all food and television. When they don’t ask for TV, I know they’re sick.

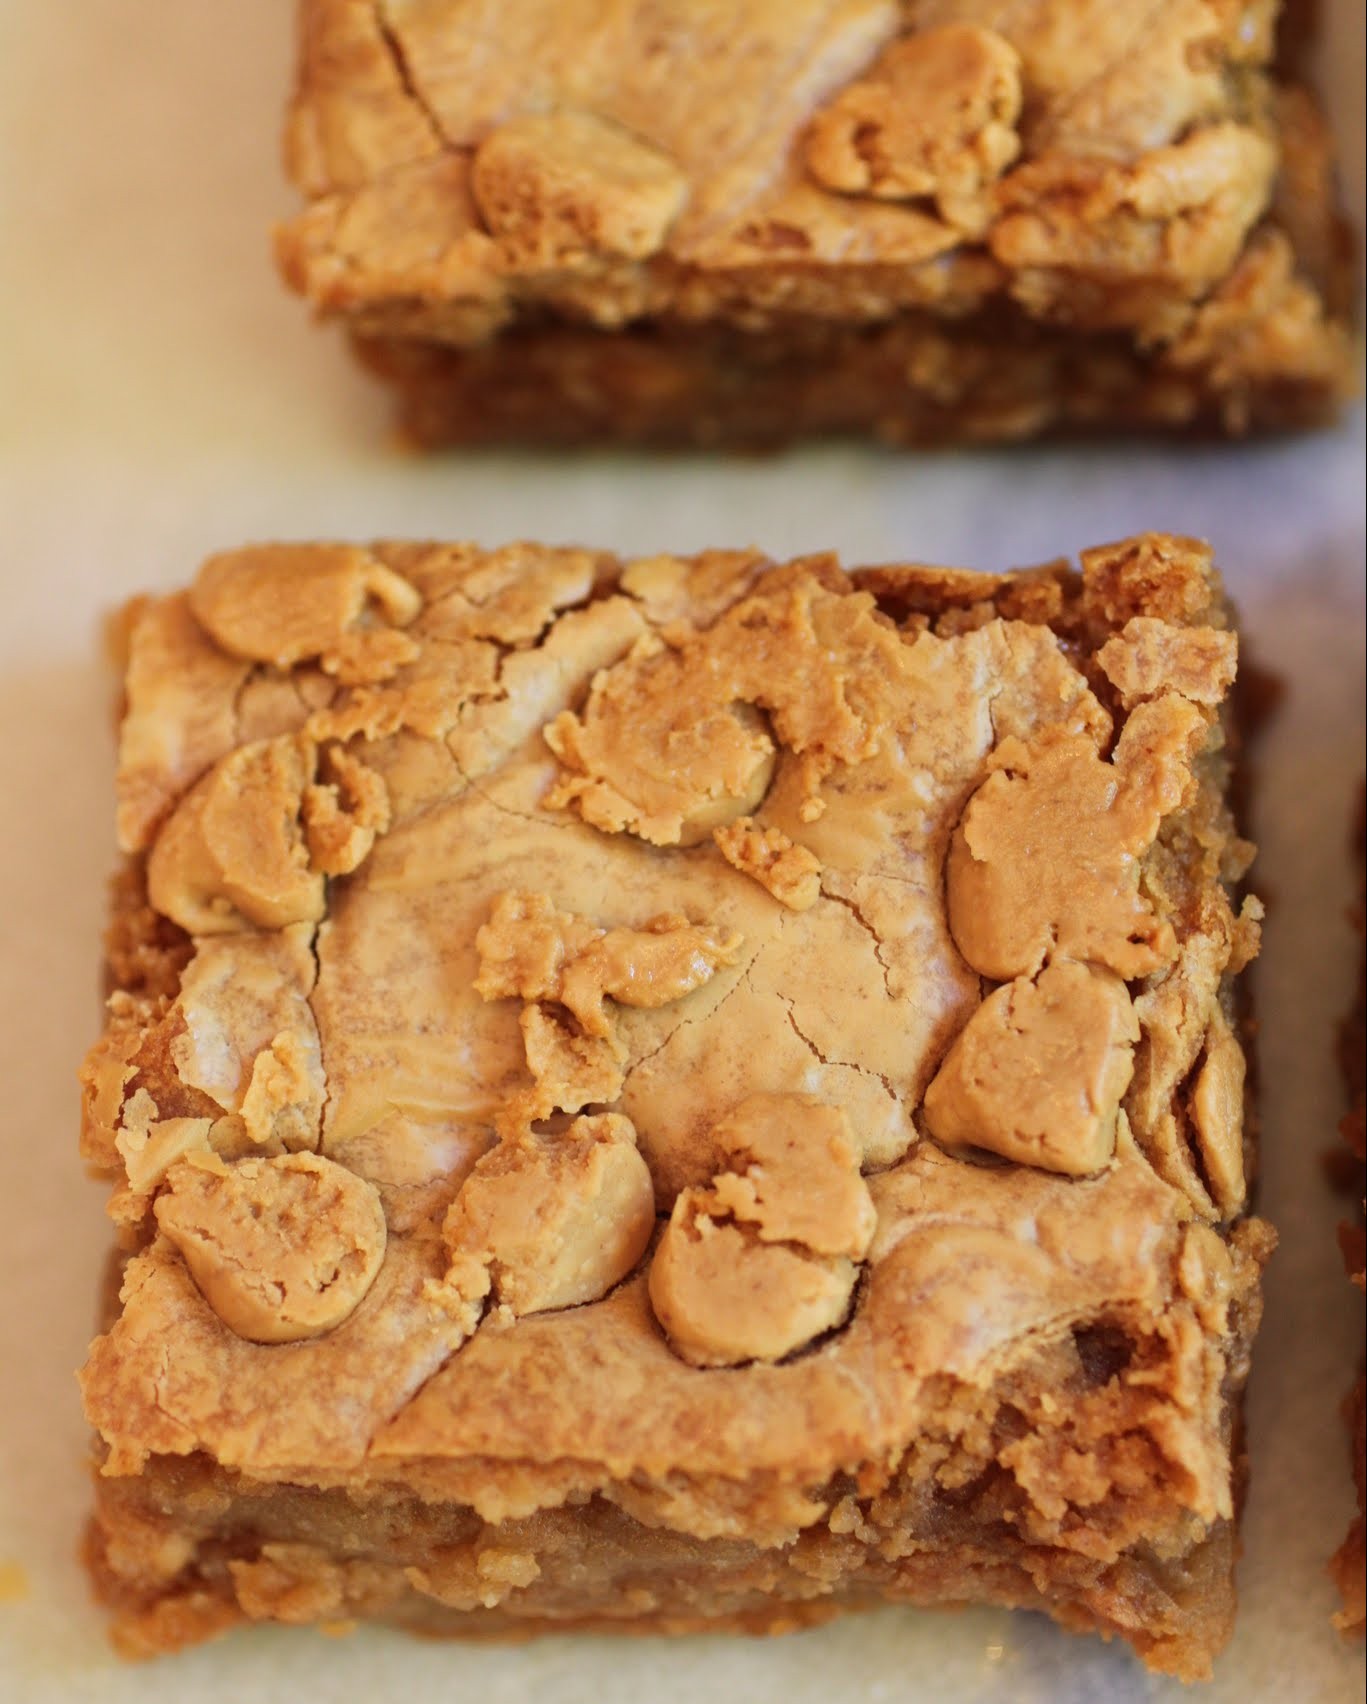
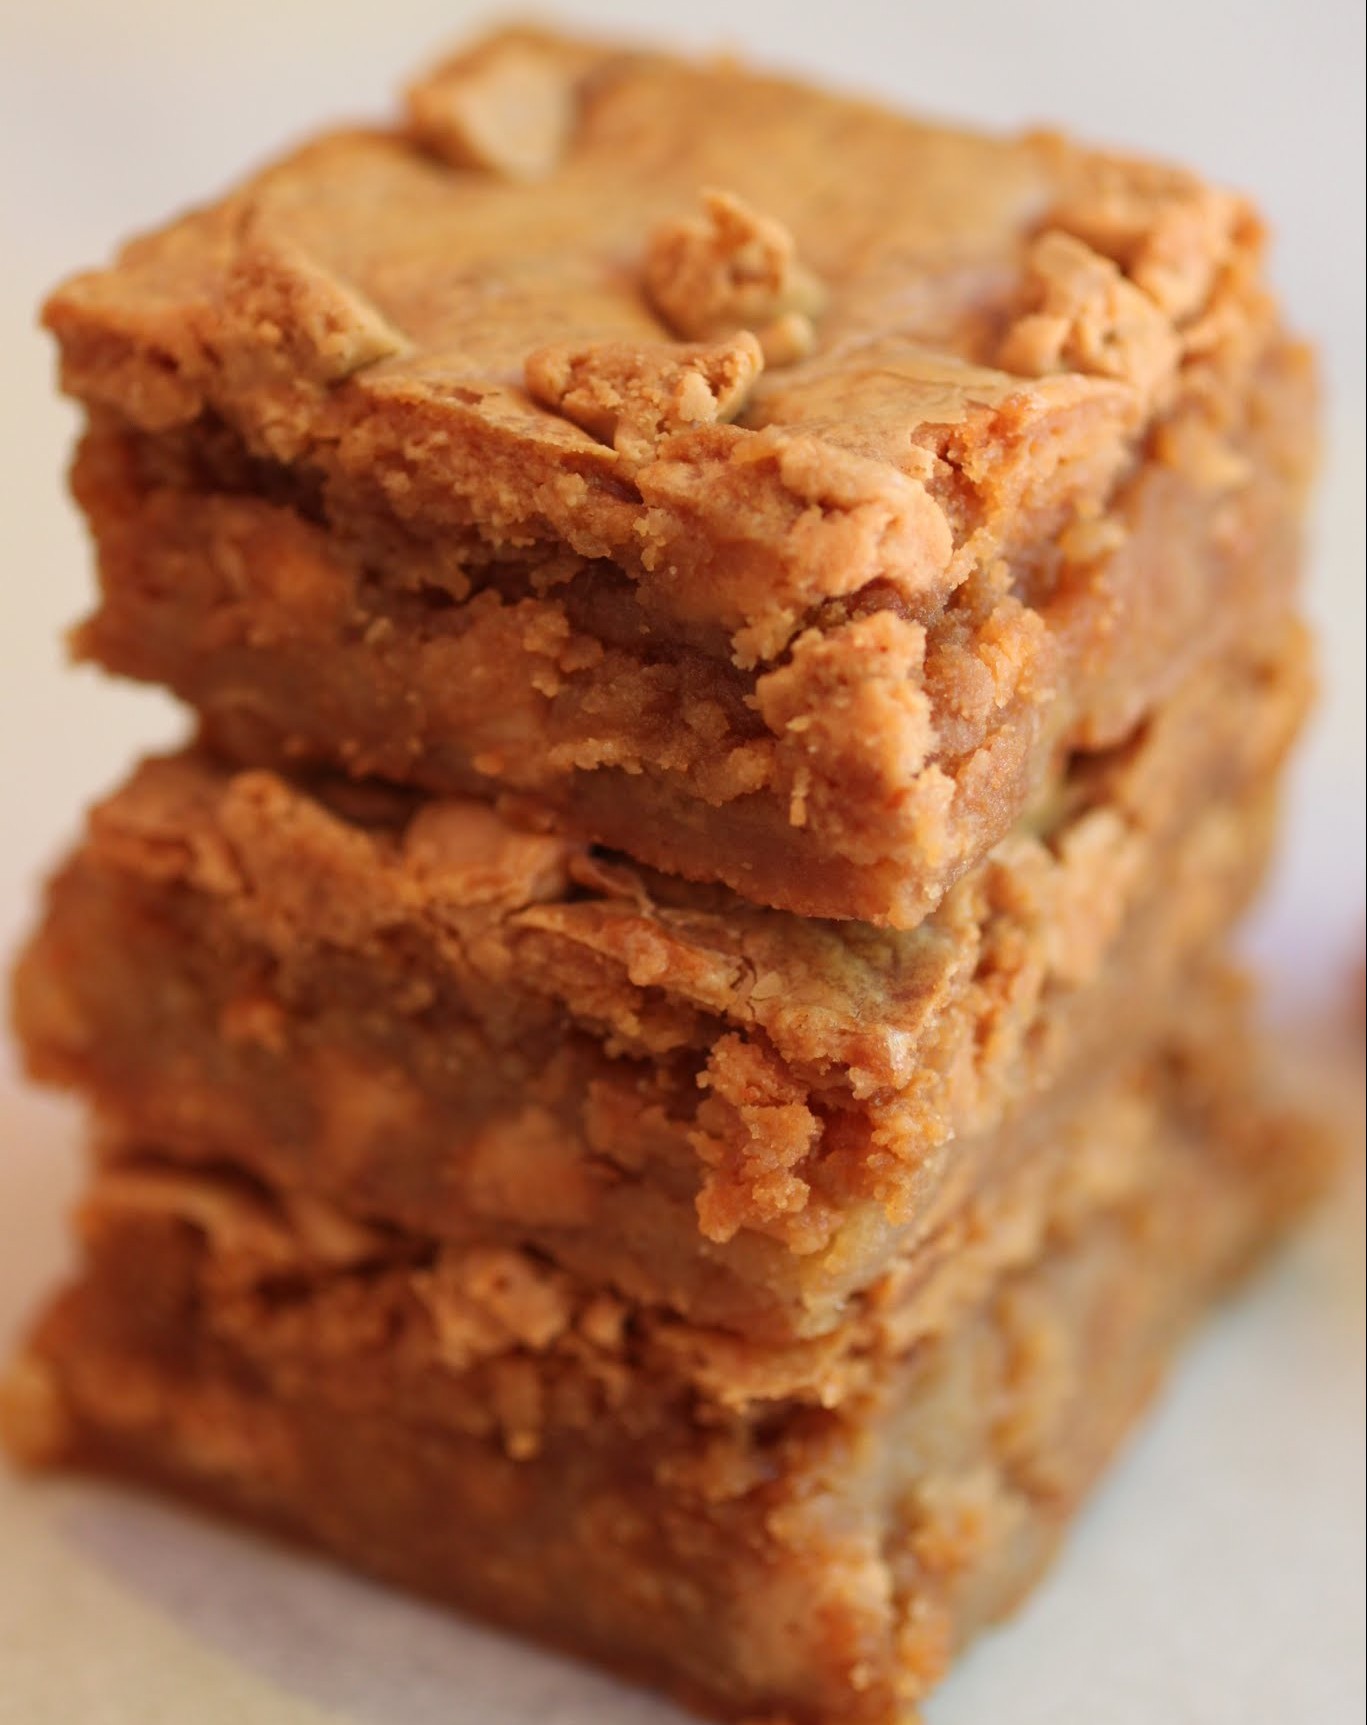
To try and tempt him (and to gauge how sick he really was), I baked these bars. They’re a basic blondie filled with peanut butter chips and topped with a marshmallow fluff and peanut butter topping. If a kid avoids these sticky squares of goodness, you have further evidence that not all is right in his little world.
To top it all off, my son has been avoiding Alexa. A few weeks ago on Amazon Prime Day (which was, for me, kind of disappointing), Kenny bought us an Amazon Echo. She’s named Alexa, and she syncs up to our devices and apps (like Pandora or, of course, our Prime accounts) to play us music or update our shopping lists or buy something we’ve bought before. I’m officially scared of her. Especially after seeing the latest Terminator movie. #riseofthemachines #machineswillkillusall
The kids love Alexa. All three have been bugging her nonstop. She can’t respond to my girls because their little voices are too squeaky, but she understands my son. So he badgers her to tell him jokes, play him music, and asks her questions. They’re best buds. And he’s been ignoring Alexa for two days. Yep, sick.
The upshot of my baking experiment is that nobody has really eaten these bars except me. My daughters are currently pretending to hate peanut butter (a shaft to their mother’s heart), the boy is sick, and my husband eats only gluten-free whatnot. So here I am, contemplating my existence while I polish off yet another chewy, pillowy-soft marshmallow peanut butter chip blondie.

These bars were an experiment for a good cause, the whole see-if-he’s-really-that-sick thing. Turns out, he is. But I’m not, and I’m going to enjoy these as time passes faster and faster. In the face of scientific evidence that time actually does speed up as we age, what else is a girl to do?
Ingredients
Instructions
- Preheat the oven to 350. Line an 8-inch square pan with foil, leaving enough to hang over the sides. Coat with cooking spray and set aside.
- In a bowl, combine the melted butter with the brown sugar. Stir until smooth. Add the egg and vanilla and stir again. Mix in the salt and flour until everything is incorporated. Fold in the peanut butter chips.
- Pour the batter into the prepared pan evenly. Bake for 15 minutes. Remove from the oven.
- While the blondies are baking, make the topping. In a small bowl, combine the marshmallow fluff, peanut butter, and condensed milk until smooth.
- Carefully layer the mixture over the blondies and spread out evenly. Sprinkle the peanut butter chips on top.
- Return the bars to the oven for 20-25 minutes until the middle no longer jiggles and the topping is golden on the edges.
]]>
Nah, they’re too popular to miss me. And when I pass a scoop shop, I walk in. But at home, I’m too busy concocting fun ice cream flavors. This one is perfect for your summer celebrations because I think it’s totally original, plus it’s easy. Three base ingredients, everyone! It takes about two minutes to throw together.
You know what takes a lot more time? Like, a lot? Getting my hair done. Which is bizarre, because I have low-maintenance hair. It’s curly. But ever since the grays began popping out like overeager distant relatives who keep coming by to visit unannounced, I have to get it dyed every few months, which takes hours. And I should be doing it more often because the grays come back in a much shorter time. I’m just never up for sitting in a chair for hours on end.
When I was getting my summer fun shade put in yesterday (eggplant, woohoo!), the hair washing person began giving me my scalp massage and head rub. I always dread this part of the appointment. I know a lot of people enjoy getting their heads rubbed, but I have never been one of them. I mean, they’re not massaging sore muscles. Can they put that pressure on my quads instead? Or if we’re keeping it close to the hair, my completely f-ed up neck muscles?
But I always wonder if it’s rude to ask the head rubber to stop her good work, so I sit through it quietly and try not to think about anything funny, like what it must look like for me to be reclining in a massage chair in sweats and sneakers while a bored-looking hair washer rubs my forehead.
It’s awkward moments like this where I dream up ideas for baking, or even better, ice cream flavors. And this one is definitely worth trying.
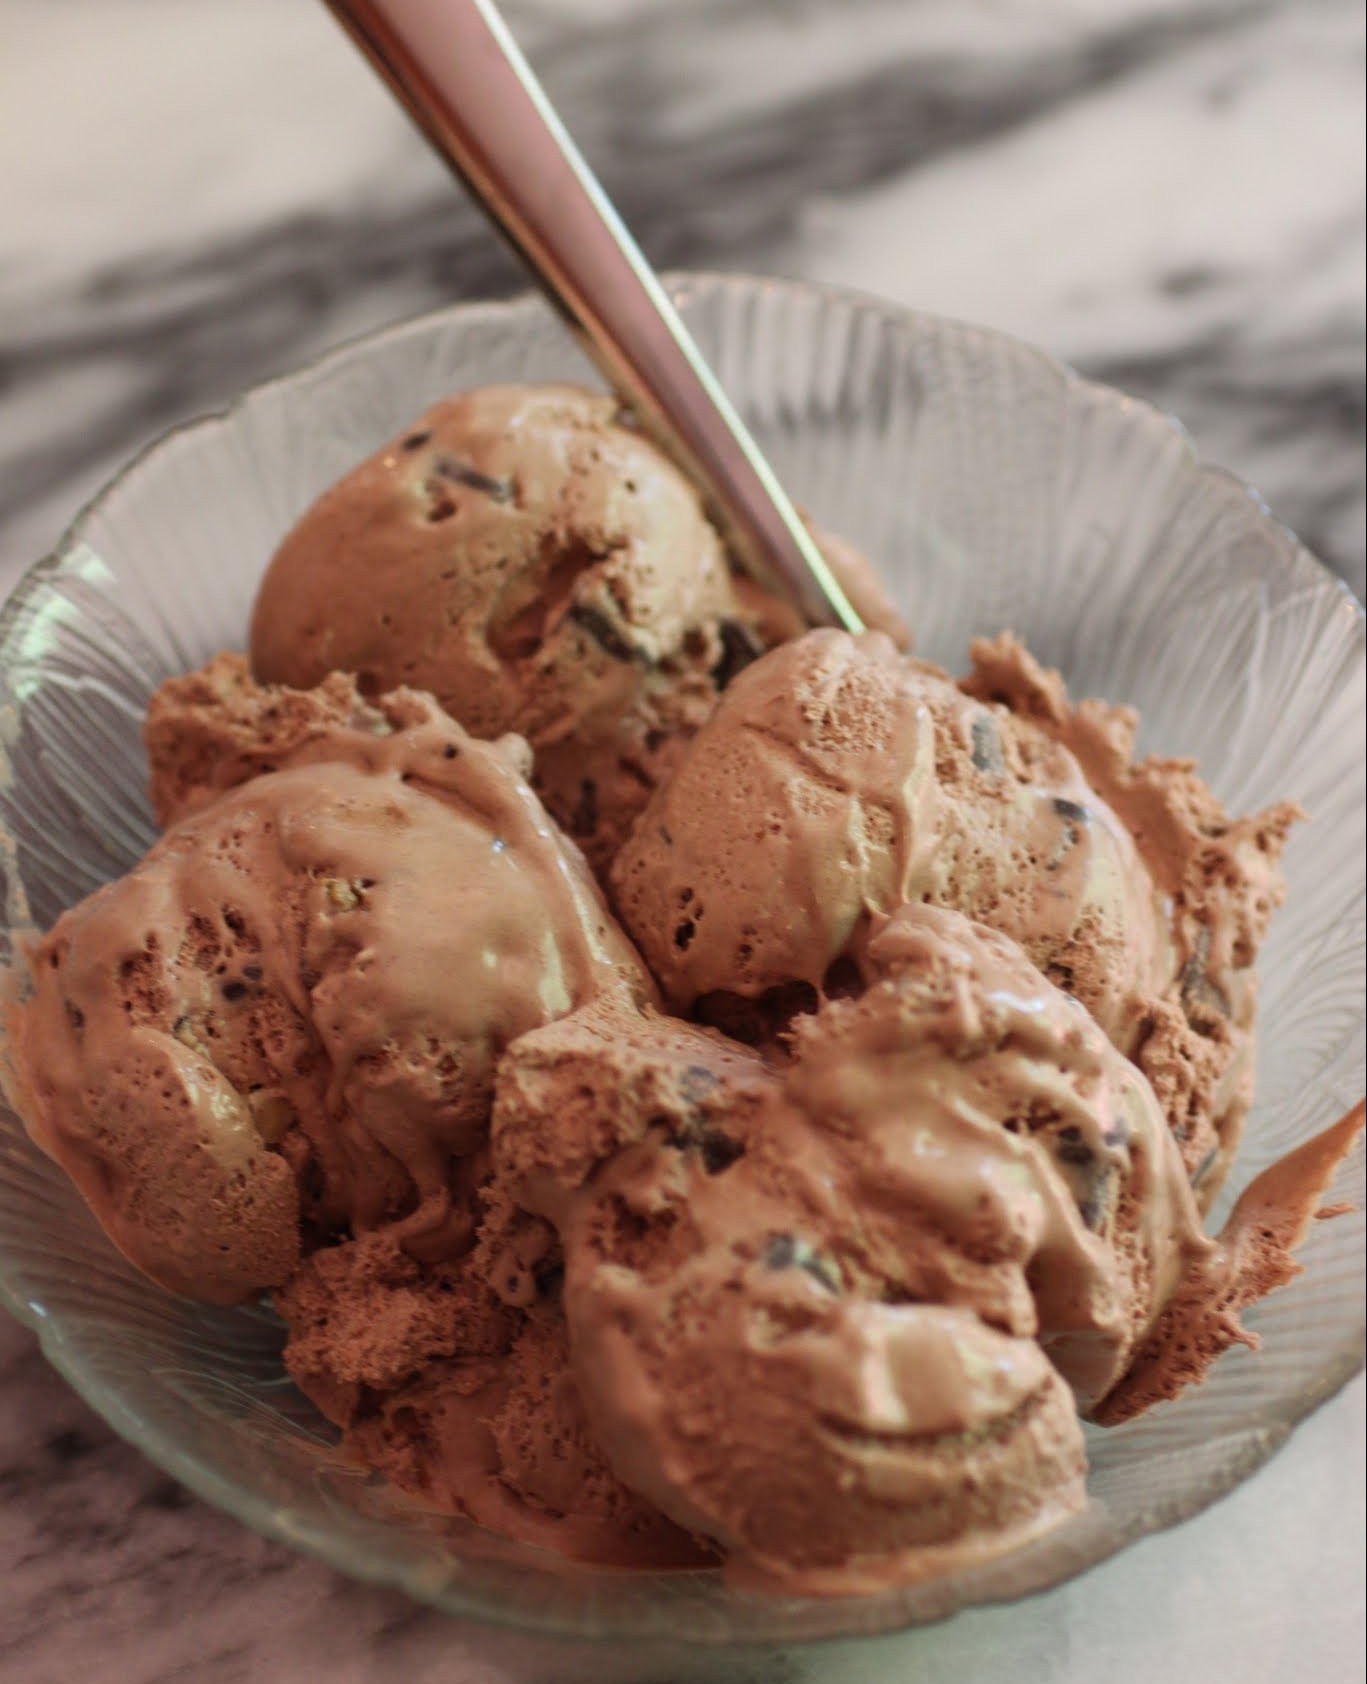
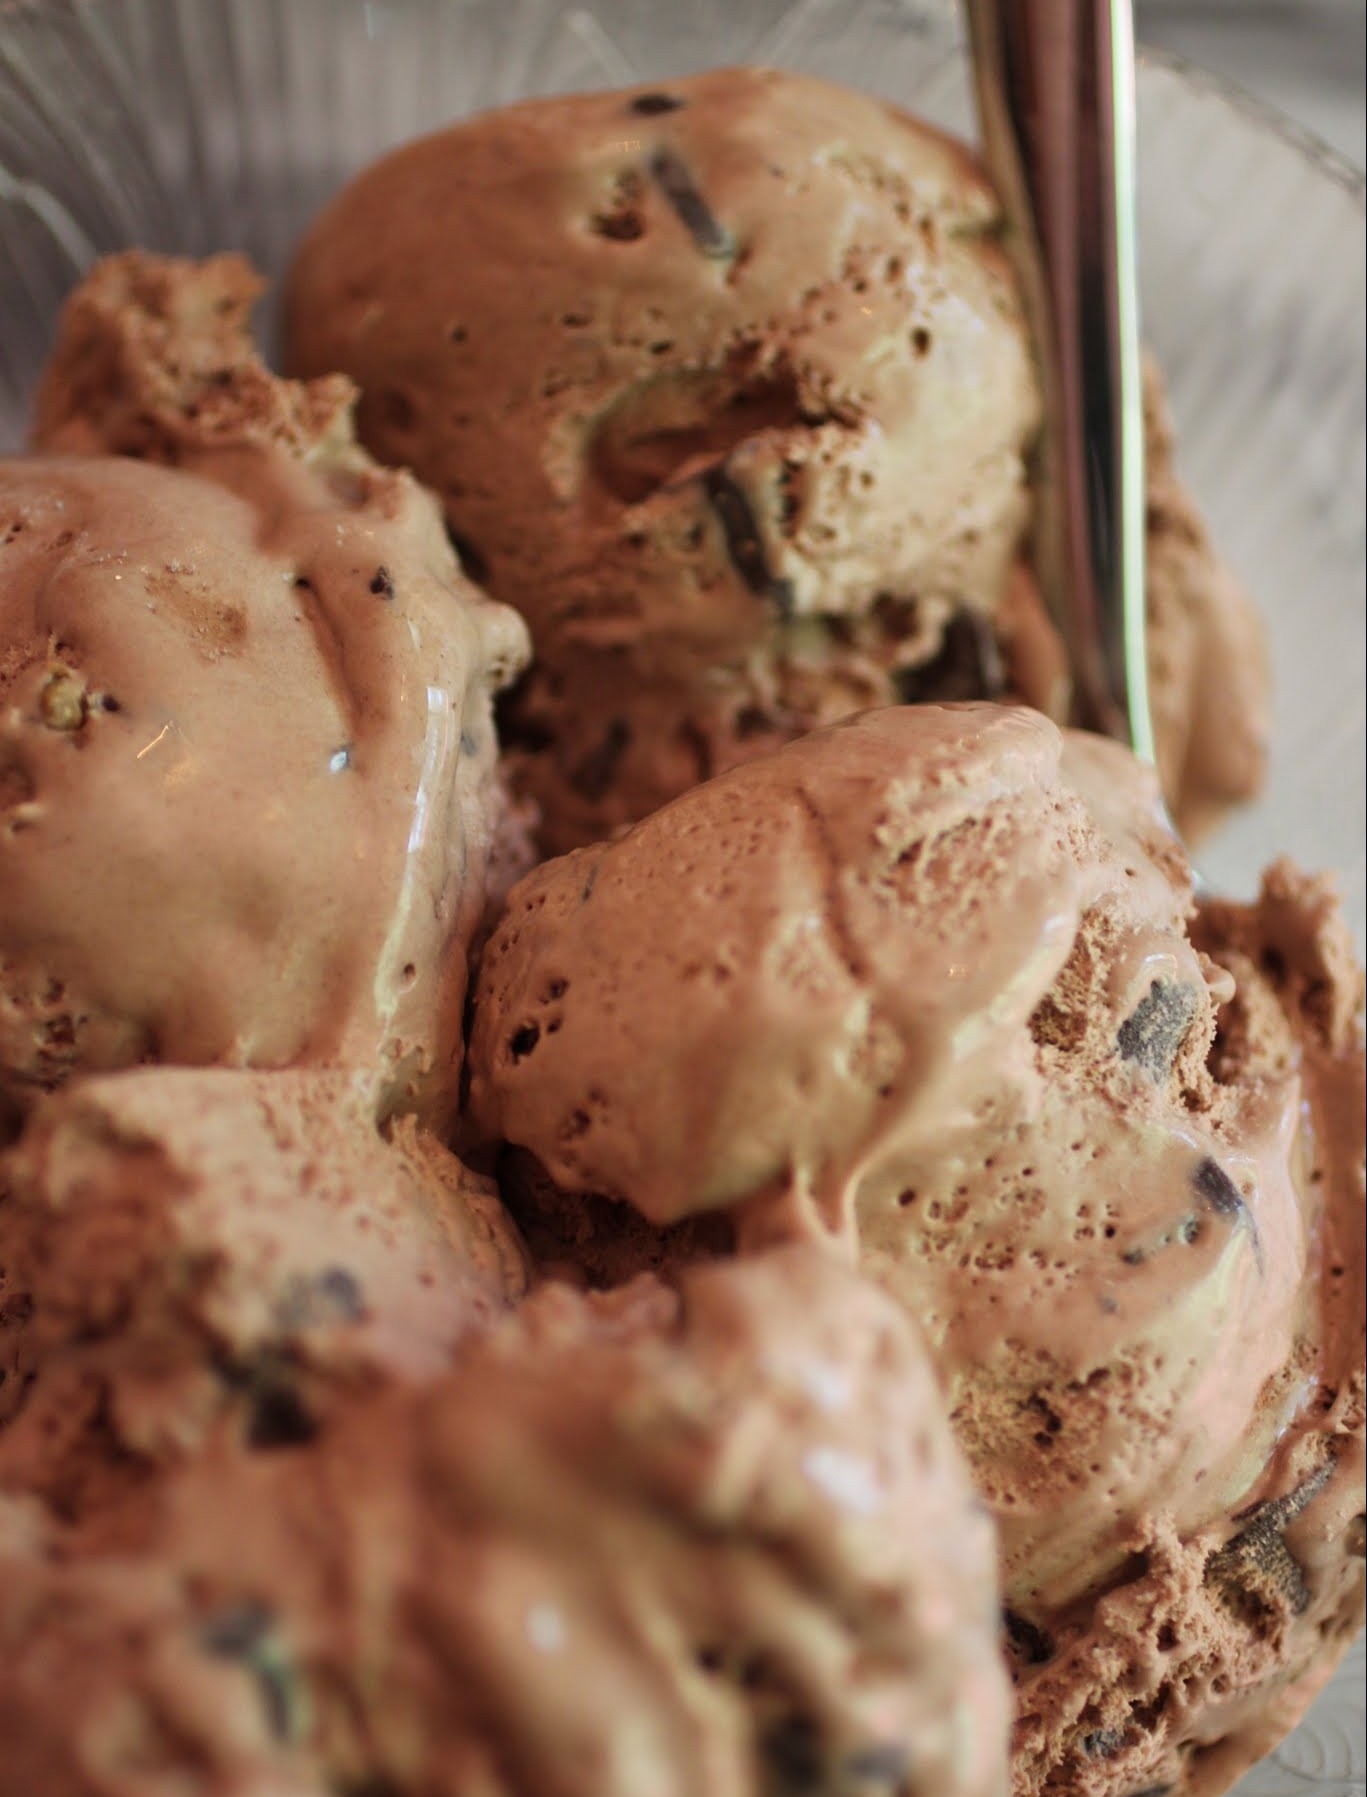
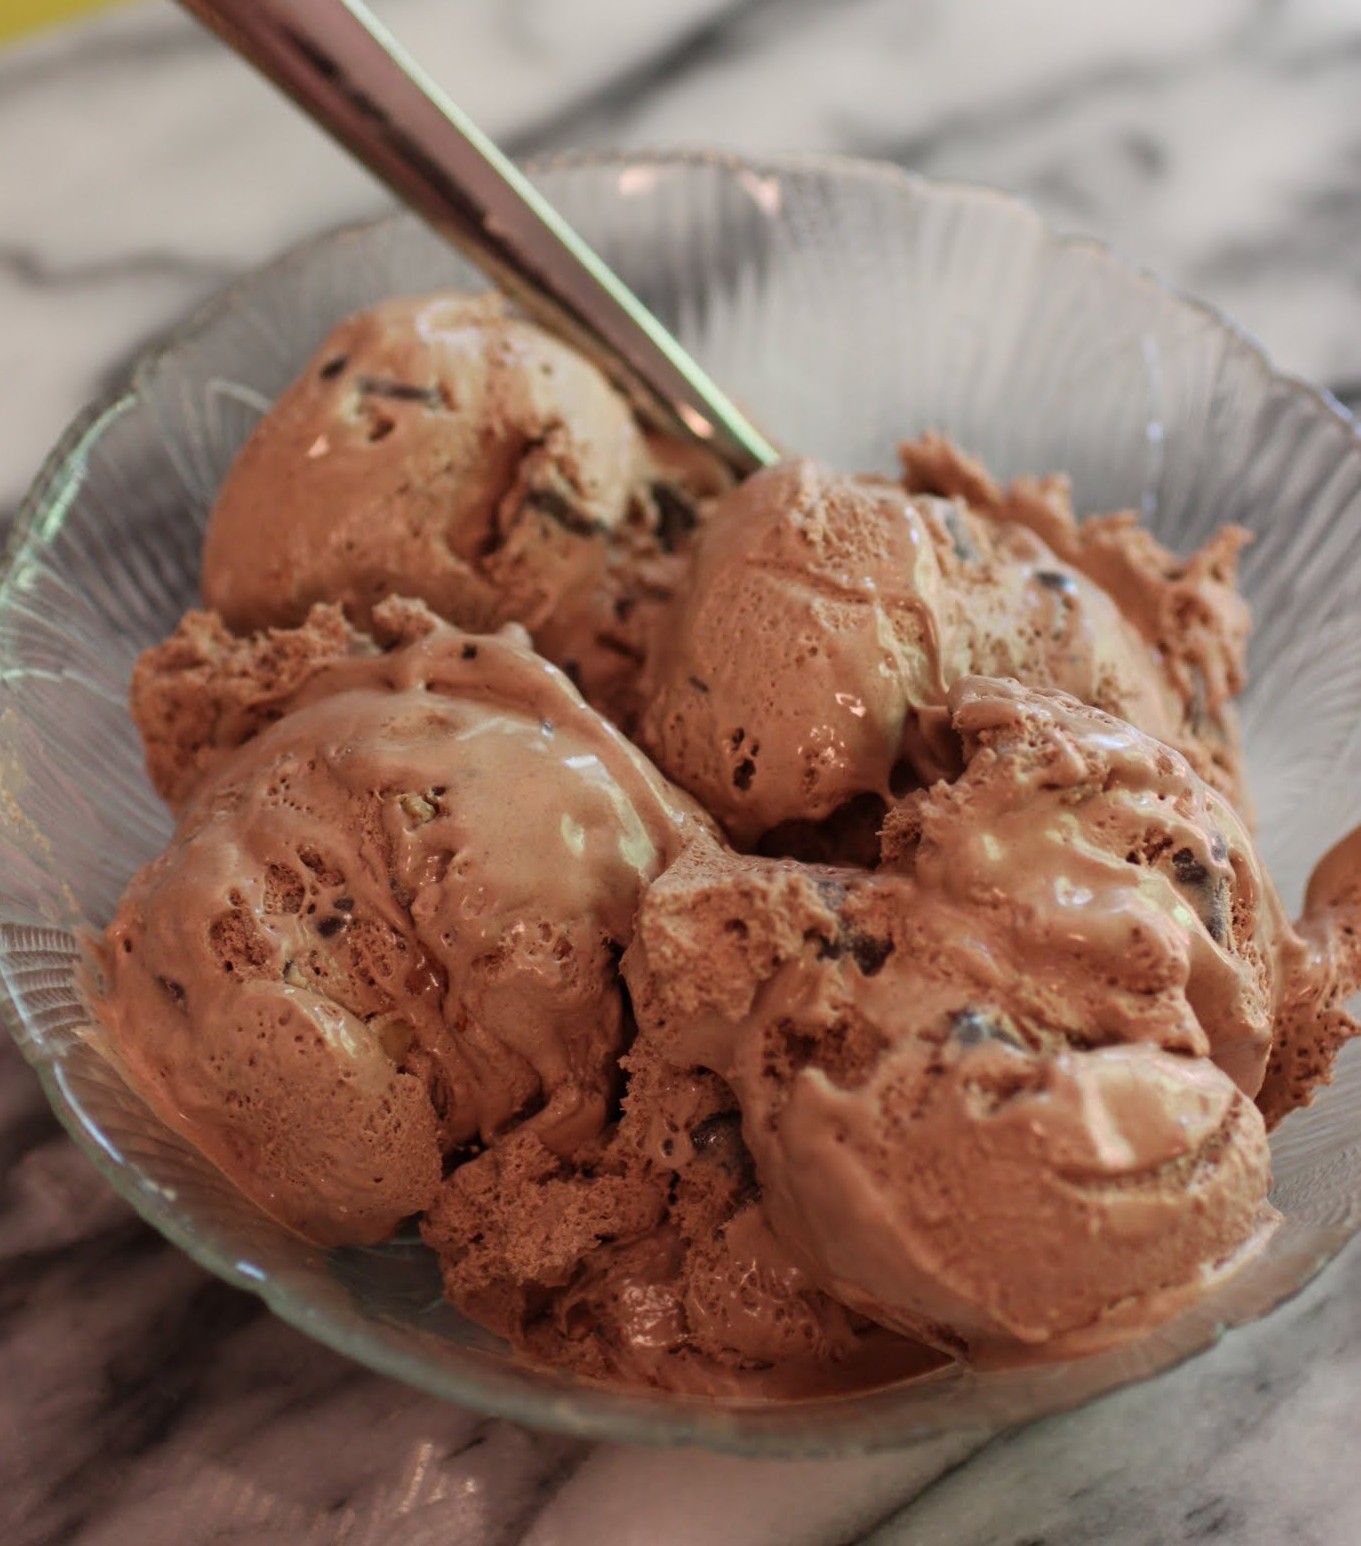
To make this ice cream, you’ll need those Nestle filled chips, the cherry flavor. They’re so good. You’ll also need roasted salted walnuts. Those are your two mix-ins. But the ice cream itself is what I’m talking about here. Ready?
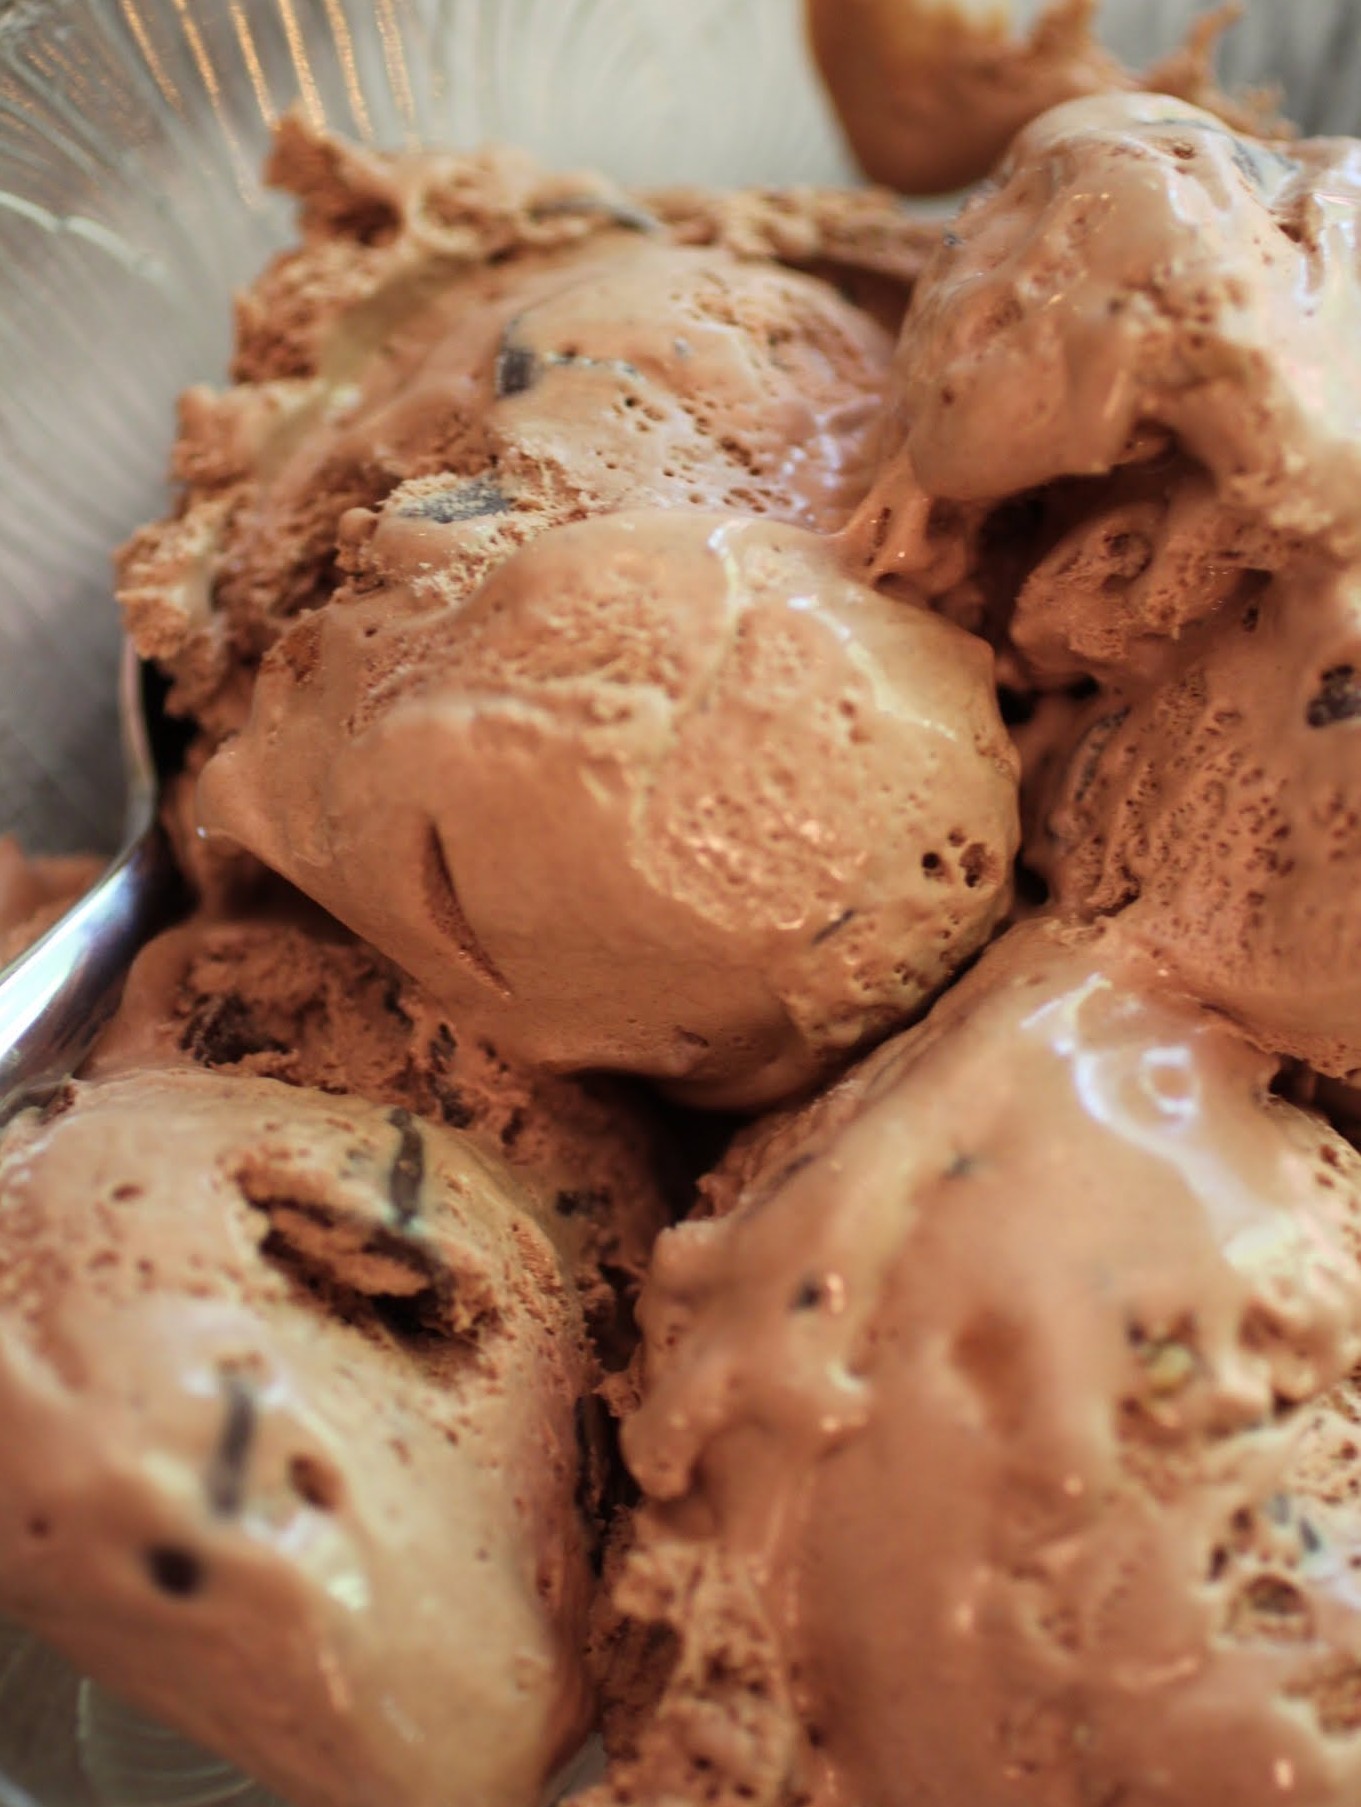
Cool whip. Sweetened condensed milk. Cocoa. That’s all, folks. Mix, fold in your chips and walnuts, and freeze overnight. When you wake up in the morning, you’ve got amazing chocolate ice cream with the best crunchy bits! It’s like a summer miracle. Heck, summer itself is a miracle. Ice cream just makes it better.
You probably can’t do anything to control those grays replacing the color in your hair other than face the stylist. And you definitely can’t do much about awkward moments other than take your mind elsewhere. So free your mind, and the ice cream ideas will follow!
Ingredients
Instructions
- In a bowl, mix the condensed milk with the cocoa until well combined. Fold in the Cool Whip until no streaks remain.
- Add the cherry-filled chocolate chips and walnuts.
- Pour the mixture into ice cream containers or a baking pan. Freeze overnight. Do not leave on the counter for long: it melts faster than churned ice cream!
Here’s the ultimate perk of being a teacher. For two unpaid months (yep, I inserted that word on purpose), I get a taste of what it’s like to be a stay at home mom. It’s great for these two months. I would not be able to do it year-round and maintain my sanity. Especially if there was no camp.
But for now, I’m remembering what life was like when I could just while away the day. Like, spend the whole day eating dark chocolate chocolate chip cookie chips without having to share with grubby hands. And fudge. Oh, the fudge I eat in summer. Summer is a fudge season.
If you doubt me, look no further than the beach. Every beach town worth its saltwater has fudge shops. Believe me. I’ve been to every single one. If a beach town has five fudge shops, I’ll visit all five, pressing my nose against the glass cases while taking inner notes. It’s my favorite kind of research!
Once upon a time, I would wake up in the summer, eat a leisurely breakfast complete with newspaper reading, work out, and go back to bed. I’d emerge sometime in the late morning to run errands, or meet a friend for lunch, or lie out on the deck with a cold drink. After lunch naps were always an option, along with TV watching and crossword puzzle time.
Plus, I had my projects. For a few summers I took tap dancing. Another summer, voice lessons. One year I sat down and wrote a 250-page novel just for the heck of it. I like to keep busy. And this summer, I still have my projects.
But I also have my leisure time back. Sure, I get up super early and exercise before getting the kids bundled off to camp with their swimsuits and hats and sunscreen and lunches. Sure, I have to pick them up after it’s all over. But those in-between hours are golden. I have more time to sit and think, to run errands without having to appease grouchy kids, to write in a quiet space. And of course, more time to eat fudge.
This fudge especially. My intense fondness for Hannah Max Cookie Chips has brought us here. As you know if you read regularly, I contacted the company a while back to ask to work with them. That’s how much I love their addictive product. And today’s recipe comes from one of my favorite flavors: the dark chocolate chocolate chip.
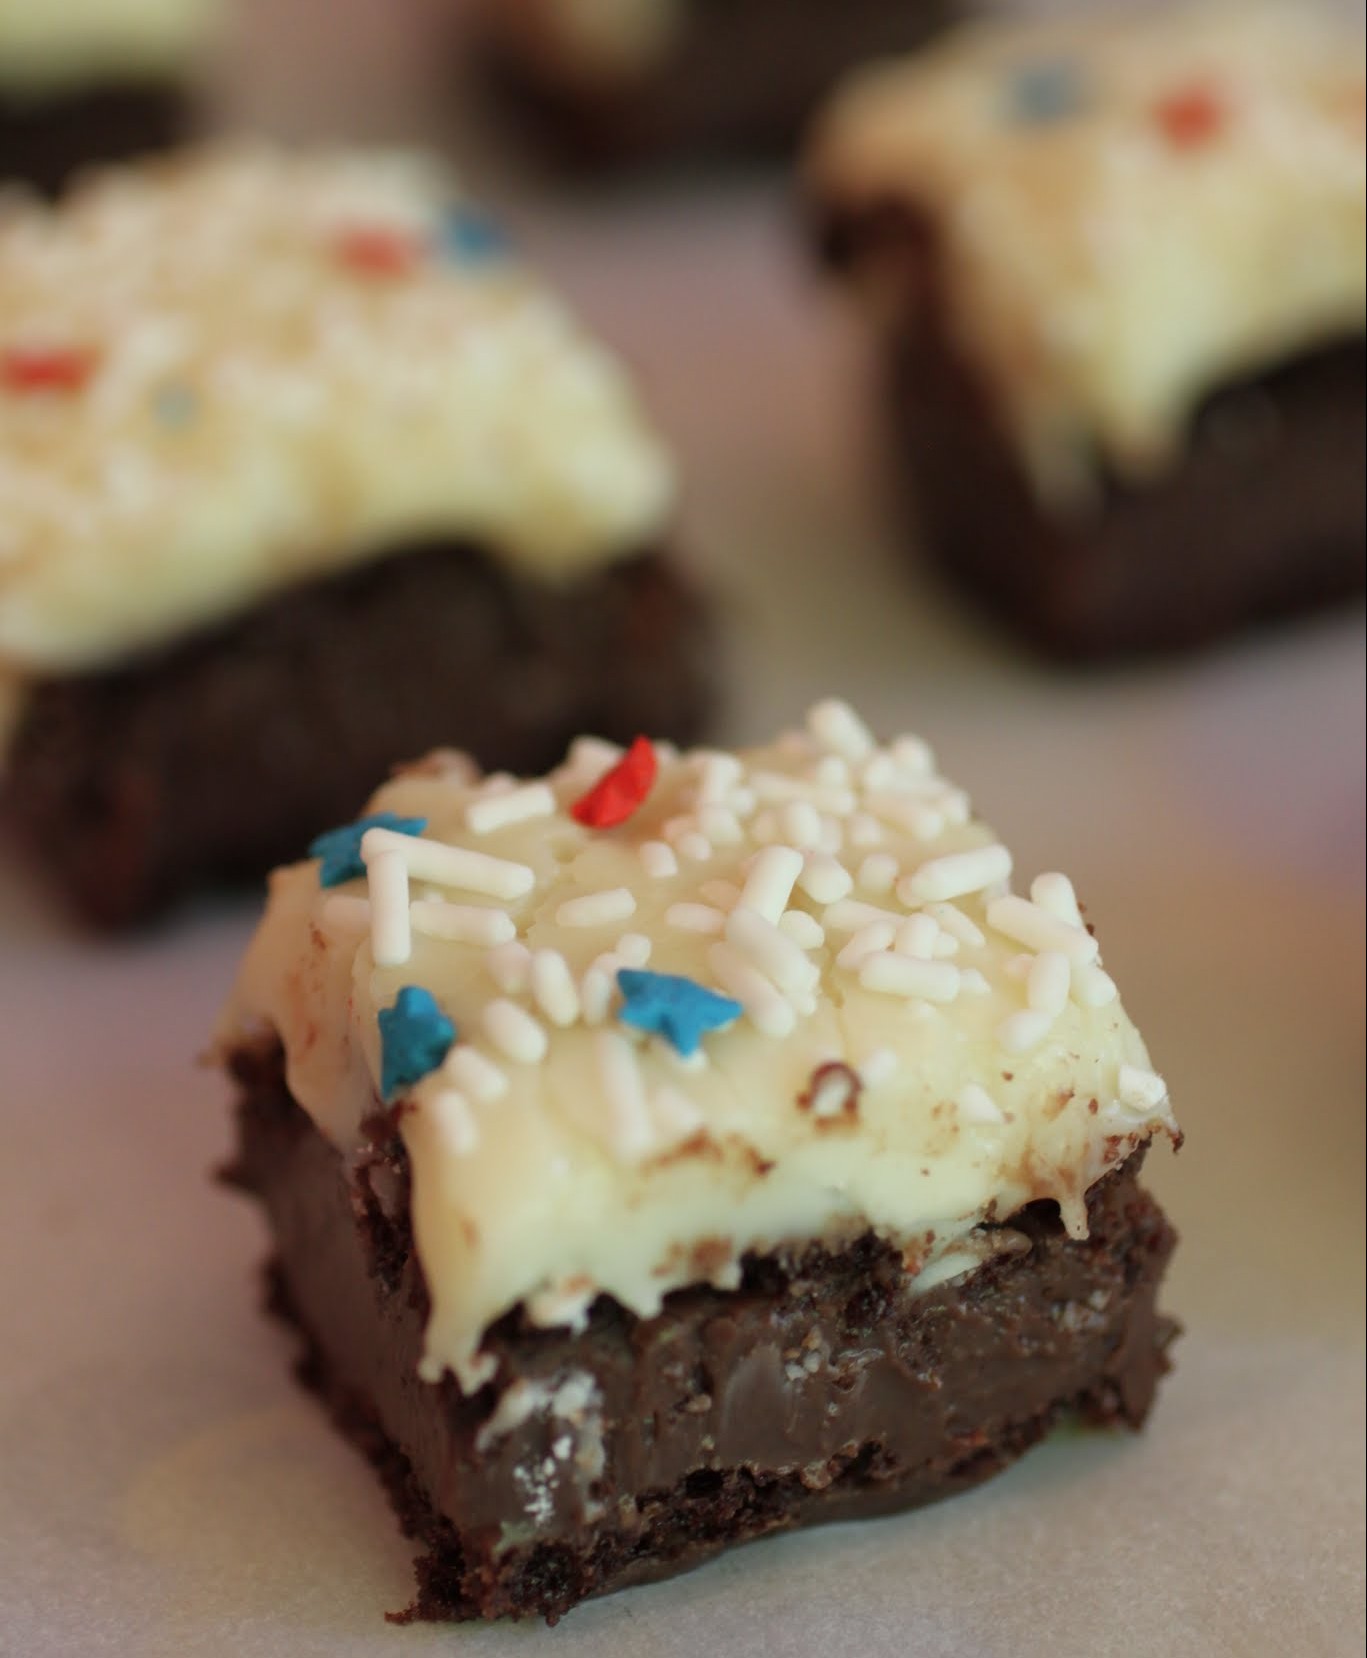
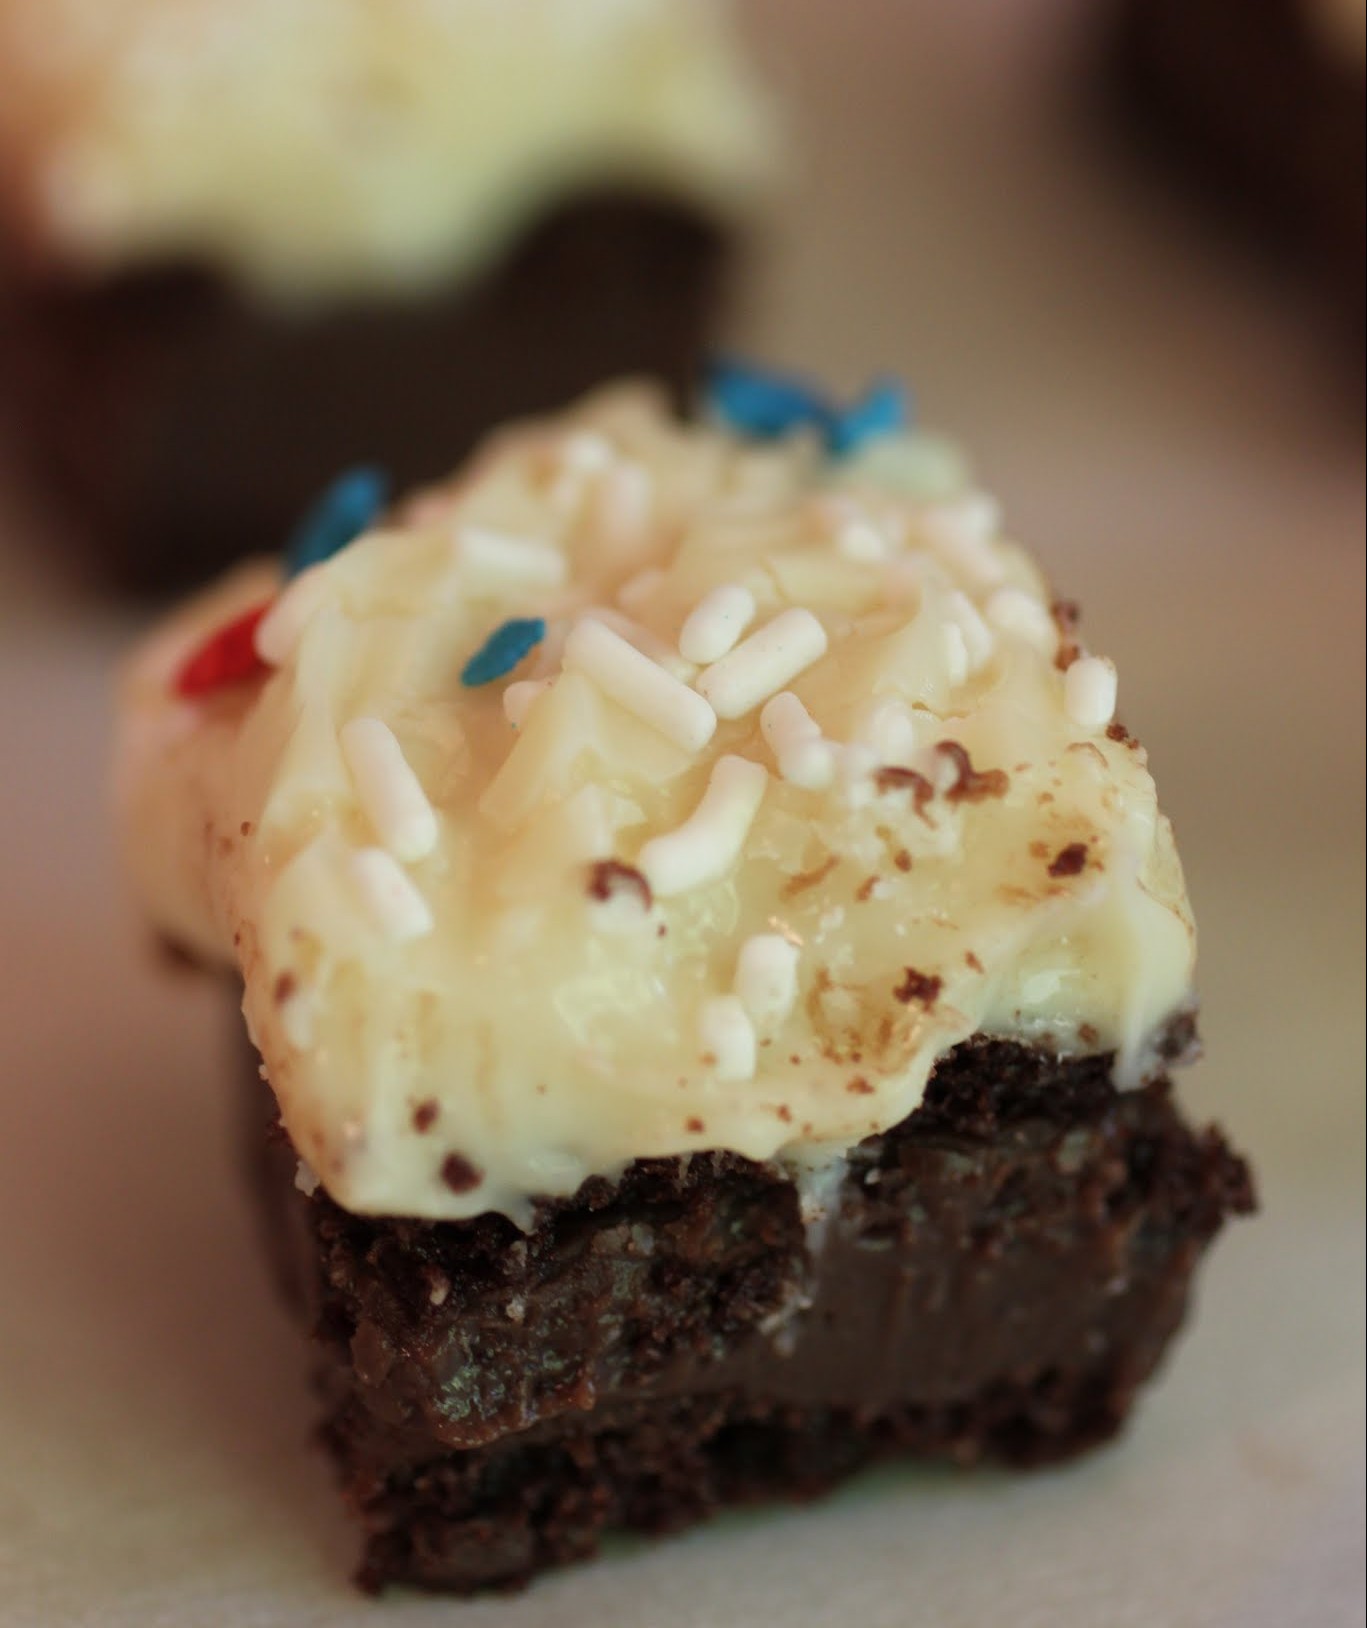
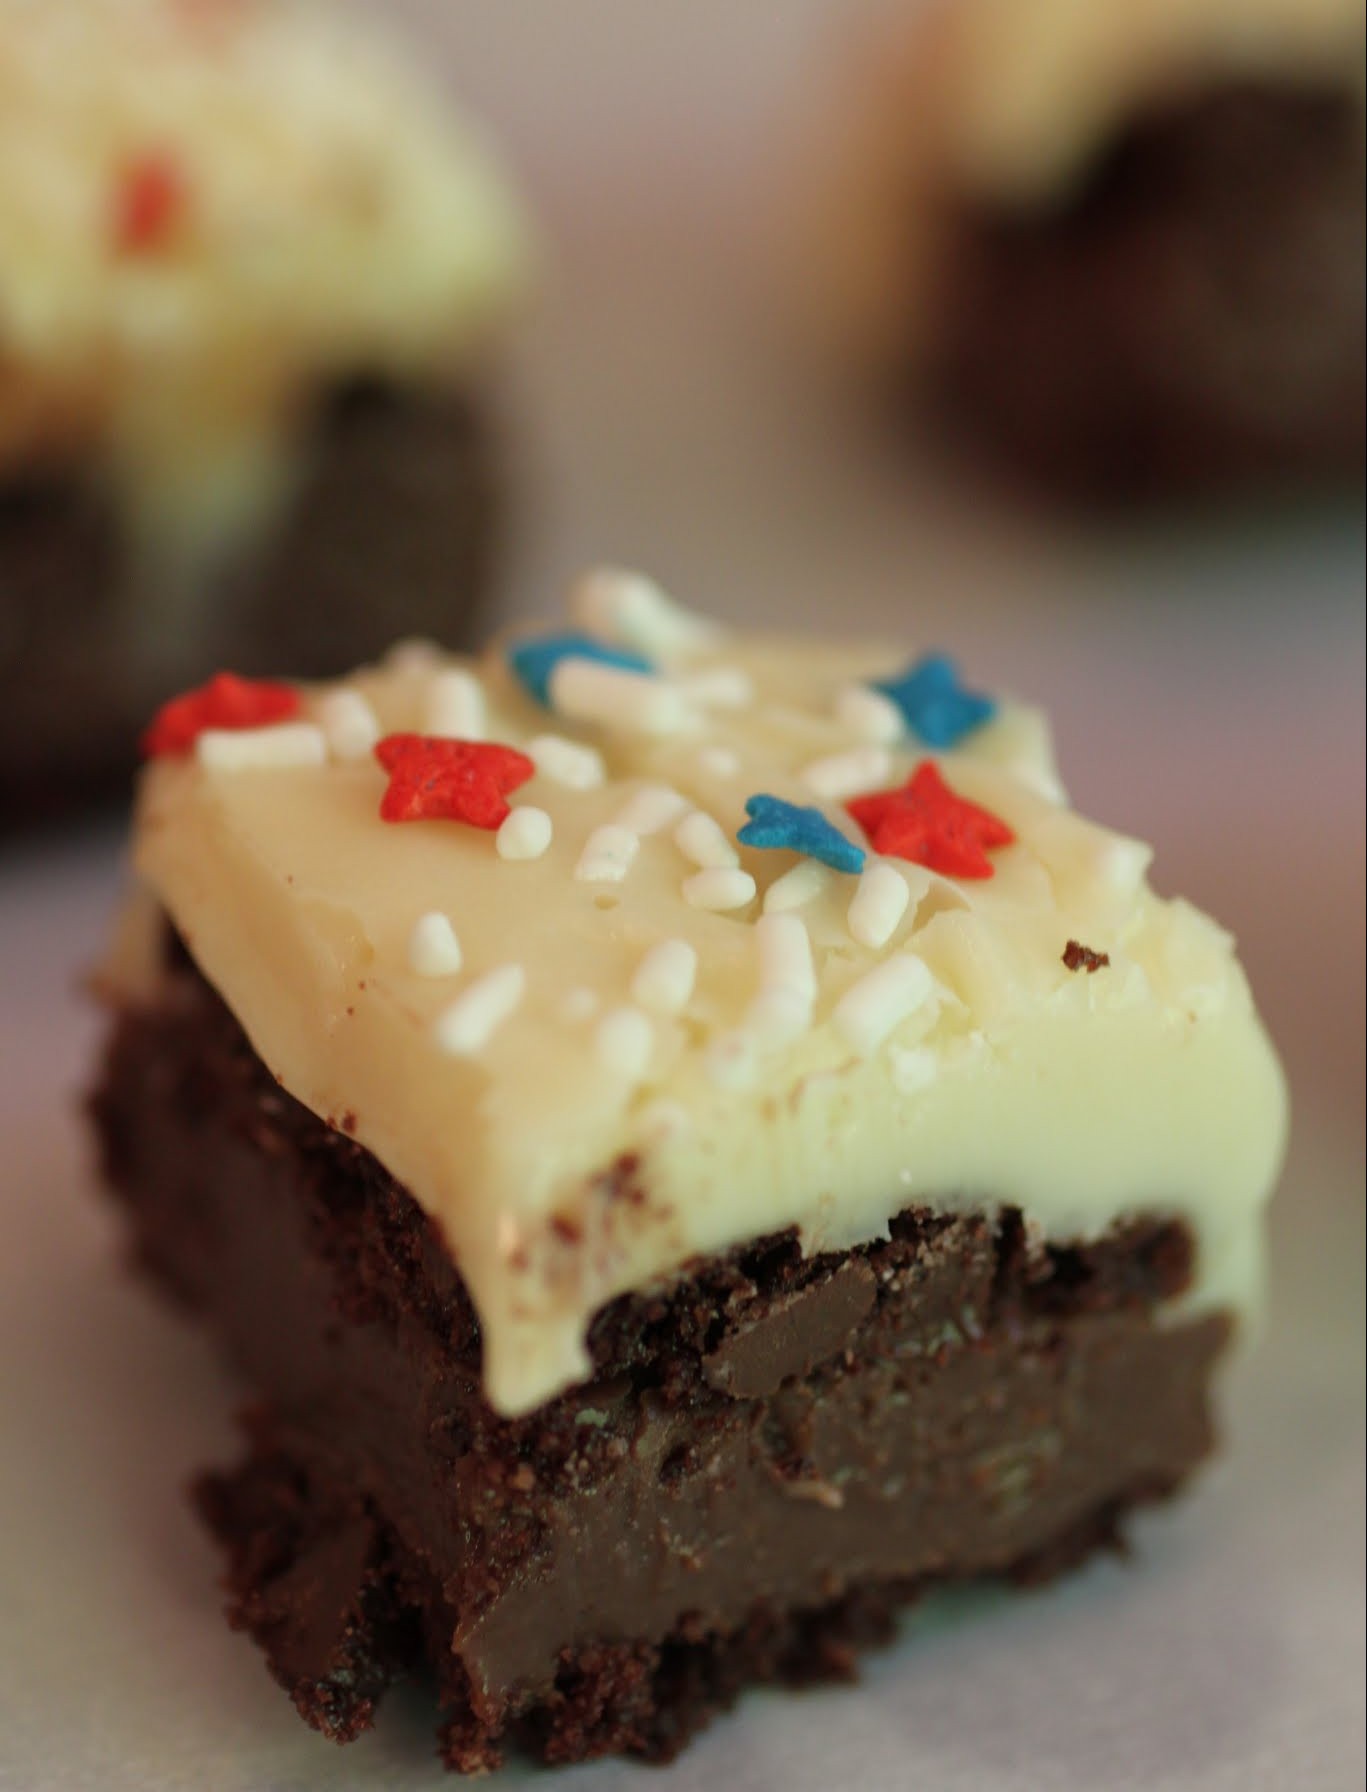
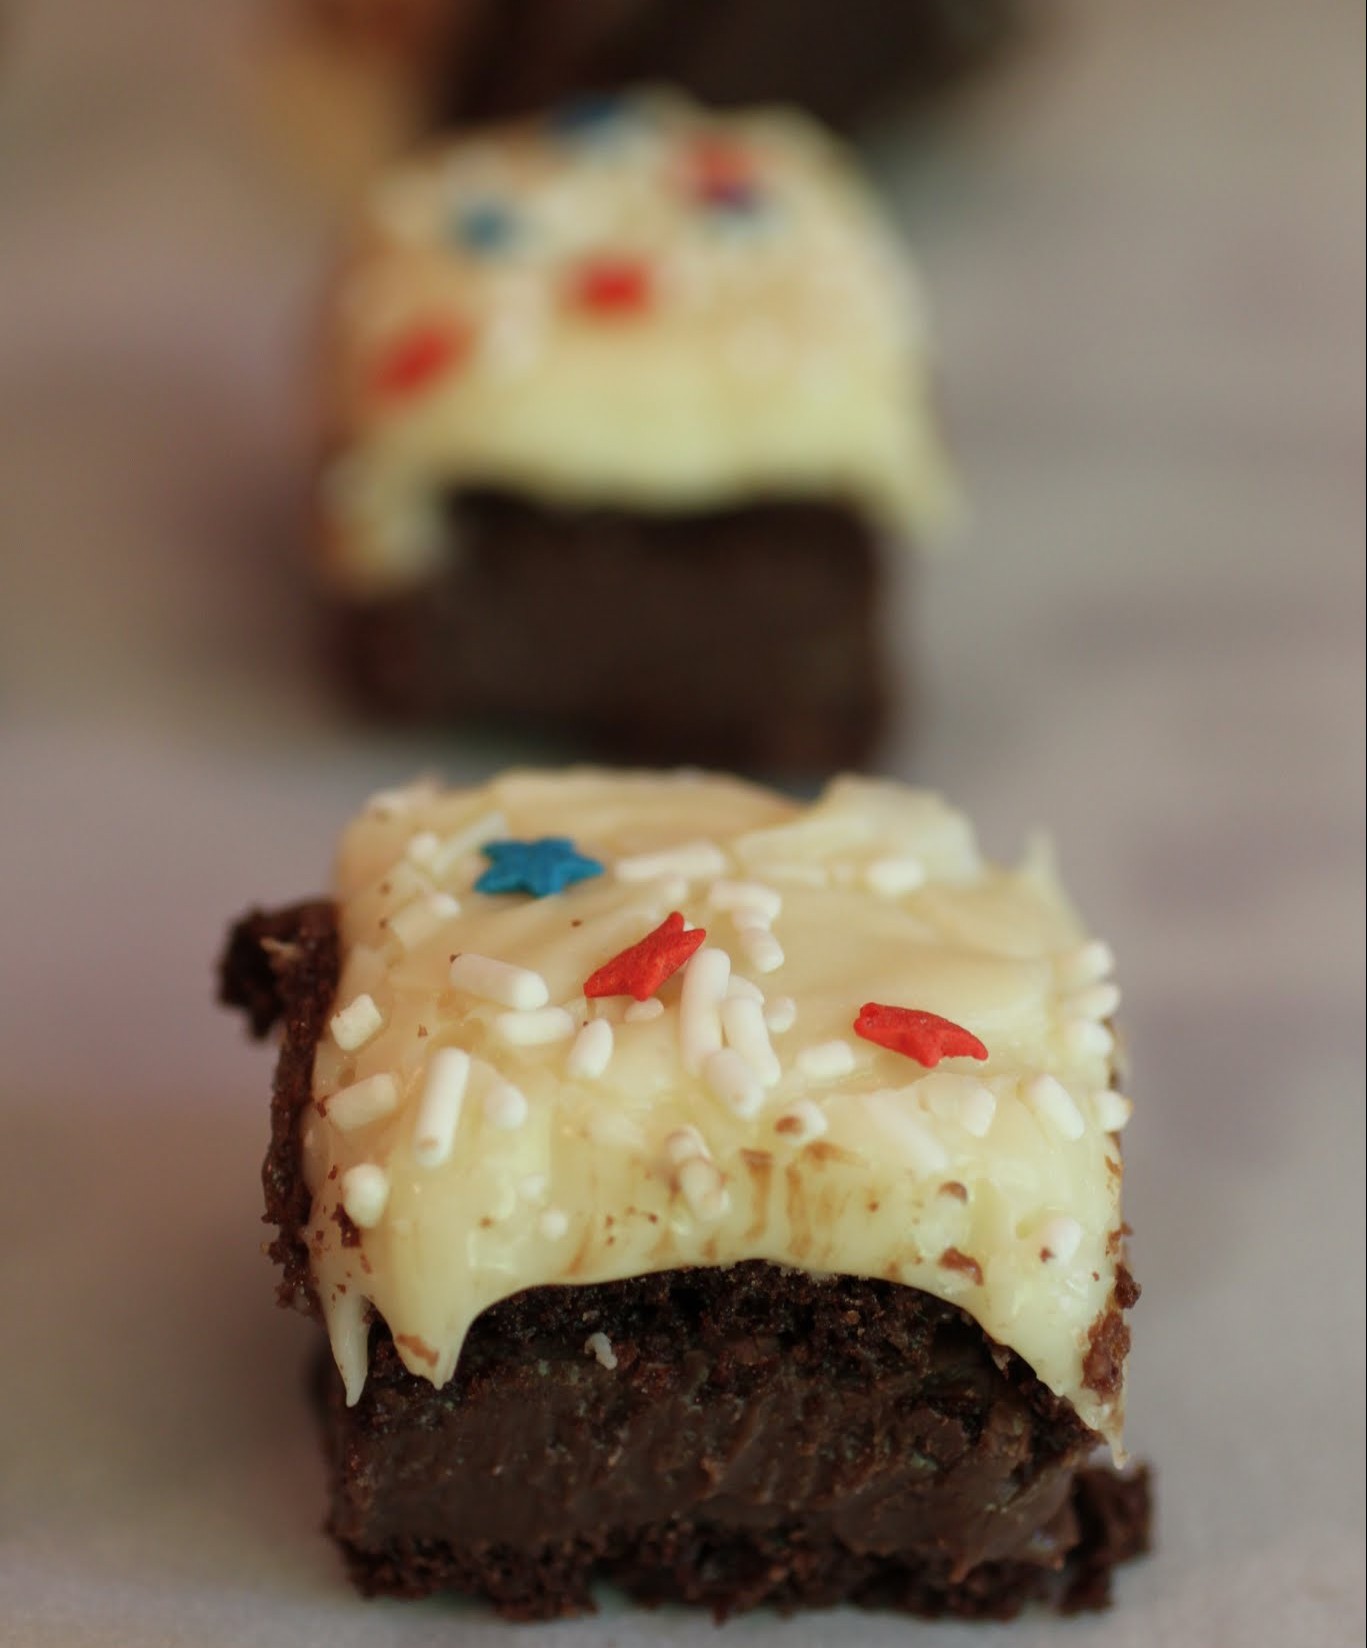
To make this fudge, you line the bottom of a pan with a layer of cookie chips. Then, chocolate fudge gets poured on top. It gets wilder after that. Another layer of cookie chips goes on top of that chocolate fudge before a white chocolate layer gets piled on. And for the season, July 4th sprinkles!

This fudge is crunchy. It’s creamy. It’s amazing. And I dare any beach town fudge shop to come up with something as completely satisfying. If you’ve never had cookie chips before, that’s a shame, but it can be remedied. Trying it in this black and white cookie chips fudge is a great place to start!
As I sit here, relishing the temporary solitude and the equally short summer (its lease hath all too short a date and all that, ya know), I’m glad that fudge is here to keep me company in these quiet, productive hours. It’s a great companion!
A product for this post was provided by Hannah Max Cookie Chips. All opinions are my own.
Ingredients
Instructions
- Line an 8 x 8 pan with aluminum foil, using enough to hang over the sides. Coat with cooking spray.
- Place one layer of cookie chips on the bottom of the pan, covering the area completely with a combination of whole and broken cookie chip pieces.
- In a microwave-safe bowl, melt the chocolate chips and sweetened condensed milk together for 2 minutes.
- Remove and stir until smooth. Spread the fudge carefully over the cookie chips in the pan. Press another layer of cookie chips on top of the chocolate fudge. Set aside.
- Make the white chocolate layer. On the stove over low heat, melt the white chocolate chips with the condensed milk, stirring constantly, until the mixture is melted and smooth.
- Remove from the heat. Spread gently over the bottom layer. Add the sprinkles.
- Chill for 2-3 hours until set. Allow to come to room temperature. Cut into squares. Store in an airtight container.