On my list of favorite low-maintenance holidays, July 4th is up there. I eat my annual nitrate-free hot dog (once a year is just enough, really), drink a cocktail, and whip up some brownies. It’s the perfect meal!
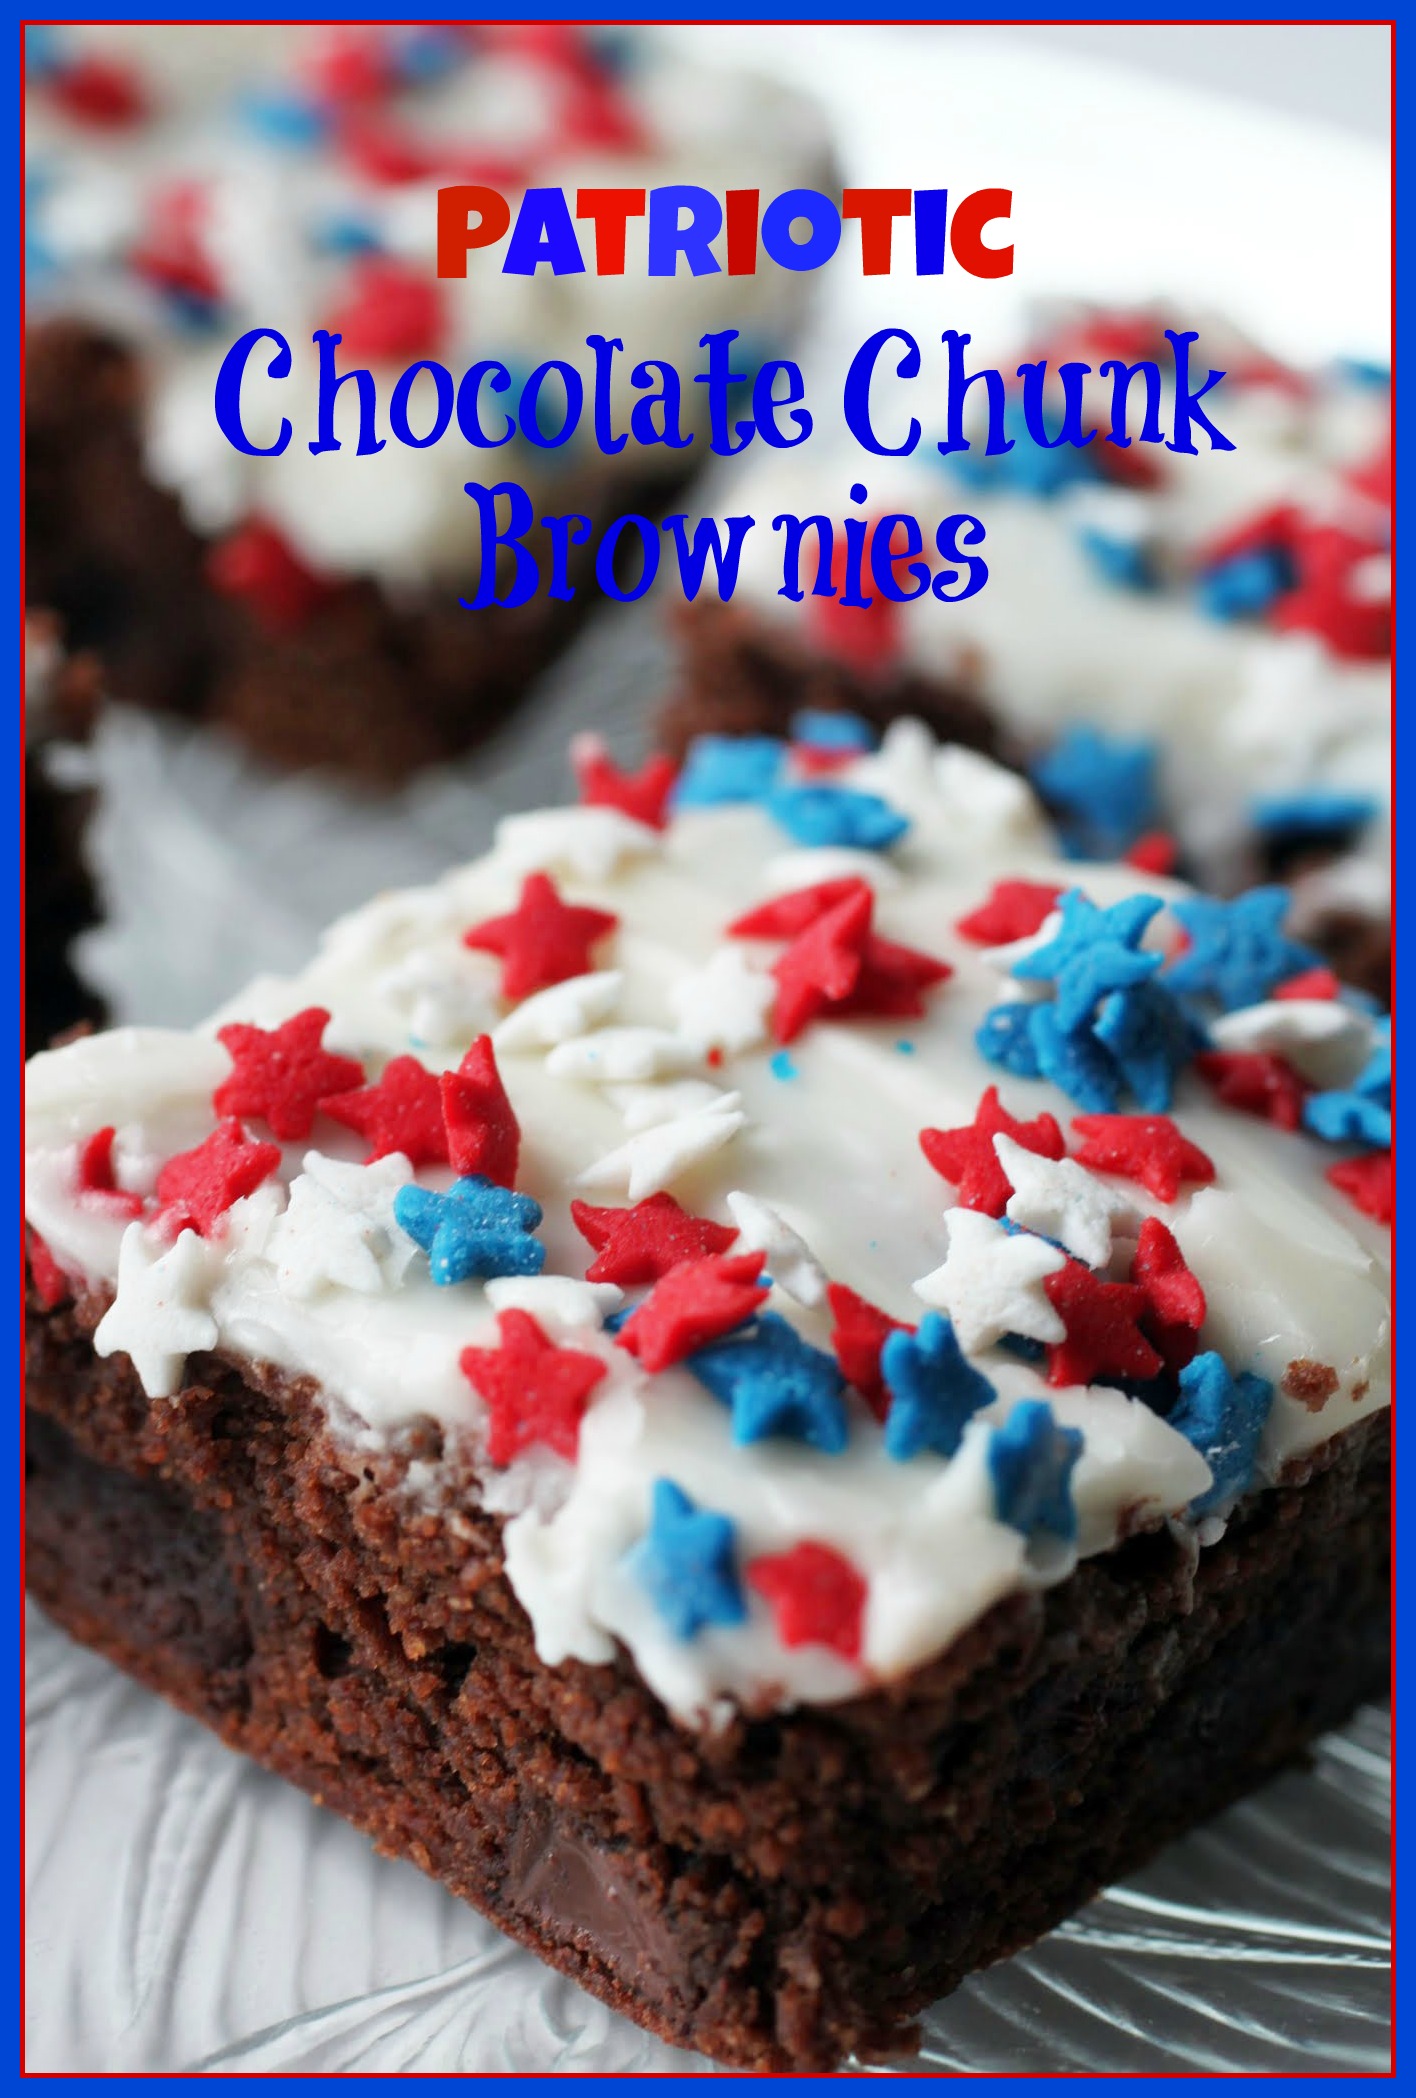
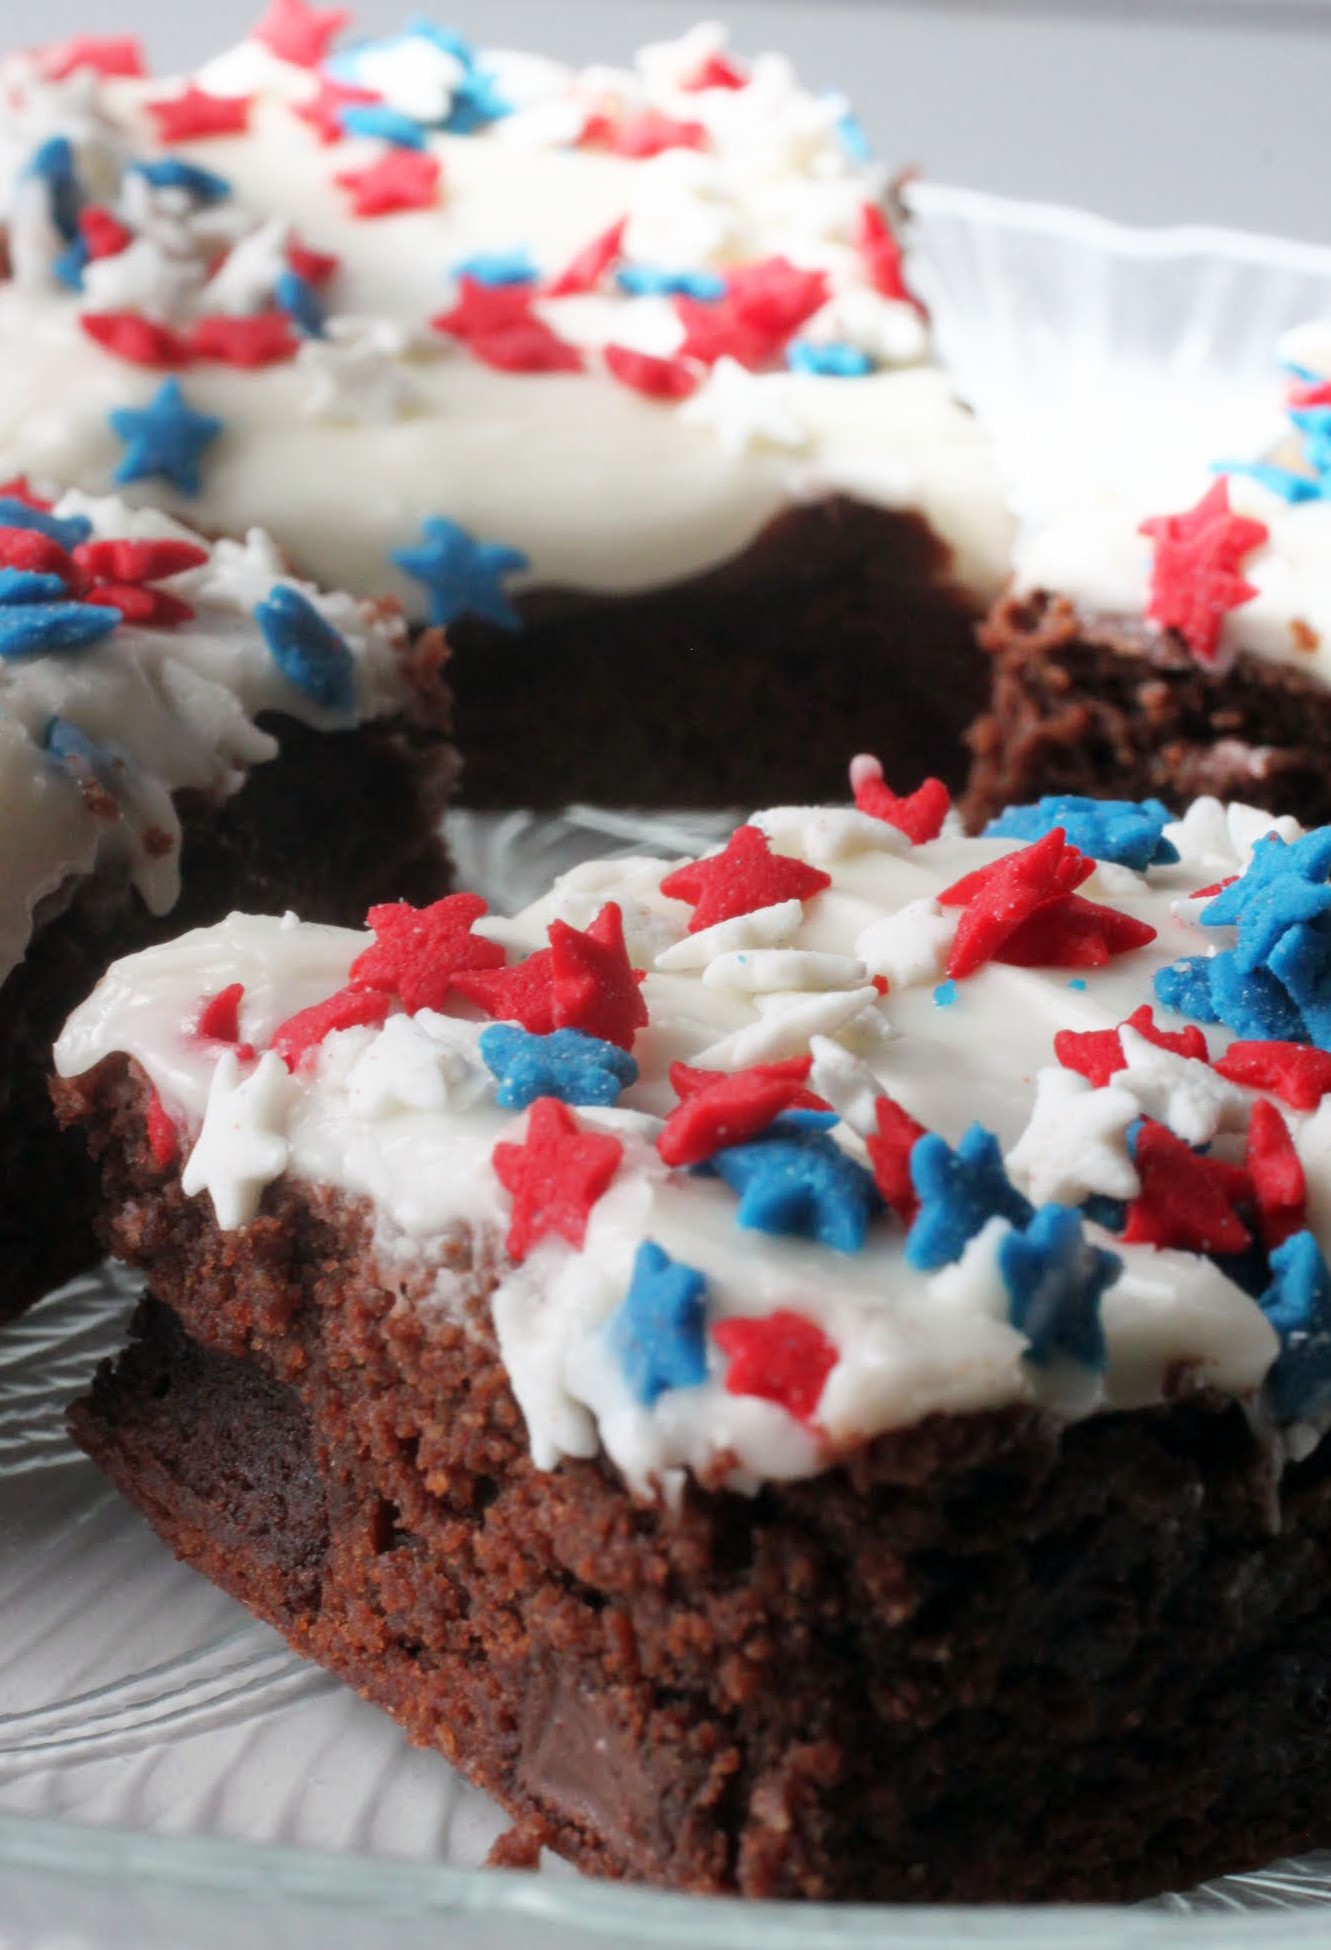
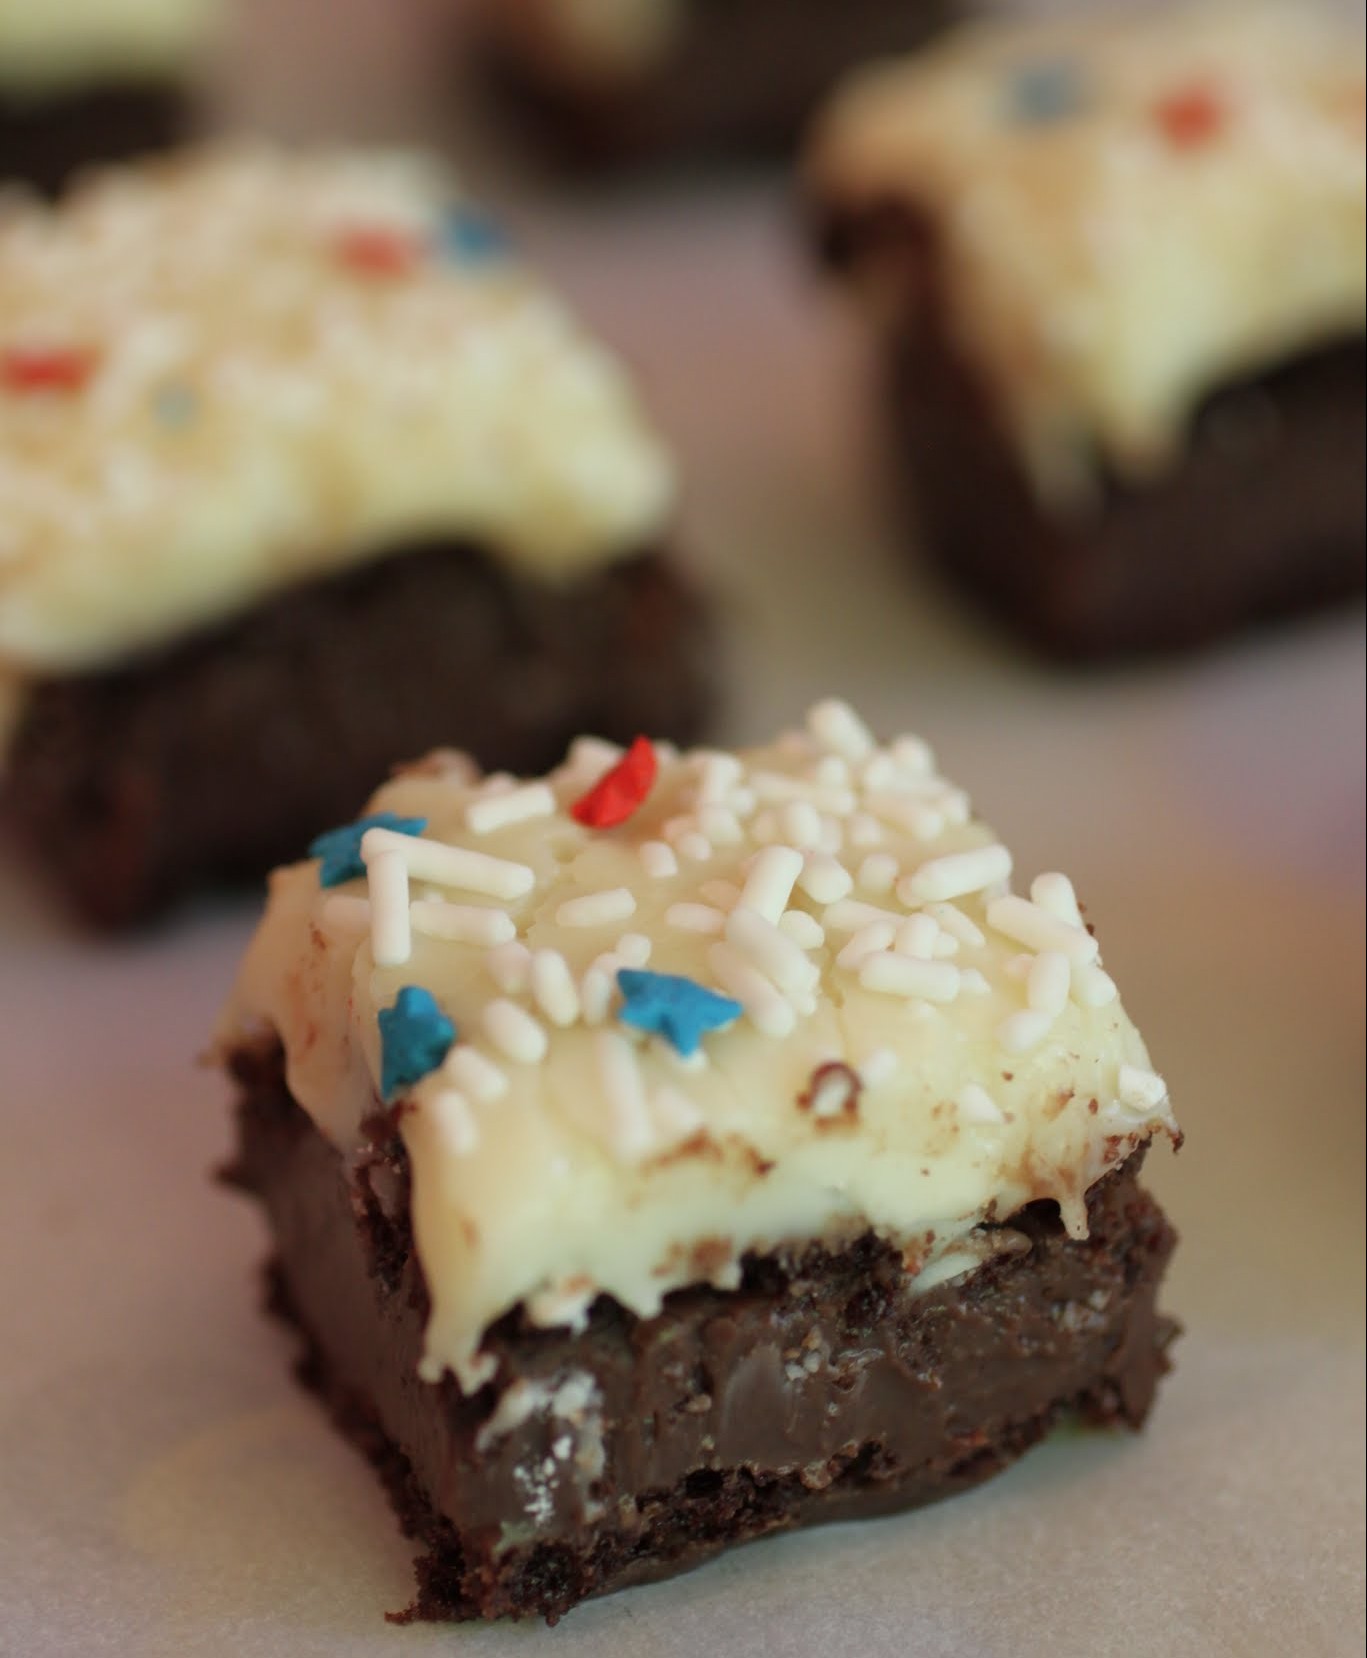
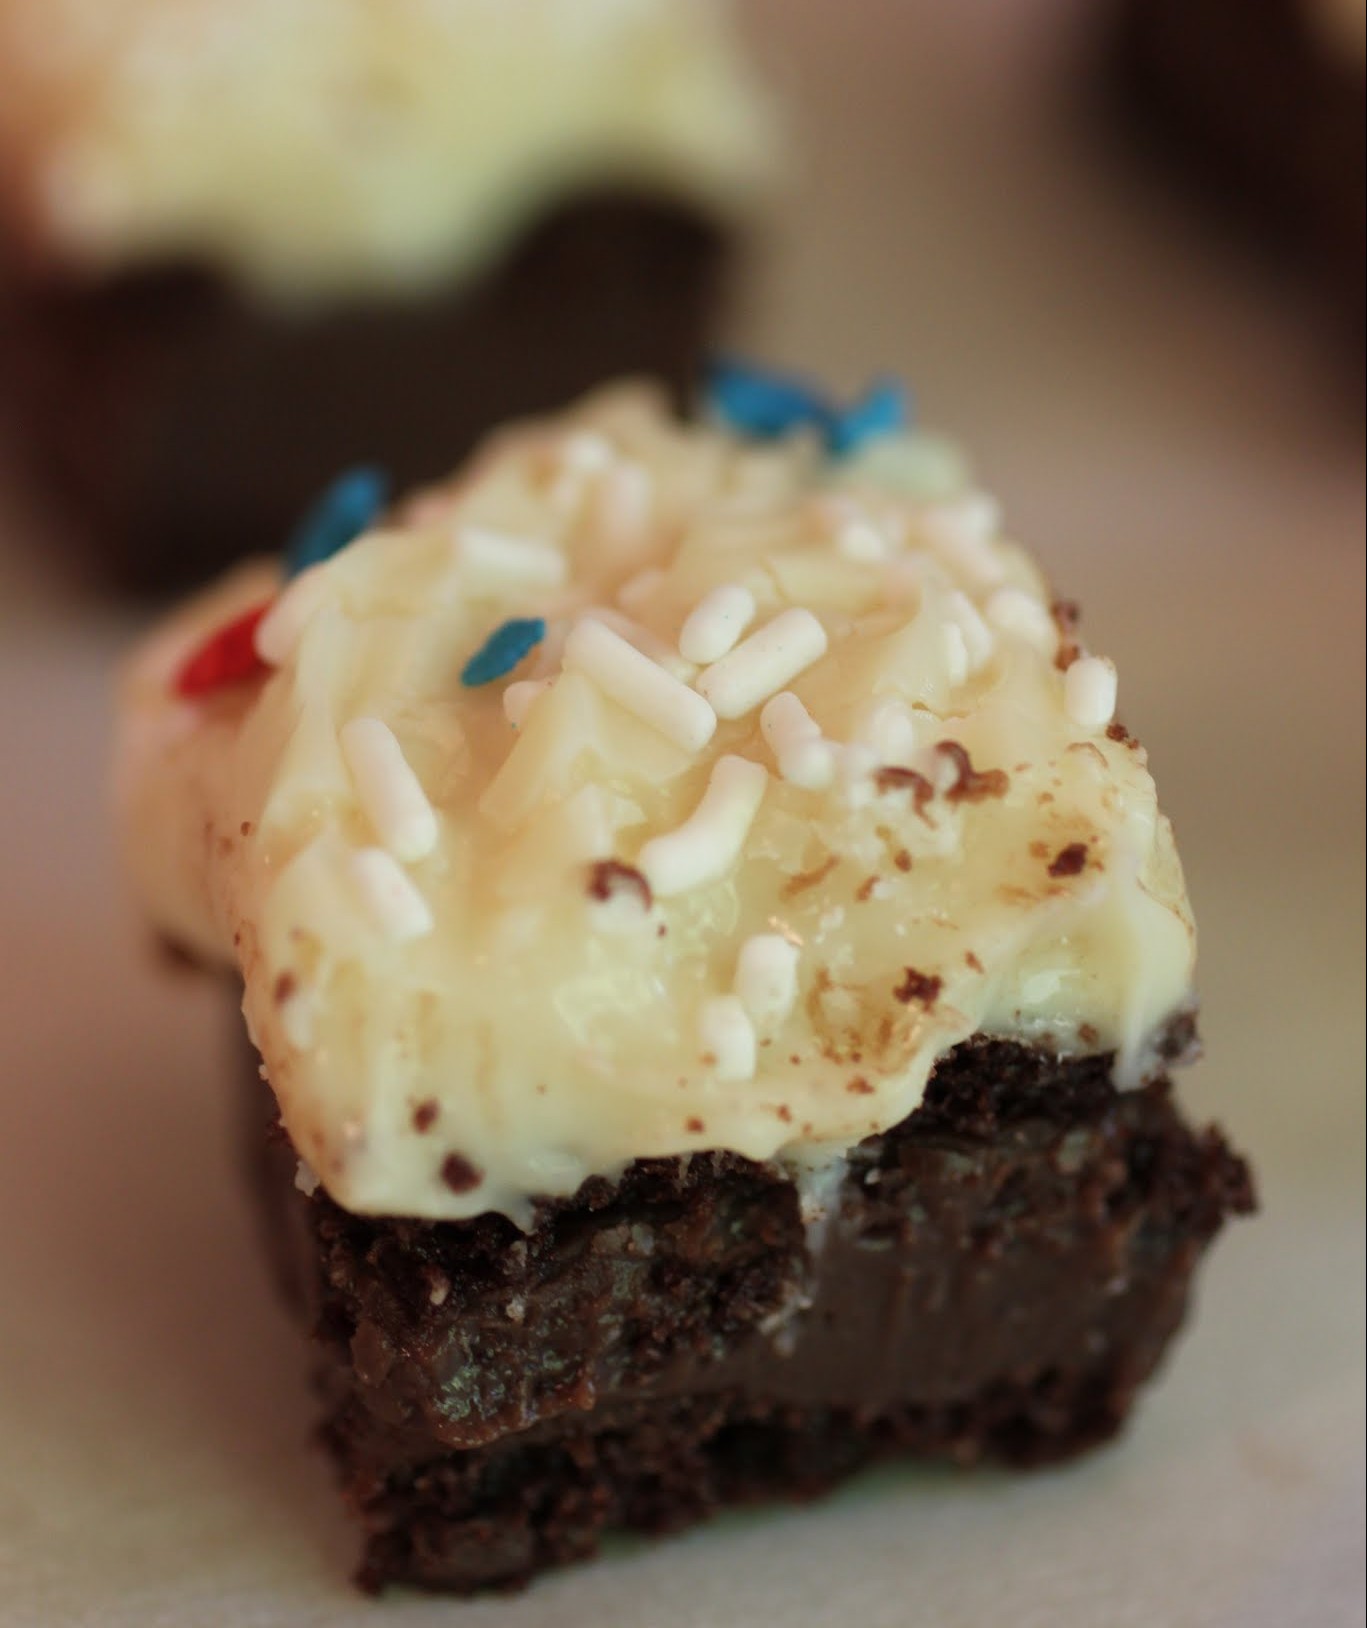
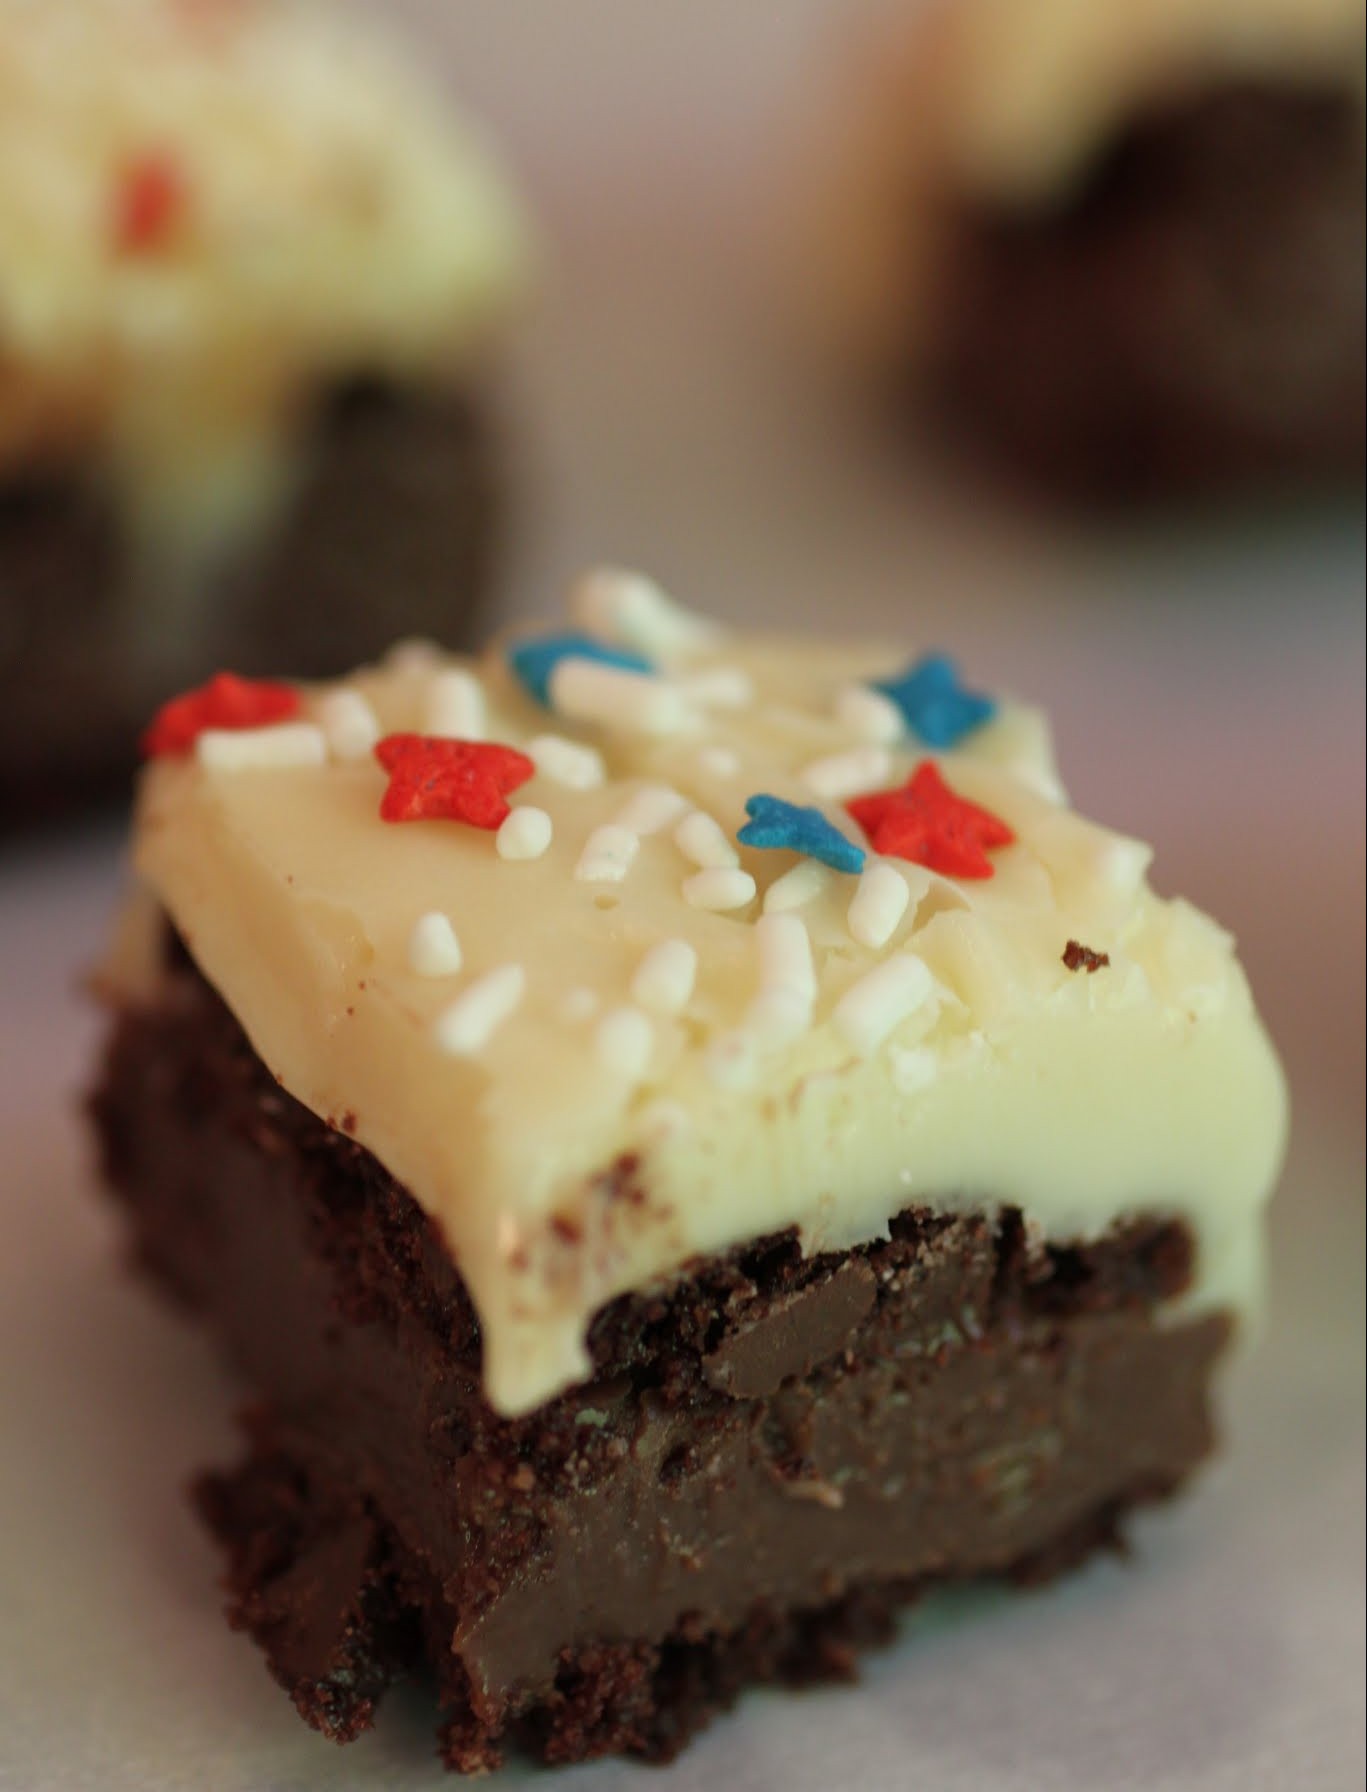
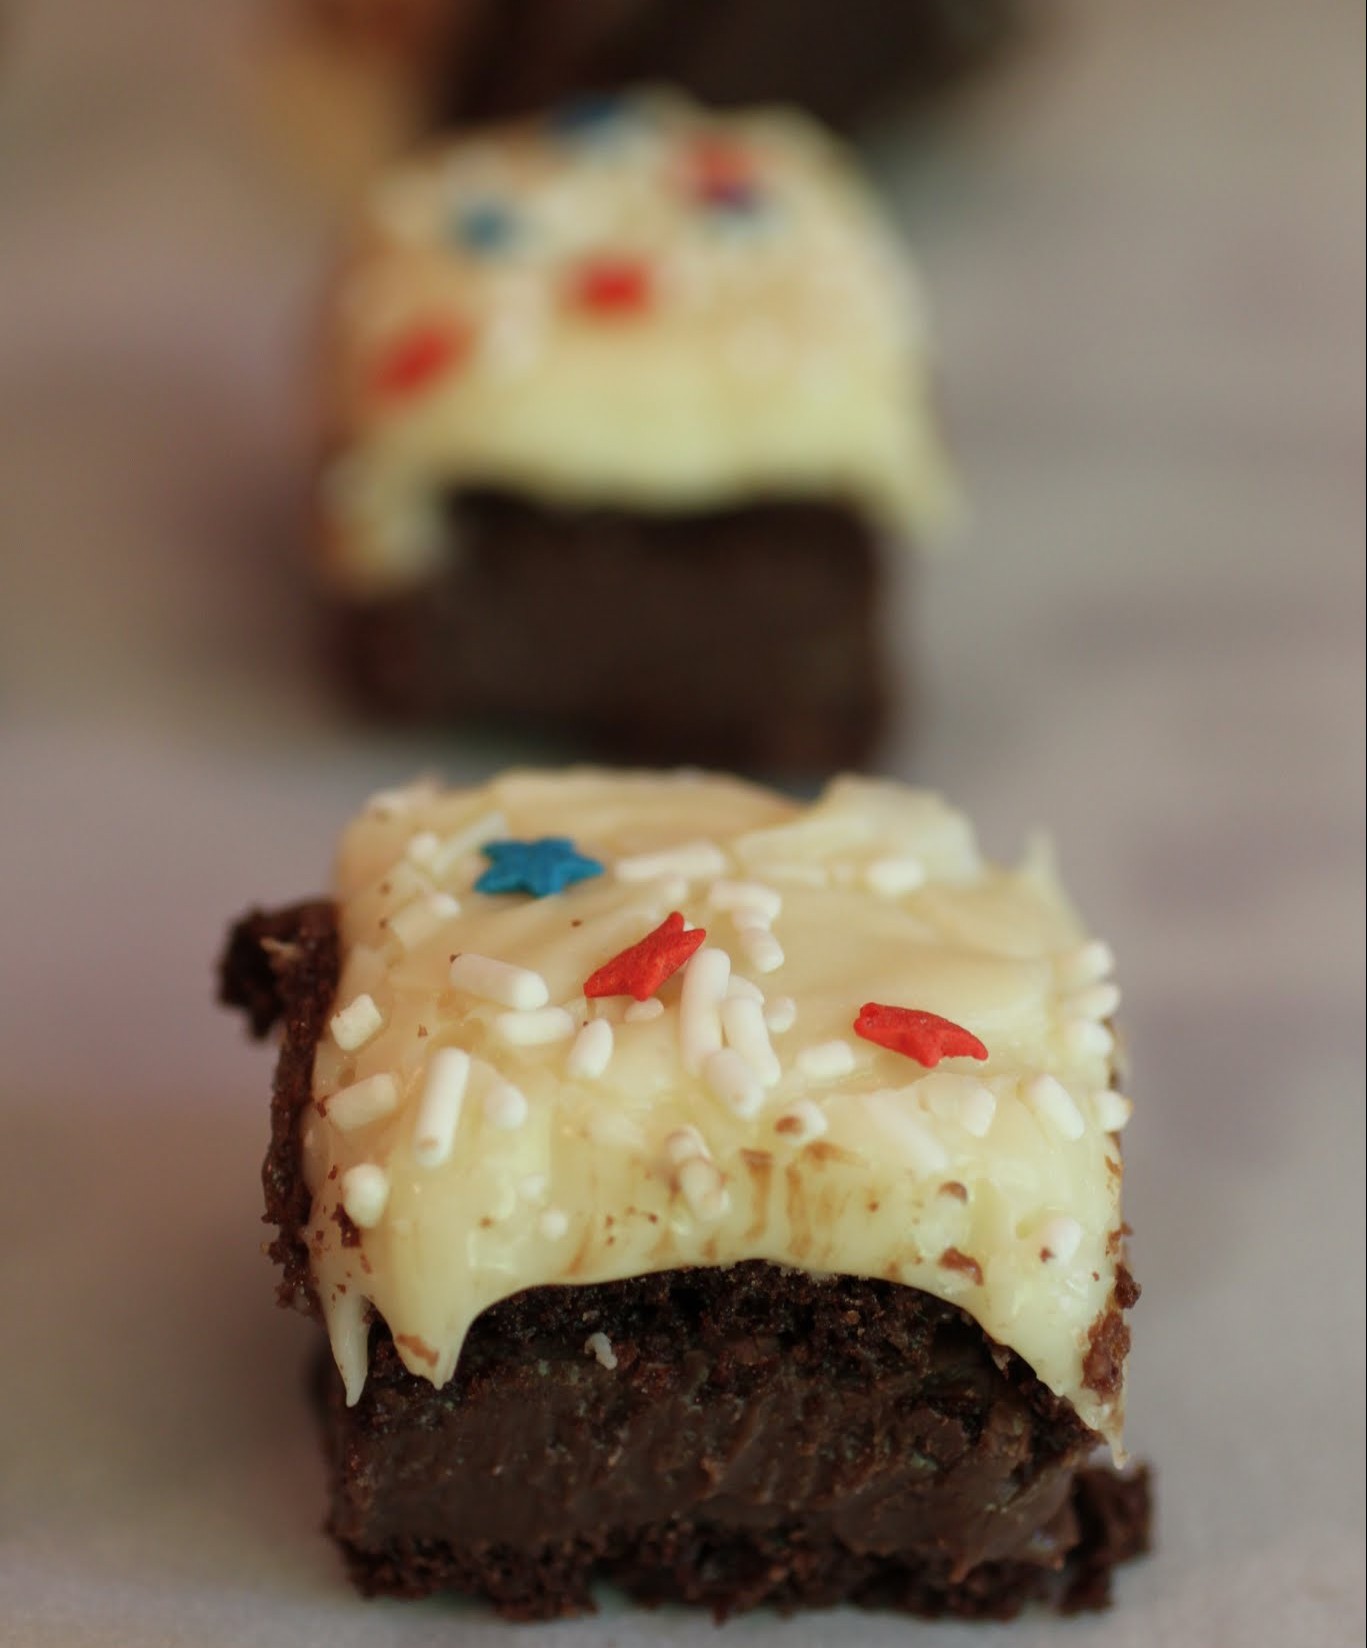
I’ll never argue with a brownie in any form, but they’re at their best when giant chocolate chunks are nestled within. Oh, and when there’s a nice thick layer of glaze on top with sprinkles. Patriotic sprinkle bling, no less!
When I was a kid living in Indianapolis, we used to go to a living history museum called Conner Prairie on the 4th. It was a fun place, full of people pretending to be from days gone by in their houses without air conditioning. Even as a kid, I was pretty sure they had it rough in terms of work conditions. But to their credit, the actors seemed to enjoy themselves, never breaking character.
On Independence Day, the Indianapolis Symphony would play on a large field until sunset, at which point fireworks would go off. We’d be on our picnic blanket, eating Pringles and enjoying the show and feeling oh so very summer. Those warm, crowded nights full of music and laughter are such a happy memory now.
In DC, we don’t go to the National Mall for what is known as the Capitol Fourth. It’s a crazy mob scene and it’s just not worth the hassle. We’re talking hundreds of thousands of people jammed into small spaces to see the big show, and I don’t like crowds of that nature. Getting downtown is rough whether you take a Metro train or drive, so the upshot is that I watch it all on TV instead.
This year, Kenny wants to find a fireworks display in the suburbs, and part of me thinks that could be fun. The other part just wants to eat a hot dog, put the kids to bed, and watch the show on PBS under a blanket on the couch. I wonder who’s gonna win?
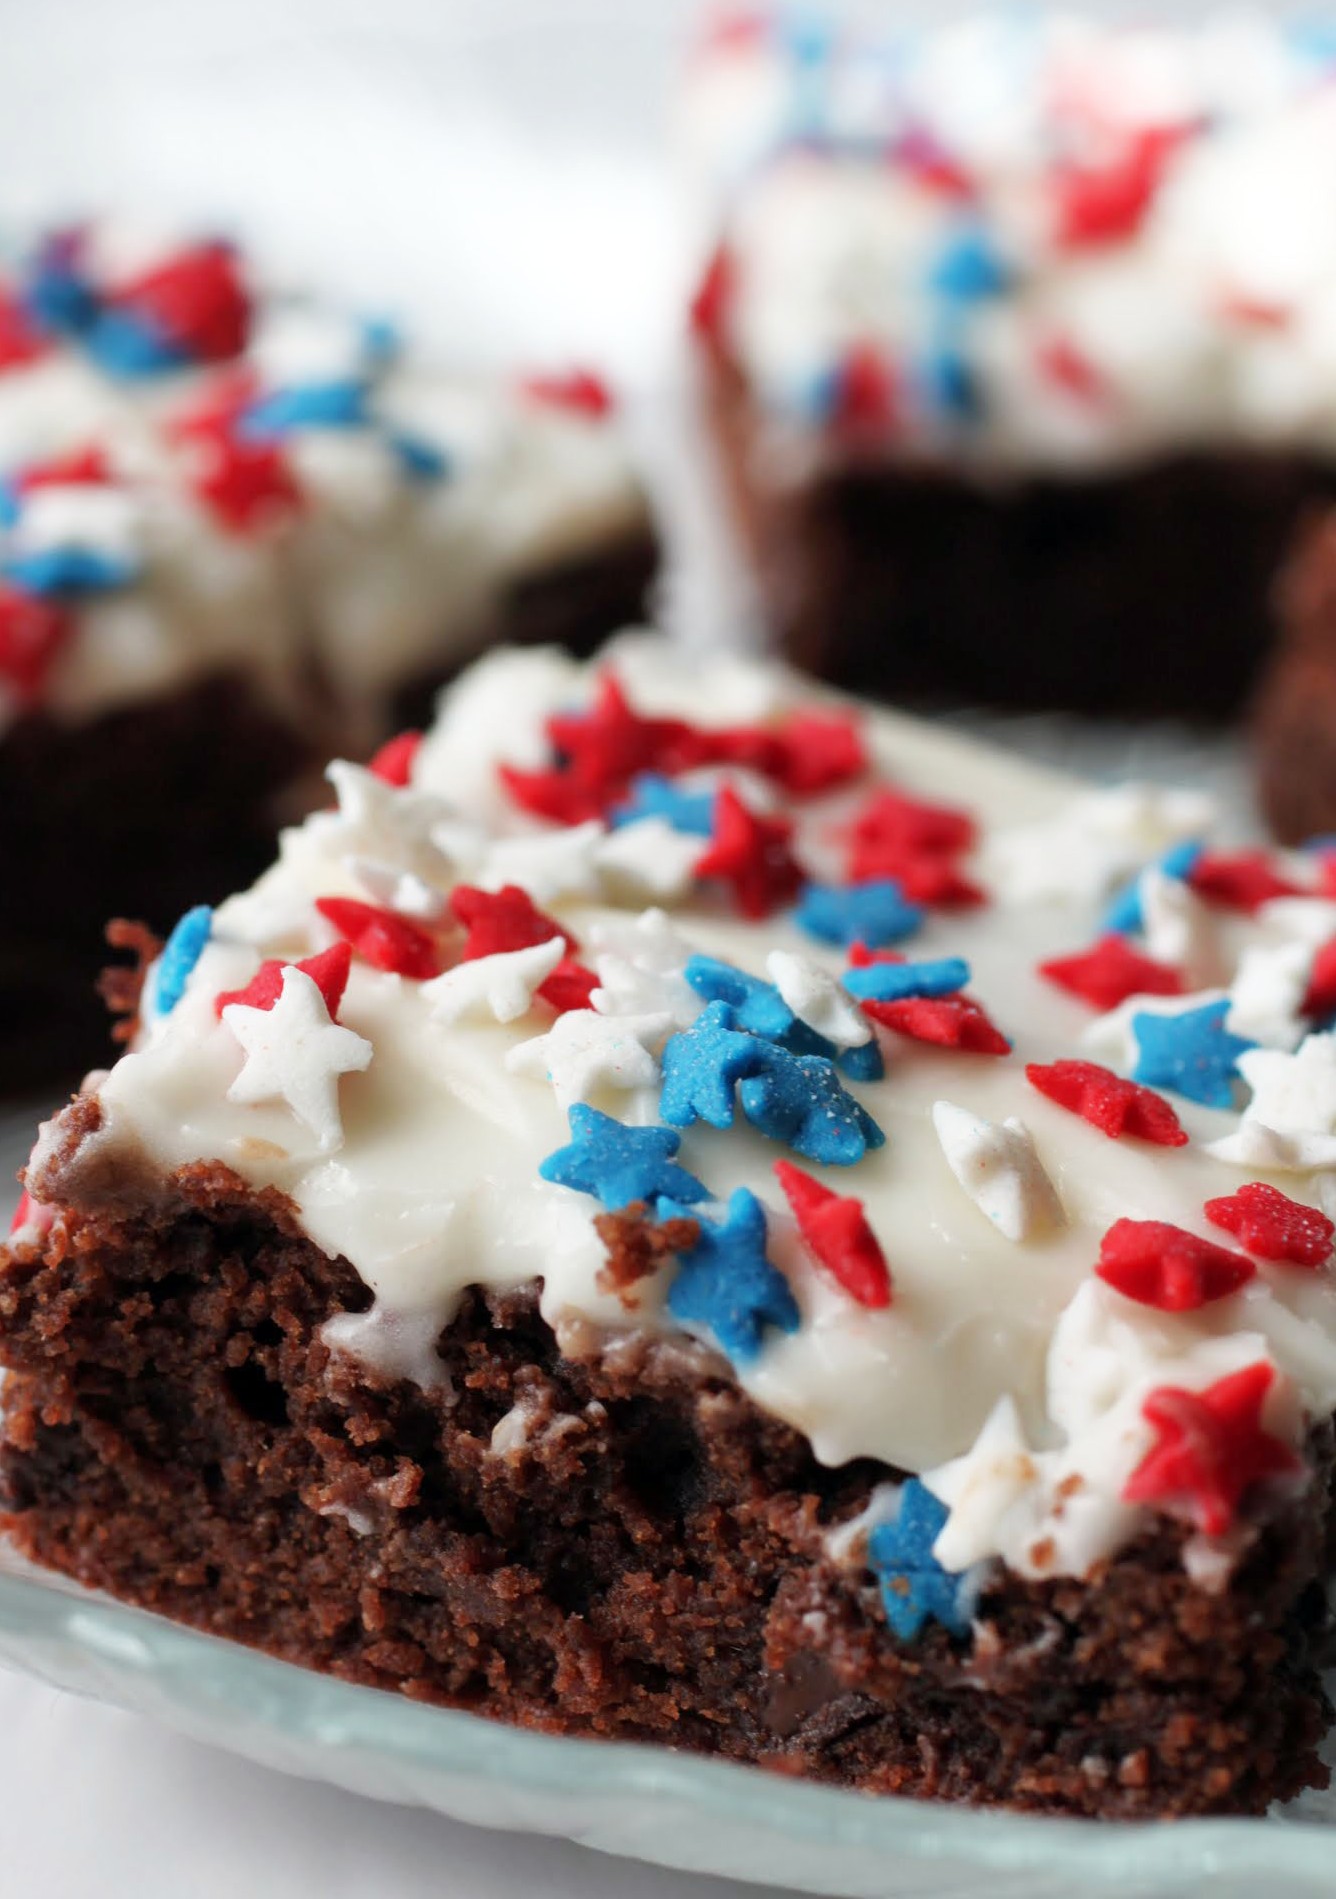
Either way, I have patriotic brownies to keep me company. If you’ve never had a brownie with vanilla glaze, you are missing out. The trick to making thick glaze is to use heavy cream rather than milk or, heaven forbid, water. That makes your glaze, well, watery.
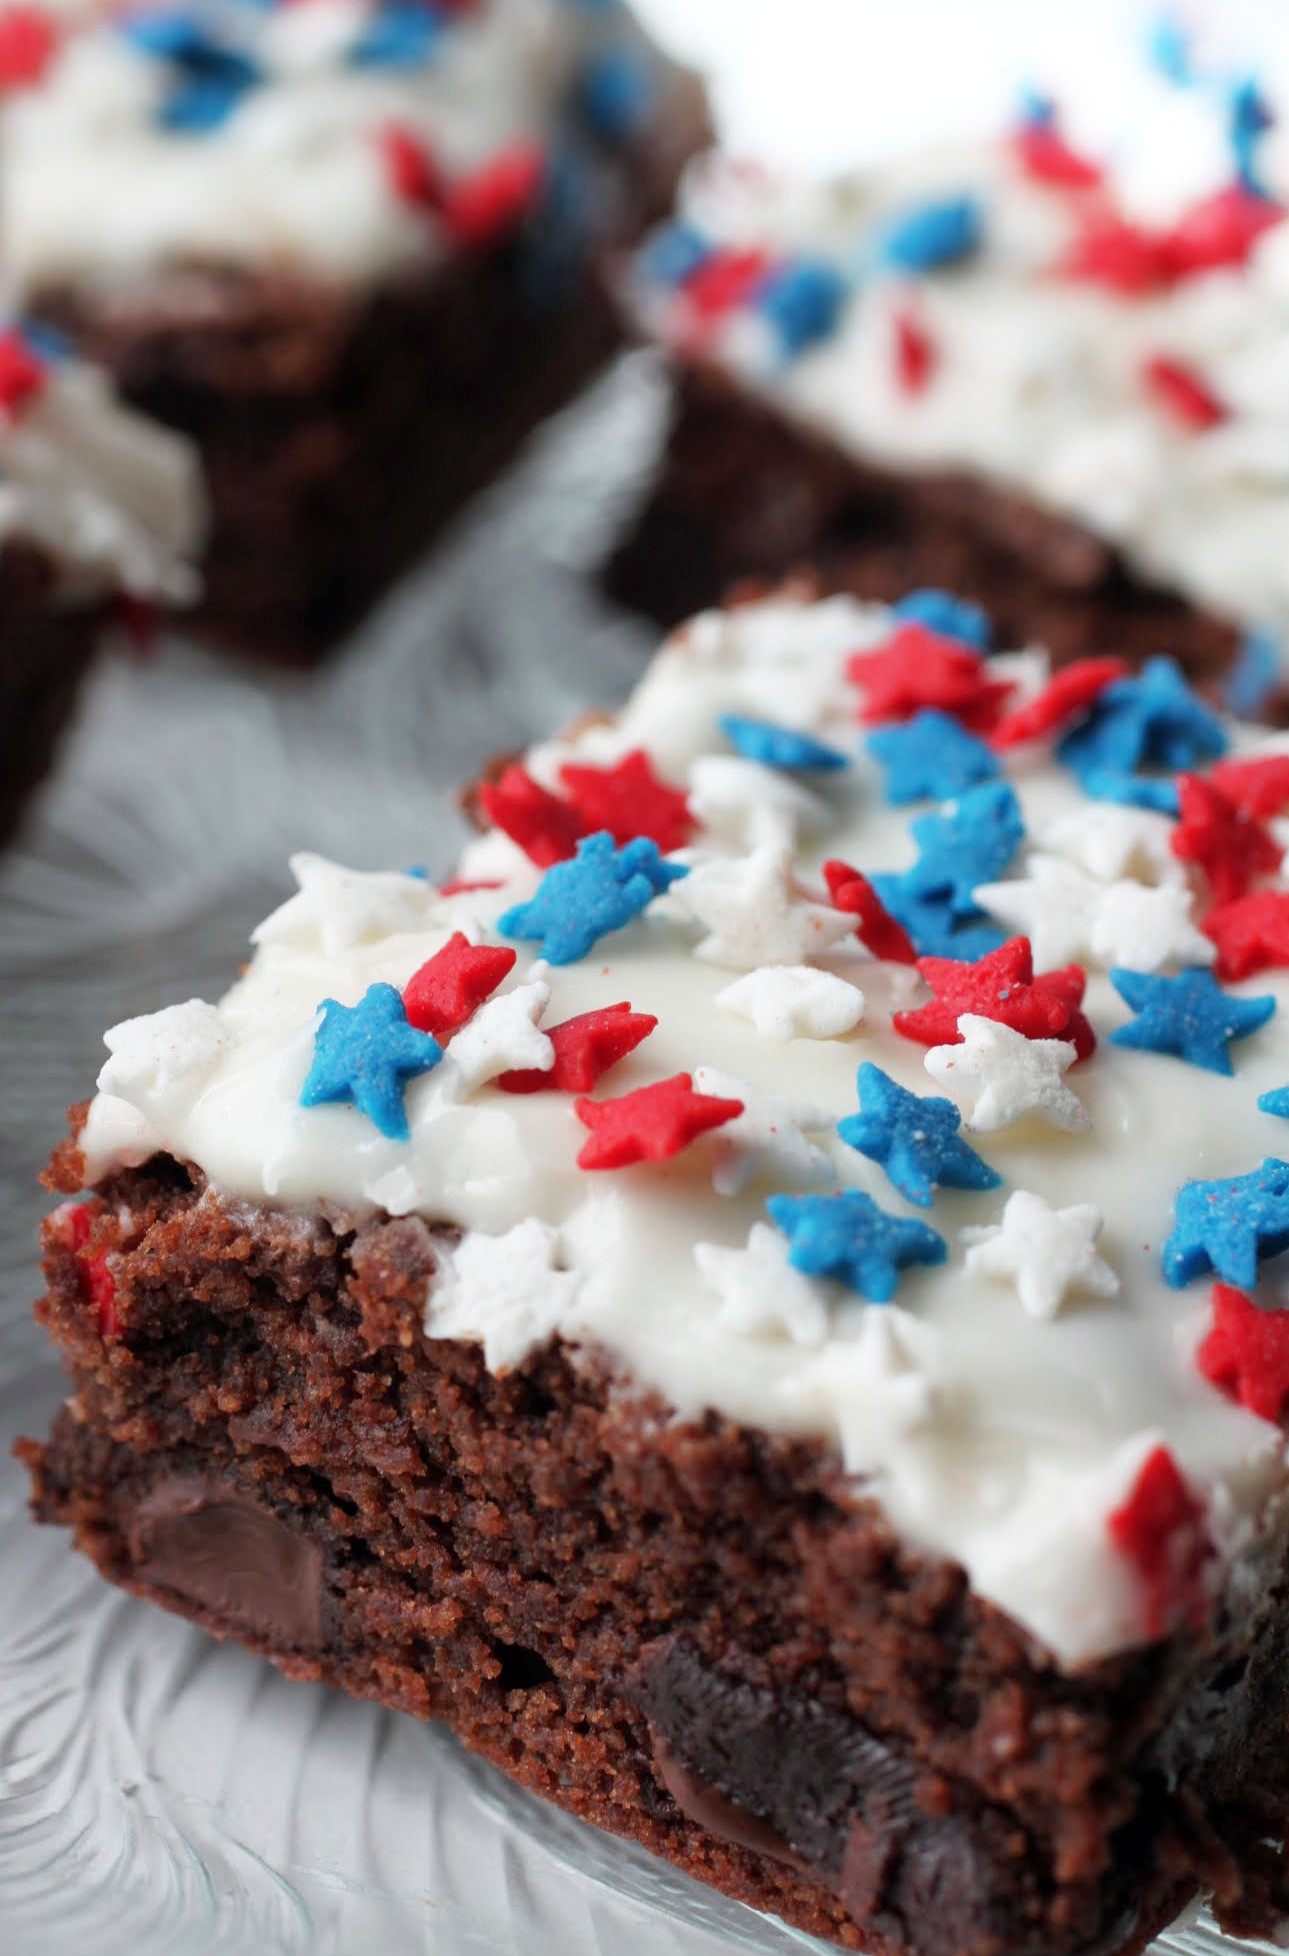
I also love to put chocolate chunks in everything, but brownies in particular. The slight crunch is a wonderful contrast to the brownie, and adds another layer of fudgy goodness.
This July 4th, celebrate in the way that makes you happy and warm and fuzzy. It’s a great holiday, a time to appreciate our freedom and traditions. Why not express that with dessert?
Ingredients
Instructions
- Preheat the oven to 350. Line an 8 X 8 pan with foil and spray it with cooking spray. Set aside.
- In a medium-sized bowl, mix the cocoa into the melted butter until it dissolves. Add the sugar and stir again. When the sugar is incorporated, mix in the vanilla and eggs. Add the salt and flour, mixing until just combined. Stir in the chocolate chunks.
- Spread the batter in the prepared pan. Bake for 25-30 minutes until done. Remove from the oven and cool completely.
- Make the glaze. Combine the powdered sugar and vanilla. Add the heavy cream slowly until the glaze reaches a spreadable consistency.
- Spread the glaze over the cooled brownies. Garnish with sprinkles. Allow the glaze to set.
- Cut into squares. Store in an airtight container.
]]>
Seriously, I don’t eat them that often. The thing is, they’re usually fried, and while that’s delicious, I feel kind of gross after I eat one. The donut pan is a much better option!
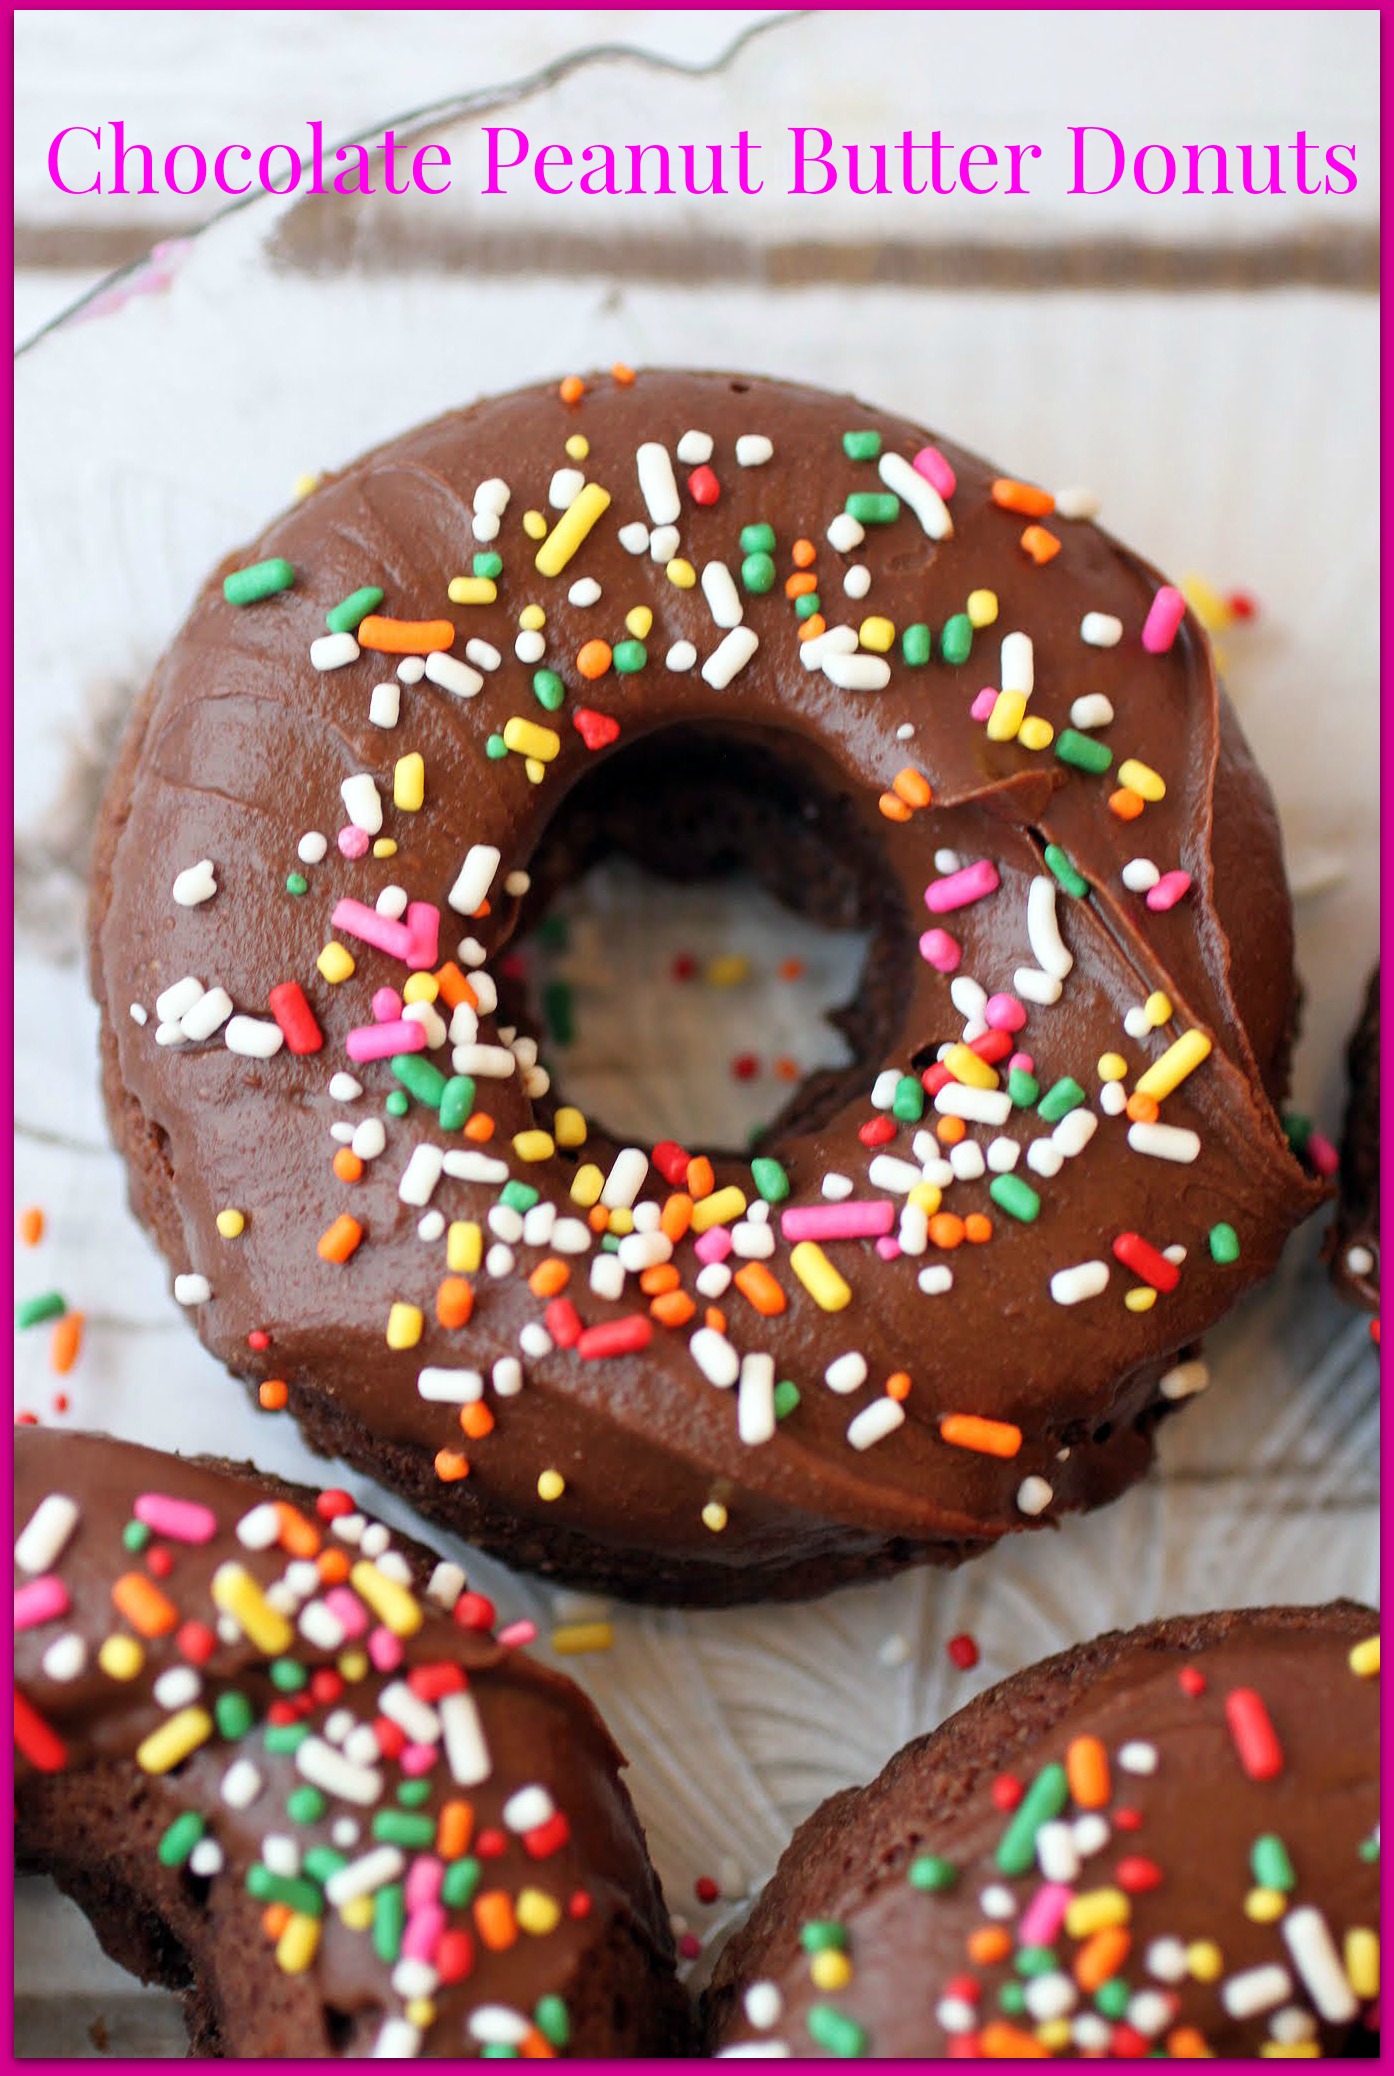
Plus, when I bake my own, I can customize flavors at will. Like this chocolate peanut butter version. It has the loveliest, thickest PB chocolate icing. And sprinkles! Can we all just stop for a moment and enjoy the sprinkles?
When you think about it, sprinkles are a donut’s best accessory. Accessories matter, and I often forget about them. As much as I want to remember to coordinate my jewelry with an outfit along with maybe a scarf or a great hat, it’s just so much work. If I had the dedication to accessorize fully, I’d sure look a lot better. But it’s not high on the priority list.
Neither is makeup. As I get older and paler, I should probably be doing something to make my face look a little less drawn. The effort involved, though, is kind of daunting. I’m totally uneducated about makeup, so there’s a steep learning curve. Plus I’m a face toucher. I seriously run my hands across my face way too many times a day, which would totally ruin a beautiful facial palette. So why bother?
And in a perfect world, I’d have gorgeous nails. Not only am I a baker, but I also play the guitar. Anything painted on my nails chips right off, and I can’t keep them long if I want to be able to play. But I’m very jealous of women with beautifully decorated hands. Mine are teeny tiny, plain, and don’t look imposing at all.
The only way I make up for lack of accessorizing is by pushing the funky fashion envelope. Clothes are fun, and I don’t mind putting time into picking them out. But still, I wonder how much cooler my outfits would look if I could just get the little details taken care of.
Like if I’d left the sprinkles off these donuts, they wouldn’t have been nearly as exciting. Thankfully, I remembered the bling this time!
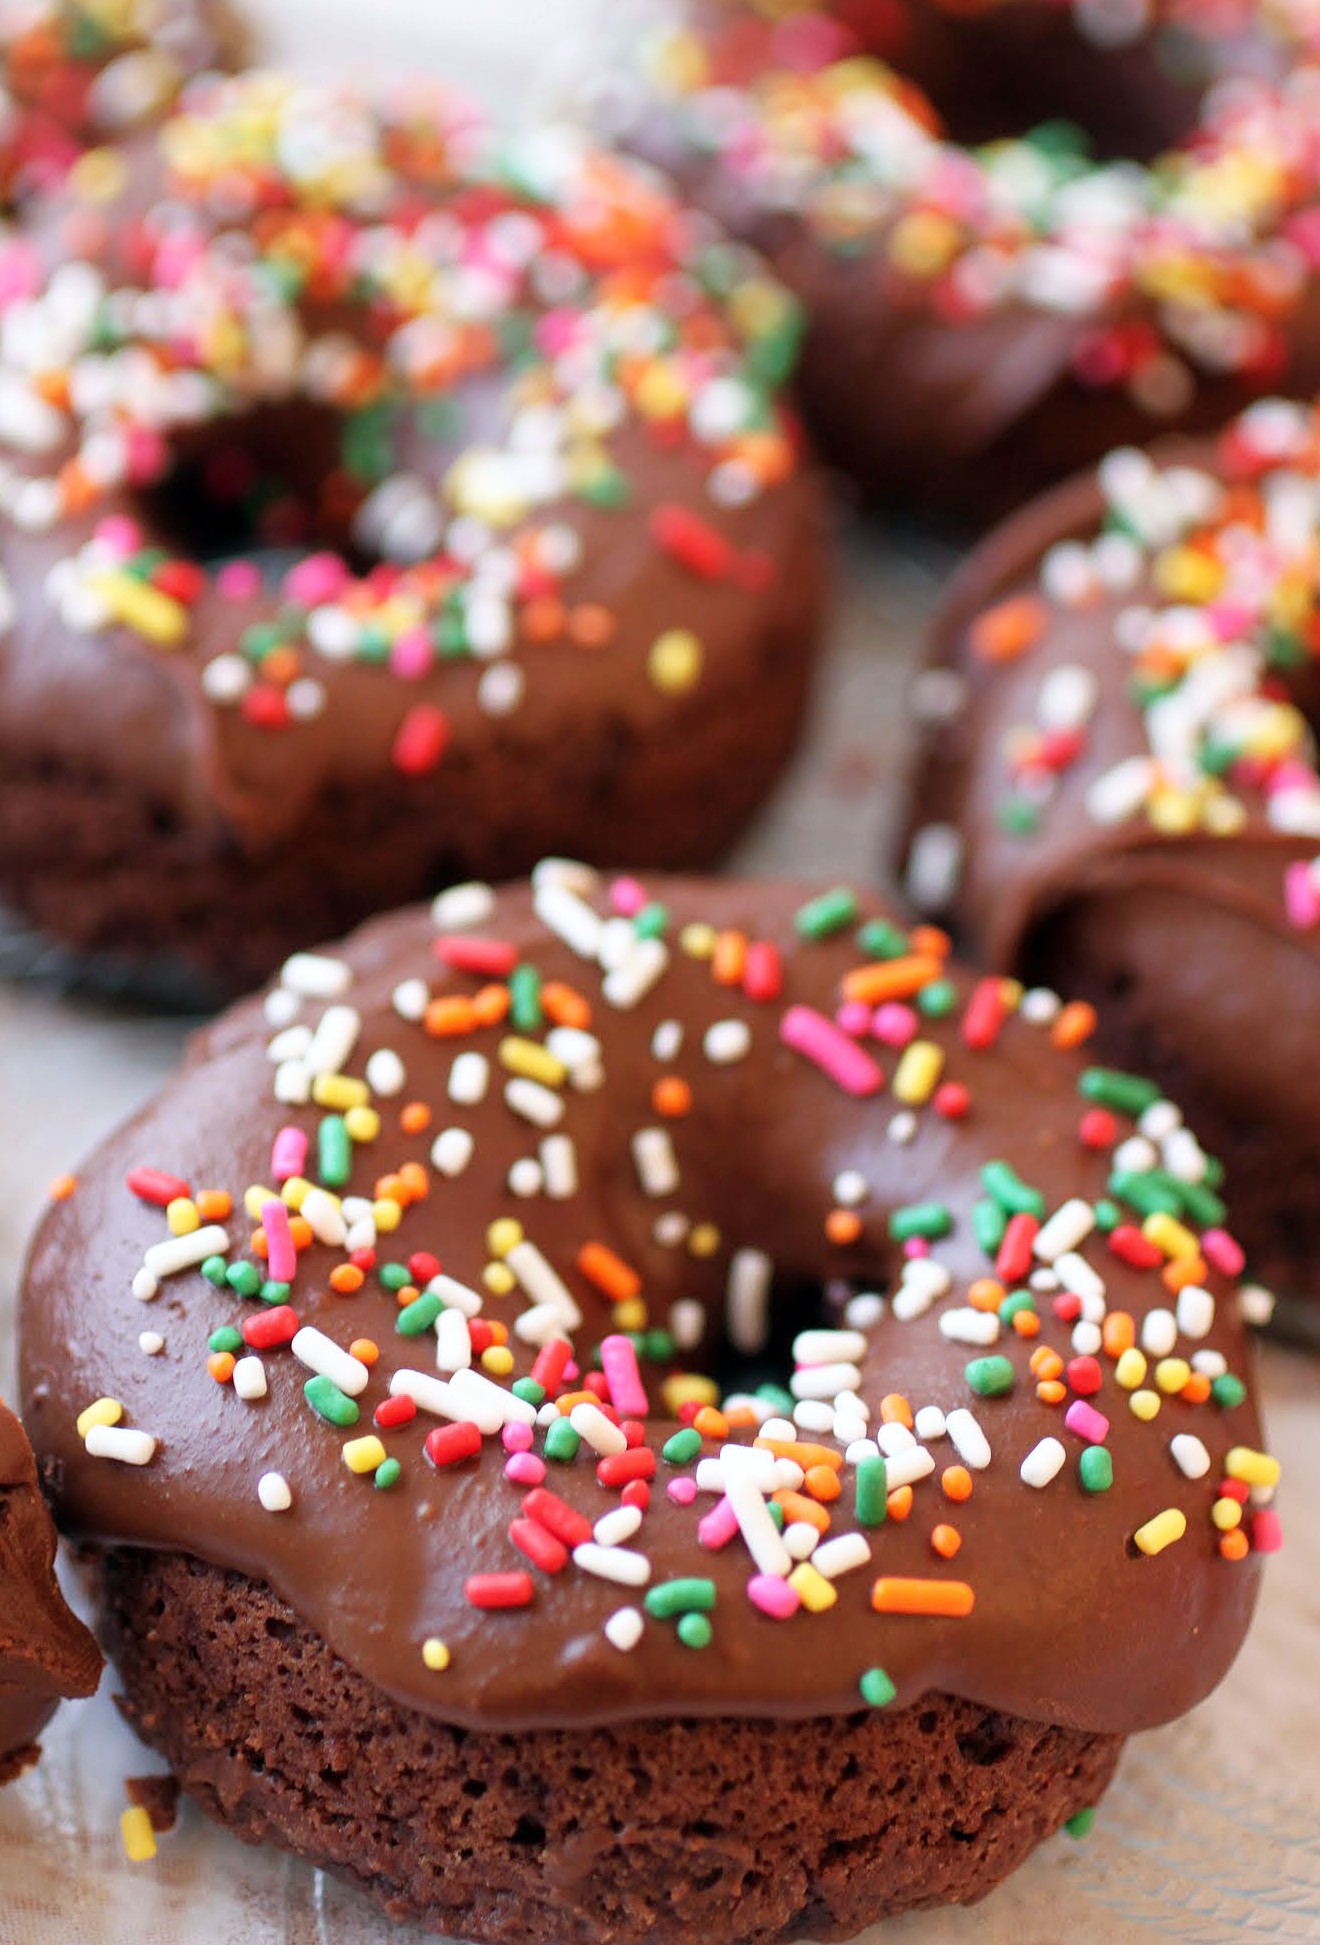
These are chocolate peanut butter all the way up, down and through. The batter has both. The icing has both. These flavors are unbeatable!
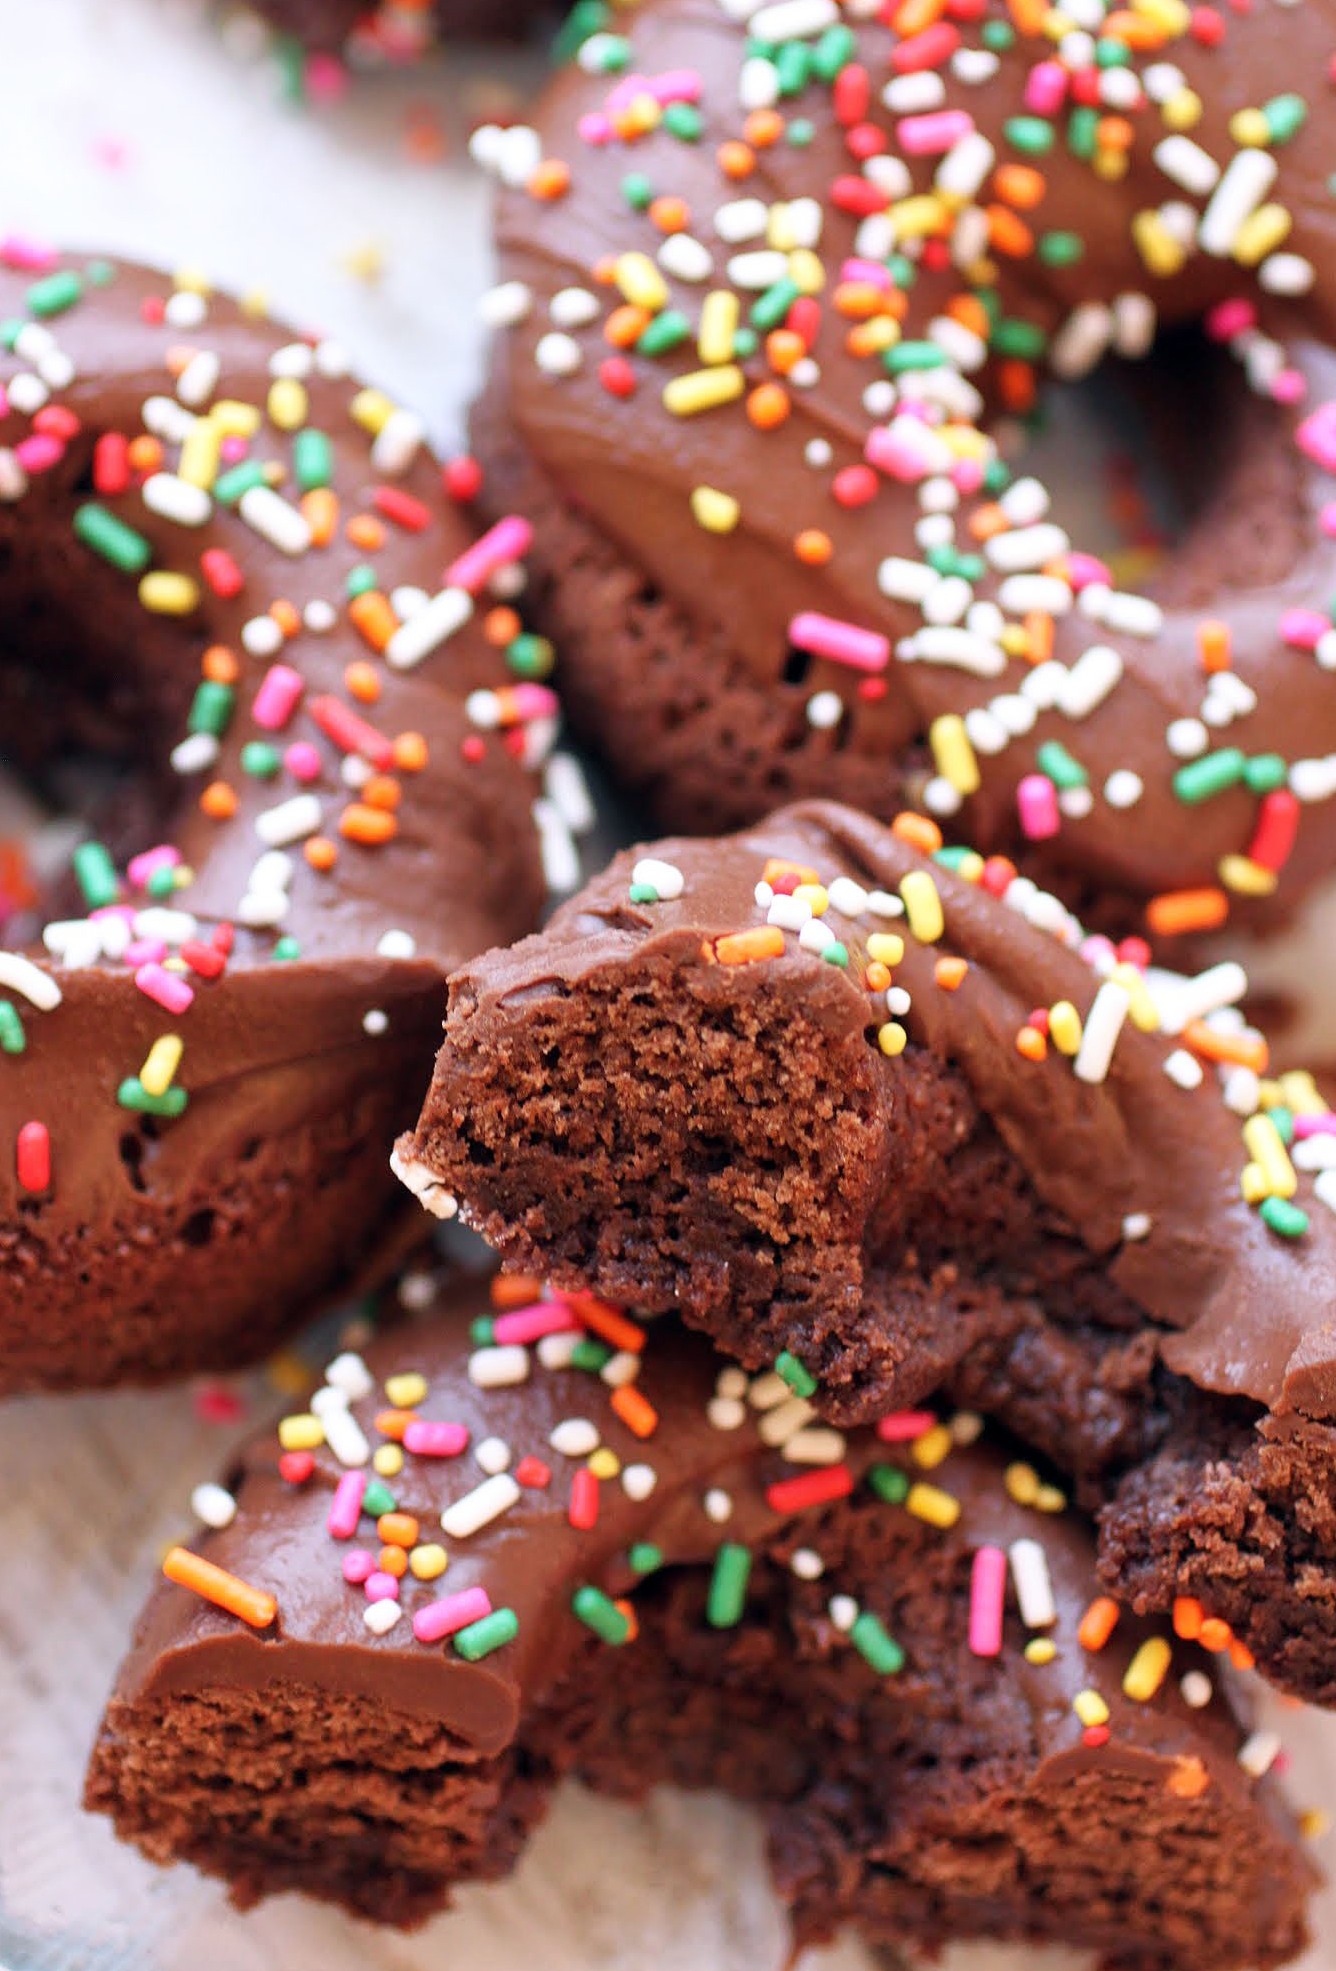
And of course, the kids run straight to them. My youngest insisted on having what she called “a whole bagel,” which means she saw the sprinkles and decided that would be lunch. I had a hard time convincing her otherwise without eliciting a major tantrum.
Any donut that gets baked rather than fried is naturally more guilt-free. Are these a health food? In the normal world, no. But in the world of donuts, you just won!
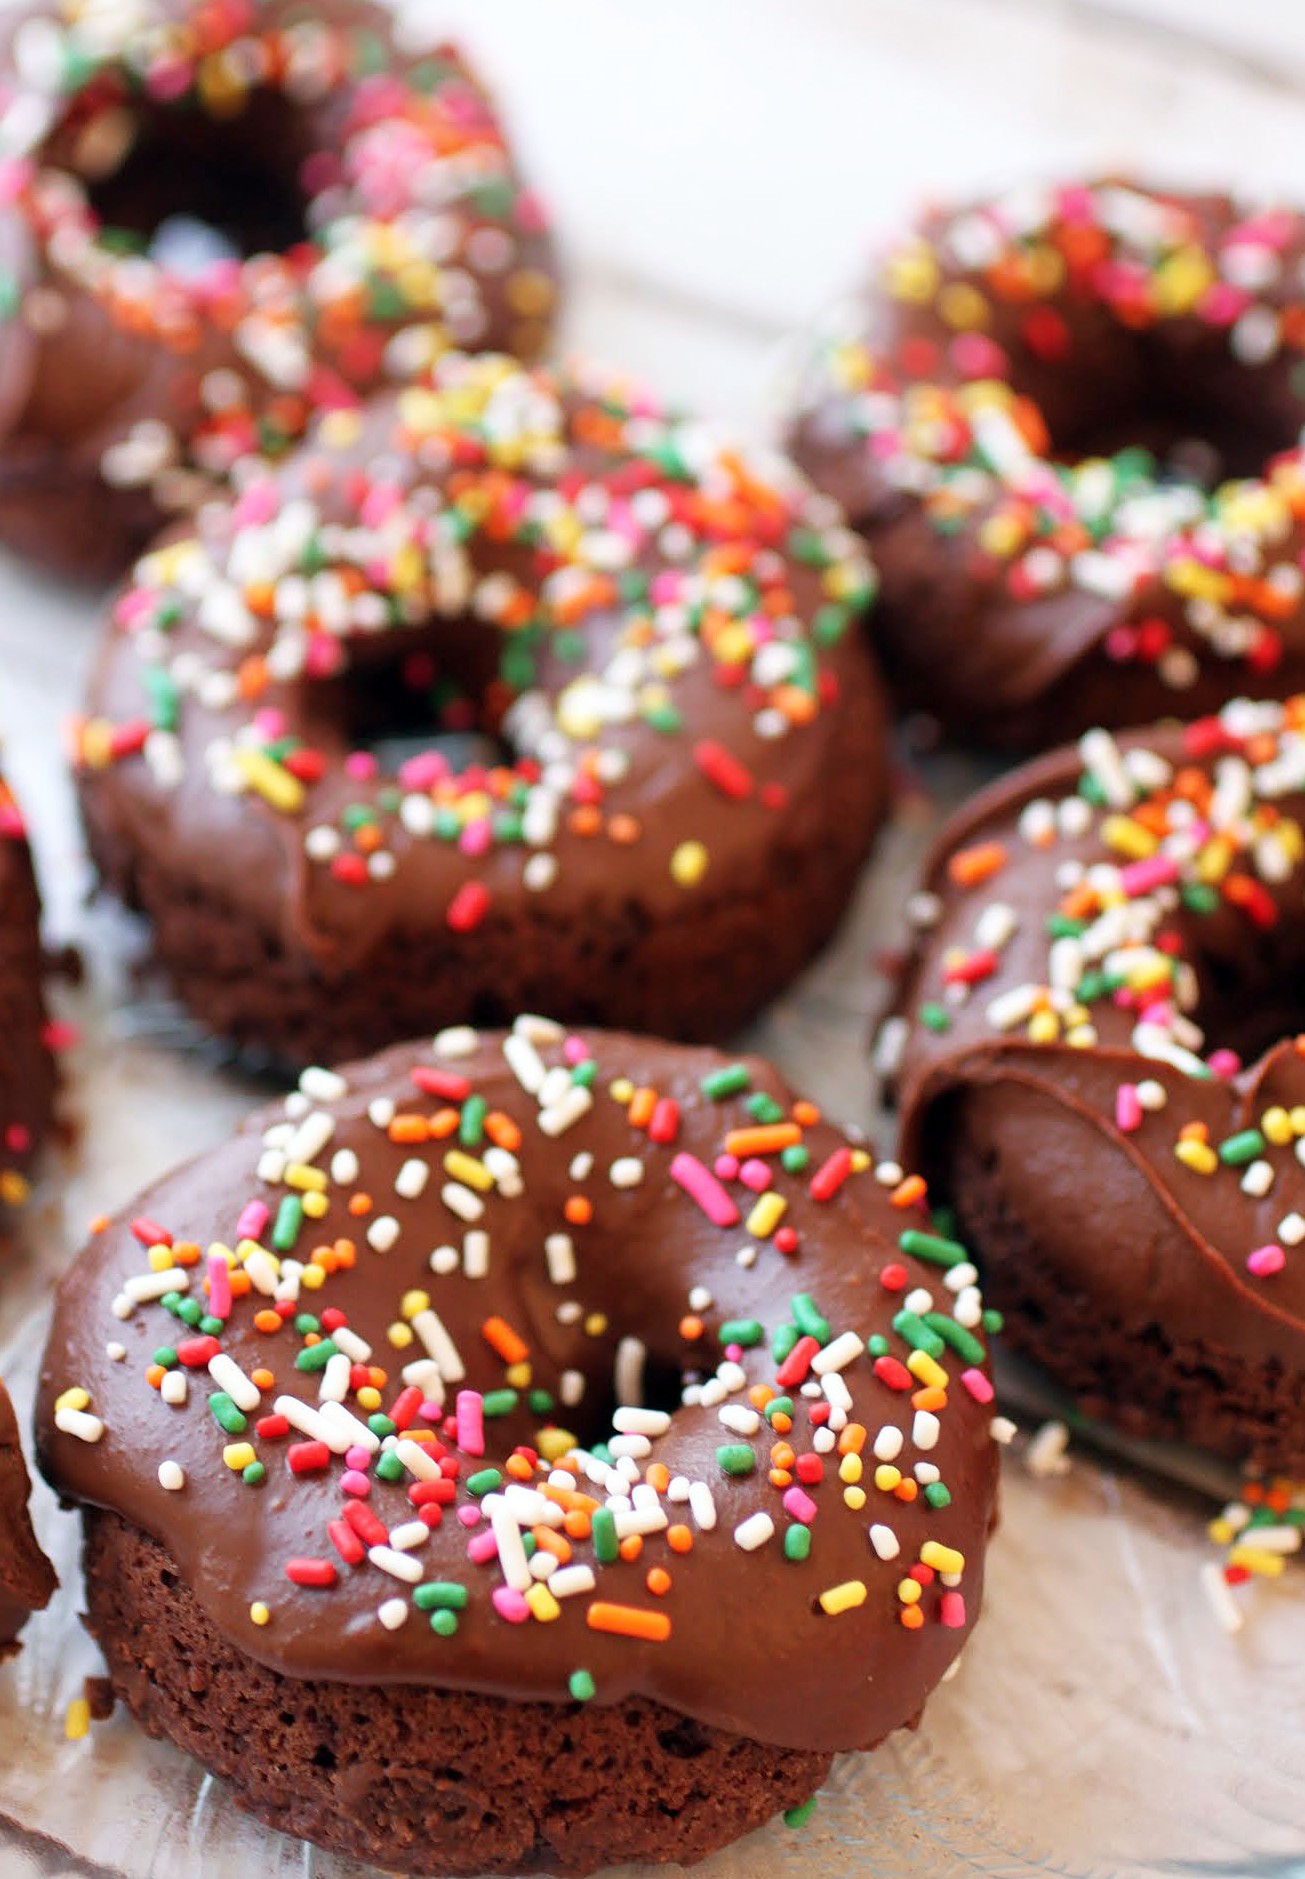
Whether or not you can accessorize yourself, definitely try to add some flair to your baking. It’s not hard, and everyone loves a little pop of razzle dazzle!
Ingredients
Instructions
- Preheat the oven to 350. Coat a 6-yield donut pan with cooking spray. Set aside.
- In a medium bowl, combine the flour, cocoa powder, sugar, and baking powder. Set aside.
- In a microwave-safe bowl, heat the butter and peanut butter for 30 seconds until melted. Stir until smooth. Set aside.
- In a small bowl, combine the buttermilk, egg and vanilla. Stir until smooth. Add the peanut butter mixture and stir again until fully incorporated.
- Add the dry ingredients and stir until everything is combined, but not further.
- Using a spoon (the batter will be thick), fill each donut cavity about three quarters of the way. Take care not to fill them all the way.
- Bake the donuts for 10 minutes until firm. Remove from the oven to cool.
- While the donuts are cooling, make the icing. Combine the ingredients in a microwave-safe bowl and heat at 30-second intervals, stirring after each interval until smooth and glossy.
- Carefully remove the donuts from the pan. One at a time, dip each donut upside-down into the icing bowl, flicking your wrist to remove excess icing. Place each donut on a plate to let the icing set. Add sprinkles if desired.
- Once the icing is hardened, serve and enjoy!
There’s the convenience factor, sure. Paying someone to make dessert is a lot easier than rolling up your sleeves and doing it on your own, but on Valentine’s Day, we like to pull out all the stops and make the treats ourselves. So why pay a lot of money to an expensive chocolate shop for dipped Oreos?
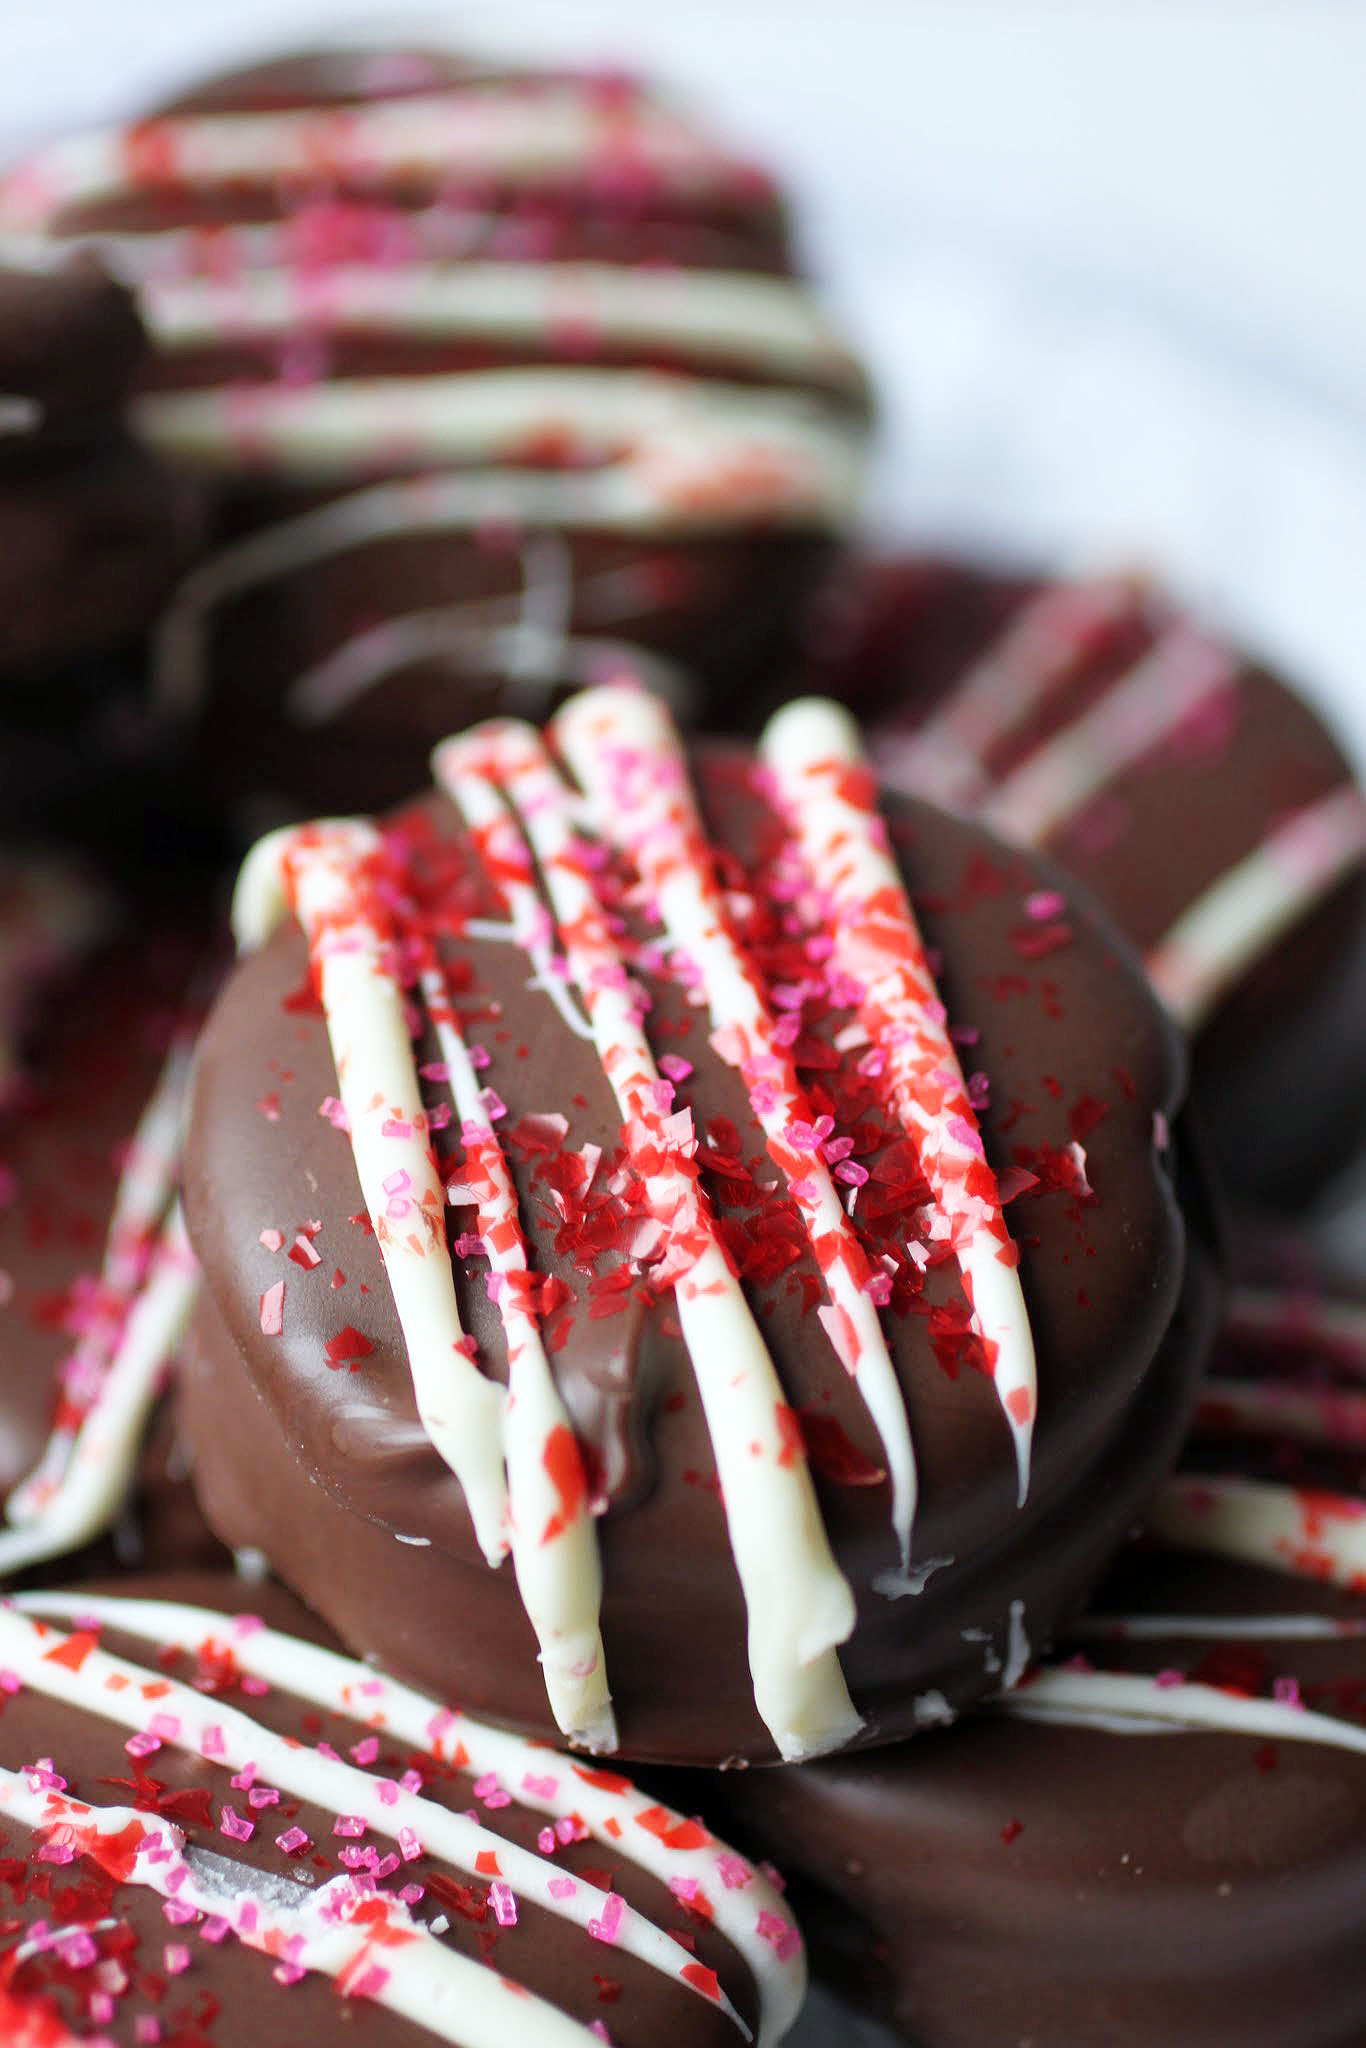
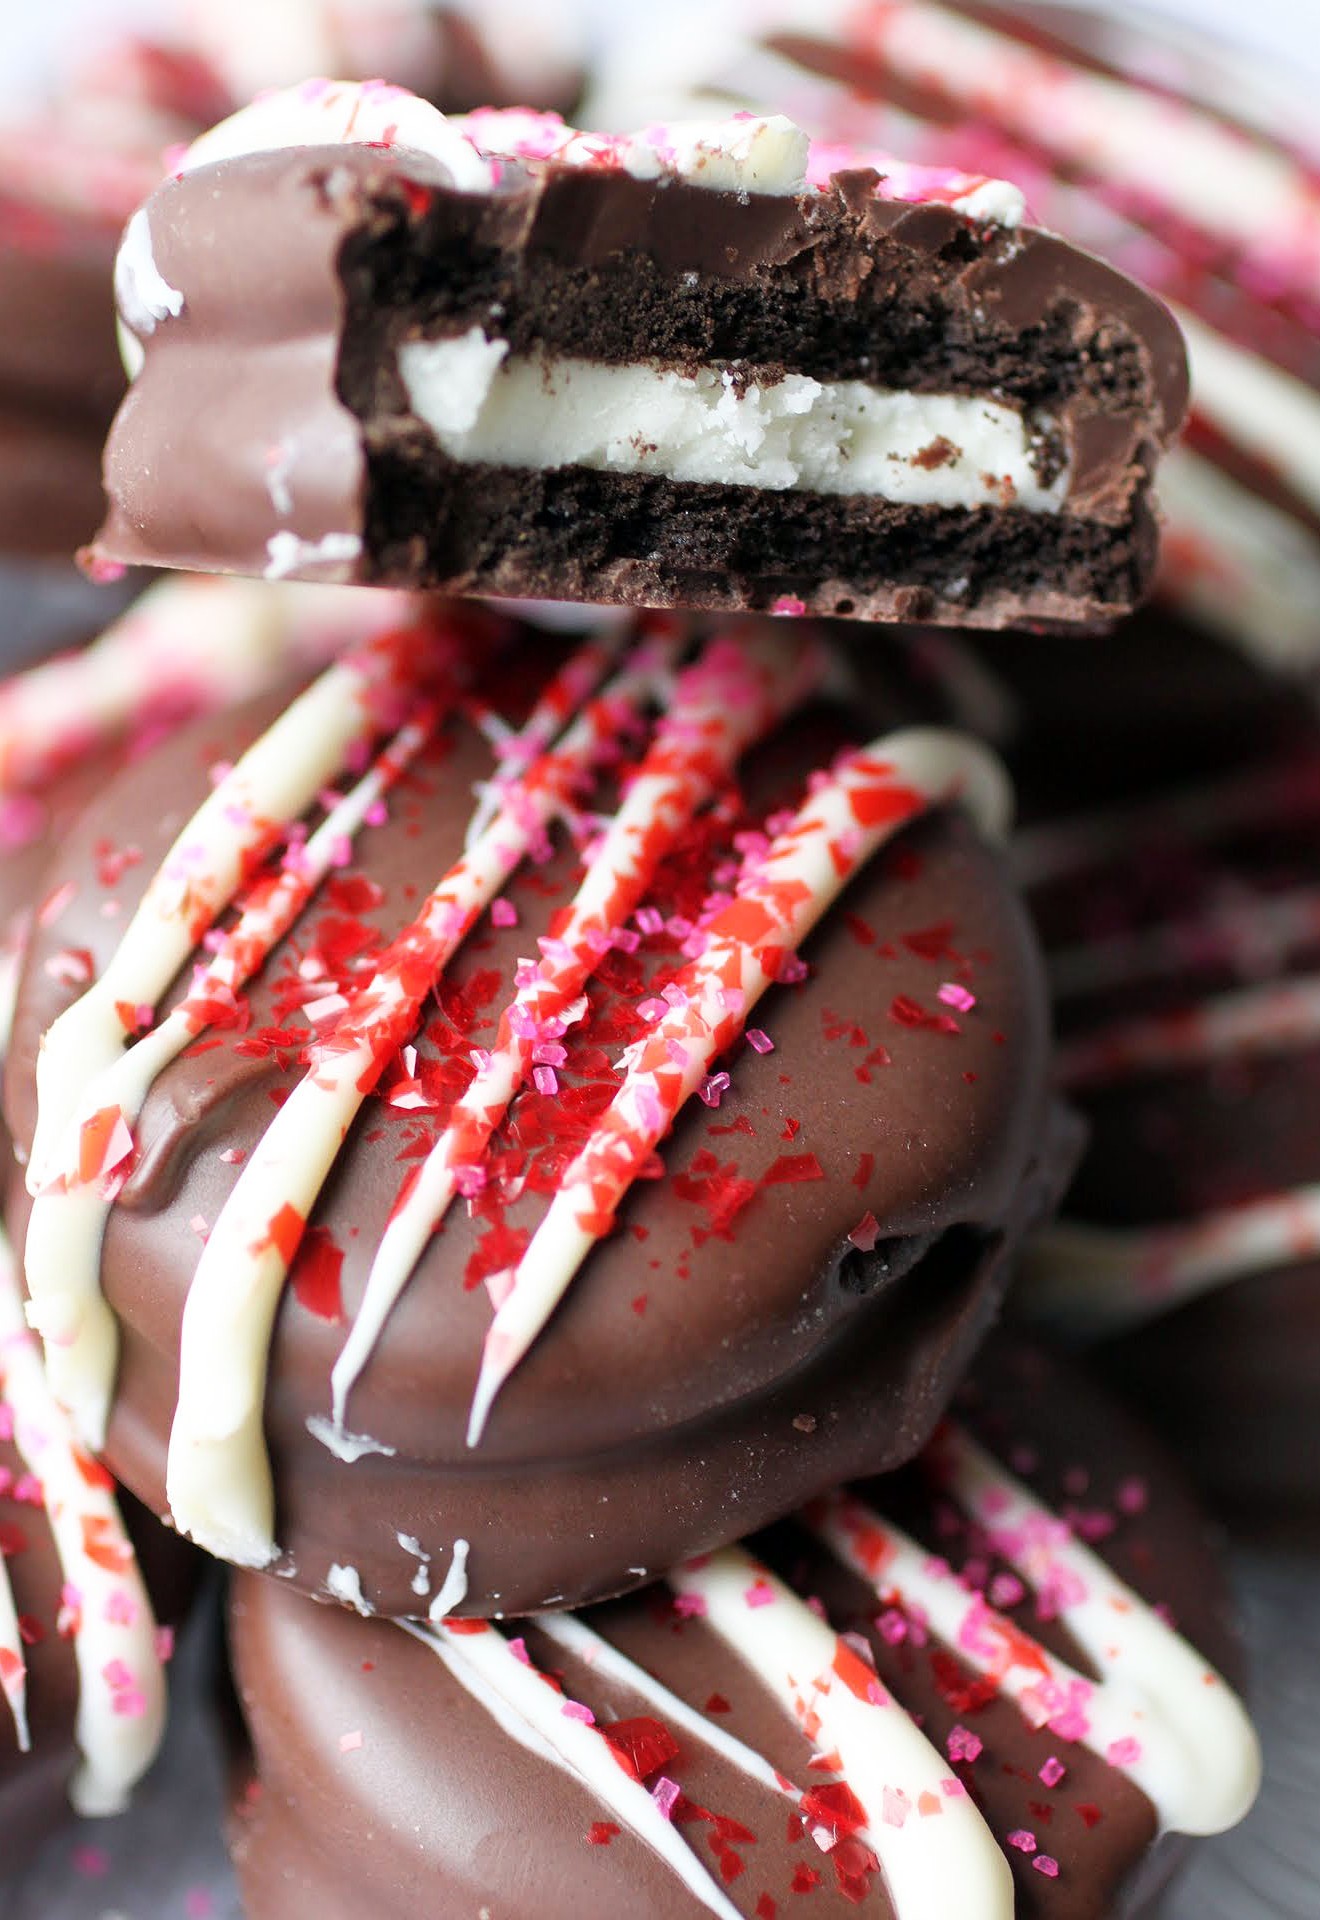
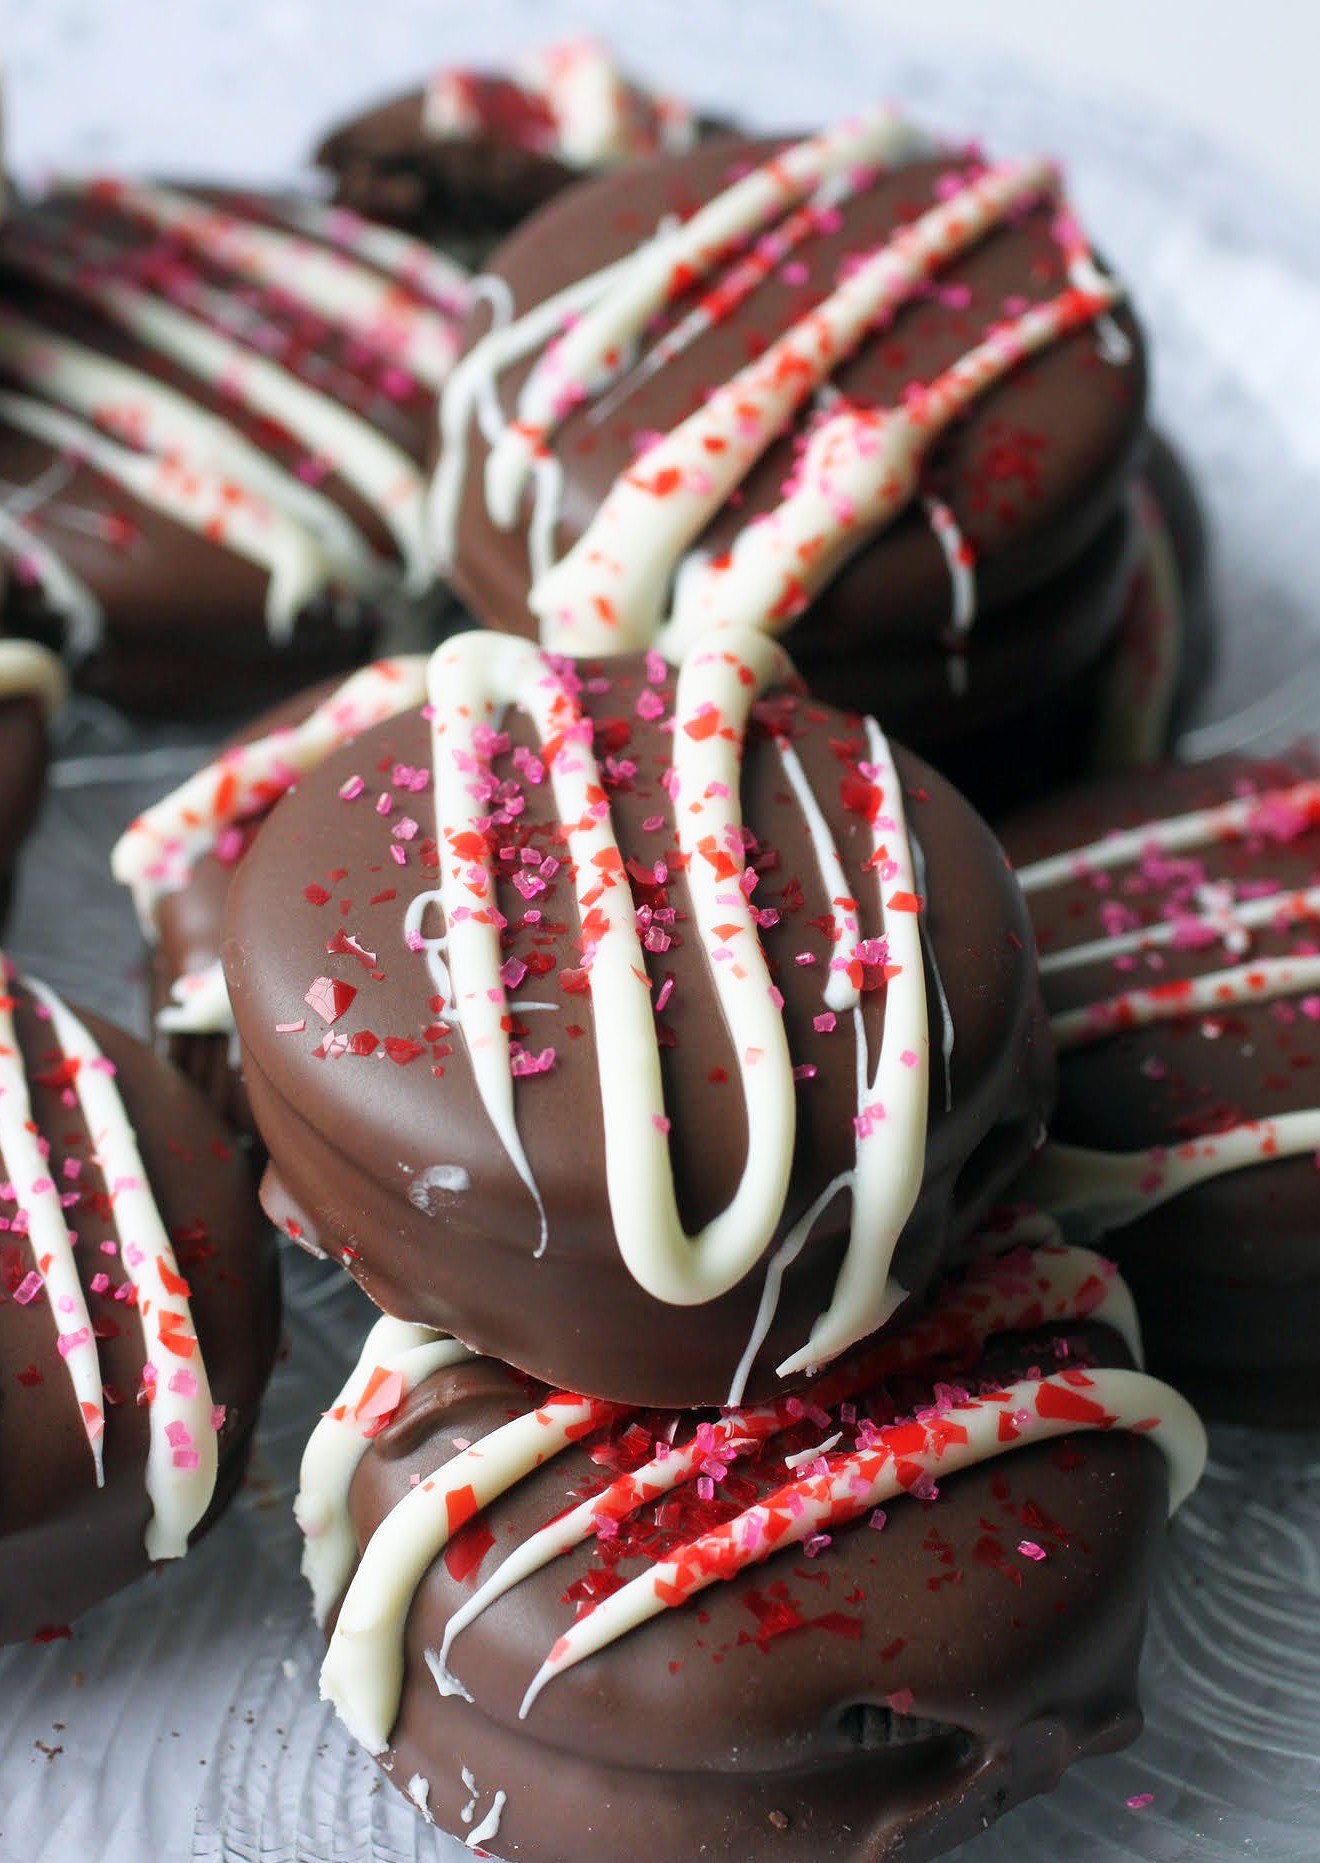
These are just as good as the ones you pay for, if not better. See, they’re made with Double Stuf Oreos, which have more filling. They’re also blinged out for Valentine’s Day. There’s a video tutorial below, so enjoy!
Valentine’s Day is definitely a matter of some contention at my house. Kenny has always held the position that it’s a “Christian holiday” (his words, not mine), and since we’re not a Christian household, we should therefore be exempt from celebrating.
I’ve told him that I find his point of view to be highly inaccurate, and even did some research about the St. Valentine in question. There were apparently several priests of that name back in the day, the most famous one being the guy who agreed to marry young couples against the law and got killed for it. However, most sources agree that the holiday is not necessarily named after him.
Furthermore, a Pagan holiday known as Lupercalia occurred around the same time of year back then, and it was some kind of agricultural celebration. The holiday also had ties to fertility and coupling ceremonies, and rumor has it that the church decided to add more respectability to the occasion by naming the holiday after a saint.
Still, all of these are theories, not fact. I read at least five other accounts about how V-Day began, not to mention the theory that it mainly gathered steam after American capitalism saw it as a way to make some money.
Whatever the real story is, the holiday is so far removed from any roots that I persist in telling Kenny that we should celebrate the day. It’s about love, and I’m all for getting chocolate and a dinner out in the name of old-fashioned romance. He can just suck it up and go along for the ride, and so far, that’s pretty much what he’s done. He’s one of the good ones.
I’m all about the homemade food gifts on Valentine’s Day. Last week, I showed you how to make bark. Here’s how to make dipped Oreos!
See, it’s not hard at all. The important thing is to let the chocolate drip through the fork tines so that you don’t have an enormous pool of chocolate on your parchment paper. The drizzle and sprinkles on top can be in whatever pattern or color you desire!
Whether or not any of us can figure out how Valentine’s Day started, let’s keep our eye on the priorities: lots of chocolate. Then it’s a day that even the biggest hater can get behind!
Ingredients
Instructions
- Line a cookie sheet with a silicone baking mat or parchment paper.
- Melt the chocolate according to package directions.
- Using a spoon, dip each Oreo into the chocolate, covering the entire Oreo.
- Lift the Oreo out of the chocolate with a fork, allowing the excess chocolate to drip through the tines.
- Use a toothpick to slide each Oreo onto the prepared cookie sheet. Allow to harden.
- Melt the white chocolate in 30-second intervals, stirring after each interval until smooth.
- Drizzle the white chocolate over the Oreos. Top with sprinkles before the white chocolate hardens.
- Allow the Oreos to dry completely. Store in an airtight container.
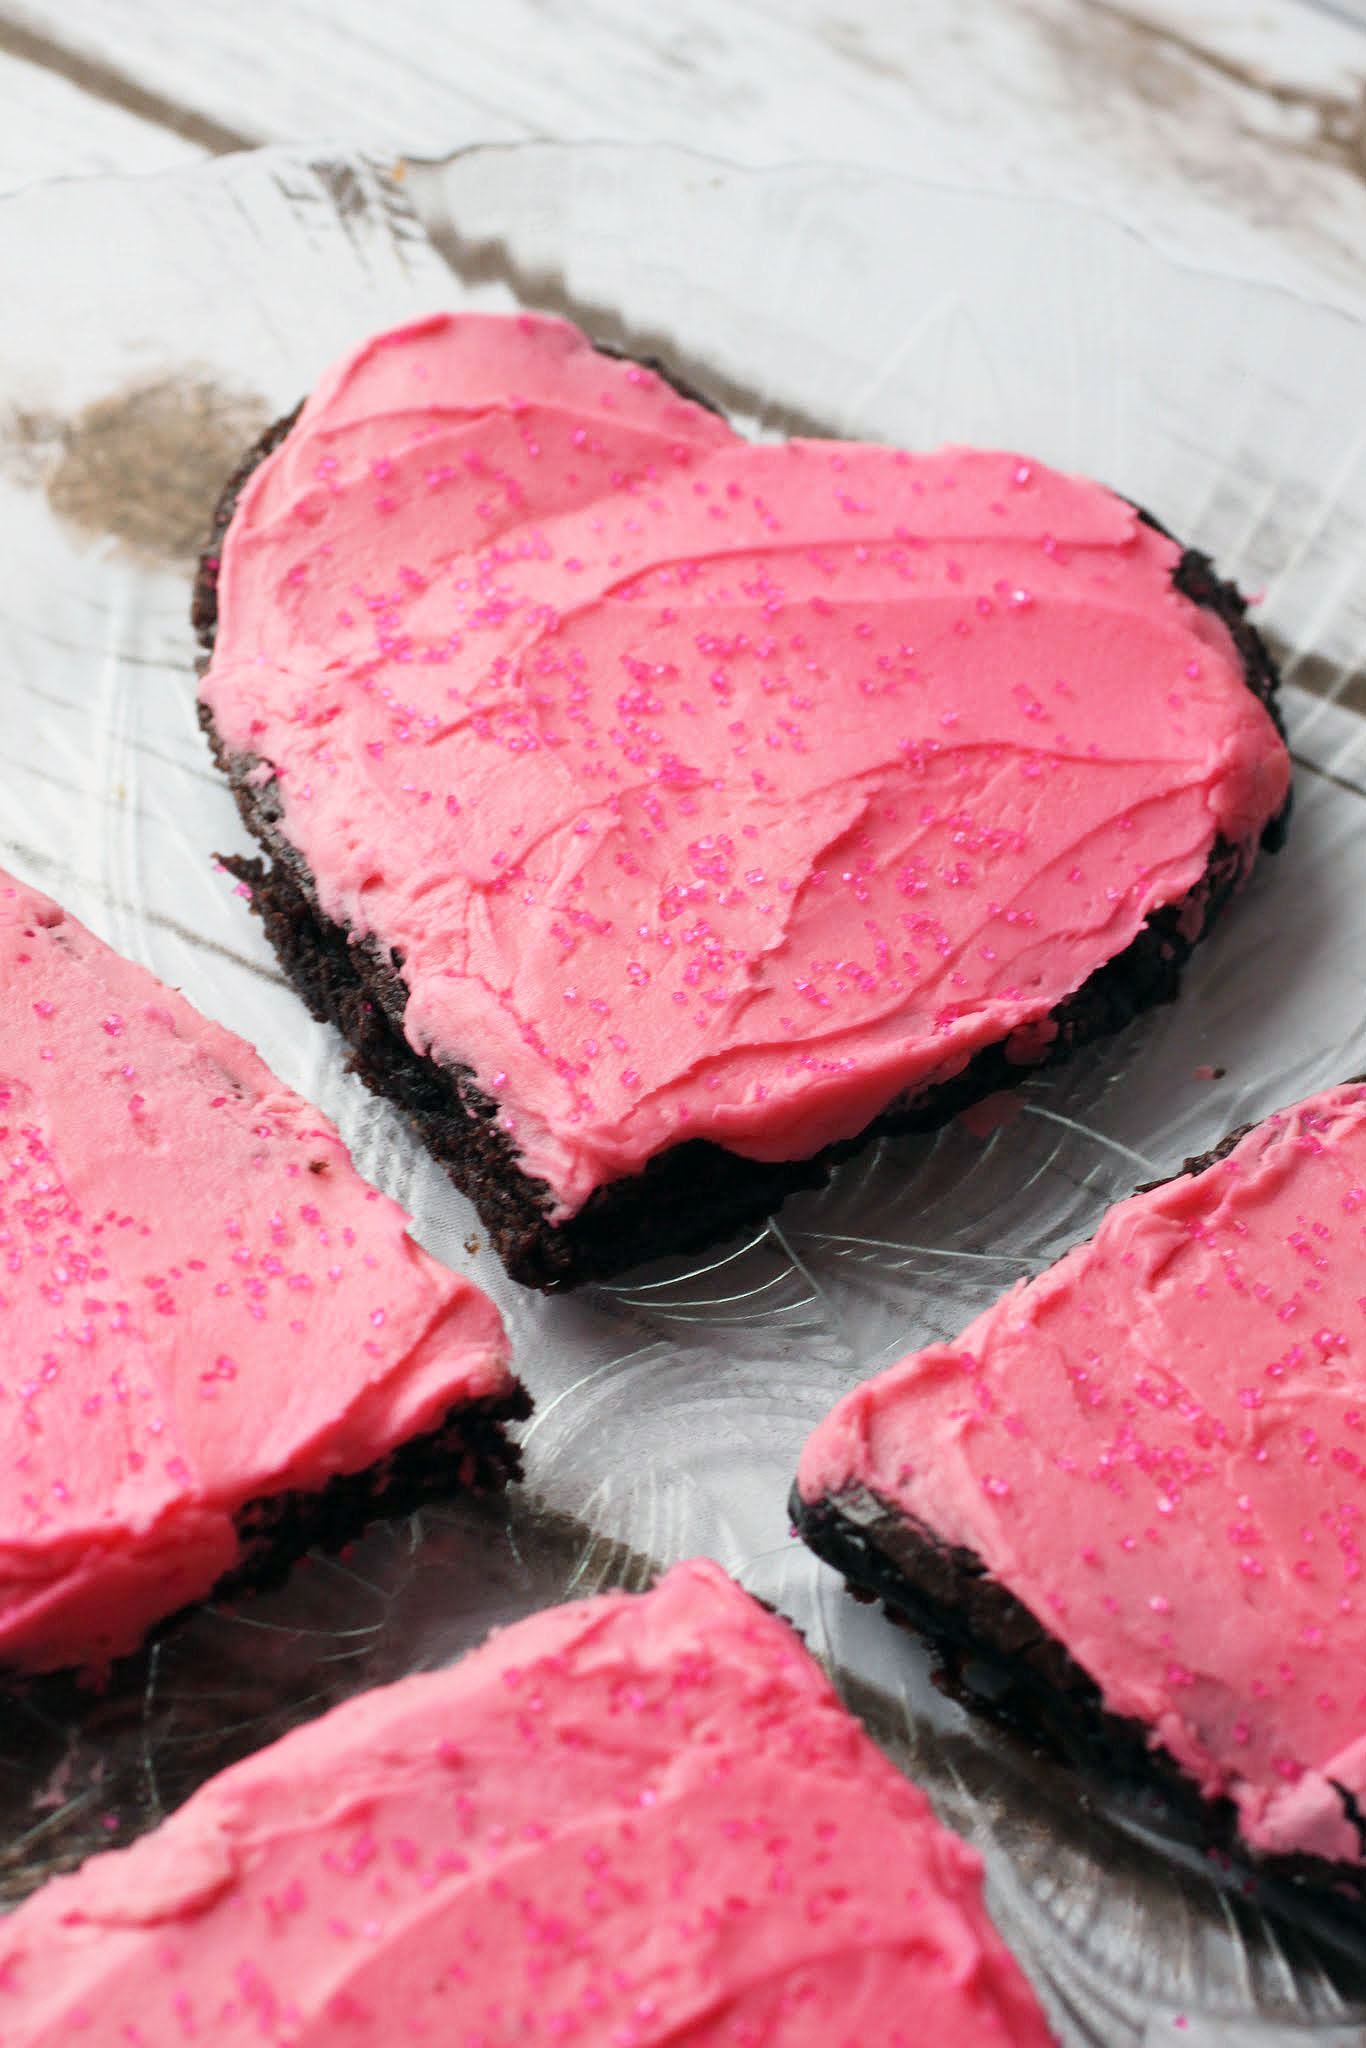
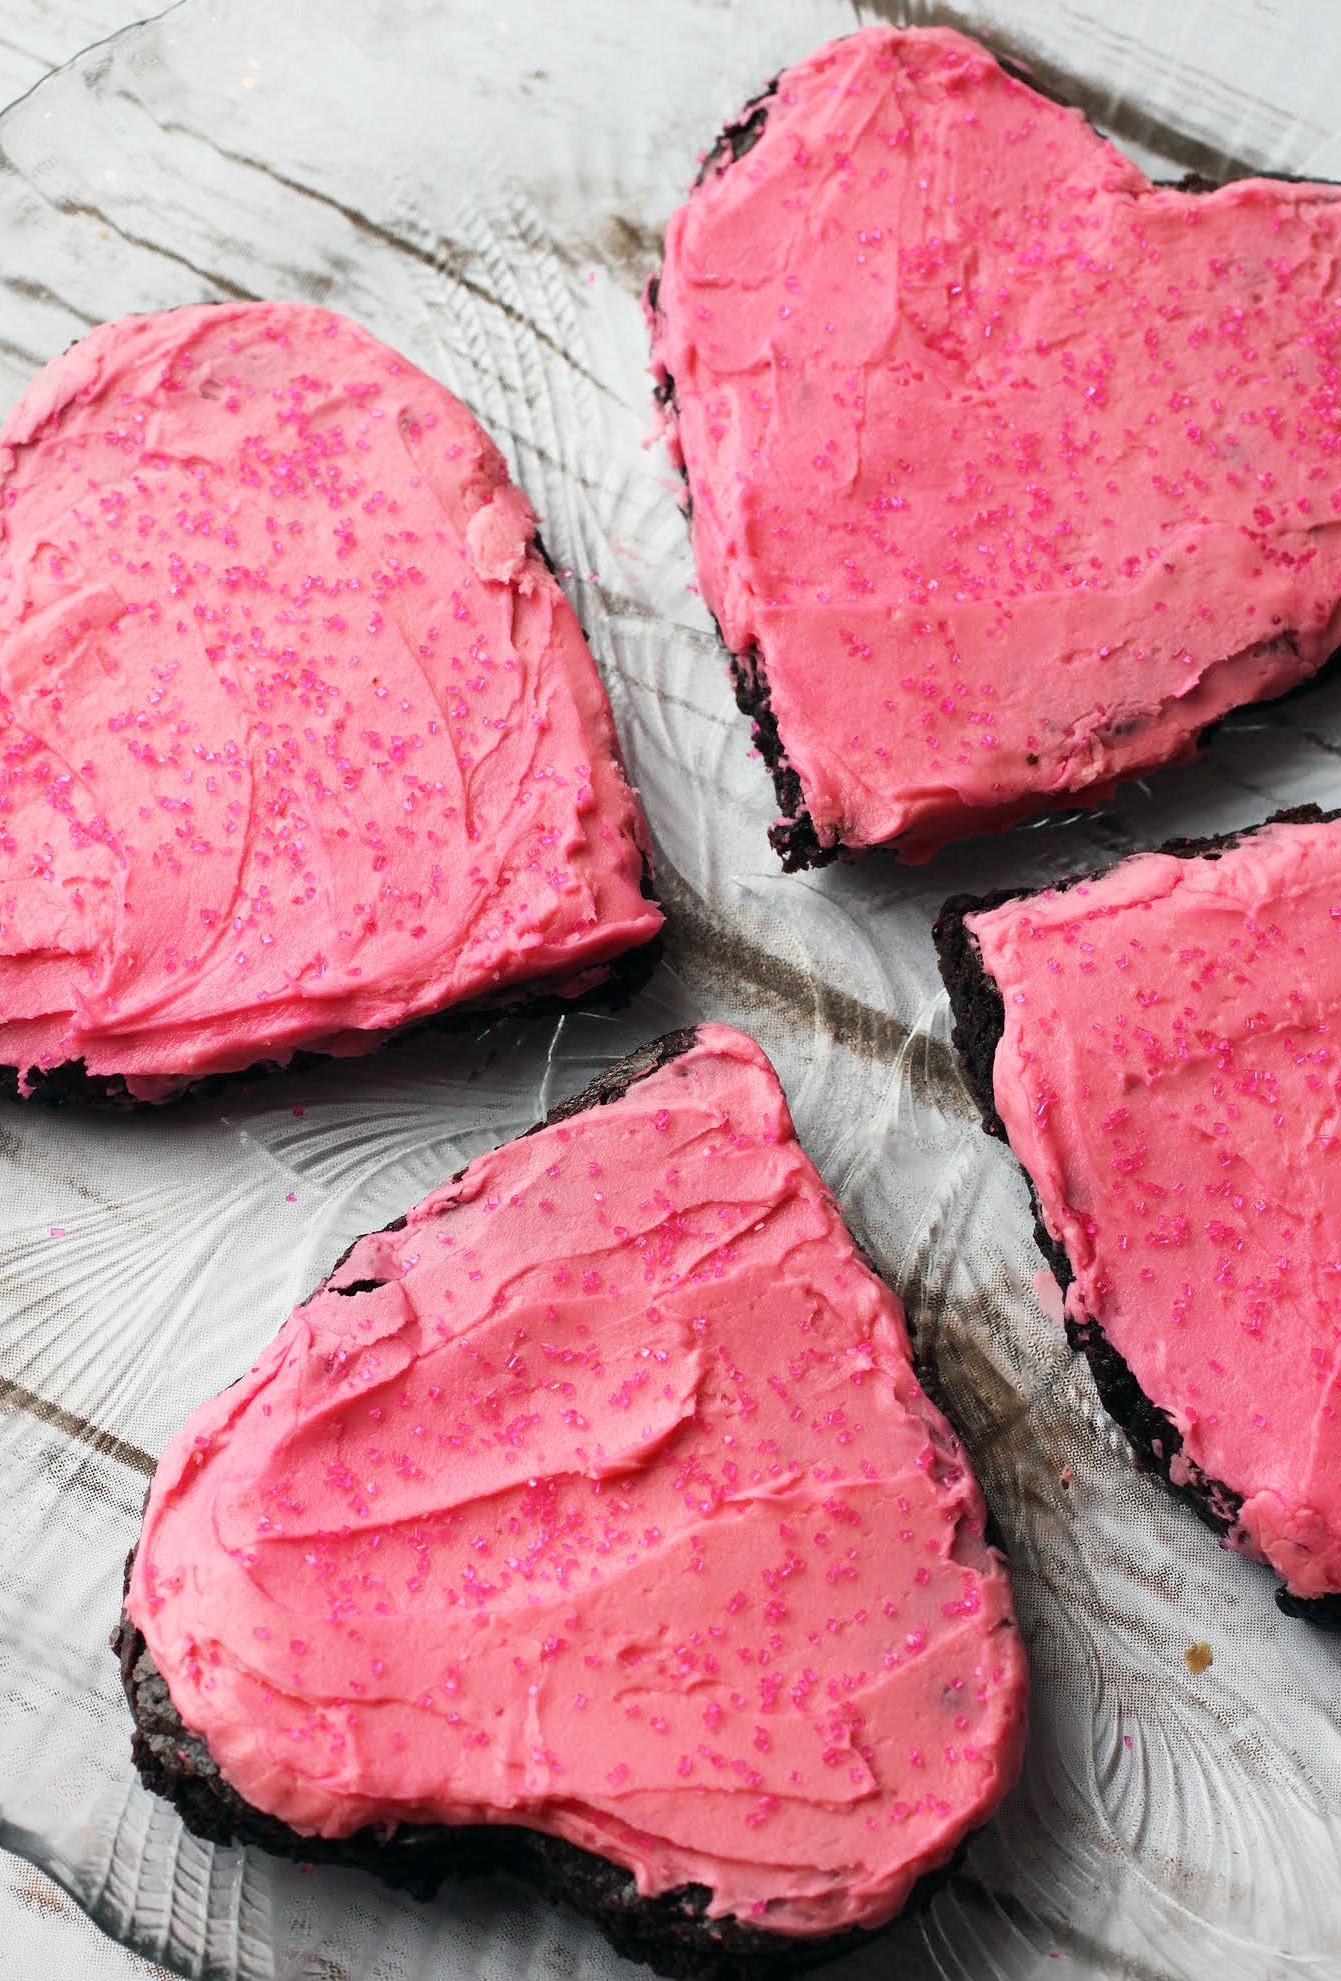
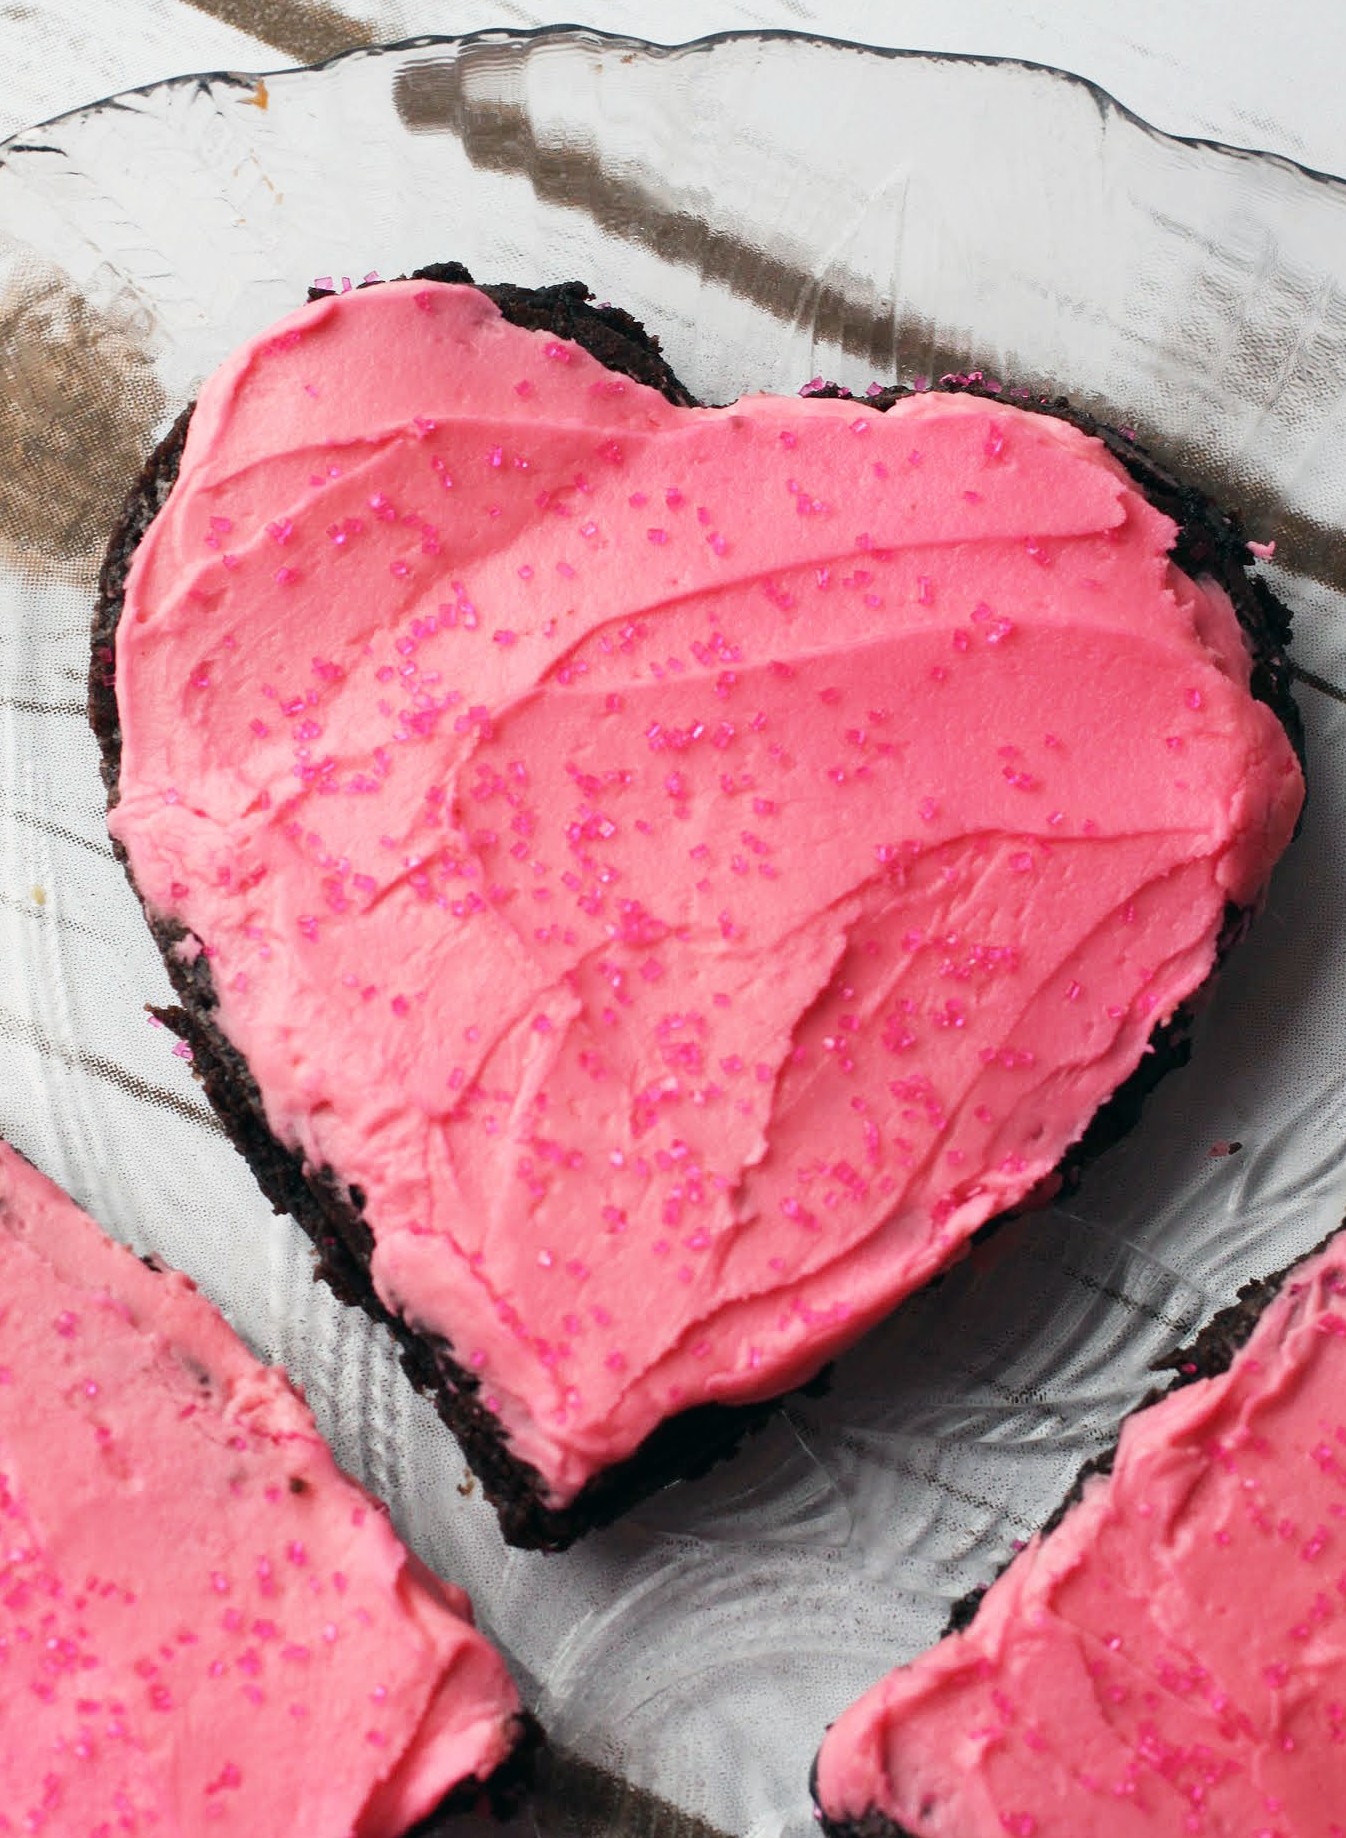
A lot of people make adorable sugar cookies iced beautifully for holidays, but I prefer a brownie to a cookie. So why not do these cutouts instead? Plus, you can eat all the brownie scraps that are leftover from the heart cutouts. It’s a perfect snack!
Has anyone else thought about how ironic it is that a month dedicated to eating healthfully is followed by a month all about chocolate? But hey, I’m not complaining.
There are much better sources for complaint at my local grocery store. Lines that are too long at checkout. Snow that doesn’t get cleared properly from the parking lot. People who bring more than 10 items into the express lane. People who leave their carts in parking spaces instead of returning them. Food products on the shelf for sale at half-price that are actually expired. Is that even legal?
How about we take some action and change things? One day Kenny got so exasperated at the expired cheese being sold that he threw it all into a box lying on the ground and gave it to the store manager. But that’s the only form of resistance I’ve seen.
How many of you have schooled someone in the express lane with too many items? If you have, tell me. And has anyone ever caught anyone else in the act of leaving a cart in a parking lot? That is such a pet peeve of mine!
What are your grocery store pet peeves? I want to know!
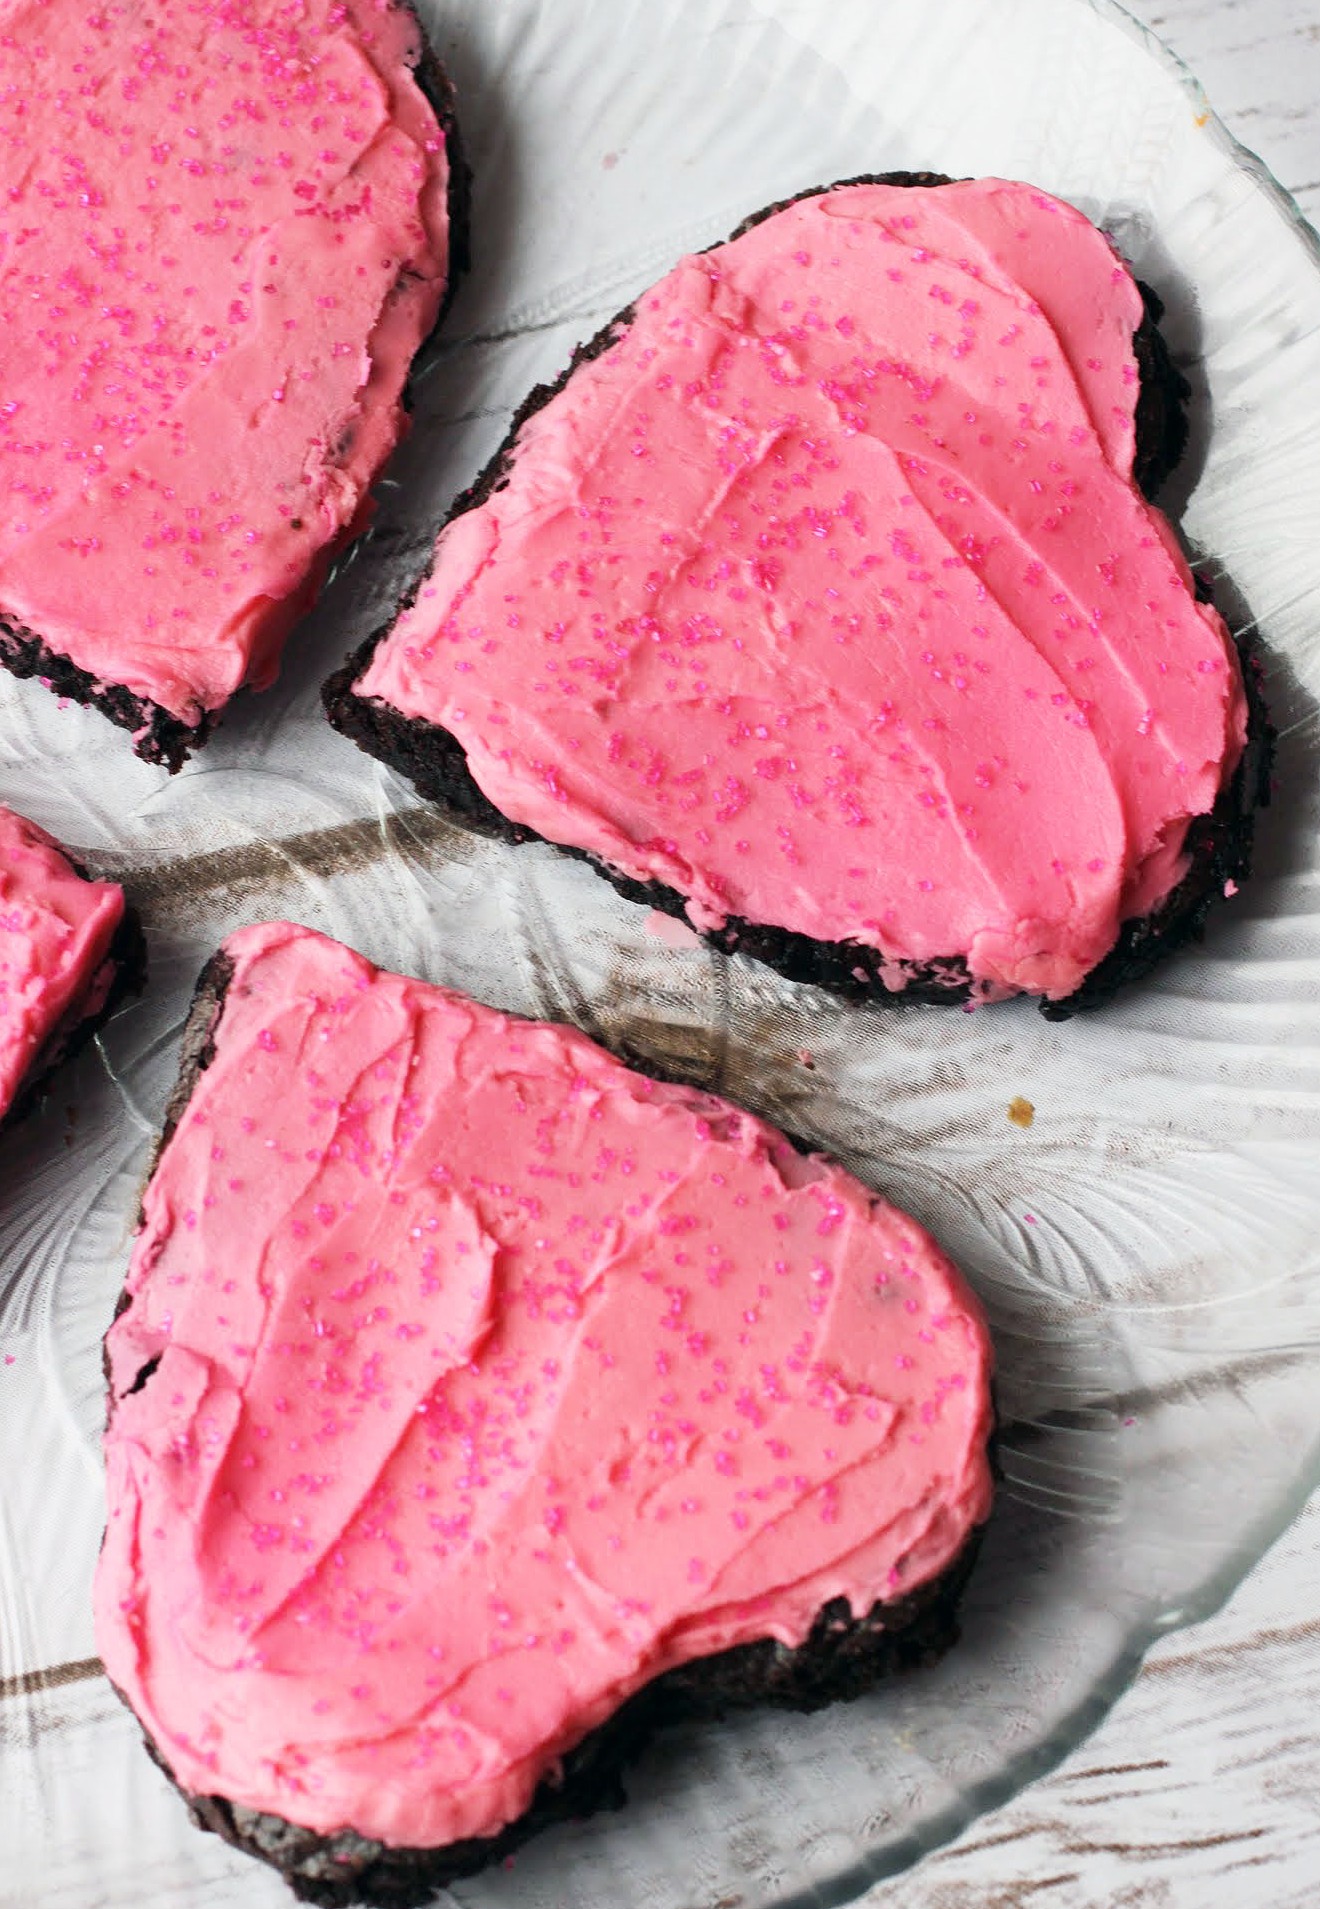
At least the stores have food, which we can use to bake lovely brownie heart cutouts. They’re a snap to make and a huge success, especially with kids. You can even make them with kids. I used my trusty brownie base, but you can also use a mix. It’s simple!
While you’re out there hassling with pet peeves, just look forward to the food you’re coming home to. And if you see grocery store injustice, fight back!
Ingredients
Instructions
- Preheat the oven to 350. Line a 9 x 13 pan with foil and coat with cooking spray. Set aside.
- Melt the butter in the microwave and then stir in the cocoa until it dissolves completely. Add the sugar and stir until combined. Then, add the eggs and vanilla, and stir again until the mixture is smooth. Finally, add the salt and flour and mix again.
- Pour the brownie batter into the prepared pan and bake for 25-30 minutes until the brownies are set. Cool completely.
- When the brownies are cool, mix the red gel food coloring into the vanilla frosting until your desired shade of pink comes forth.
- Using a heart cookie cutter, cut out the heart shapes and place the hearts onto a sheet of wax or parchment paper. Frost the brownie cutouts and add sprinkles.
- Allow the frosting to set. Store covered.
]]>
This is the chocolate month, the time when everyone forgets their healthy resolutions, turning straight to the chocolate lava cake. It’s only human nature. We can’t be deprived for extended periods.
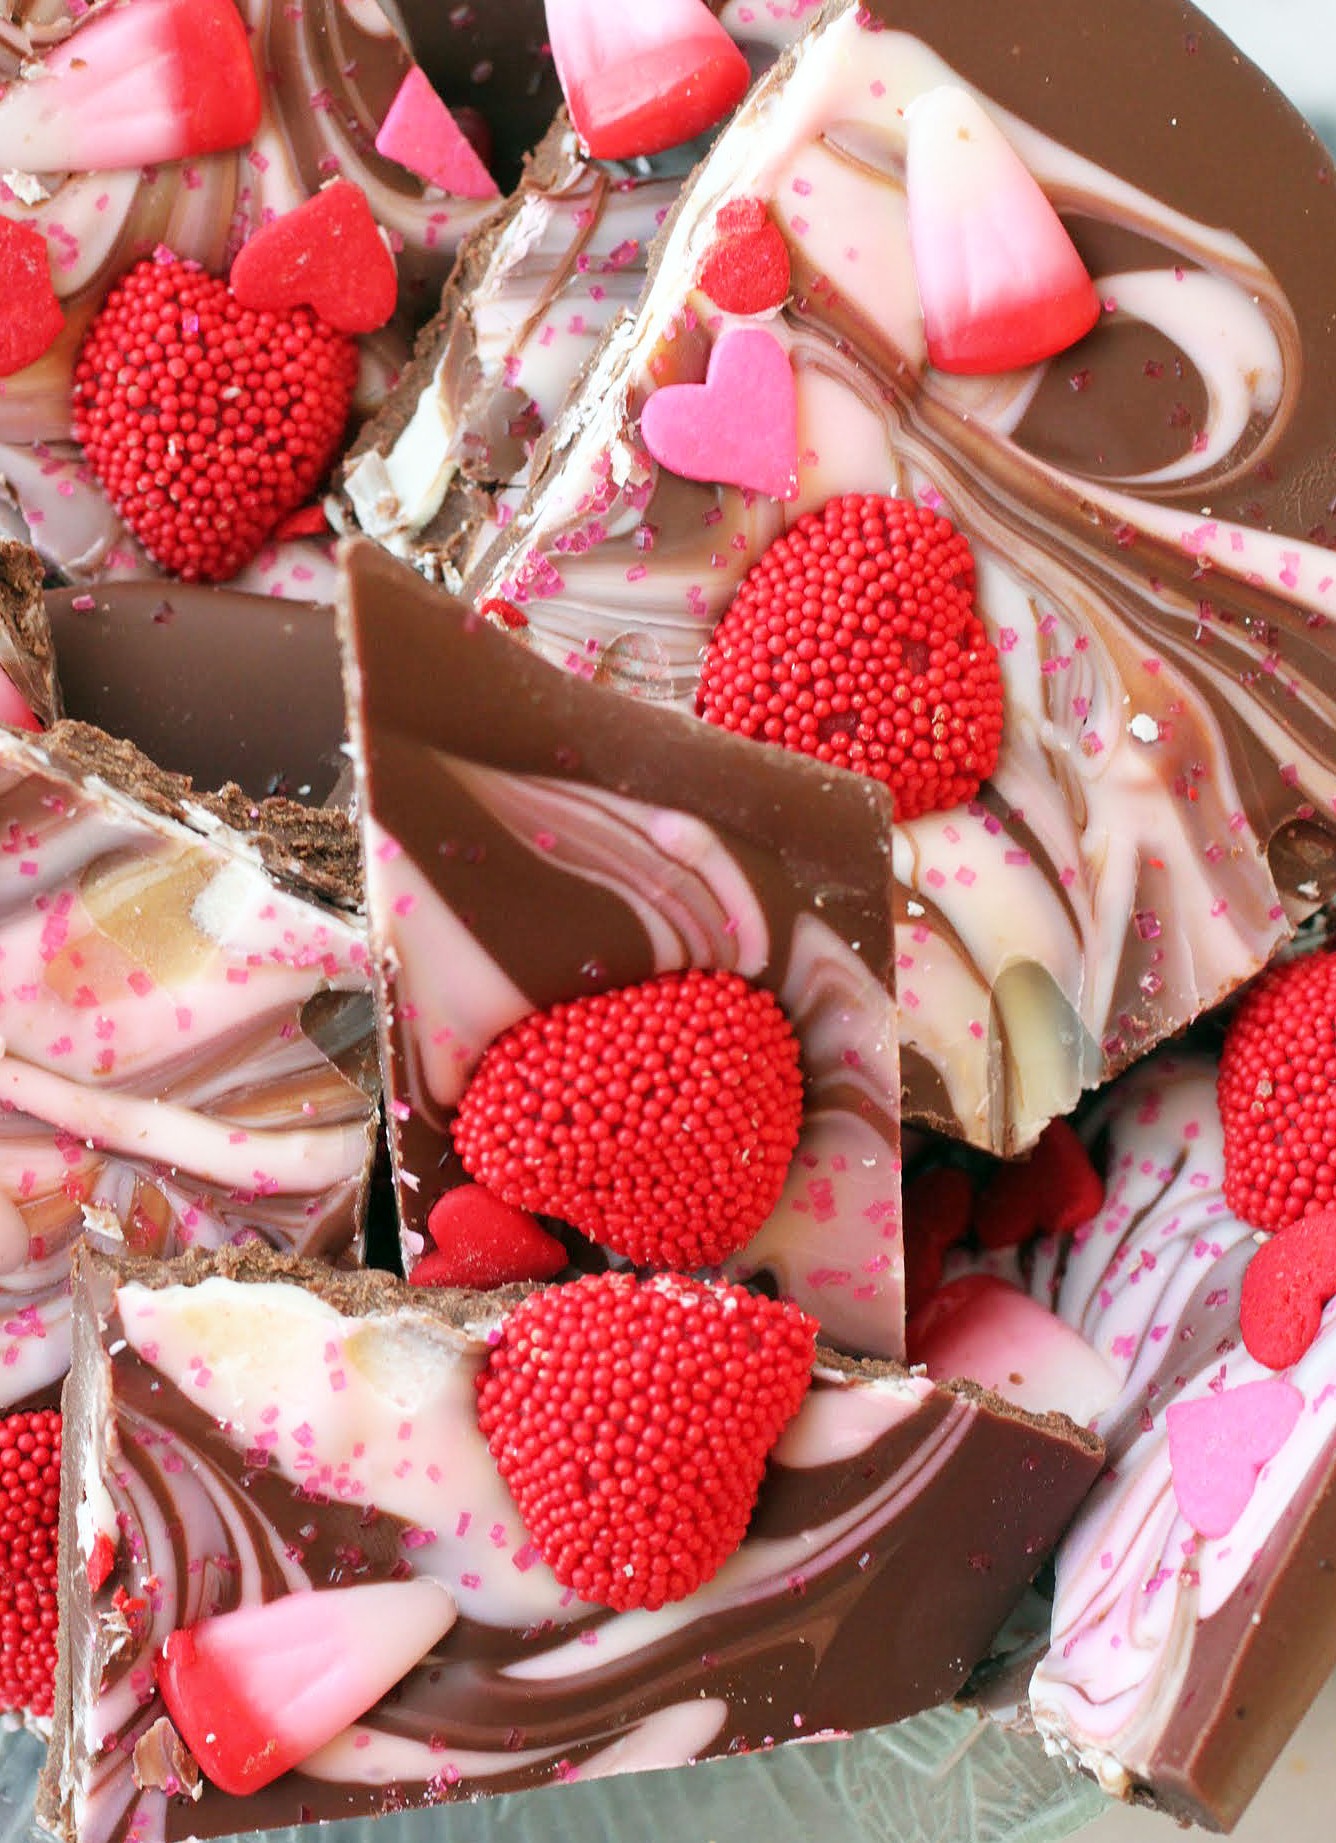
So if you’re gonna do the chocolate, make bark. It’s a cheap and easy gift for a loved one, or you can eat it all yourself. I have a video tutorial below plus a step-by-step recipe, so keep reading!

I’m sure you’ve heard this before, but 95% of all diets fail. America is a country ruled by diets and a thriving fitness industry, and yet we’re in a health crisis. How is that possible?
Simple, really. When you try and sustain impossible behavior, it all comes crumbling down. Dieting at its core is all about the word “no.” Diets focus on what you can’t eat: dairy, or carbs, or sugar, or anything a caveman didn’t eat, or all of the above. Who wants a voice in their head constantly telling them that what they’re doing is wrong?
Seriously, if people talked to one another the way that their inner voices talk to them sometimes, they’d get slapped. We’ve somehow been taught that self-shaming isn’t just acceptable: it’s desirable. That, my friends, is a load of garbage. When did deprivation become a virtue? When did dieting become a way of life? Because here’s the thing. You ready?

If you’re dieting all the time, it’s probably not working. Seriously. It’s one thing to live with a healthy mindset and goals and quite another to base life upon what you will not let yourself have, and to constantly go back and forth with those arbitrary rules. I’m not a fan.
Message? Stop dieting. Start eating bark. Always works for me!

Bark is easy to put together, makes a great gift, and can be customized to any holiday or occasion. It takes just a few minutes (plus a half hour of chill time) to get it going. Take a look!
When all’s said and done, wouldn’t you rather spend time engaging in self-love and acceptance? Denial is never good, in life or in food. So say yes to yourself today, and say yes to some bark!
Ingredients
Instructions
- Line a cookie sheet with parchment paper or a silicone baking mat. Set aside.
- In a microwave-safe bowl, heat the chocolate chips for one minute. Stir. If not smooth and melted, heat an additional 20 seconds. Stir until smooth.
- Spread out the milk chocolate to about 1/2-inch thickness. Don't go too thin, or the bark won't be as good.
- In a separate bowl, heat the white chocolate chips for 40 seconds. Stir, and if not melted, heat an additional 20 seconds. Stir until smooth.
- Drop the white chocolate by spoonfuls gently onto the milk chocolate. Using a knife, swirl the melted white chocolate gently into the milk chocolate. Do not overdo it, or your bark will become one uniform muddy color.
- One at a time, add the Valentine's Day candies, spacing them evenly around the bark. Add the sprinkles and airbrush the bark for added color. You can buy airbrush spray at most grocery stores or cake decorating aisles (like at Michael's).
- Chill the bark for 30 minutes. Break into pieces. Store in an airtight container. If you're worried about melting, keep it in the refrigerator until shortly before serving.
Here’s the ultimate perk of being a teacher. For two unpaid months (yep, I inserted that word on purpose), I get a taste of what it’s like to be a stay at home mom. It’s great for these two months. I would not be able to do it year-round and maintain my sanity. Especially if there was no camp.
But for now, I’m remembering what life was like when I could just while away the day. Like, spend the whole day eating dark chocolate chocolate chip cookie chips without having to share with grubby hands. And fudge. Oh, the fudge I eat in summer. Summer is a fudge season.
If you doubt me, look no further than the beach. Every beach town worth its saltwater has fudge shops. Believe me. I’ve been to every single one. If a beach town has five fudge shops, I’ll visit all five, pressing my nose against the glass cases while taking inner notes. It’s my favorite kind of research!
Once upon a time, I would wake up in the summer, eat a leisurely breakfast complete with newspaper reading, work out, and go back to bed. I’d emerge sometime in the late morning to run errands, or meet a friend for lunch, or lie out on the deck with a cold drink. After lunch naps were always an option, along with TV watching and crossword puzzle time.
Plus, I had my projects. For a few summers I took tap dancing. Another summer, voice lessons. One year I sat down and wrote a 250-page novel just for the heck of it. I like to keep busy. And this summer, I still have my projects.
But I also have my leisure time back. Sure, I get up super early and exercise before getting the kids bundled off to camp with their swimsuits and hats and sunscreen and lunches. Sure, I have to pick them up after it’s all over. But those in-between hours are golden. I have more time to sit and think, to run errands without having to appease grouchy kids, to write in a quiet space. And of course, more time to eat fudge.
This fudge especially. My intense fondness for Hannah Max Cookie Chips has brought us here. As you know if you read regularly, I contacted the company a while back to ask to work with them. That’s how much I love their addictive product. And today’s recipe comes from one of my favorite flavors: the dark chocolate chocolate chip.
To make this fudge, you line the bottom of a pan with a layer of cookie chips. Then, chocolate fudge gets poured on top. It gets wilder after that. Another layer of cookie chips goes on top of that chocolate fudge before a white chocolate layer gets piled on. And for the season, July 4th sprinkles!

This fudge is crunchy. It’s creamy. It’s amazing. And I dare any beach town fudge shop to come up with something as completely satisfying. If you’ve never had cookie chips before, that’s a shame, but it can be remedied. Trying it in this black and white cookie chips fudge is a great place to start!
As I sit here, relishing the temporary solitude and the equally short summer (its lease hath all too short a date and all that, ya know), I’m glad that fudge is here to keep me company in these quiet, productive hours. It’s a great companion!
A product for this post was provided by Hannah Max Cookie Chips. All opinions are my own.
Ingredients
Instructions
- Line an 8 x 8 pan with aluminum foil, using enough to hang over the sides. Coat with cooking spray.
- Place one layer of cookie chips on the bottom of the pan, covering the area completely with a combination of whole and broken cookie chip pieces.
- In a microwave-safe bowl, melt the chocolate chips and sweetened condensed milk together for 2 minutes.
- Remove and stir until smooth. Spread the fudge carefully over the cookie chips in the pan. Press another layer of cookie chips on top of the chocolate fudge. Set aside.
- Make the white chocolate layer. On the stove over low heat, melt the white chocolate chips with the condensed milk, stirring constantly, until the mixture is melted and smooth.
- Remove from the heat. Spread gently over the bottom layer. Add the sprinkles.
- Chill for 2-3 hours until set. Allow to come to room temperature. Cut into squares. Store in an airtight container.
Some days, my kitchen is humming. Bread dough rises as it should, pie crust comes together without complaining, and frosting practically pipes itself. Those are great days.
Then, there was last Sunday. I ran out of butter without realizing it, my husband couldn’t find the chocolate candy melts at the store, and my heavy cream was suspiciously gloppy, even though it was not at its sell-by date yet. As I watched one baking project tank after another, I wondered why in the heck I do this.
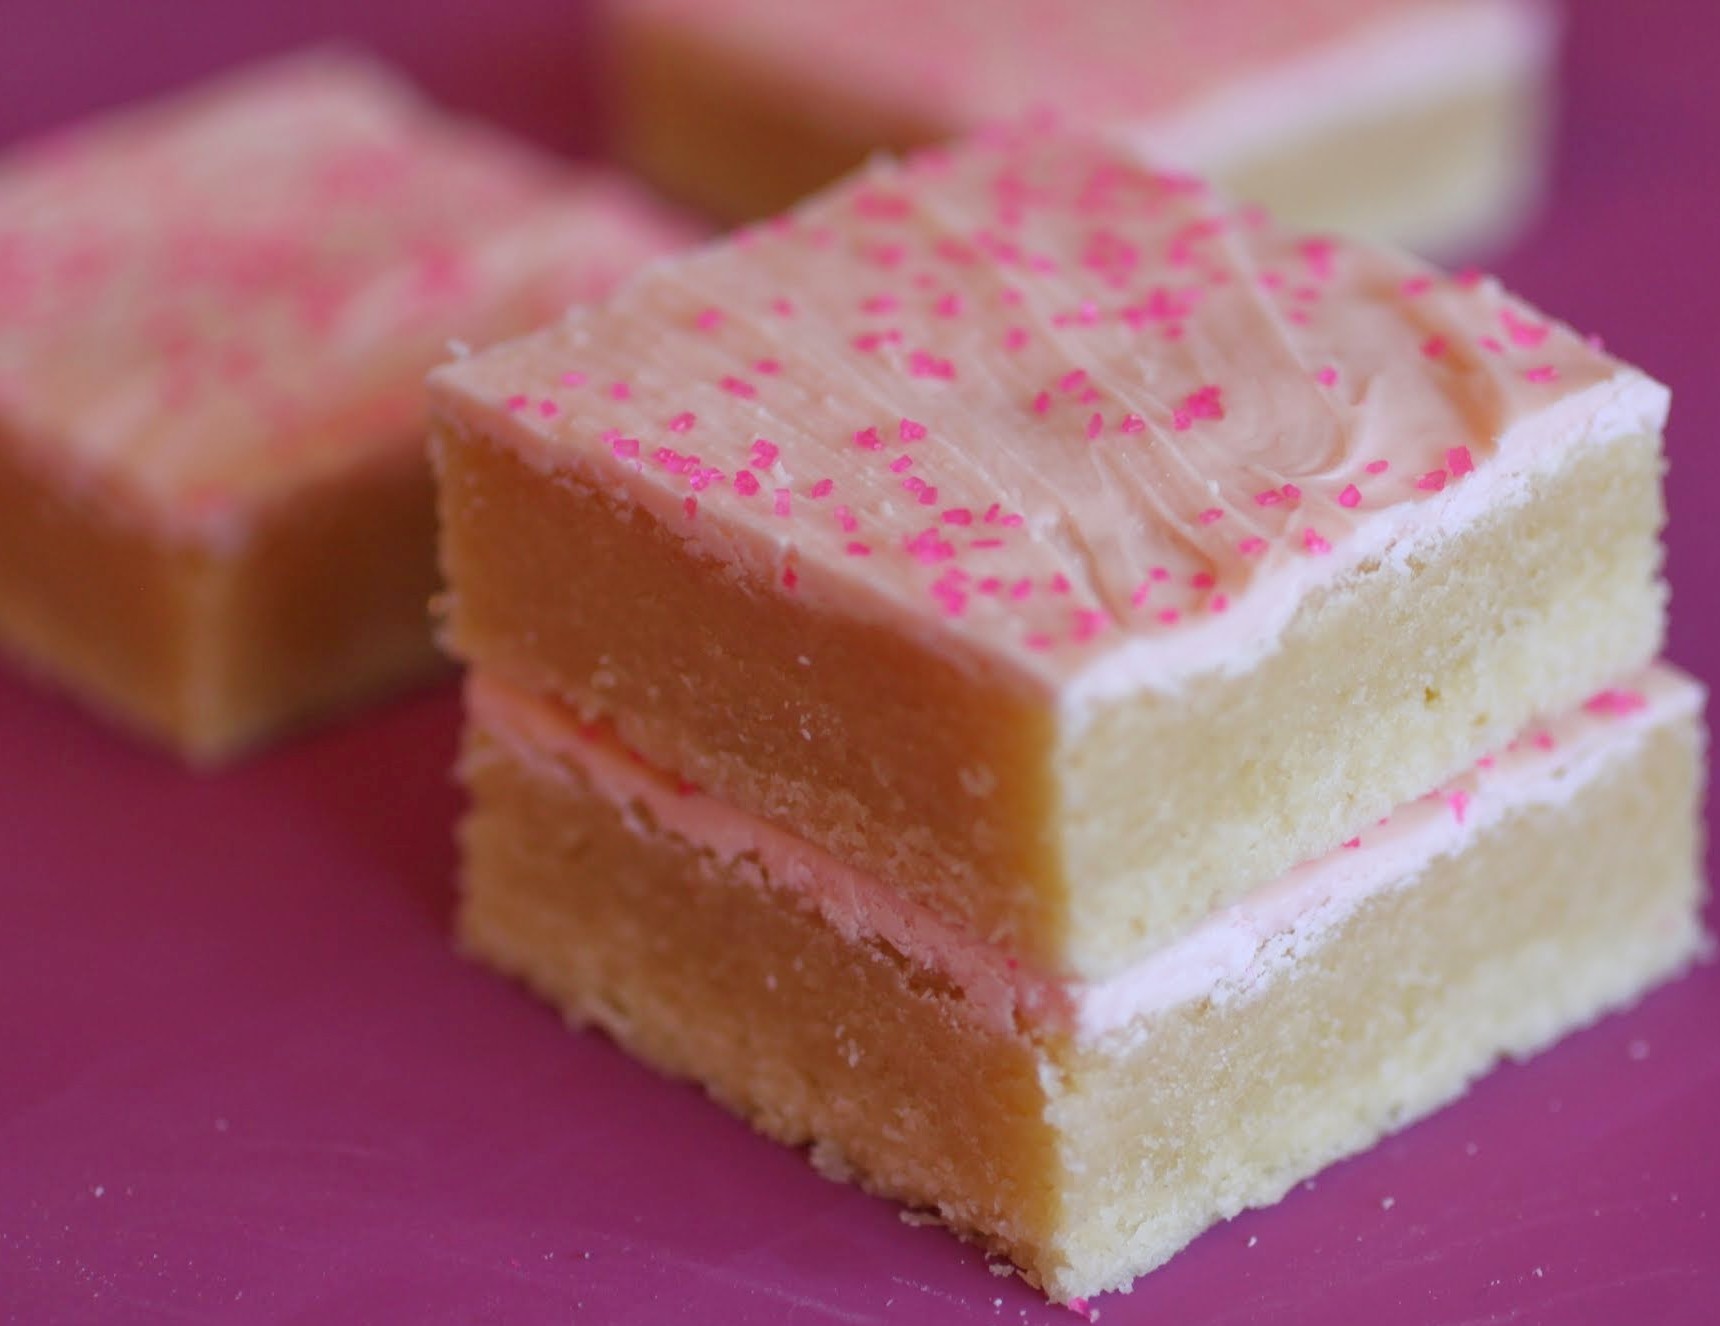
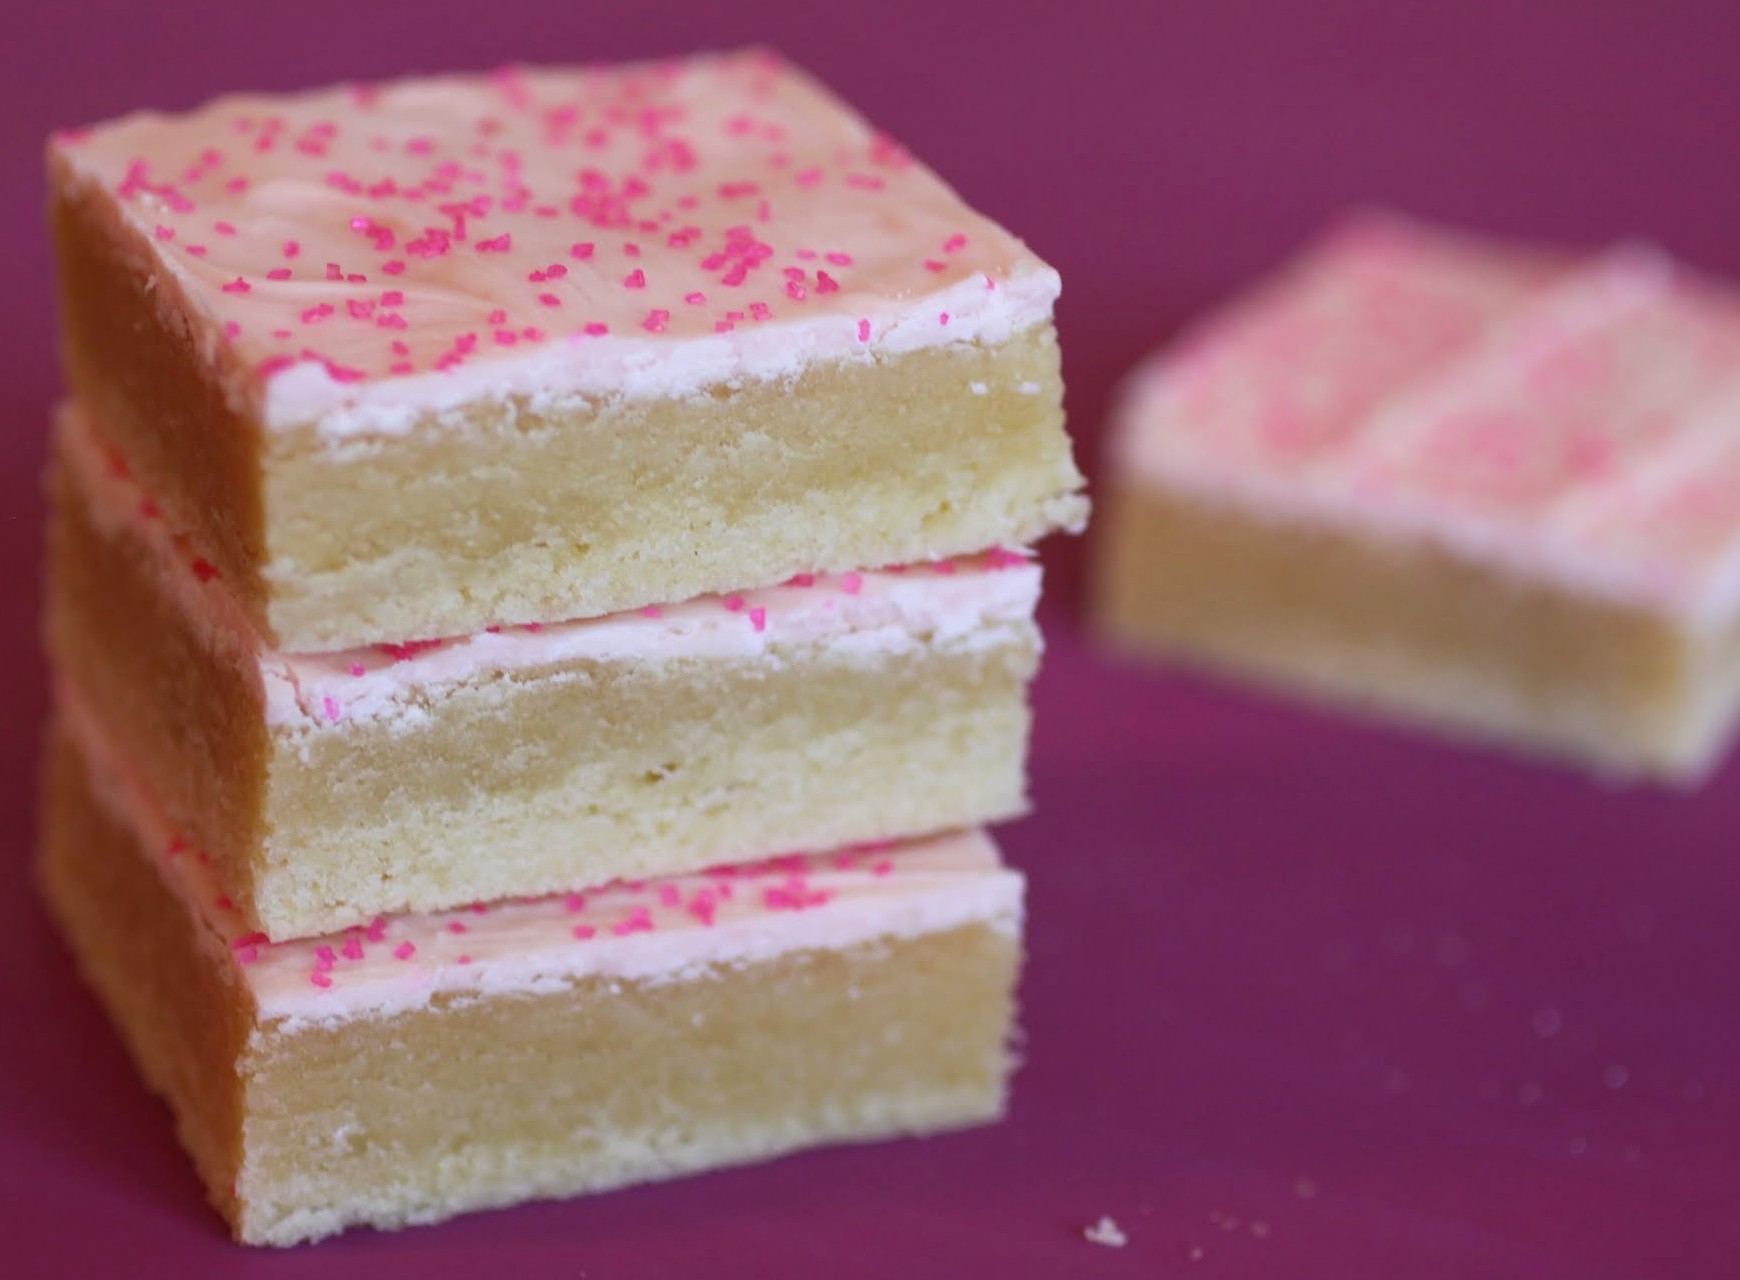
Rather than ponder that very complicated question fully, I decided to try and do some disaster control. Instead of making frosting for the sugar cookie bars with butter I didn’t have, I would melt white chocolate, dye it pink, and spread it on top. I didn’t have chocolate melts, so I added some vegetable oil to chocolate chips and made the melts from scratch. And as for the heavy cream? Well, that one had no out. I had to hightail it to the store.

When the day’s baking was done and the photos safely shot before losing the best of the daylight, I was tired. And proud. Because every single recipe I’d planned for that day had some kind of issue, and all turned out delicious. And as for those cookie bars, covered in white chocolate instead of frosting?
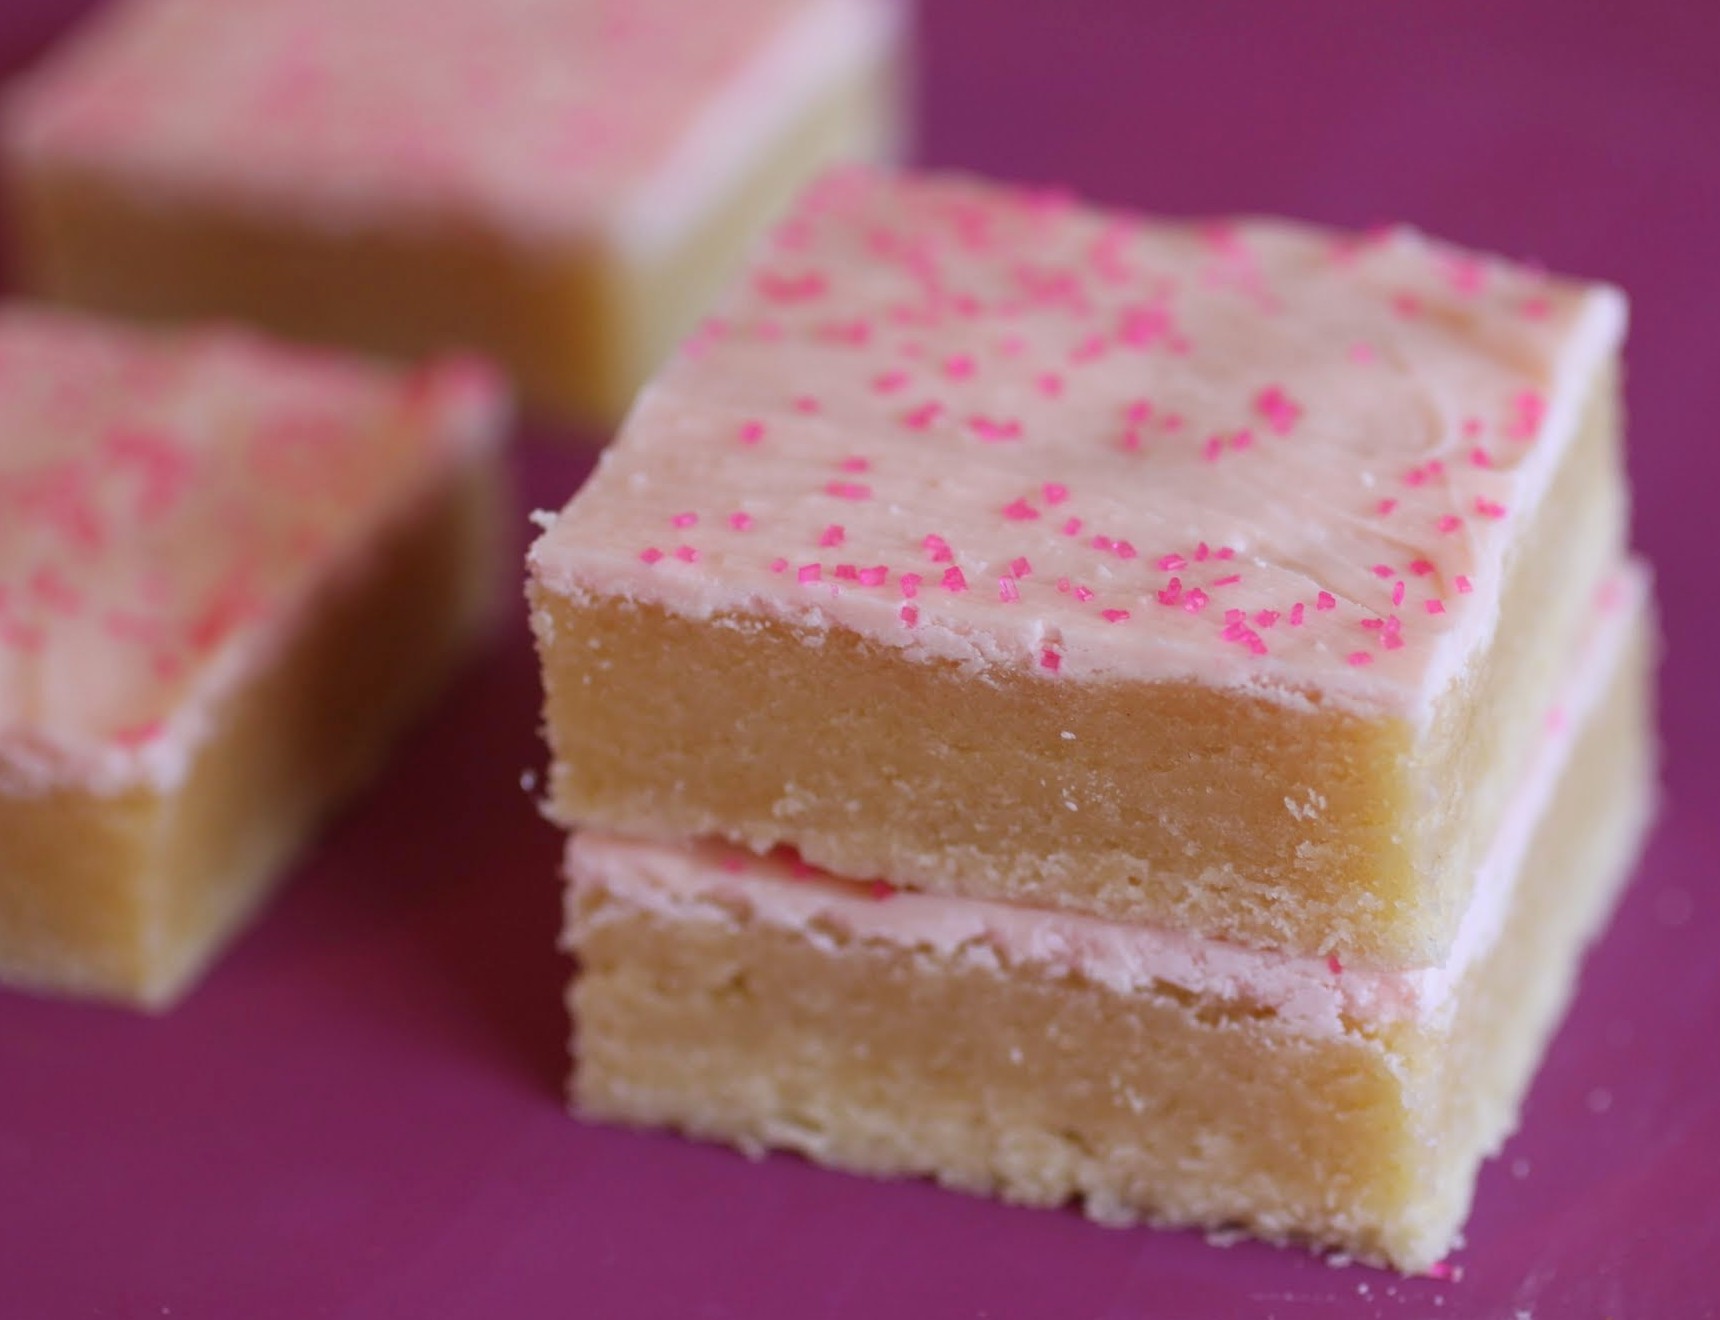
As you can see, they turned out okay in the end! In fact, more than okay. The white chocolate top is gentler than a buttercream frosting, really allowing the cookie underneath to shine.

Plus, they were far more portable without frosting going every which way. These definitely traveled to hungry mouths outside of my house, and I didn’t have to worry about finding a mess when I opened the container. They pack up beautifully.
When I was a kid and miserable all the time because little girls are mean, my mom told me that every problem presents an opportunity. Time and time again, I learn that lesson. Sure, it sucks to have a bad baking day, or any kind of a bad day, for that matter. But boy, do we learn from that. And in the end, we come out stronger. Let’s just hope it’s with sugar cookie bars!
Ingredients
Instructions
- Preheat the oven to 350. Line an 8 x 8 pan with foil, leaving enough to hang over the sides. Coat with cooking spray. Set aside.
- In the bowl of a stand mixer, cream the butter and sugar until light and fluffy. Add the eggs one at a time, beating after each addition. Stir in the vanilla and almond extracts. Finally, add the dry ingredients and mix until a thick cookie dough forms.
- Spread the dough in the prepared pan and bake for 15-20 minutes until the edges are just golden. Do not overbake.
- In a microwave-safe bowl, melt the white chocolate chips for one minute. Stir until smooth. If needed, heat for an additional 30 seconds to melt.
- Working quickly, mix one drop of red food gel coloring into the melted chocolate, stirring until a light pink color emerges consistently.
- Spread the melted chocolate in a thin layer over the bars. Add sprinkles.
- Allow the chocolate to harden for anywhere between 2-3 hours. Cut into squares and store in an airtight container.
But you see, kids, I love holidays. Before holidays, there was darkness and cold. Holidays bring sprinkles and light. So you can bet that Irish or not, I’m getting into my St. Patrick’s baking groove.
But before I do that, I want to take a minute to remember Mr. Spock. As you know, Leonard Nimoy passed away a few days ago, and I’d be remiss if I didn’t say anything about him. Because, though you may not suspect it, I used to be kind of in love with him.
No joke. I think I was about eight at the time and firmly entrenched in my Star Trek phase. I even had a uniform, that of the ubiquitous red-clad anonymous officer who always winds up getting killed in every episode. I went to conventions. I memorized all 79 original episodes. And yes, I thought that Spock was a lot sexier than Kirk.
Though both my childhood crush on Spock and my obsession with the show both ended by the time I hit adolescence, I still love the show and anything connected to it, especially Leonard Nimoy. When he showed up in the new J.J. Abrams Star Trek movies I got super pumped, and I say with absolute sincerity that he left the world a different and better place than he found it.
I realize all this has nothing to do with my St. Patrick’s treat today, but you know, my mind jumps around. Doesn’t yours?
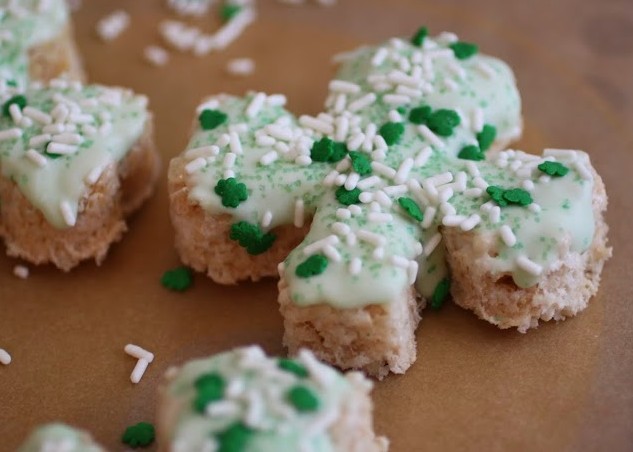
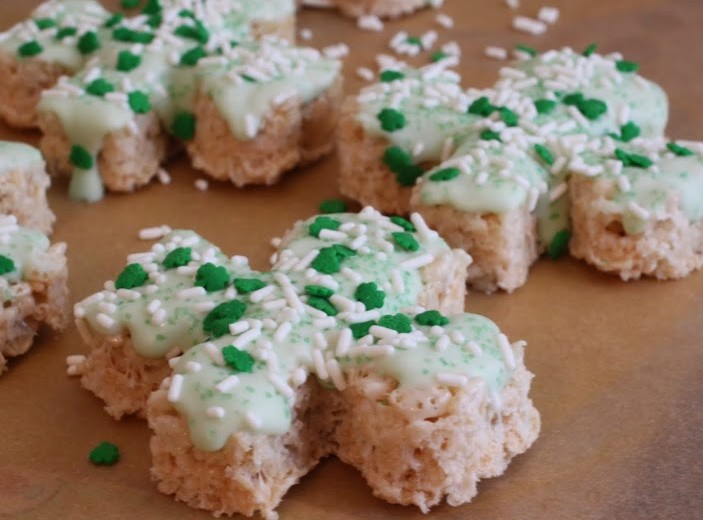
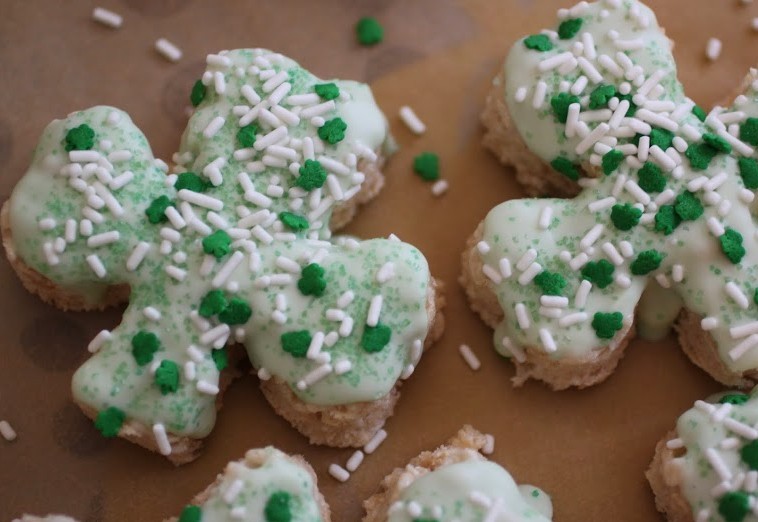
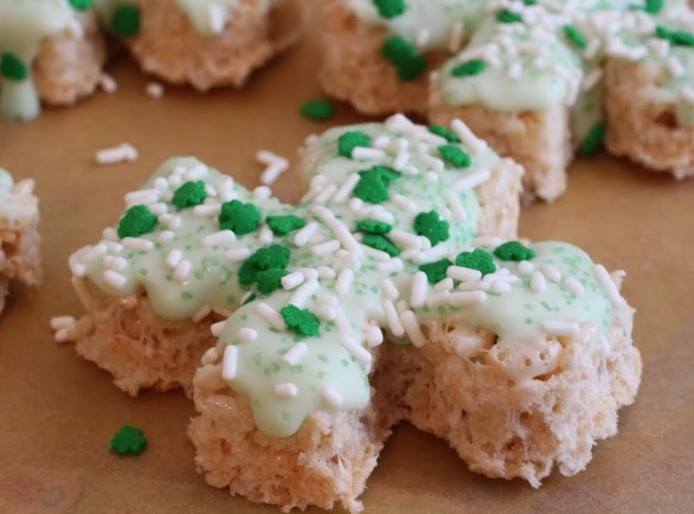
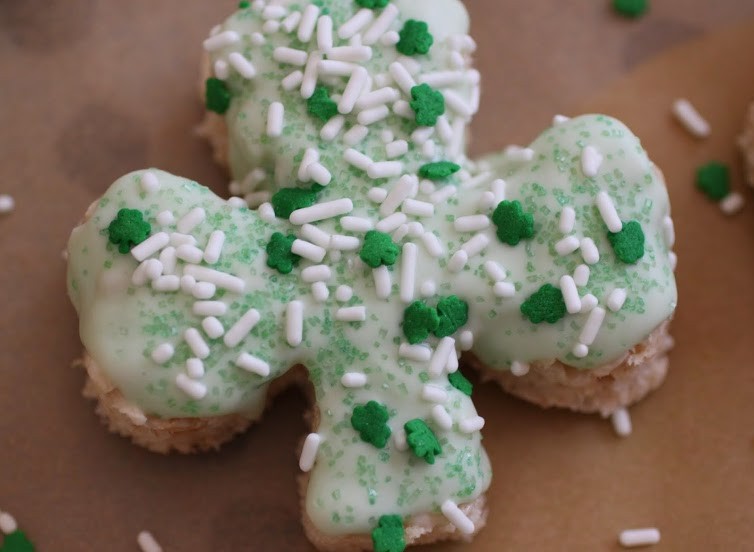
These are the first Rice Krispies treats I’ve posted on my blog, and why? Well, honestly, because everyone can make Rice Krispies treats and they’re as old as America itself. But when you shape them like shamrocks and dip them in white chocolate melts dyed green, that’s another matter entirely.
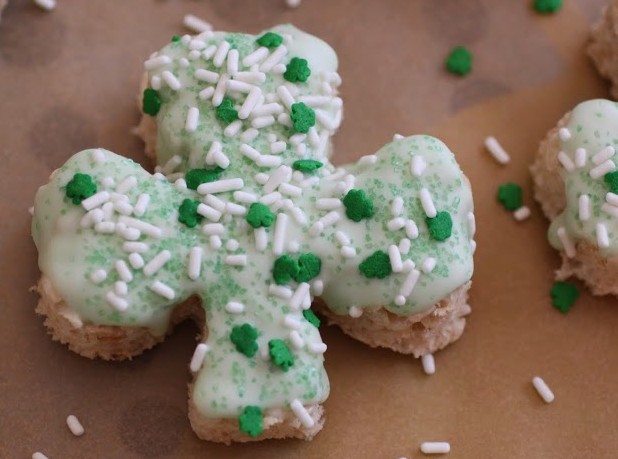
Oh, and the sprinkles. Did I mention the sprinkles? I ordered them special from Amazon. They’re Wilton brand. Wilton, I love you. If you ever want me to do promotional posts for you, call me. I use your stuff and promote it for free, though, including your holiday-themed sprinkles.

And you know, shamrock krispy treats are strangely appealing to anyone who comes across them. I saw so many pairs of eyes light up at the sight of these lucky little treats that I’m convinced even more that holidays need to be celebrated with food. Not that I really needed to be persuaded of that.
So even though I’m not Irish, enjoy these. I’ll have more to come as we get closer to the big day! And to all my fellow Star Trek fans out there, I can only say:
Live Long and Prosper.
Ingredients
Instructions
- Line a 9 x 13 pan with waxed paper, leaving enough to hang over the sides. Set aside.
- In a large saucepan, melt the butter over medium-low heat. Stir in the marshmallows until completely melted. Turn off the heat.
- Add the cereal to the saucepan and stir until the cereal is fully coated with the marshmallow mixture.
- Press the cereal mixture into the prepared pan evenly with a spatula coated in cooking spray. Cool.
- Line a cookie sheet with a silicone baking mat or parchment paper. Set aside.
- Using the overhanging waxed paper, lift the treats out of the pan. Spray a shamrock cookie cutter with cooking spray.
- Pressing down firmly, cut the treats into shamrock shapes. Place the shamrocks carefully onto the prepared cookie sheet.
- Melt the white chocolate according to package directions. Add the green food coloring, stirring until your desired shade of green is reached.
- Using a spoon, carefully spread the melted candy over each krispy shamrock and immediately cover with sprinkles.
- Repeat the process until all the shamrocks are made. Allow the chocolate to harden before serving. Store in an airtight container.
]]>
There was a cookie shop (a Mrs. Fields-type place) in the student union of the university where my parents worked. Sometimes, we’d go visit my dad at work, and on a really good day, we’d get a big gingerbread man as a treat. Or at least, it seemed big. If I looked at the cookie as an adult, it would probably be tiny.
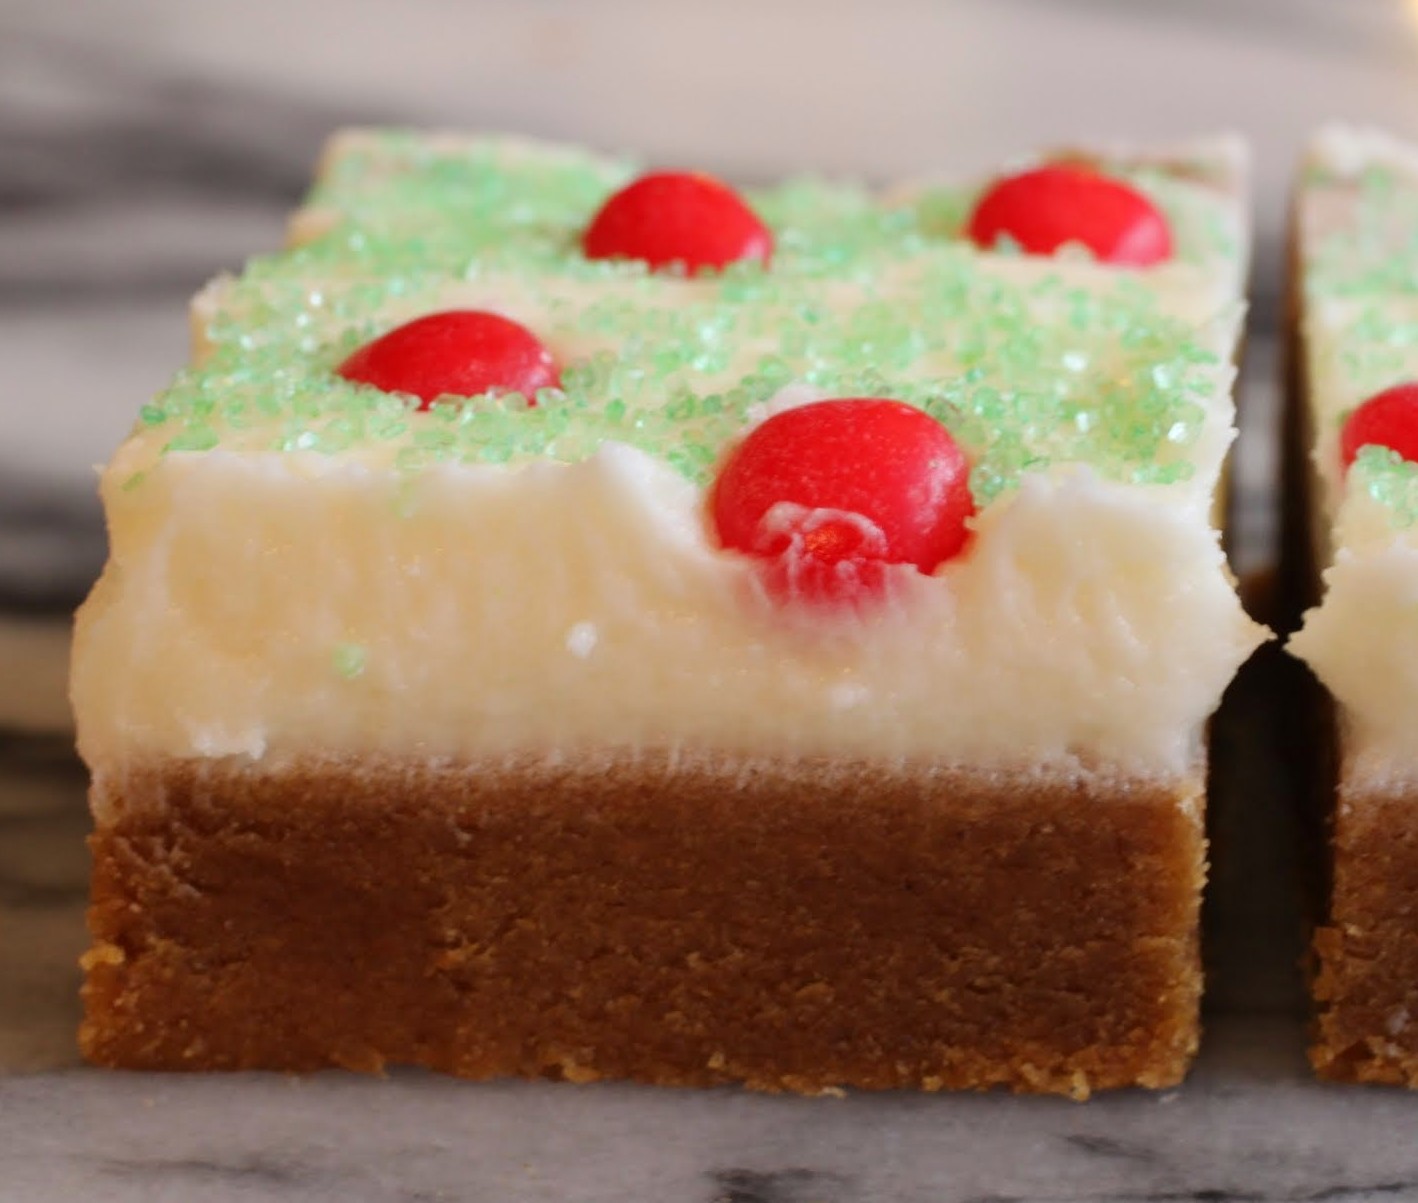
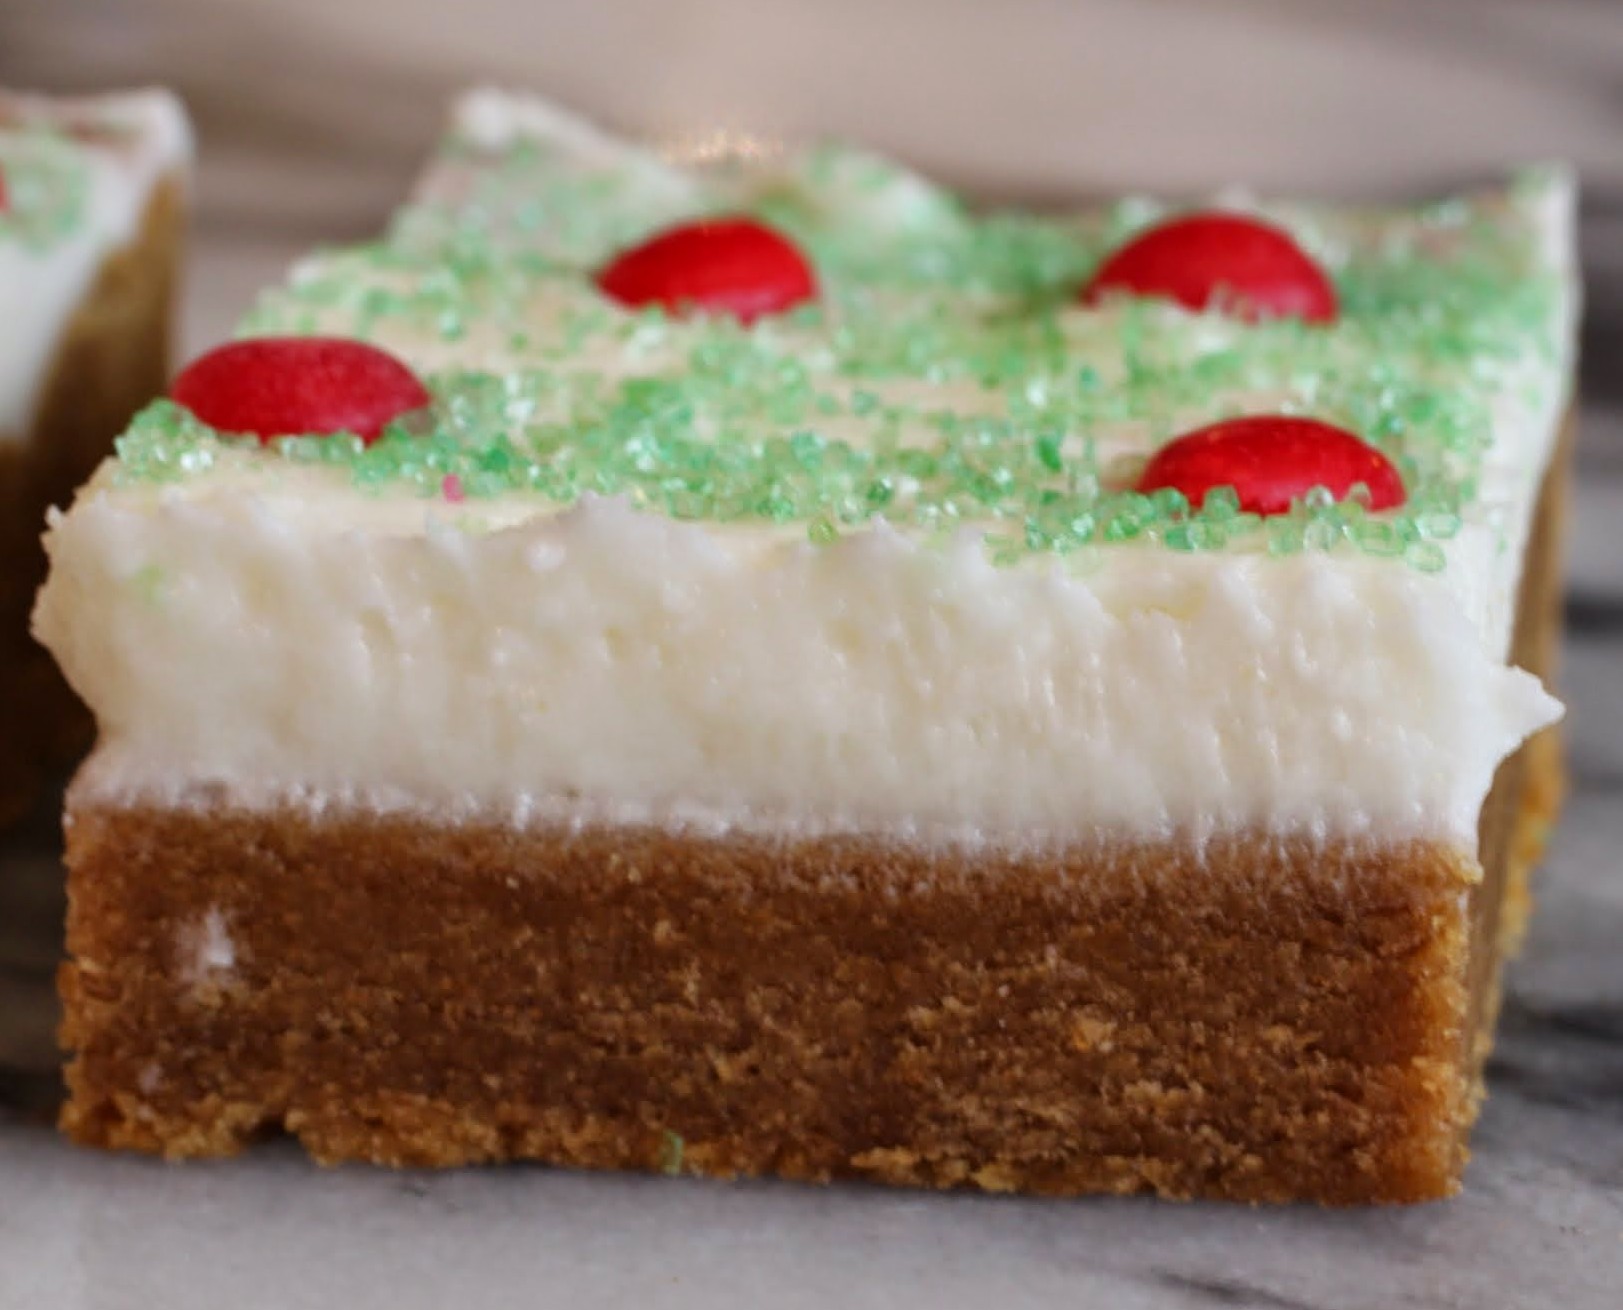
These gingerbread men had red hot buttons. You know, the candy. So as an adult, I don’t like to eat gingerbread if there are no red hots involved. That’s why these delightful gingerbread bars are covered not only in a thick, snowy layer of frosting, but also with red hot candies!
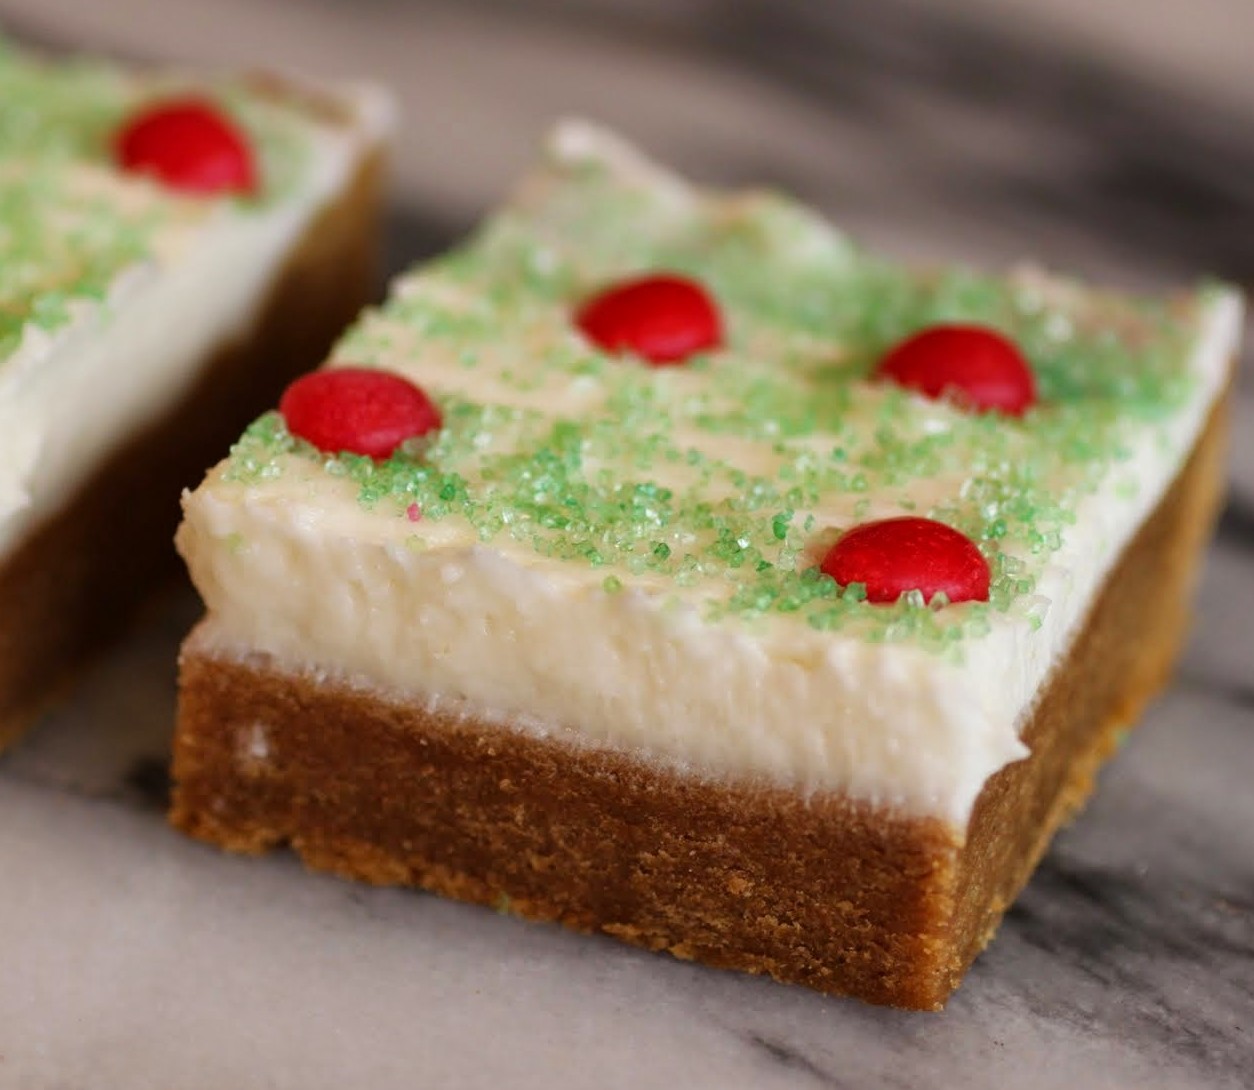
If a brownie had a gingerbread counterpart, this would be it. As much fun as it is to roll out those little guys, this is the low-maintenance version. Same flavor, less work. I’m a fan!
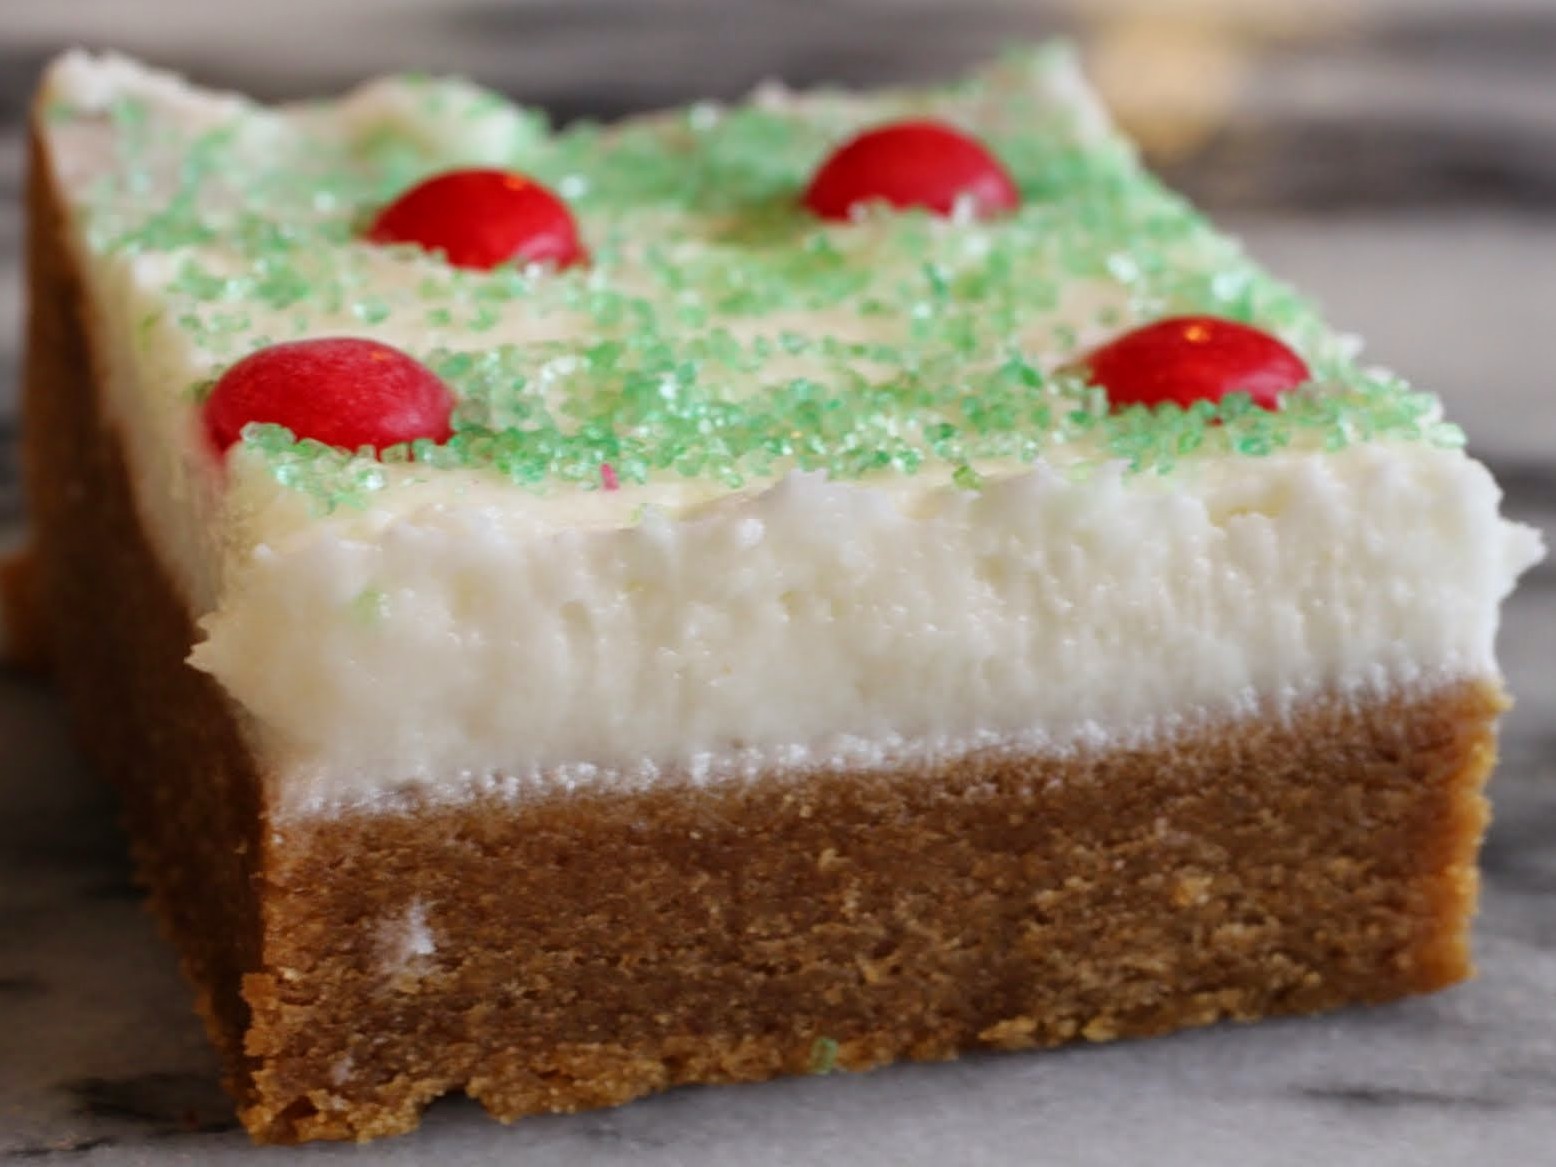
The most surprising thing about these bars is how quickly they bake. They’re pretty much set after 15 minutes in the oven. You don’t want to leave them in much longer, or they’ll get overbaked. That’s the enemy.
For an easy and different addition to your holiday party circuit this year, give these bars a shot. They might not bring back the childhood joy of biting the head off a gingerbread man, but they’ll sure bring back that taste.
Ingredients
Instructions
- Preheat the oven to 350. Line an 8 x 8 pan with aluminum foil, leaving enough to hang over the sides. Spray with cooking spray. Set aside.
- In the bowl of a stand mixer, cream the butter and sugar with the molasses until smooth and creamy. Add the egg and mix again. Beat in the baking soda, salt and flour gradually, until the dough forms.
- Spread the dough in the prepared pan, patting it down. Bake for 15 minutes. Cool completely.
- When the bars are cool, make the frosting. Cream the butter and shortening until smooth. Add the powdered sugar gradually along with the vanilla. When the powdered sugar is added, mix in the milk. Whip for a few minutes until completely smooth.
- Spread the frosting on the bars. Add sprinkles and other decorations as desired!
- Let the frosting set; cut into squares and store in an airtight container.
]]>
The truth is, I’ve been known to hoard…truffles.
Oh, I’m so ashamed. You see, I love throwing things away. I know it sounds wasteful, but it makes me feel like I’m finally getting organized and cleaning up the constant mess that my kids throw around the house each second they’re home. I don’t save anything except the rare, unquestionably special school project.
And truffles.
These? These are a keeper for sure.
A few days ago, I posted these Nutella Cookie Dough S’mores. In that post, I indicated that there were lots of ways you could use the egg-free, no-bake amazing cookie dough. And here is one of them!
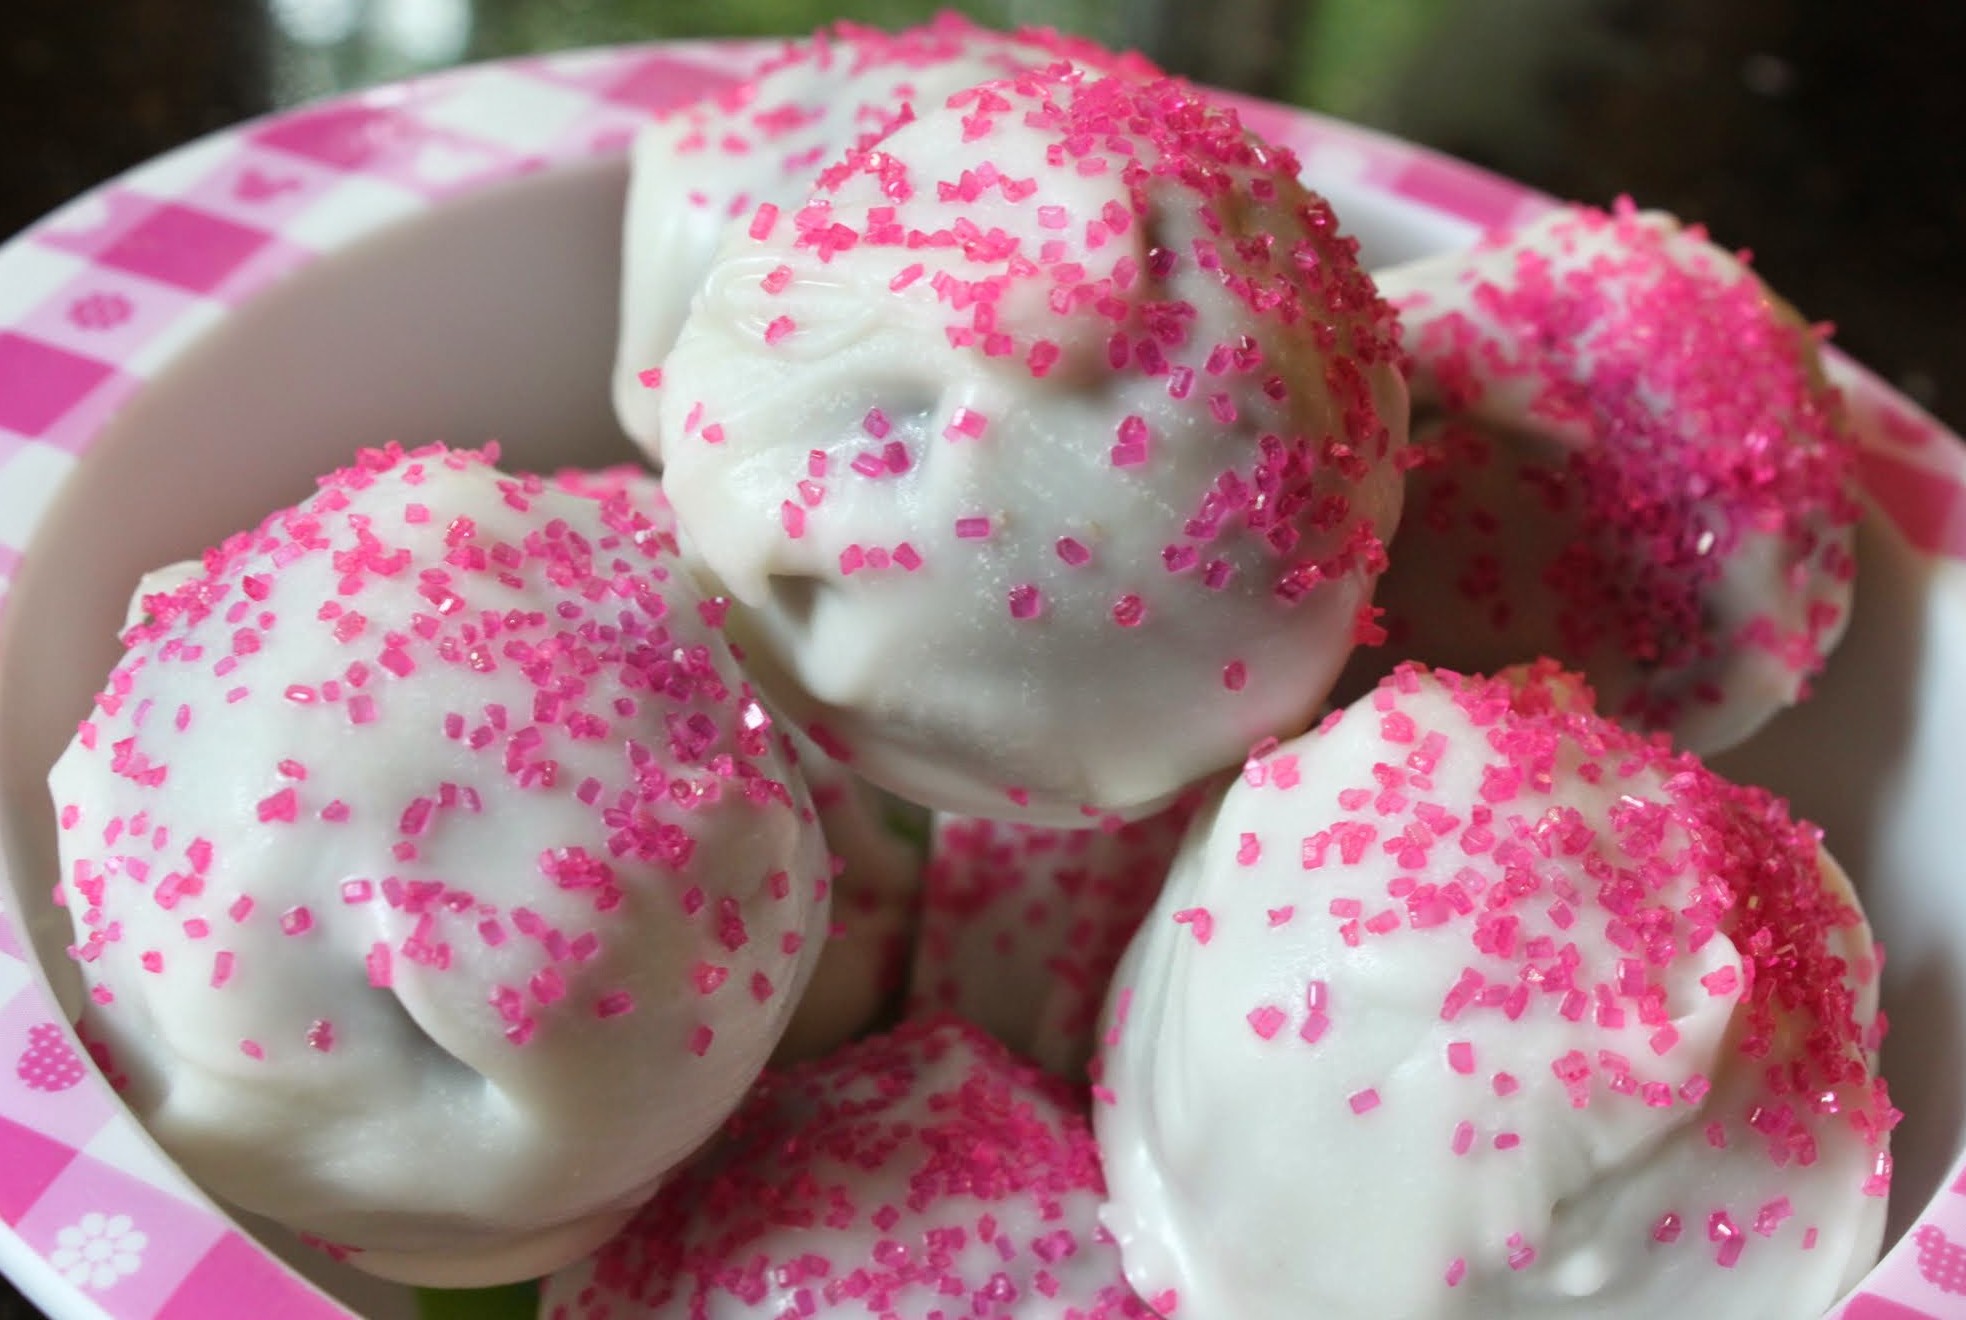
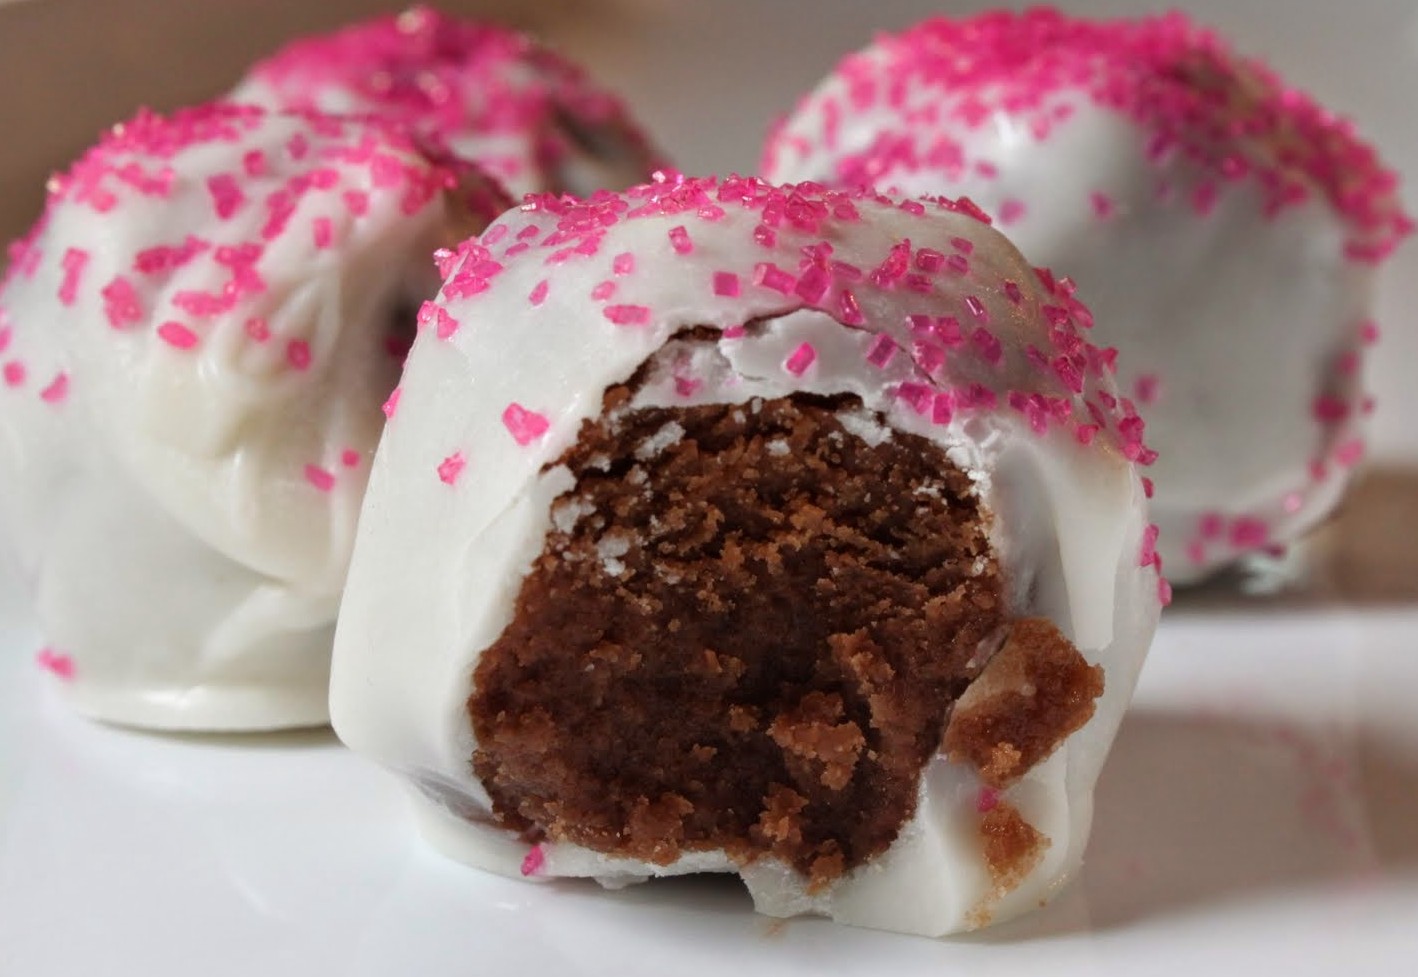
When I made the s’mores I had some extra dough, so I ate a bunch of it. Full disclosure, right? But then I realized it would be so much more fun if I rolled the dough into balls, covered it in white chocolate and sprinkles, and ate the truffles as quickly as possible. No hoarding here!
Even my kids liked them. I think the pink sprinkles sold them. And my supposedly chocolate-hating son once again magically forgot his aversion to anything chocolate and gobbled them down. That boy is starting to wear me out.

But hey, I hardly mind, really. It warms a mother’s heart to have her children eat her bounty. Or something like that. Because what I just wrote sounds really weird.

So make these, but don’t say I didn’t warn you. You will not be hoarding these! Not a chance. They won’t last long enough. I guess I’ll save my truffle-hoarding tendencies for those red velvet truffles Godiva makes. Oh, happiness!
Ingredients:
- 1/4 cup unsalted butter, softened to room temperature
- 1/4 cup Nutella
- 1/2 cup firmly packed brown sugar
- 2 tablespoons milk (I used two-percent)
- 1 teaspoon vanilla
- 1 cup flour
- 1 package white candy melts (or a color of your choice)
- sprinkles
Instructions:
In the bowl of a stand mixer, beat the butter, Nutella and brown sugar until fluffy. Add the milk and vanilla and mix again. Add the flour gradually, beating until a soft, workable dough forms.
Using the palms of your hands, roll the dough into 1-inch balls. Place the balls onto waxed paper when they’re ready.
Using a microwave-safe bowl, heat the candy melts according to package directions. Stir to ensure the melts are smooth.
Working quickly, dip the dough balls into the candy melts. You can use a toothpick or a fork. Put the dipped truffle back onto the waxed paper and add sprinkles. Allow the truffle shells to harden.
Eat the truffles, but do it fast! They’ll disappear before you know it!
]]>