Every time I post a butterscotch recipe, I talk about how I don’t ever remember to bake with it. But when I do, it’s the best flavor explosion. I’m trying to do it more often, and the overripe bananas on my countertop always present a fantastic opportunity.
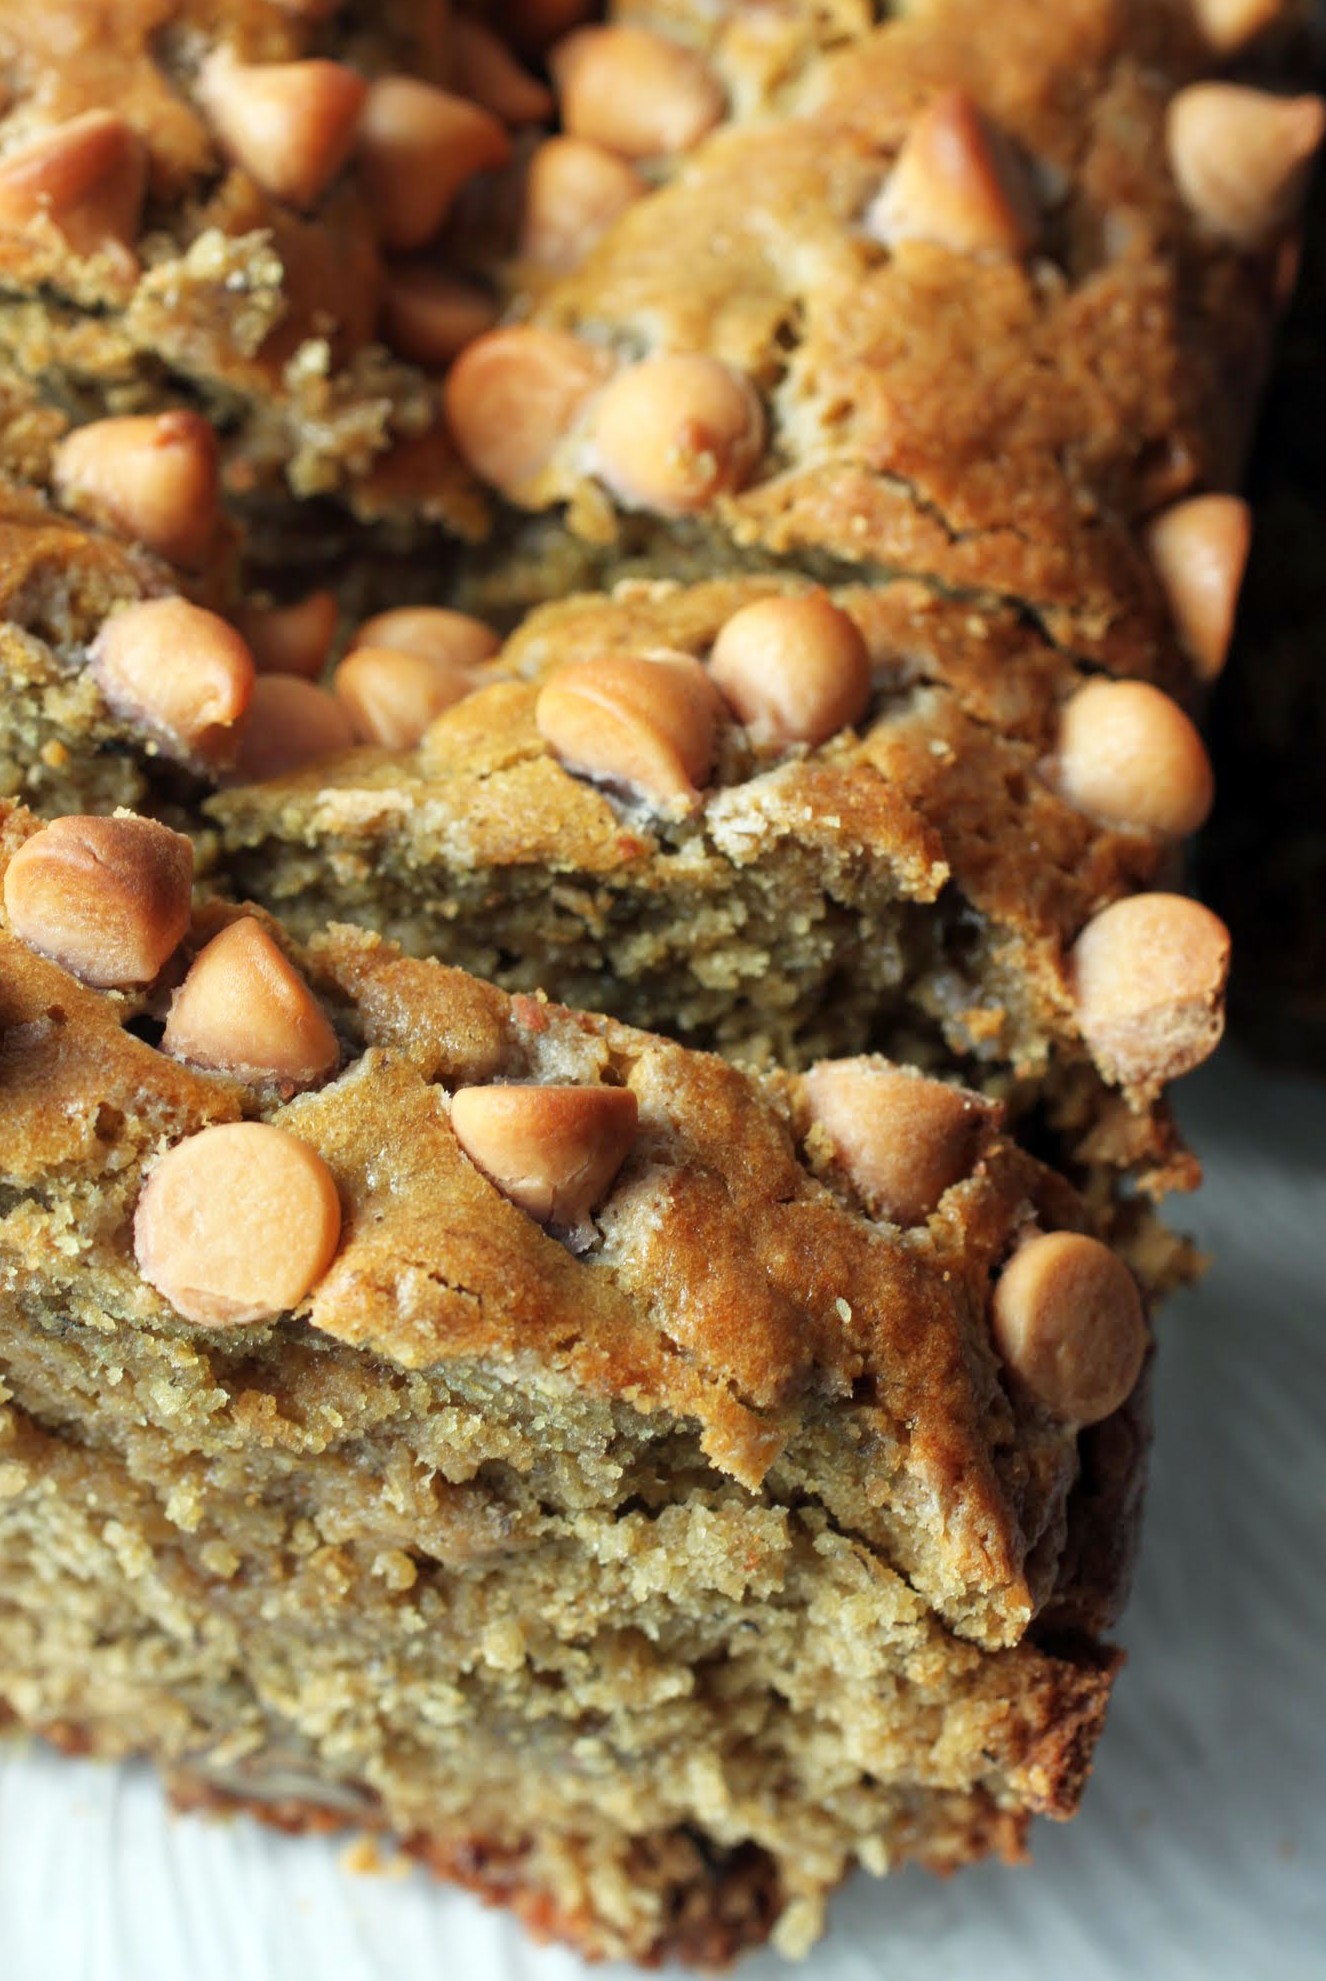
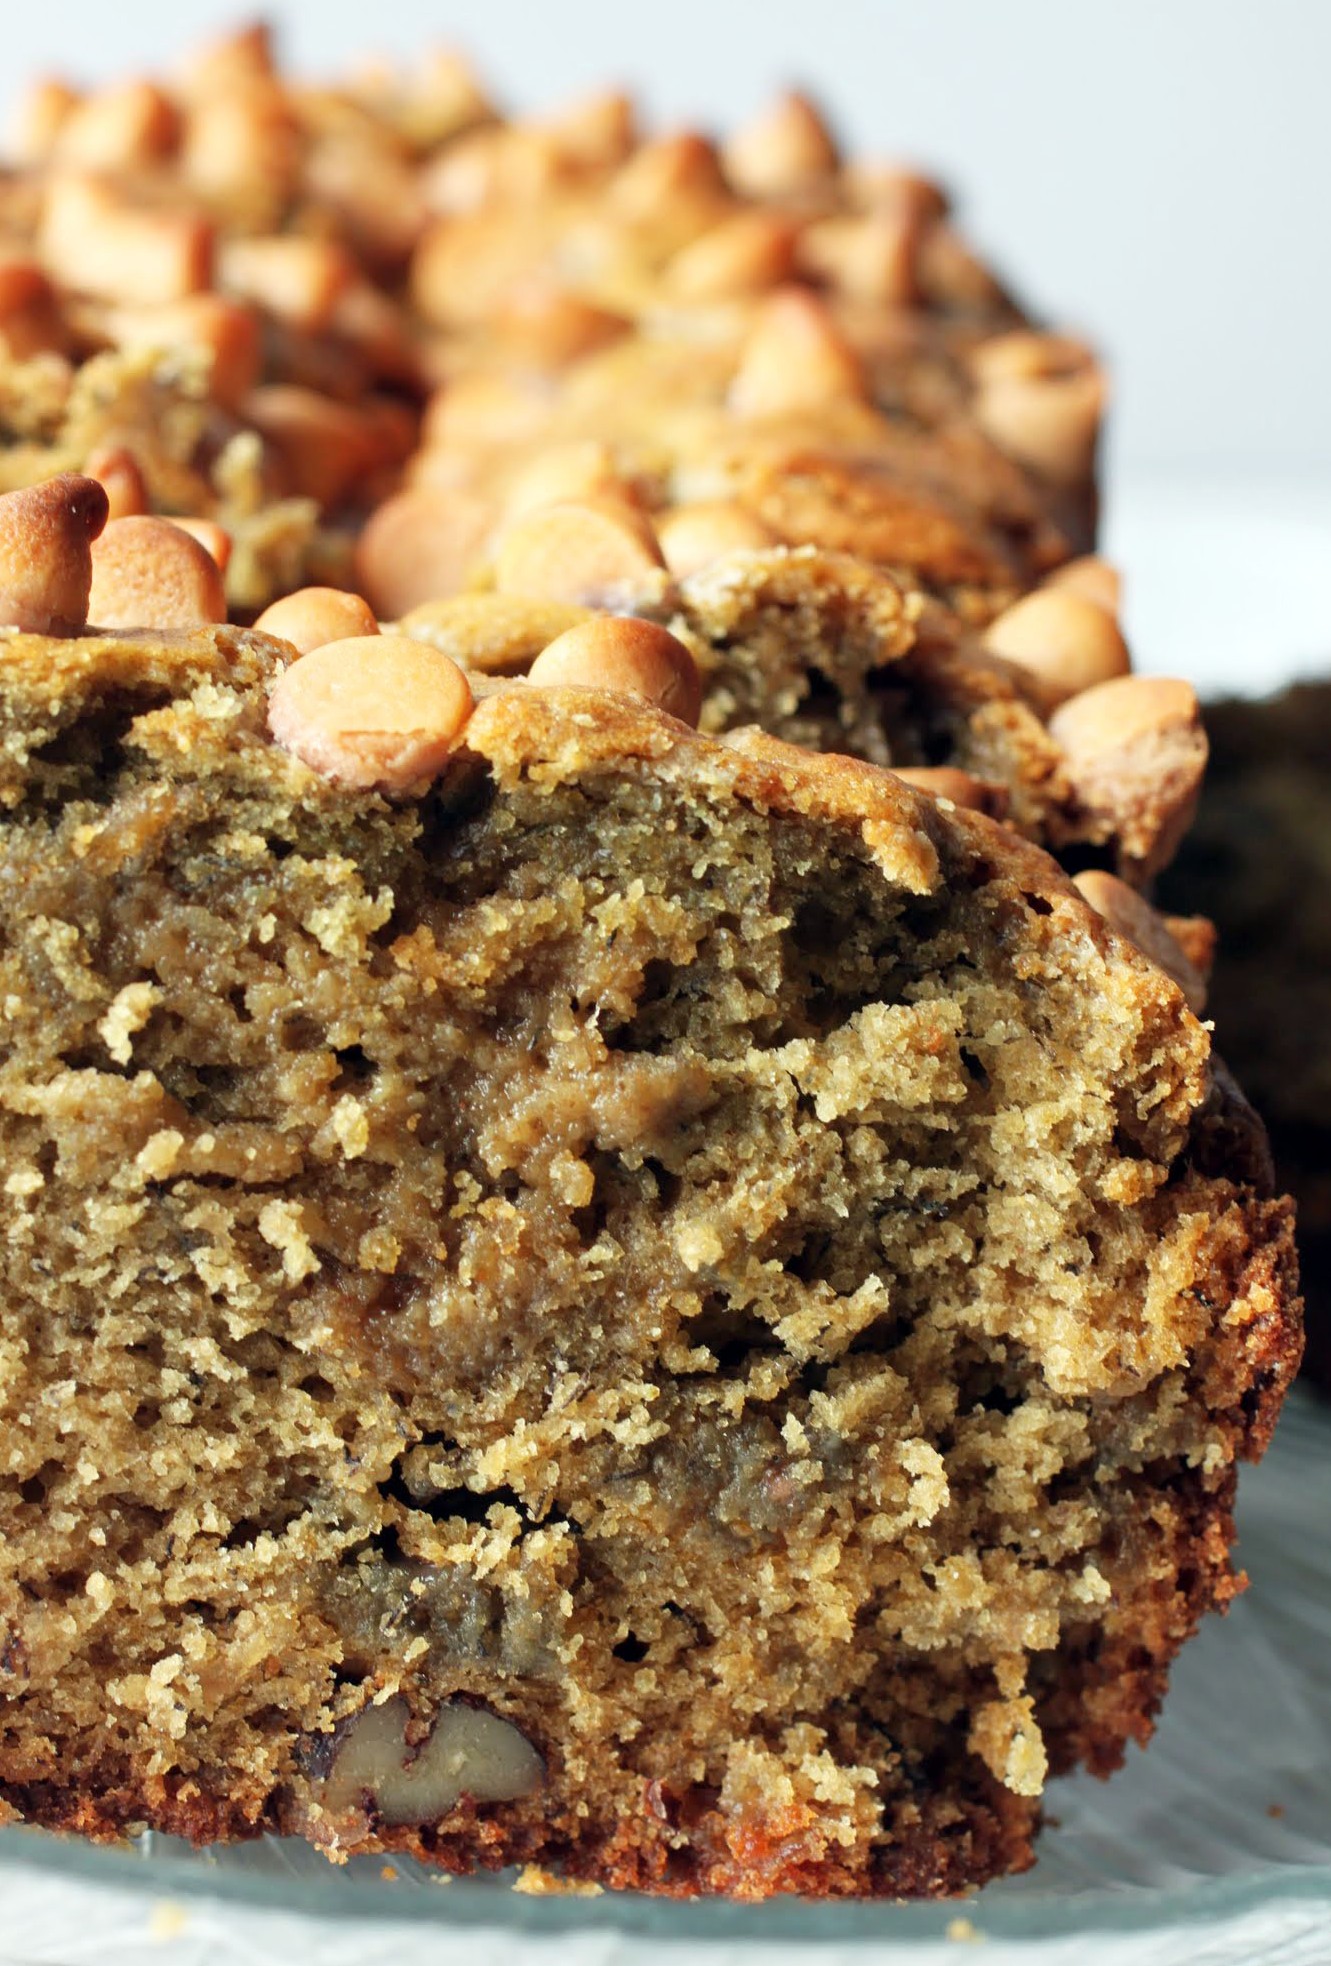
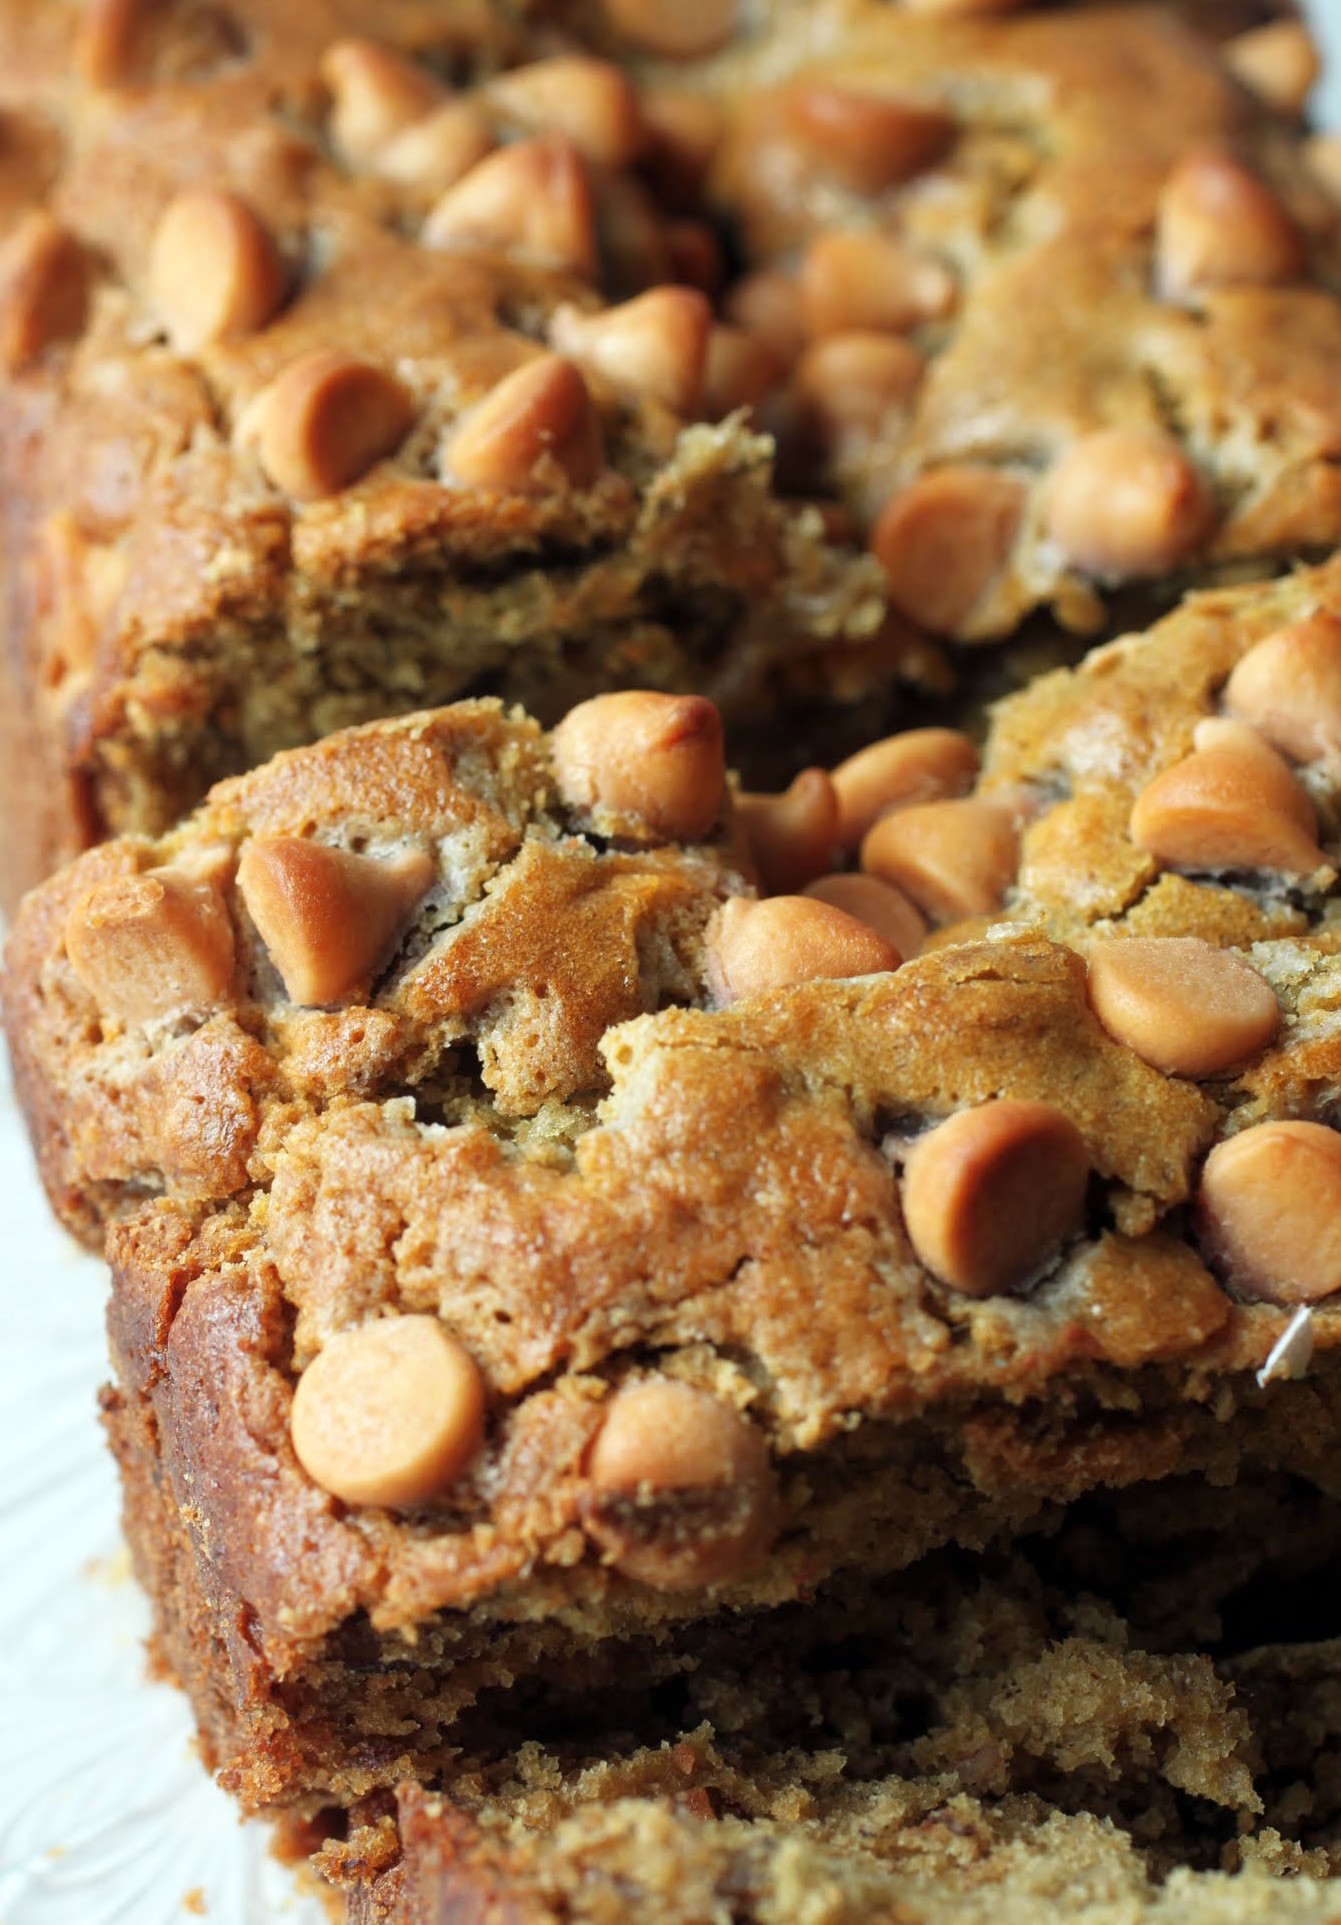
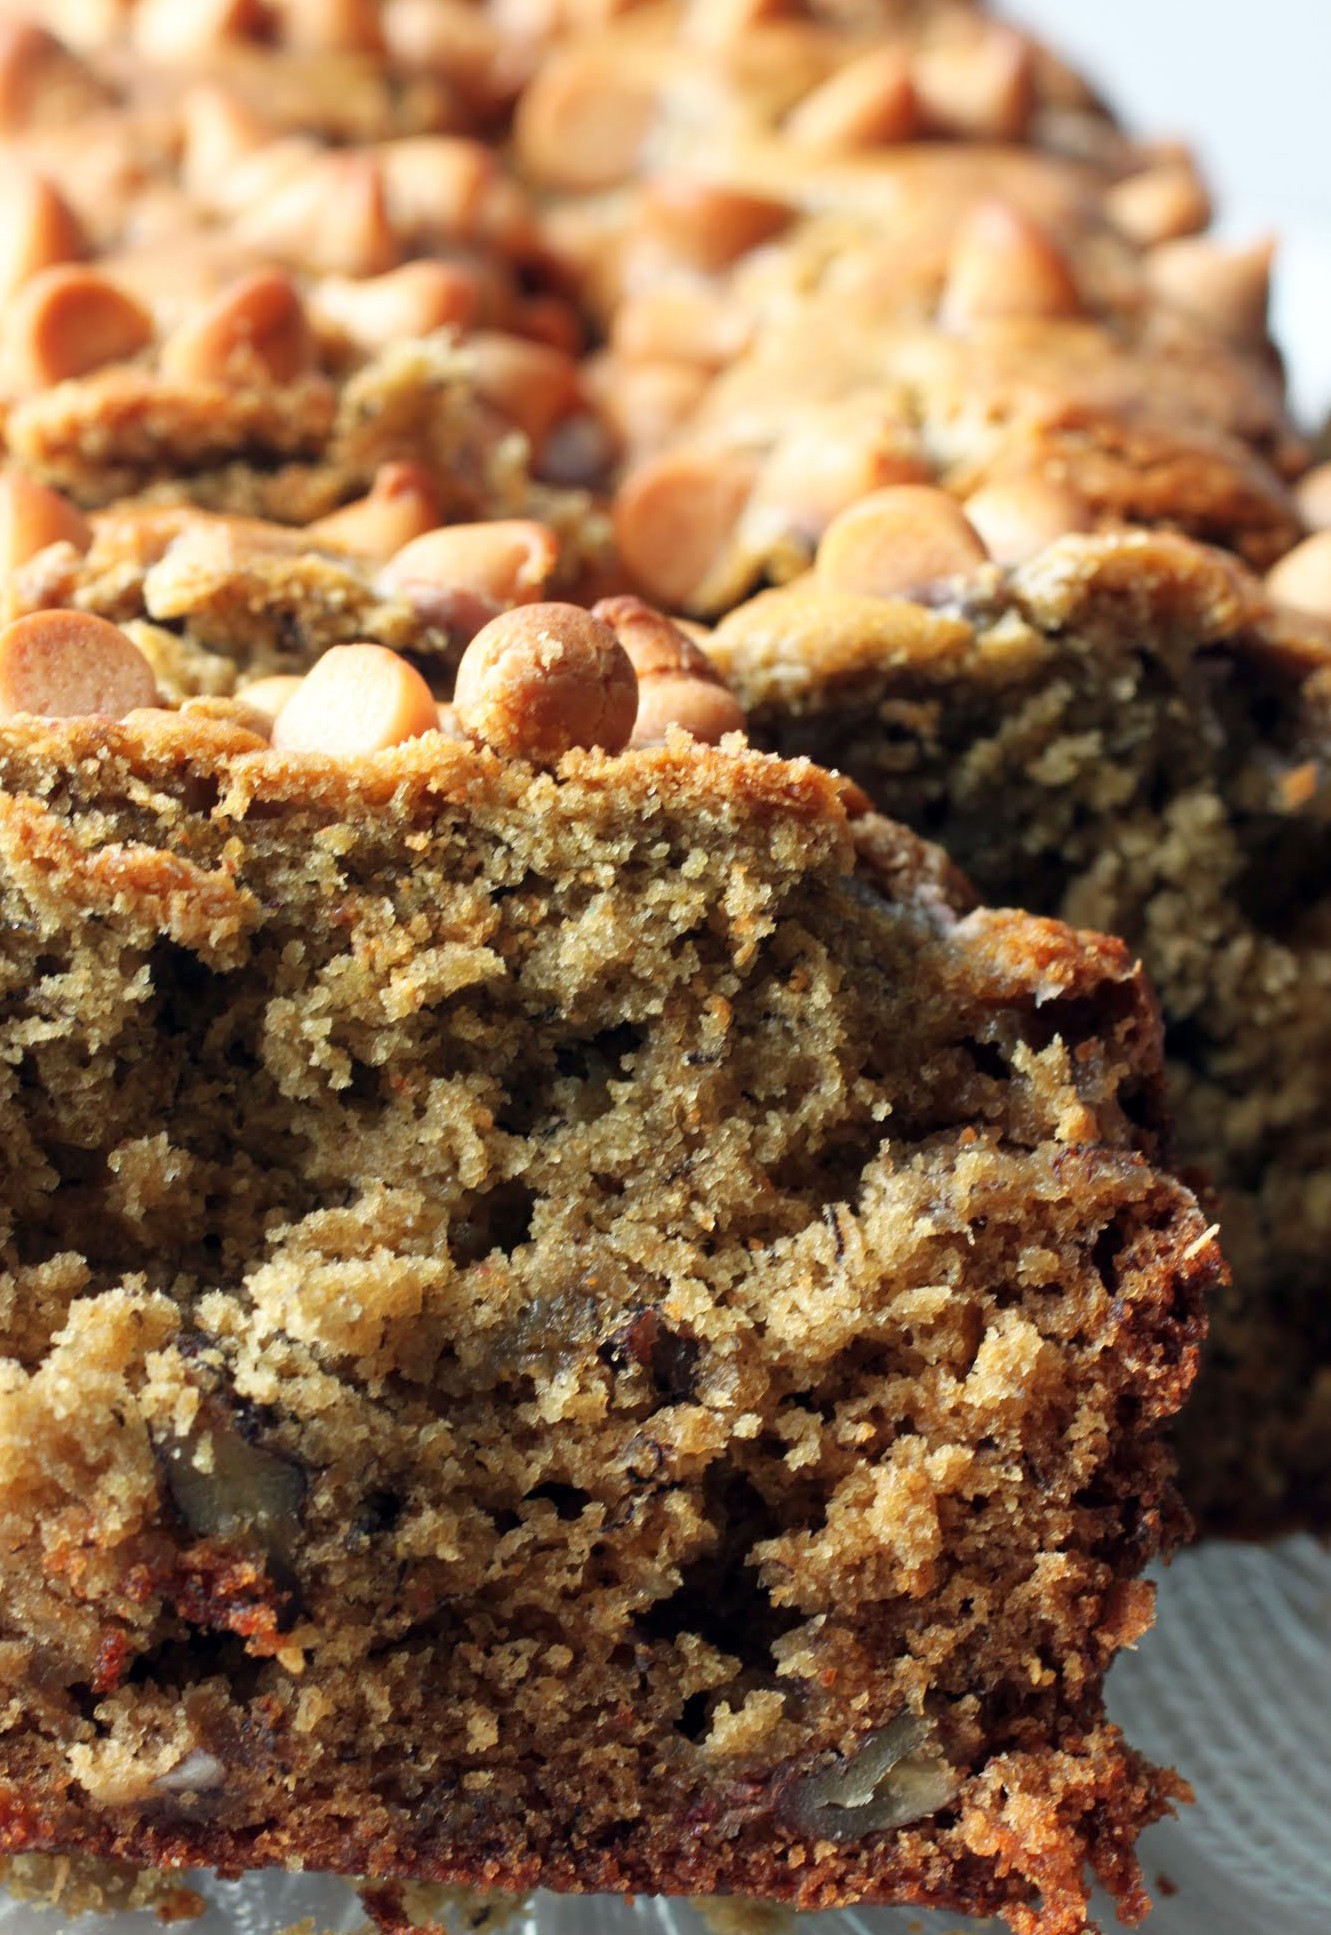
If you are one of those people who craves moist (sorry if you dislike that word, but whatever) banana bread with crunchy pecans and sweet butterscotch chips, look no further. This bread is your soul mate! And it’s effortlessly gluten-free, too.
I’ve spent the past few days packing up the high school that I’ve been privileged enough to teach at for most of my career. I’ll be the English department chair at my new school and I’m excited about the change, but it’s definitely tough to leave a school I’ve loved so much. I’ve had the best students, the best colleagues, and just the best time ever. Teaching can be a total blast.
When I started packing the other day, I quickly became horrified at just how much stuff I’ve acquired over the years. We’re talking 10 full boxes of stuff, plus three giant file bins, plus bags of odds and ends. When I texted Kenny pics of all my packed-up possessions, his response was “good grief” followed by “digitize.” I then had to launch into an explanation of how much teachers need to do instruction every day, all day, for years and years. We teach an awful lot of content, and that equals a lot of files. Plus, we make what are called “class sets,” which are sets of 30 copies for all our students, which we save from year to year. That way, no extra paper wasting. It all adds up!
Still, I have this image of bursting into my new school with all this stuff and scaring my new colleagues. So I might want to take it in there gradually under the cover of night or something. That way, I’ll seem halfway sane. And I’m not even going to explain this whole baking blogger thing I do for quite a while. People accuse me of doing too much, and they’re probably right, but busy is good!
Some people are afraid of change, but if it’s a change with potential for growth, I really embrace it. So know that these next several months will be insane for me, but I’ll be a happy camper! You all know that I keep myself in dessert to make life awesome.
This banana bread is just the best, bar none. It’s springy and soft and yes, moist. It’s got butterscotch chips in the batter and sprinkled on top, and chopped pecans inside as well. Butterscotch and pecan is one of those genius combos that I always love using.
I hope you have a very happy holiday weekend. I might get motivated to post something in there, but I think the blogosphere is officially on hold, so we shall see. In the meantime, enjoy the fireworks and parades, and have a super happy fourth!
Ingredients
Instructions
- Preheat the oven to 350. Coat a loaf pan with cooking spray. Set aside.
- In a large bowl, combine the oil and brown sugar, mixing until smooth and all the brown sugar lumps are gone. Add the eggs, yogurt, mashed bananas, and vanilla. Mix well.
- In a small bowl, combine the oat flour, baking soda and salt.. Add the dry ingredients to the wet ingredients. Mix until well combined.
- Fold the chopped pecans and 3/4 cup butterscotch chips into the batter.
- Pour the batter into the prepared pan. Sprinkle the remaining 1/ cup butterscotch chips on top.
- Bake 40-50 minutes until the a toothpick inserted into the center of the cake comes out clean.
- Cool completely. Cut into slices. Store covered.
Across the pond, “banoffee” refers to the combination of bananas and toffee, typically in the form of a creamy pie. I must be honest: it’s not my favorite way to do pie. I’d rather hang out with key lime any day.
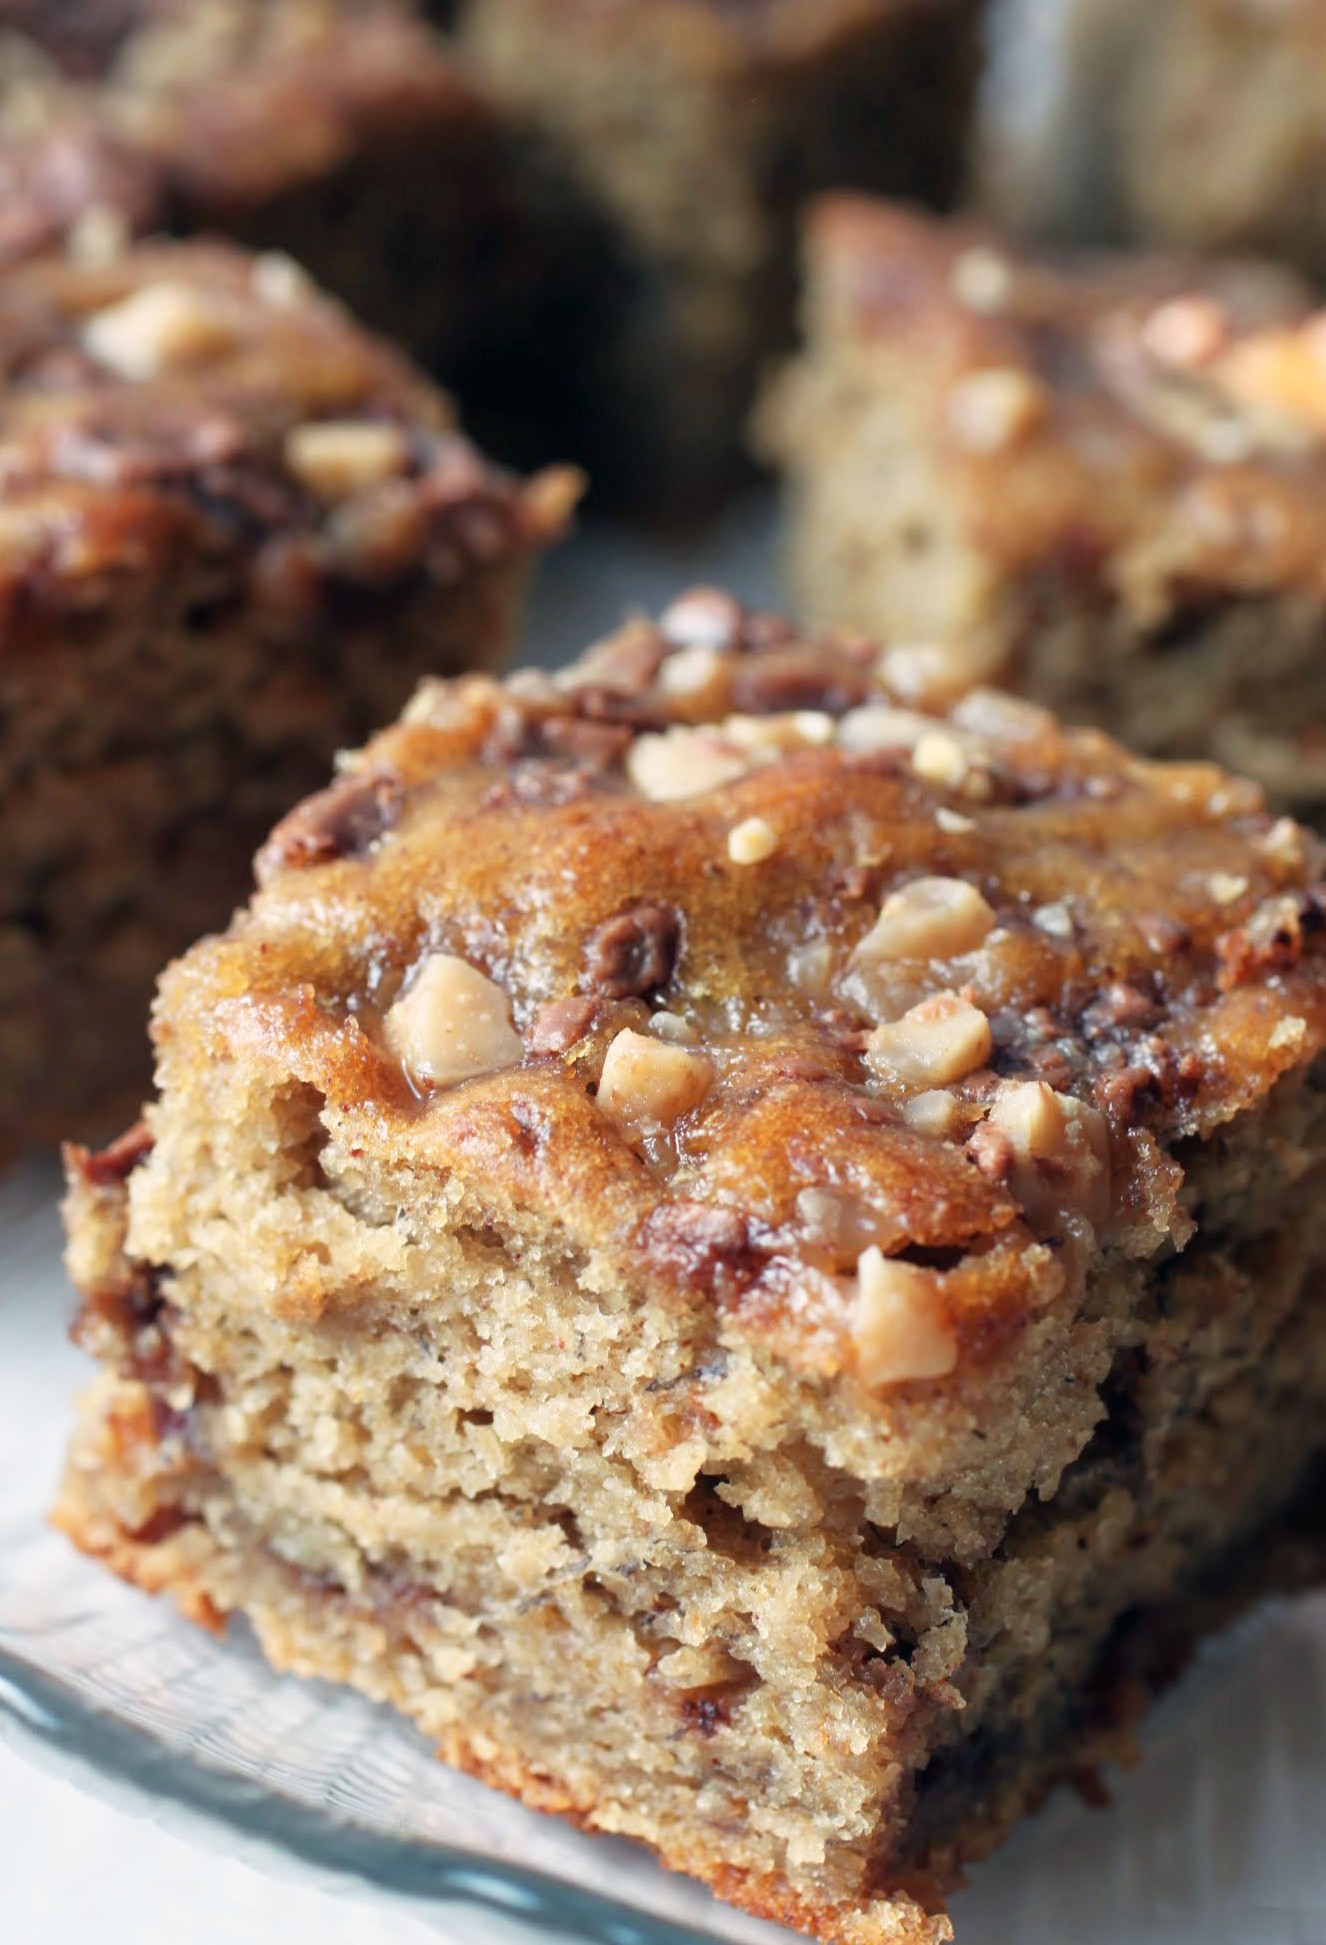
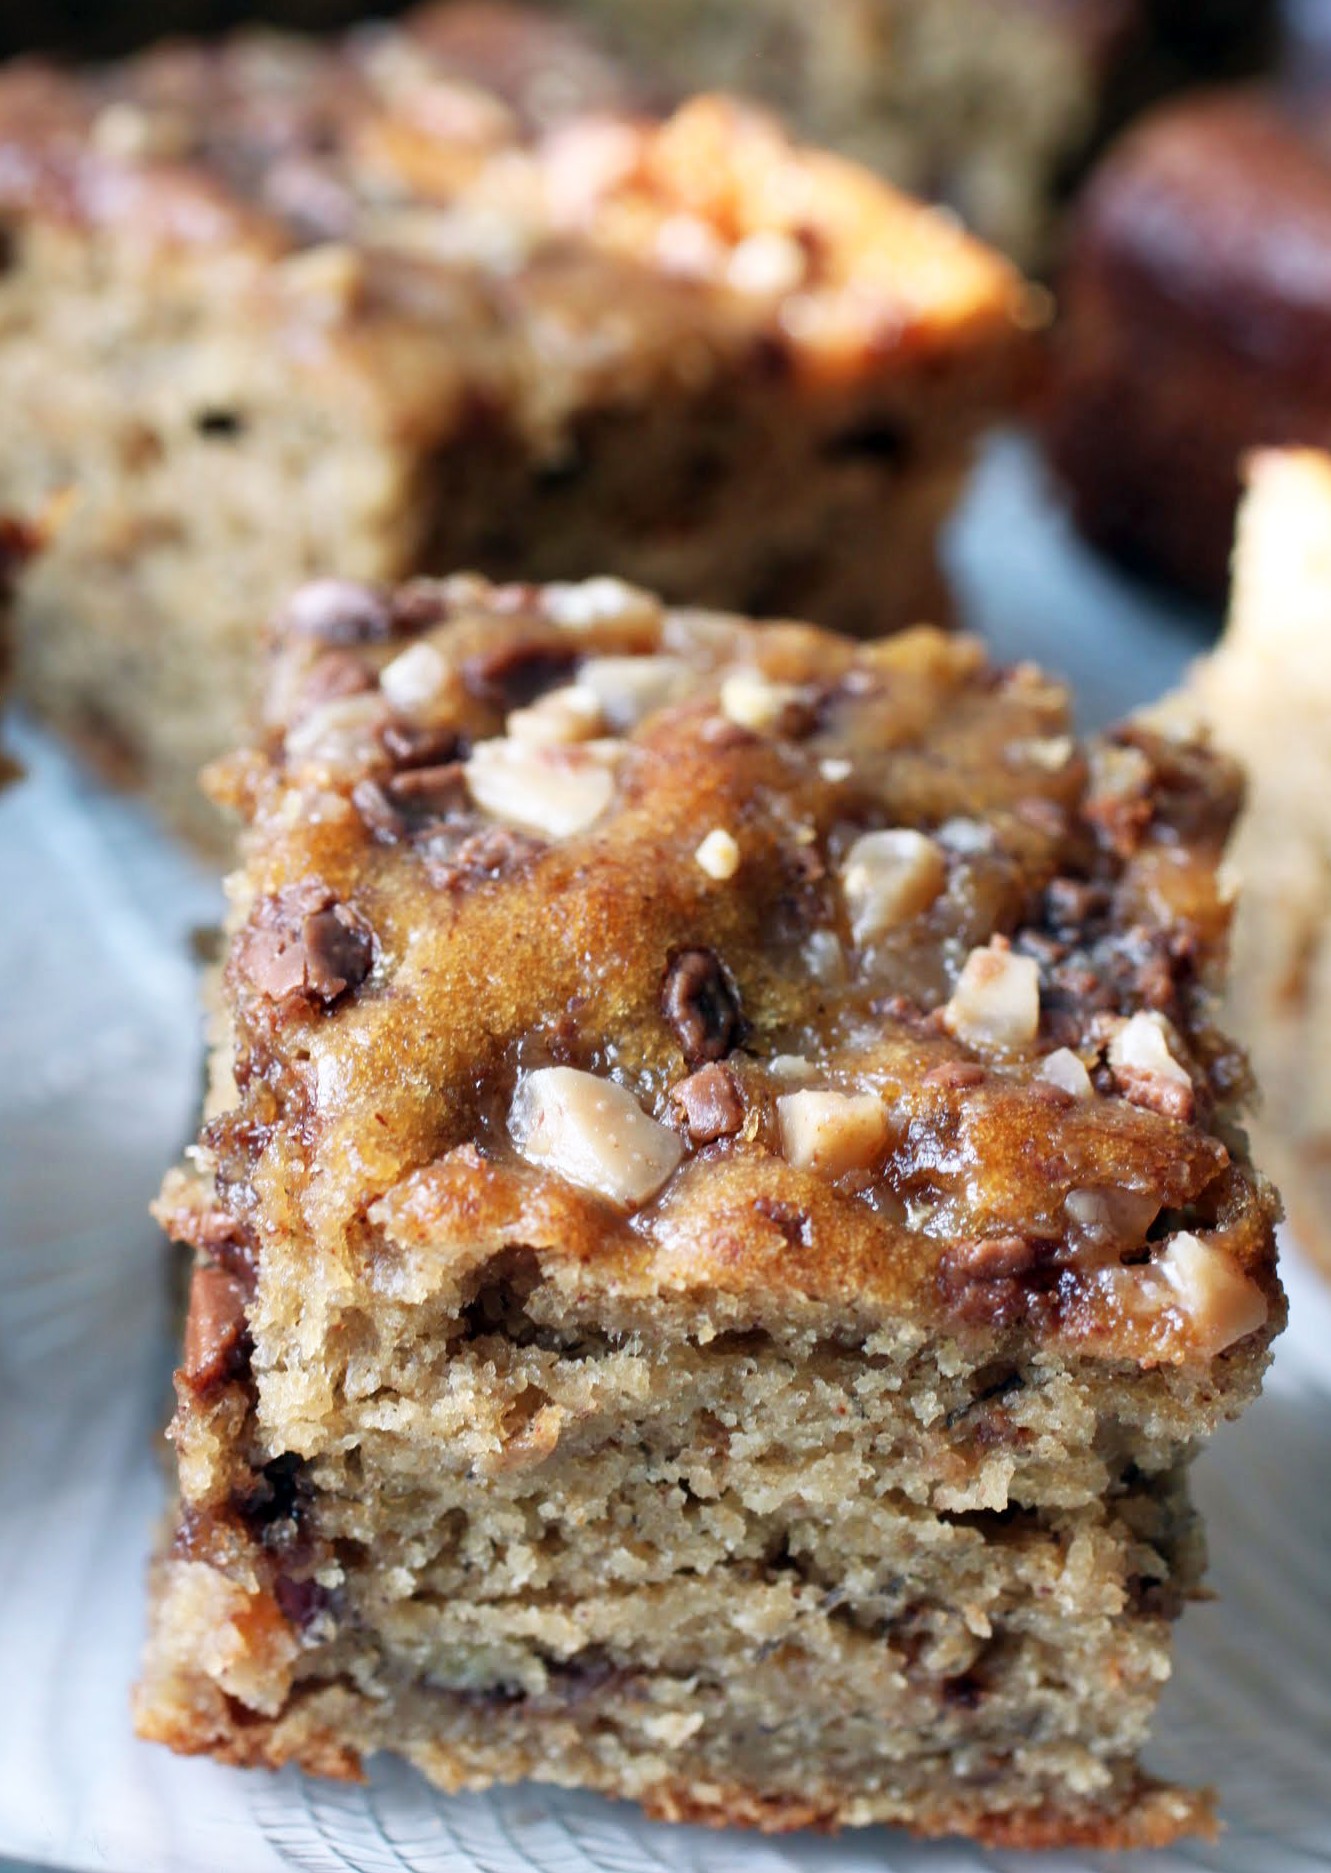
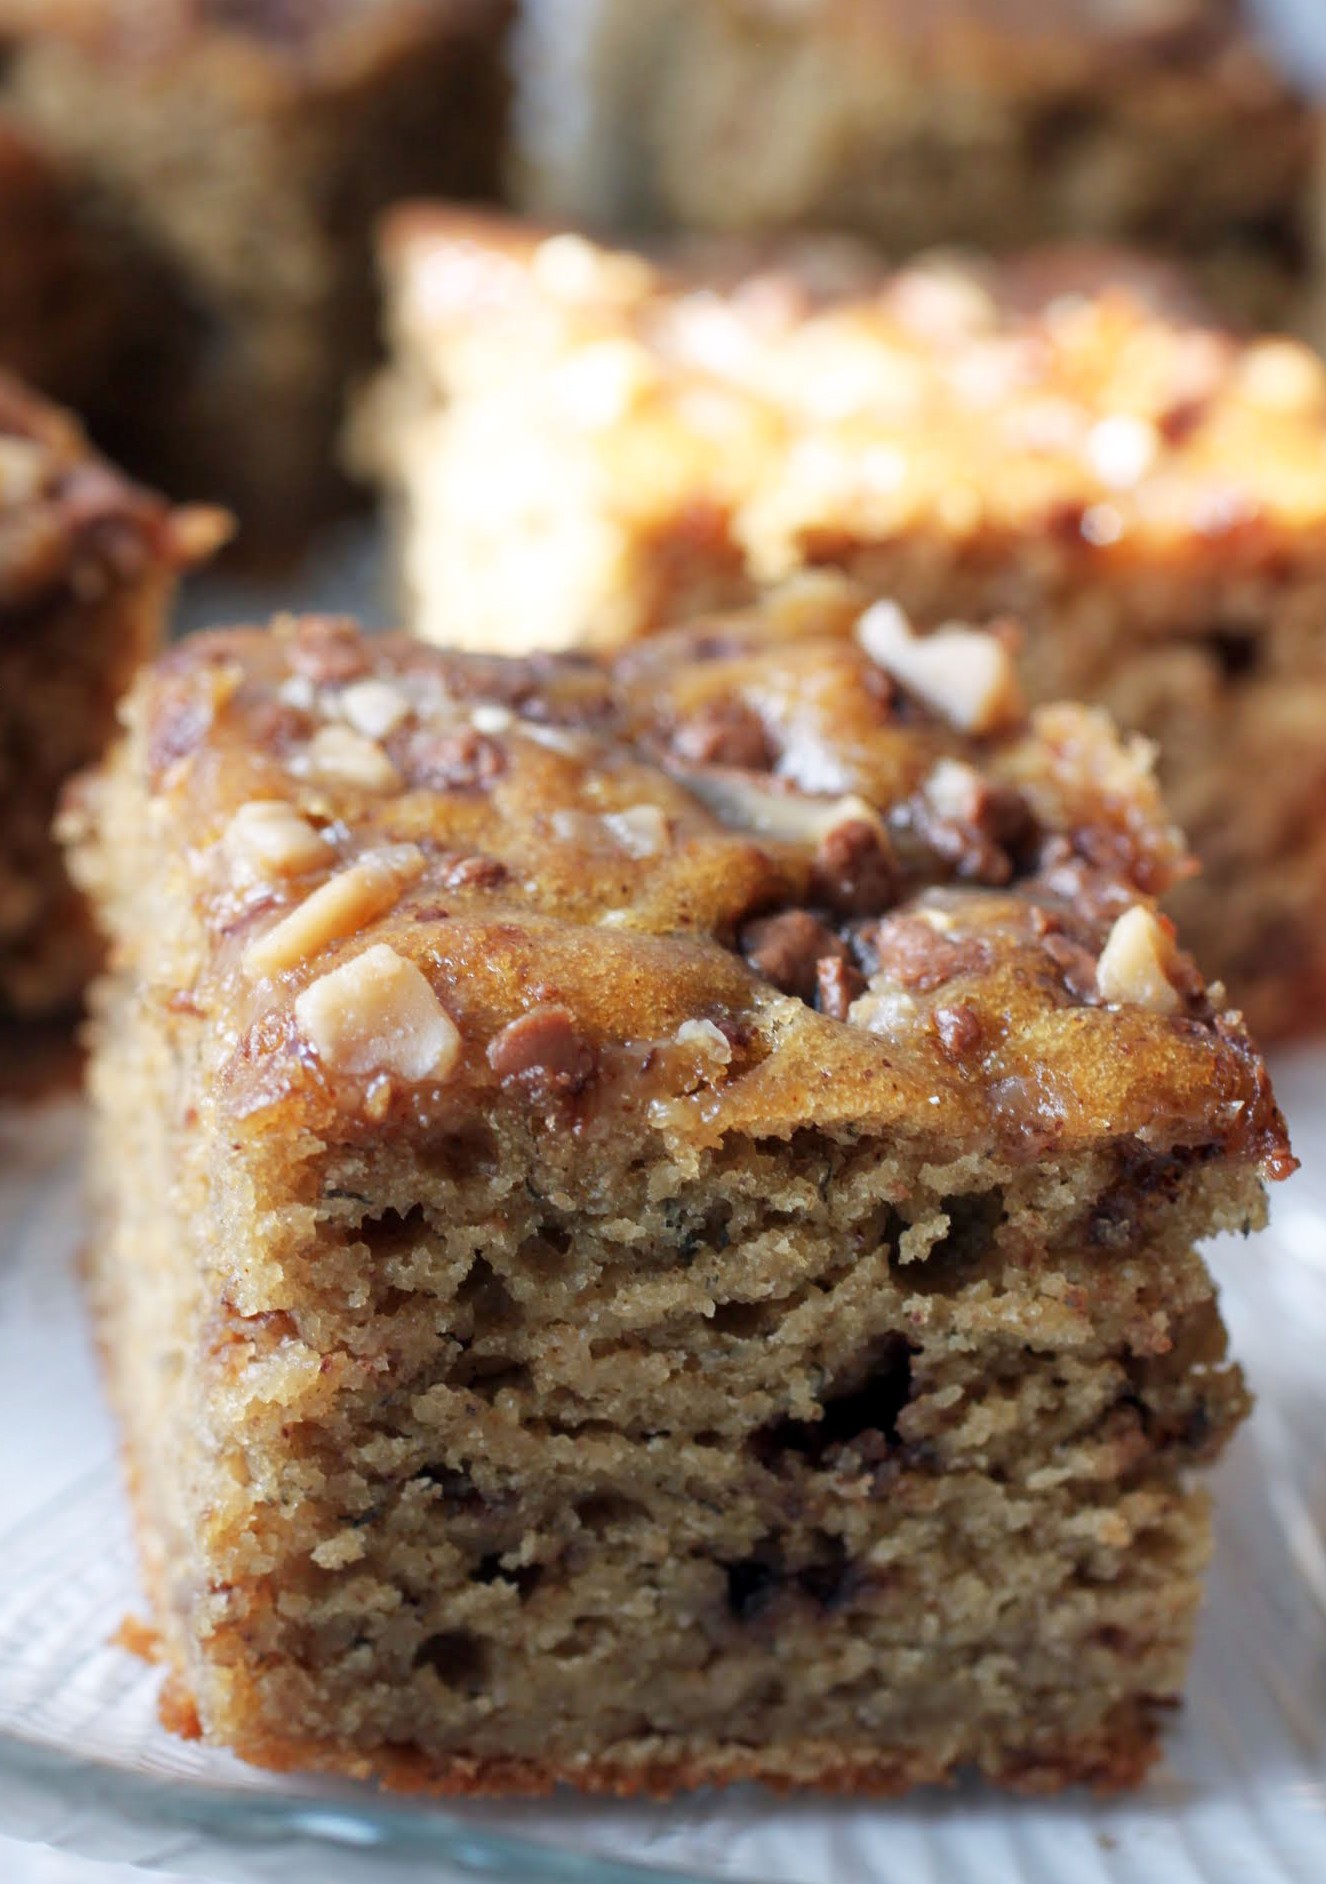
But then I got to thinking: what if the flavors got put into a different textural context? It turns out that I love banoffee when it’s in a cake. Or to be more specific, a cake I can’t stop eating. Which is fine, because it’s pretty healthy!
It’s taken eight years of mothering to figure out how I want to spend Mother’s Day. Sure enough, Kenny hit the jackpot this year. It wasn’t just that everyone let me have a whole morning to myself, though that was nice. I used it to take pictures for the blog and then I watched episodes of Entourage in bed. That was quite lovely.
And it wasn’t just that Kenny bought me the best box of chocolates ever, either, though that was quite lovely too.
He actually (wait for it) tore one of my meal planning sheets off the notepad I keep on the fridge and worked out the weekly meal plan with the kids. Then they went to the store and bought all the groceries for the plan. I didn’t have to think about what to have for dinner, which is one of my least favorite things to do. I hate that Sundays are synonymous with meal planning.
And he made dinner, too! I found steaks marinating in the fridge and the boy actually grilled vegetables. Like, zucchini and whatnot. If you know Kenny, you realize that’s a step in a new direction, because he’s picky with veggies. And then…he ate the zucchini.
You can be married to a guy for a long time and know him even longer, and he can still surprise you. And give you the best Mother’s Day of your life. Did I mention that swirly frozen margaritas also made their way into the day?
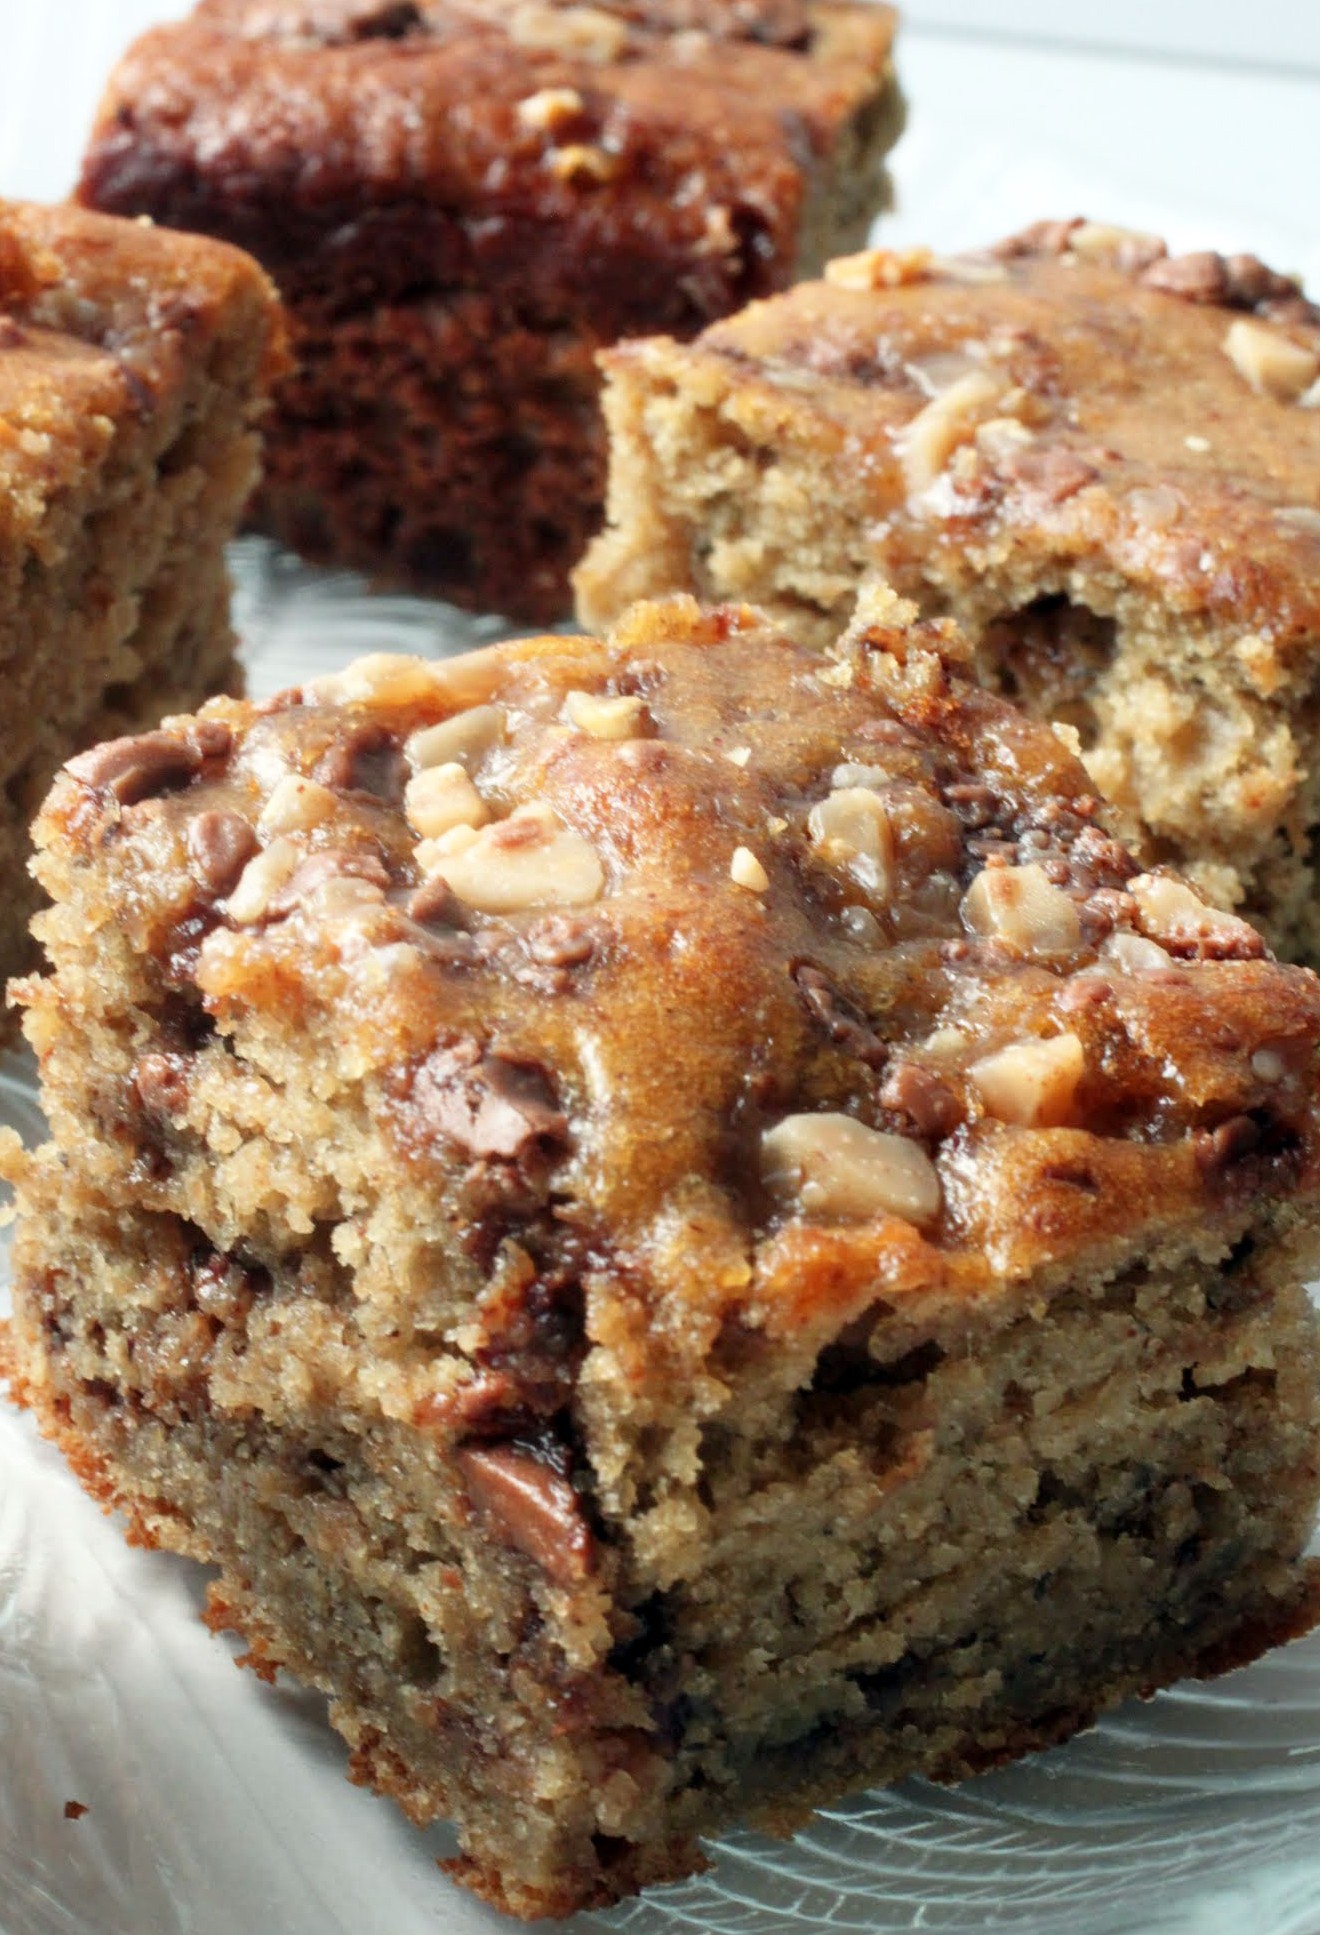
This banoffee cake was my morning snack. It made Mother’s Day even more amazing, and healthy, too. The cake is packed with Greek yogurt, bananas, heart-healthy canola oil and gluten-free oat flour. If you don’t have oat flour you can just use the regular stuff, and that’s fine too!
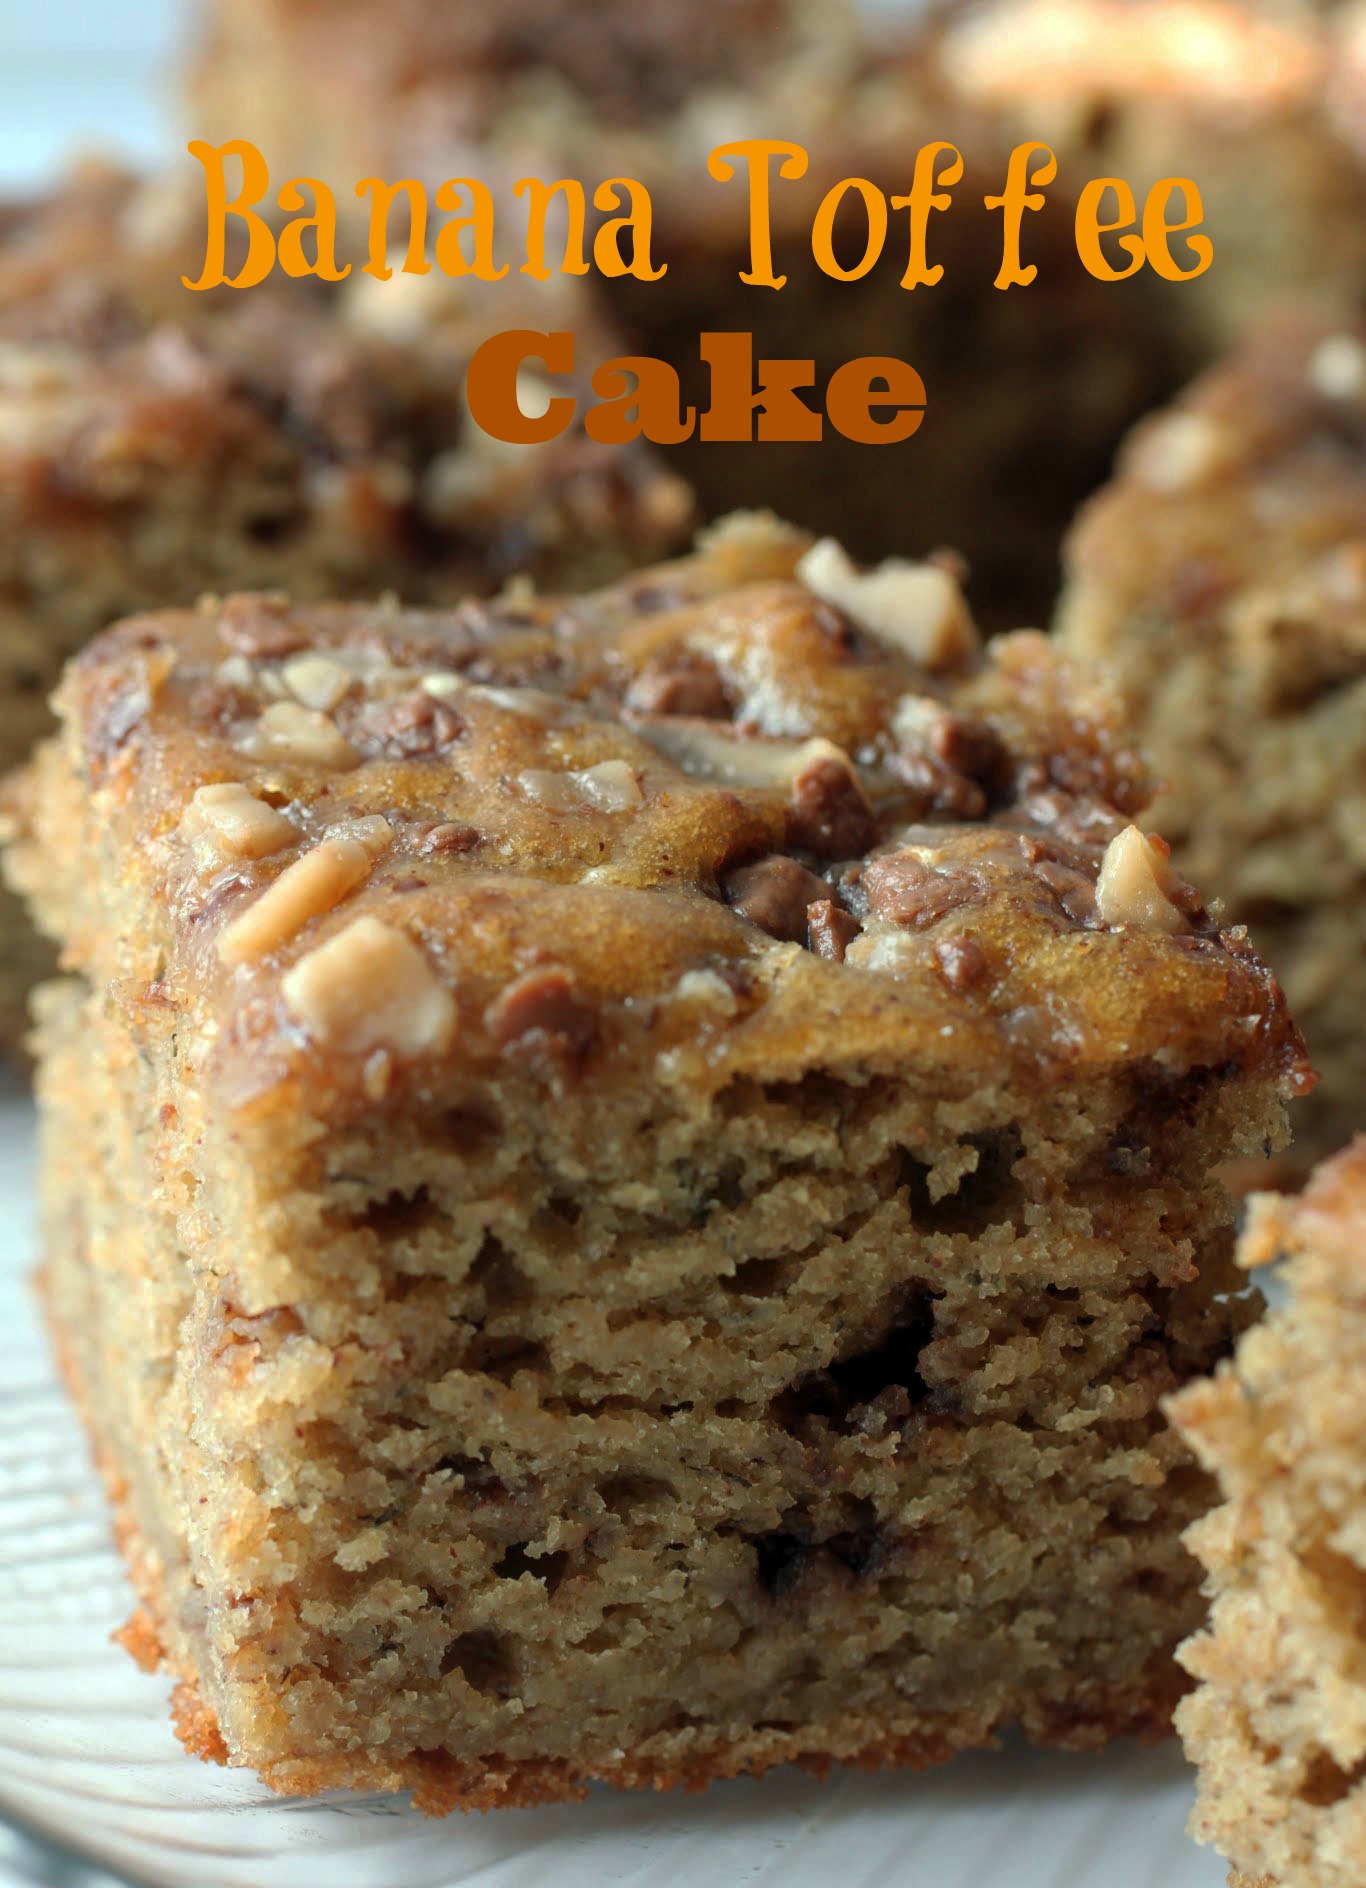
There are days that are just perfect, and I had it happen this past Sunday. I can’t replicate that for you, but I can give you this cake recipe. It will make any day just a little bit better, and for little to no effort. So act like our friends across the pond and go for banoffee!
Ingredients
Instructions
- Preheat the oven to 350. Line an 8-inch square pan with foil and coat with cooking spray. Set aside.
- In a large bowl, combine the oil and brown sugar, mixing until smooth and all the brown sugar lumps are gone. Add the eggs, yogurt, mashed bananas, and vanilla. Mix well.
- In a small bowl, combine the oat flour, baking soda, salt and cinnamon. Add the dry ingredients to the wet ingredients. Mix until well combined.
- Take half of the toffee bits and mix them into the batter.
- Pour the batter into the prepared pan. Sprinkle the remaining toffee bits on top.
- Bake 30-35 minutes until the a toothpick inserted into the center of the cake comes out clean.
- Cool completely. Cut into squares. Store covered.
Of course, it’s a peanut butter recipe. I have a rule when it comes to gluten-free baking: chocolate or peanut butter (or both) has to make an appearance. I don’t know about you, but I still haven’t mastered the GF yellow cake. It’s on my baking bucket list, but as yet, no progress. I’ll keep working on it.
Chocolate and peanut butter are both strong flavors, and they work well with my favorite of all gluten-free flours: oat flour. It has to be certified GF, by the way. Just remember that. I wouldn’t put oat flour in more delicately-flavored desserts, but in peanut butter cookies? Fo sho. For an added bonus, these puppies just happen to be vegan. Eat that, all y’all!
Last night, I went to go see the latest Terminator movie with my dad. We haven’t done a father-daughter date in quite some time, so I appreciated the fact that we could spend the time together. We picked this particular movie because even though my father is a mega-educated retired English professor, he loves Arnold Schwarzenegger. Or at least, he really enjoys the Governator’s movies.
As a big fan of the Terminator franchise myself, I’d lie if I pretended that watching Sarah Connor kick butt one more time wasn’t a whole heap of fun. But at the same time, I spent huge amounts of the film wincing. Like, I would actively catch my face in full-on wince. It was mainly during the giant explosions (every two seconds or so), especially those involving motor vehicles. You know, the bus blows up, or the truck explodes, or fifteen cars all crash into one another. If you’ve seen any action movie in the past 20 years or more, you catch my drift.
I didn’t used to mind those scenes very much. They were so very hypothetical. Maybe it’s part of getting older and feeling more vulnerable by the second, but I actually found myself wondering yesterday about the poor truck driver that got taken out in a burning inferno because Arnold had to rescue Sarah Connor once more. With all those vehicles crashing into one another, nobody ever stops to care about the people inside the cars you can’t see. They just want the bad guys to lose and the good guys to win. No real shades of gray there at all.
That’s enough deep thinking about Terminator. Honestly, it was a fun movie, and I don’t want to overthink it. I just want to pretend that the world is a happy sunny place where machines will never take over. I hope they don’t. Because they don’t have souls, nor do they understand the joy in eating a peanut butter cookie.
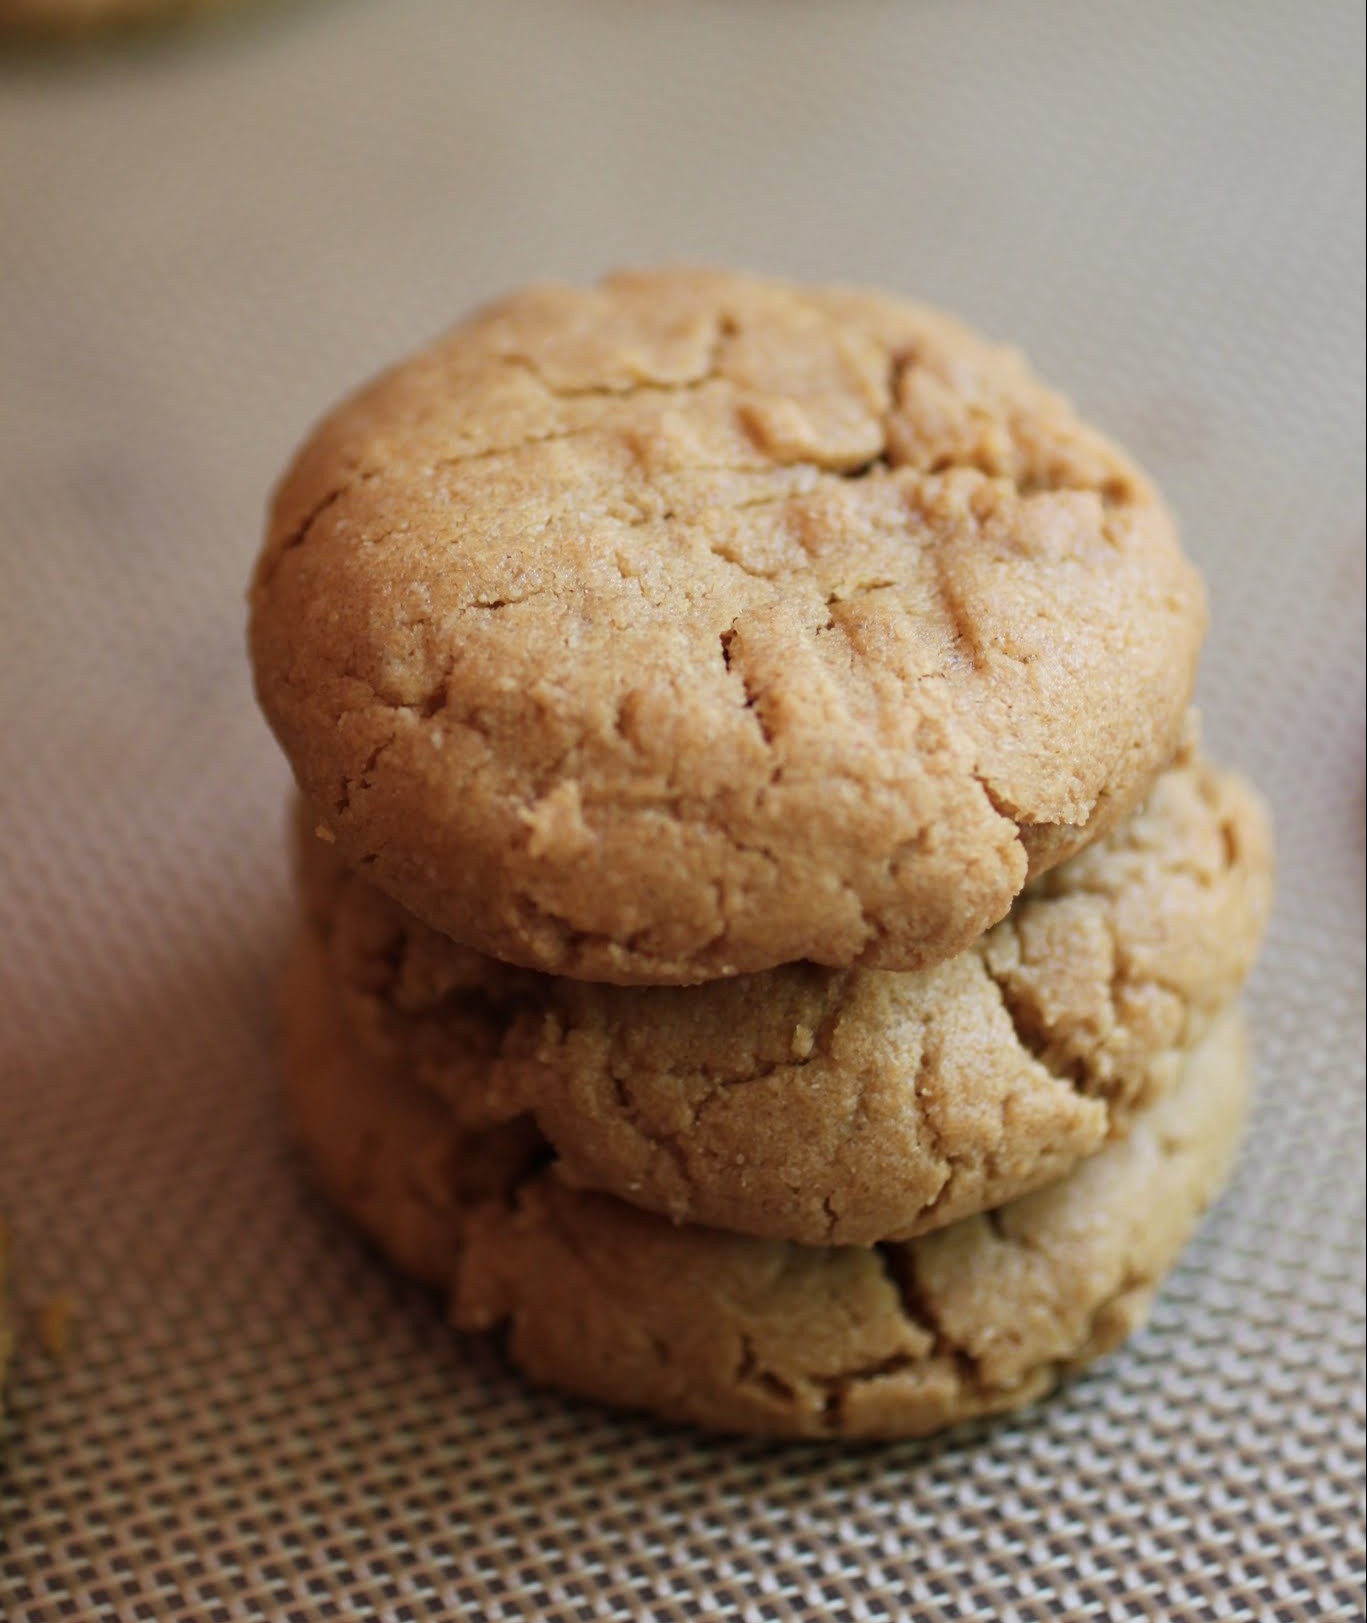
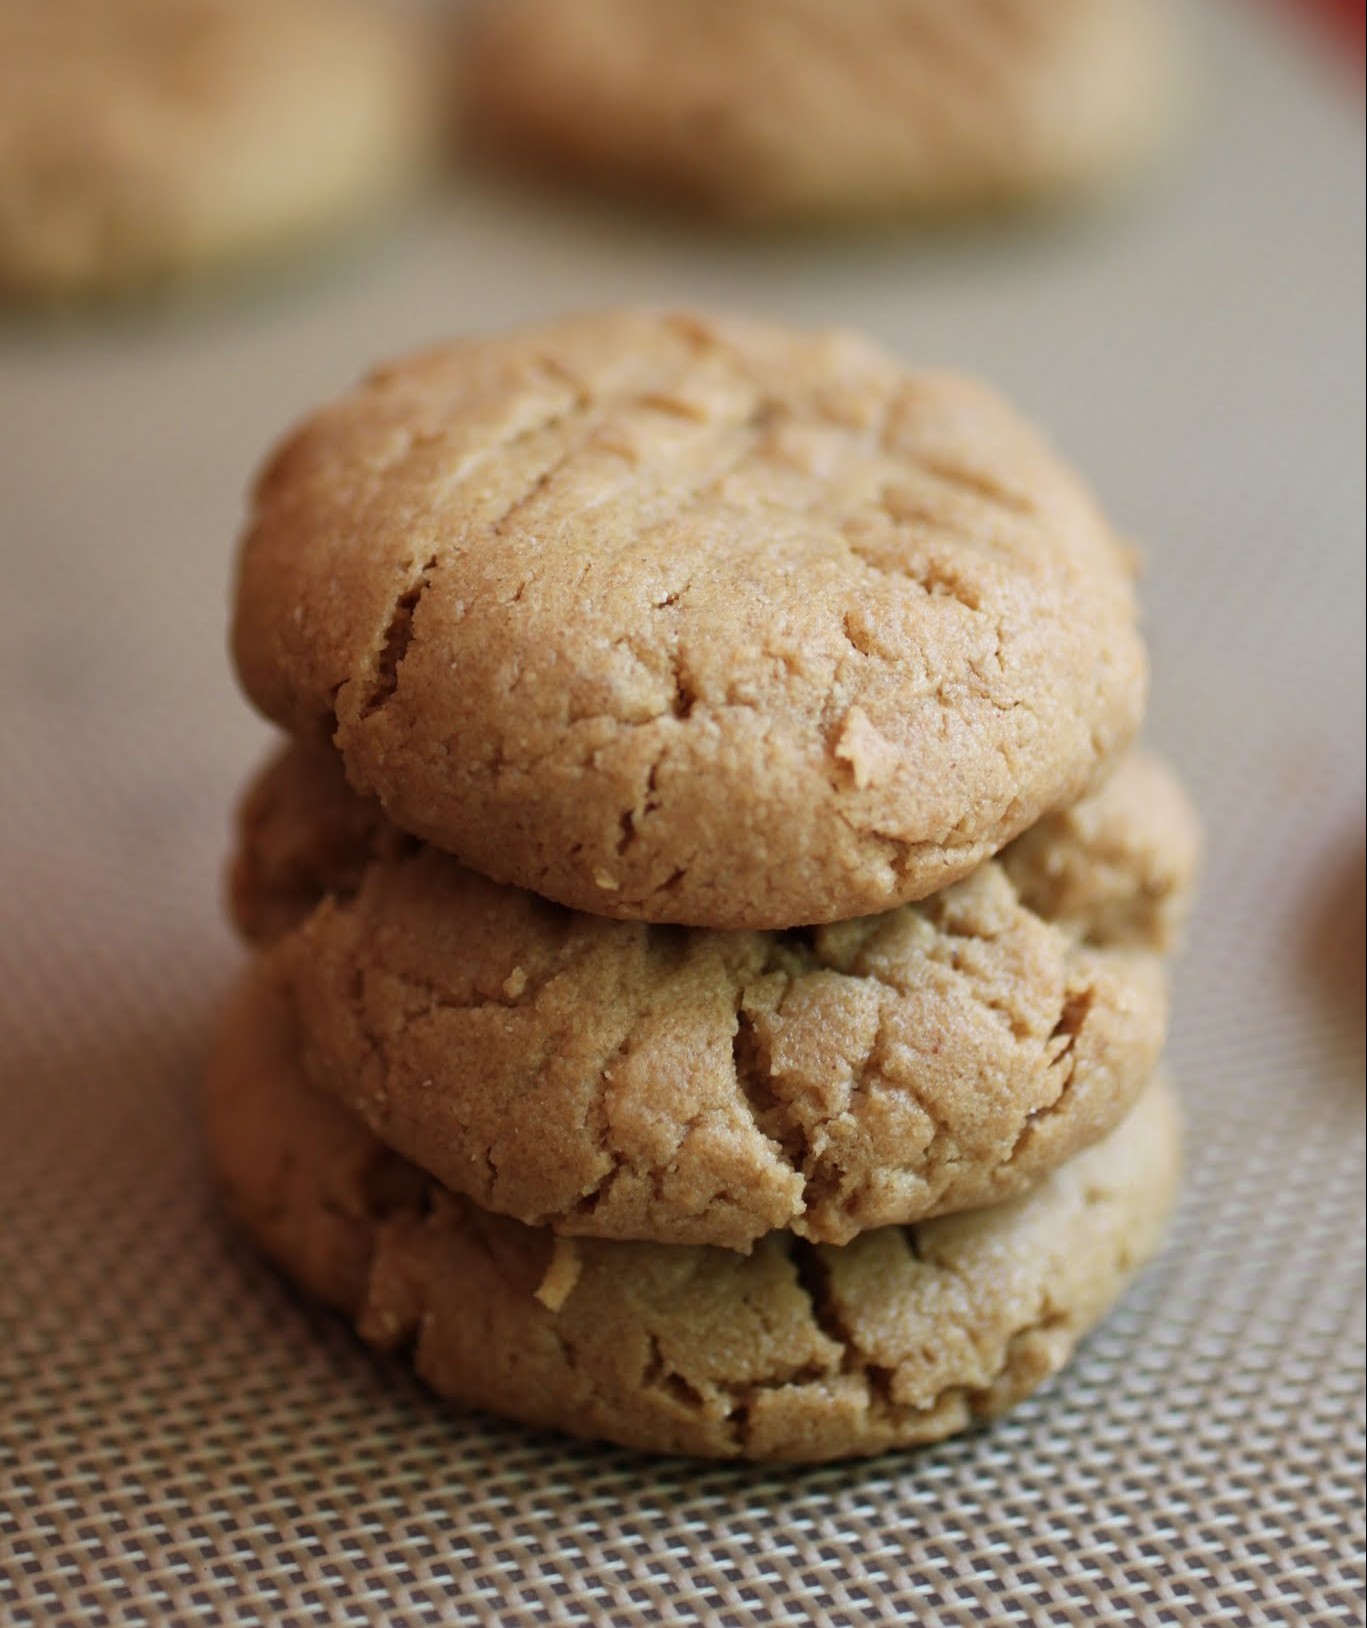
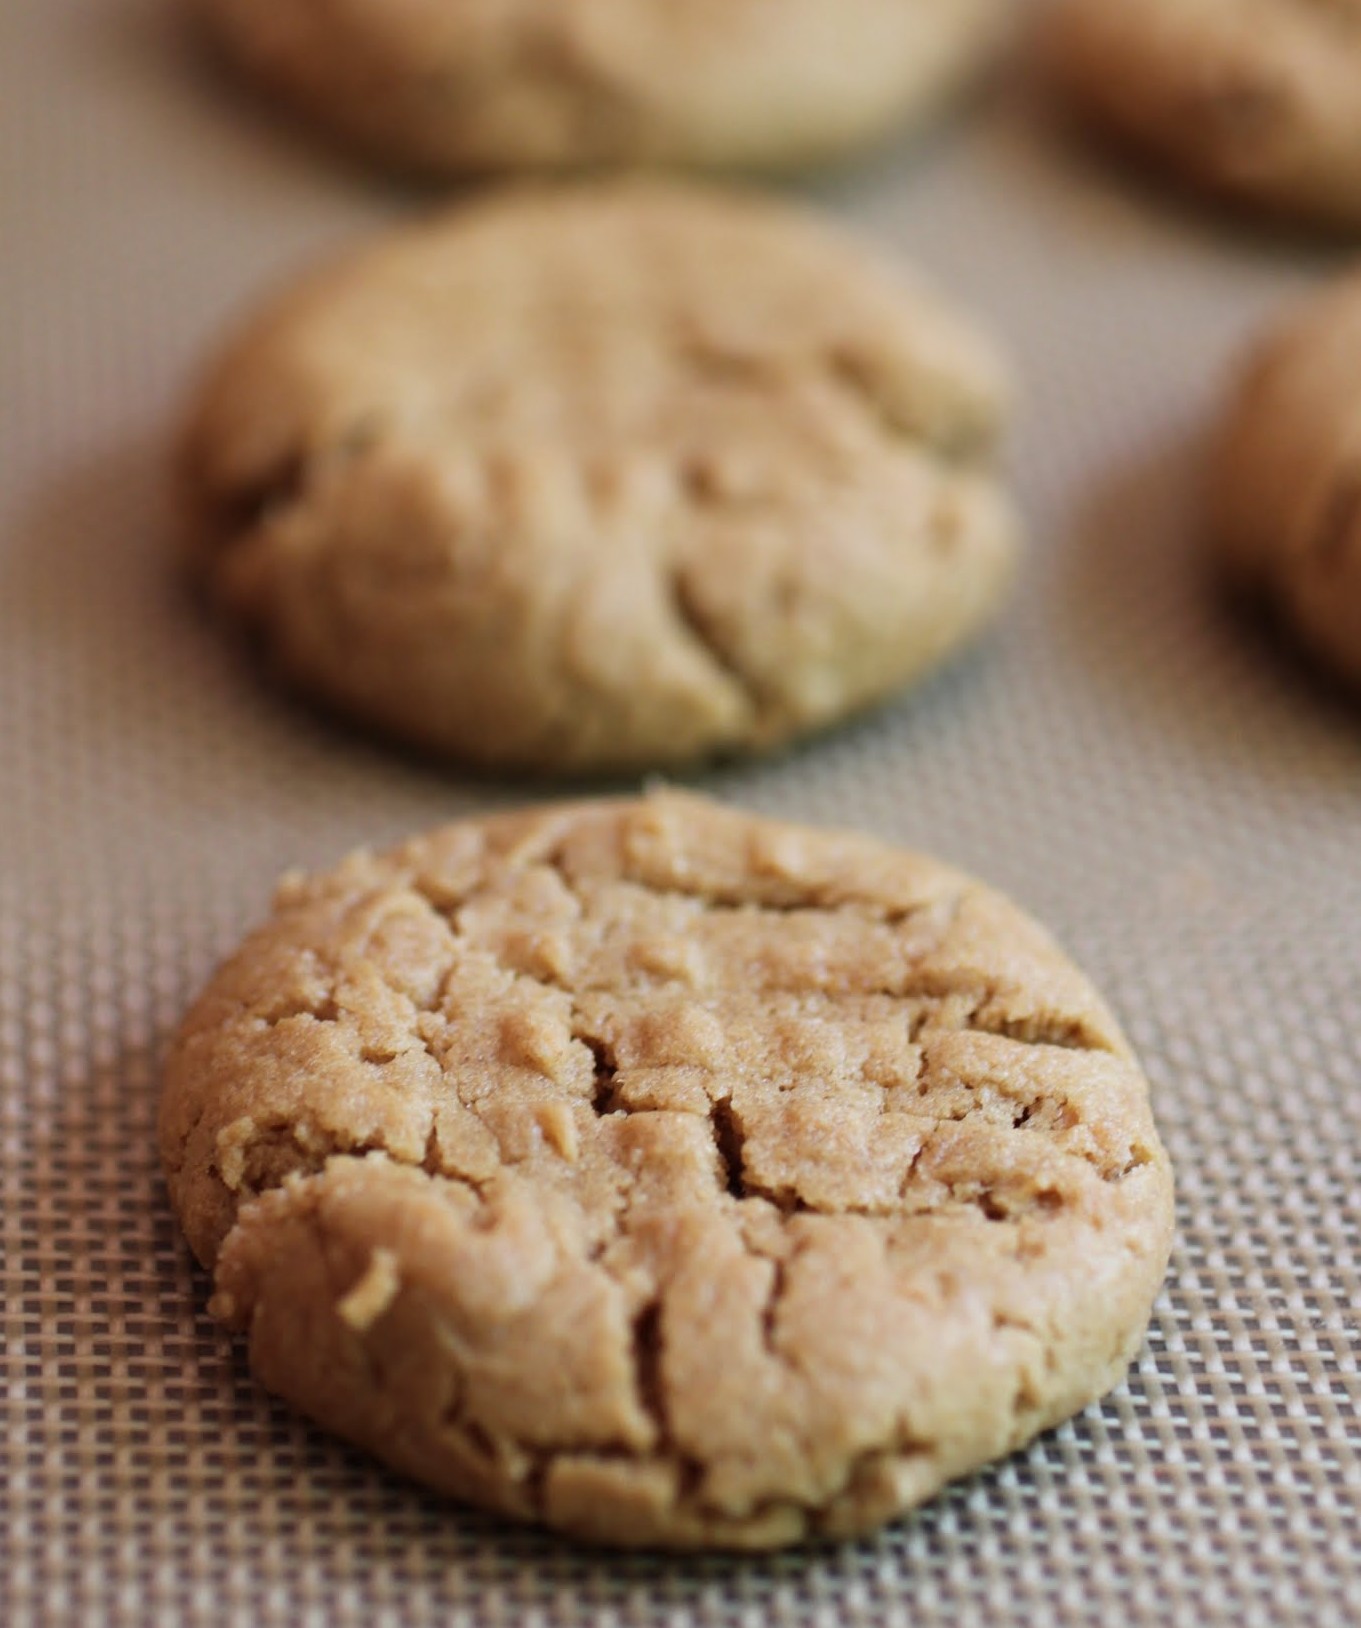
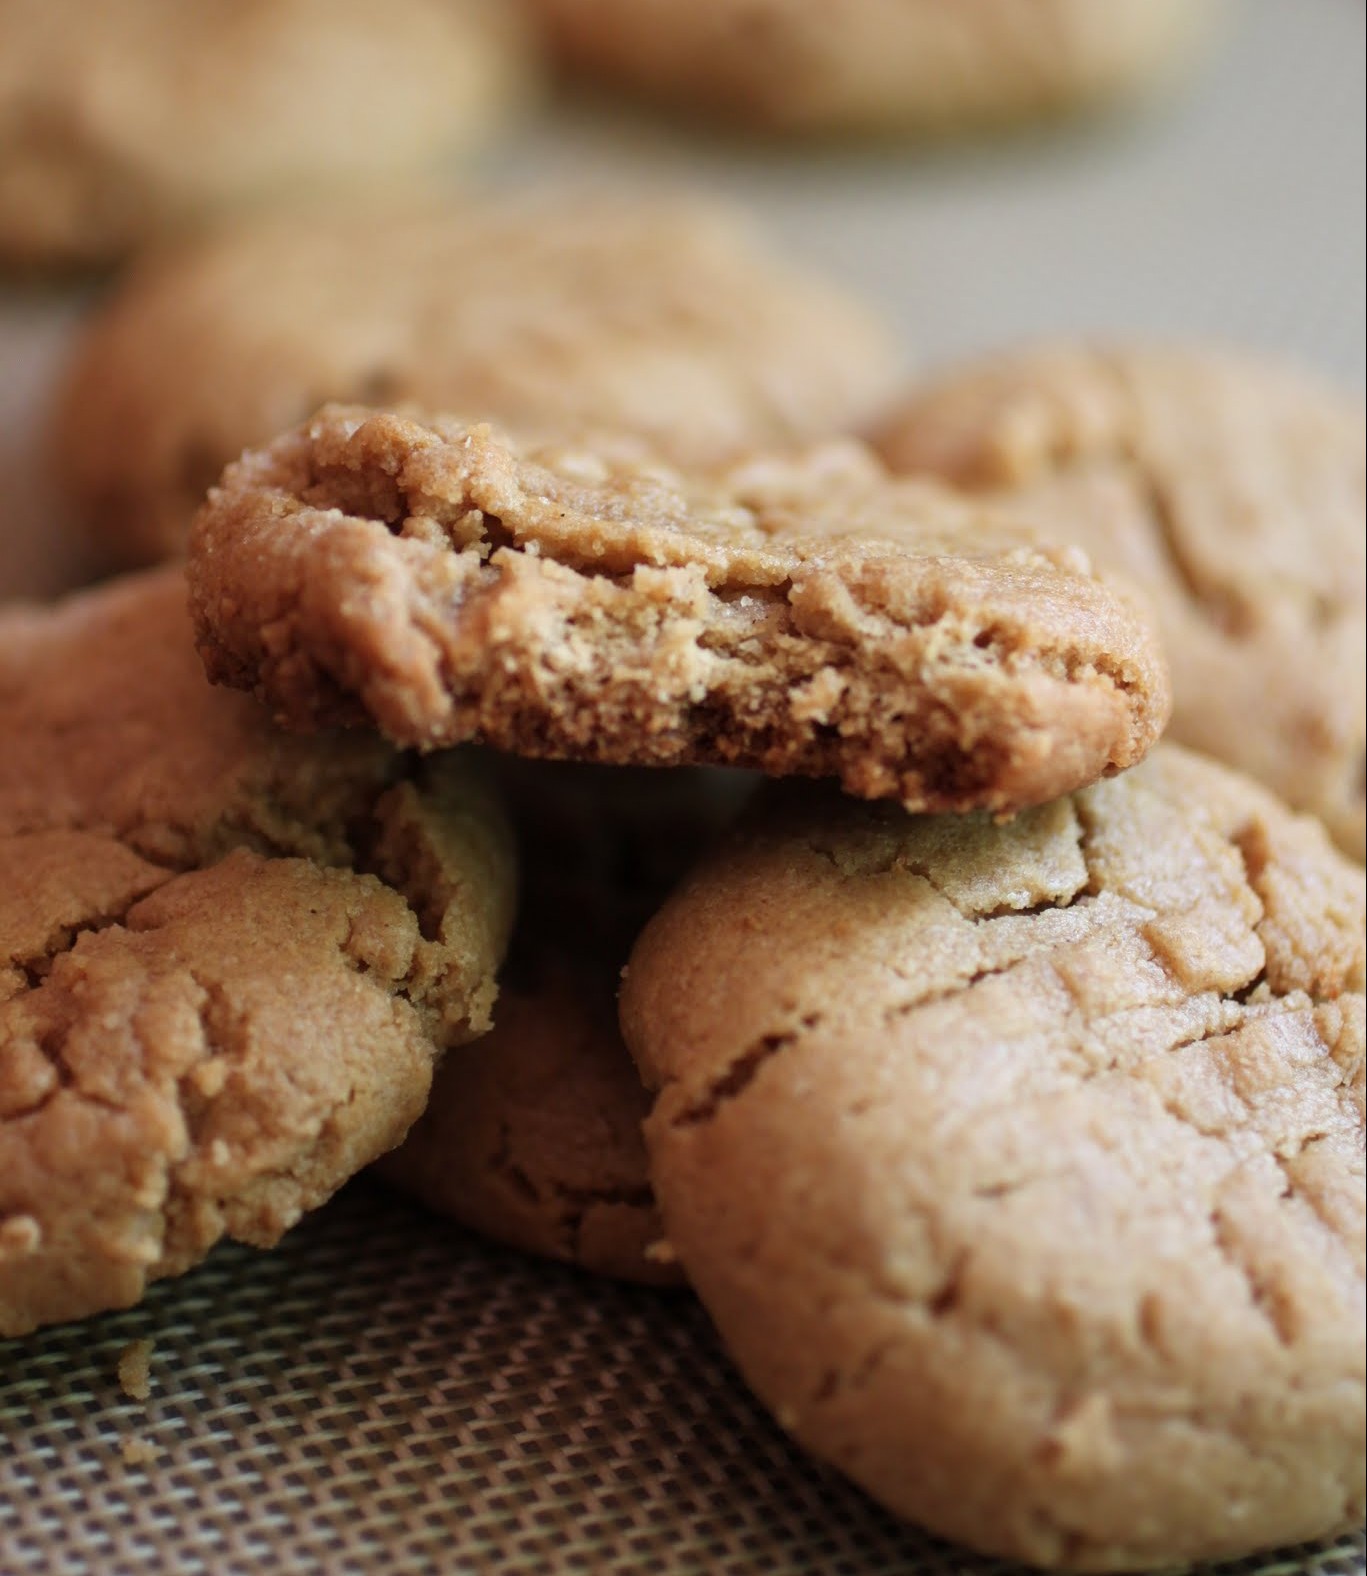
Peanut butter cookies are like any other category of baked good; there are a million ways to make them. This way is just one more method. If you’re vegan or GF (or, like me, if you love somebody who is), these cookies come together quickly with no mixer or special equipment. The recipe is very similar to the famous three-ingredient flourless peanut butter cookie, but with a twist: these babies definitely have flour. Oat flour.
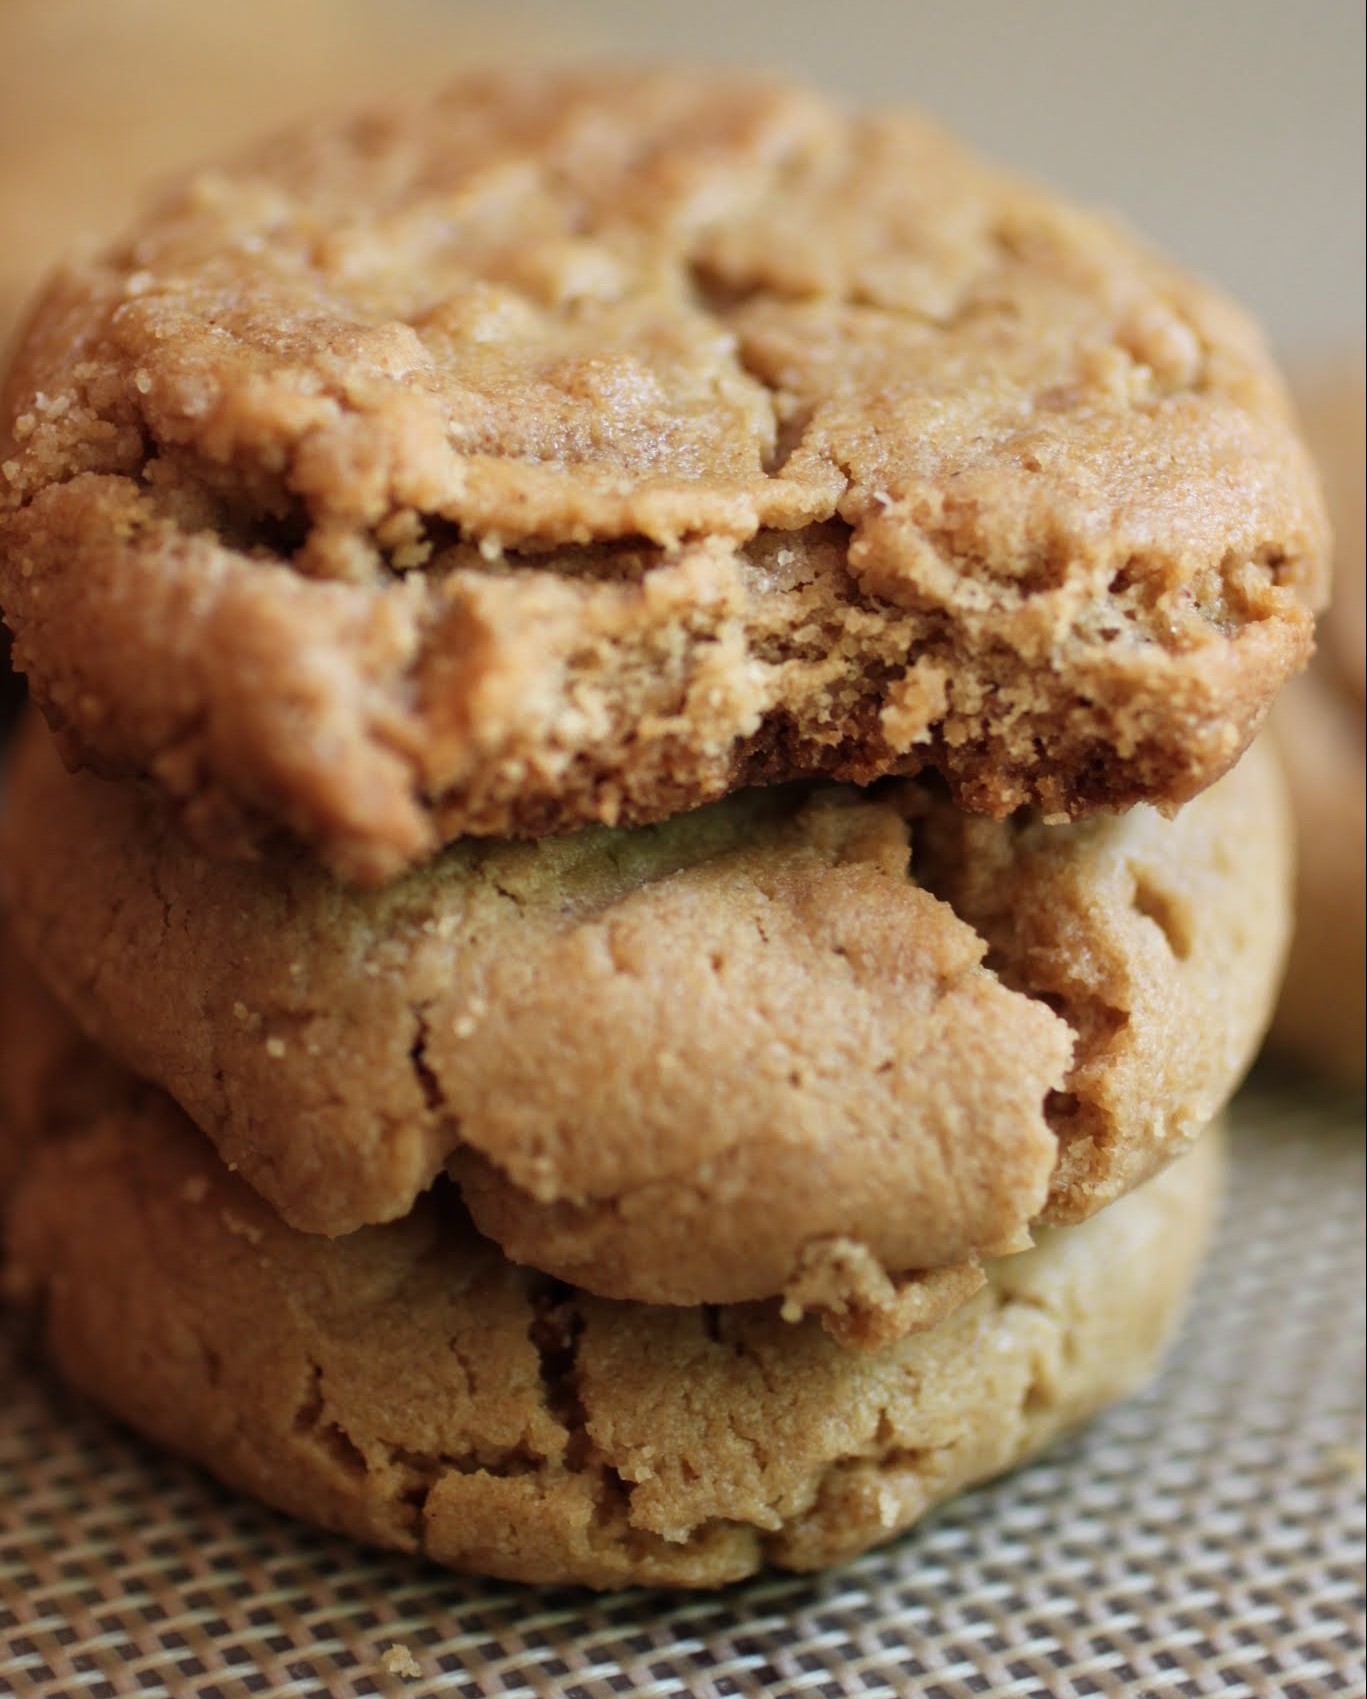
For those of you who are food scientists, the presence of oat flour means that these cookies are more filling than their flourless counterparts. Oats are a whole grain, and combined with the protein from the peanut butter, these cookies actually have some nutritional benefit while being completely tasty. It’s a win for everyone! Furthermore, the presence of oat flour should mean little to no chilling time, since oats stop cookies from spreading. But I like really thick cookies, so I chilled the dough.
If the machines ever do rise up and cause mass mayhem, I’ll be in a bunker somewhere eating the last of the cookies. I invite you to join me. Will we survive and kick butt? Nope. But it’ll be a few good hours of fun. And no matter what, the Terminators will never enjoy a good cookie. They can’t take that away from us.
s
Ingredients
Instructions
- In a medium bowl, cream the peanut butter and brown sugar until well combined. Stir in the vanilla and mix again.
- In a small bowl or measuring cup, combine the salt and oat flour. Add the dry ingredients gradually to the peanut butter mixture. You might want to use your hands to get everything well combined.
- Stir in the water until a smooth dough forms.
- Line two cookie sheets with parchment paper or a silicone baking mat.
- Roll the cookie dough into balls and place two inches apart on the cookie sheets. Press the tops with a fork to create a crisscross pattern.
- Chill the cookies for 2-3 hours. Bake for 8-10 minutes. Remove from the oven and cool completely.
I’m all about easy baking, but there’s no way to cheat a layer cake. Steps have to be followed. Still, making it as easy as possible is ideal, and this chocolate cake is three things: incredible, simple, and gluten-free.
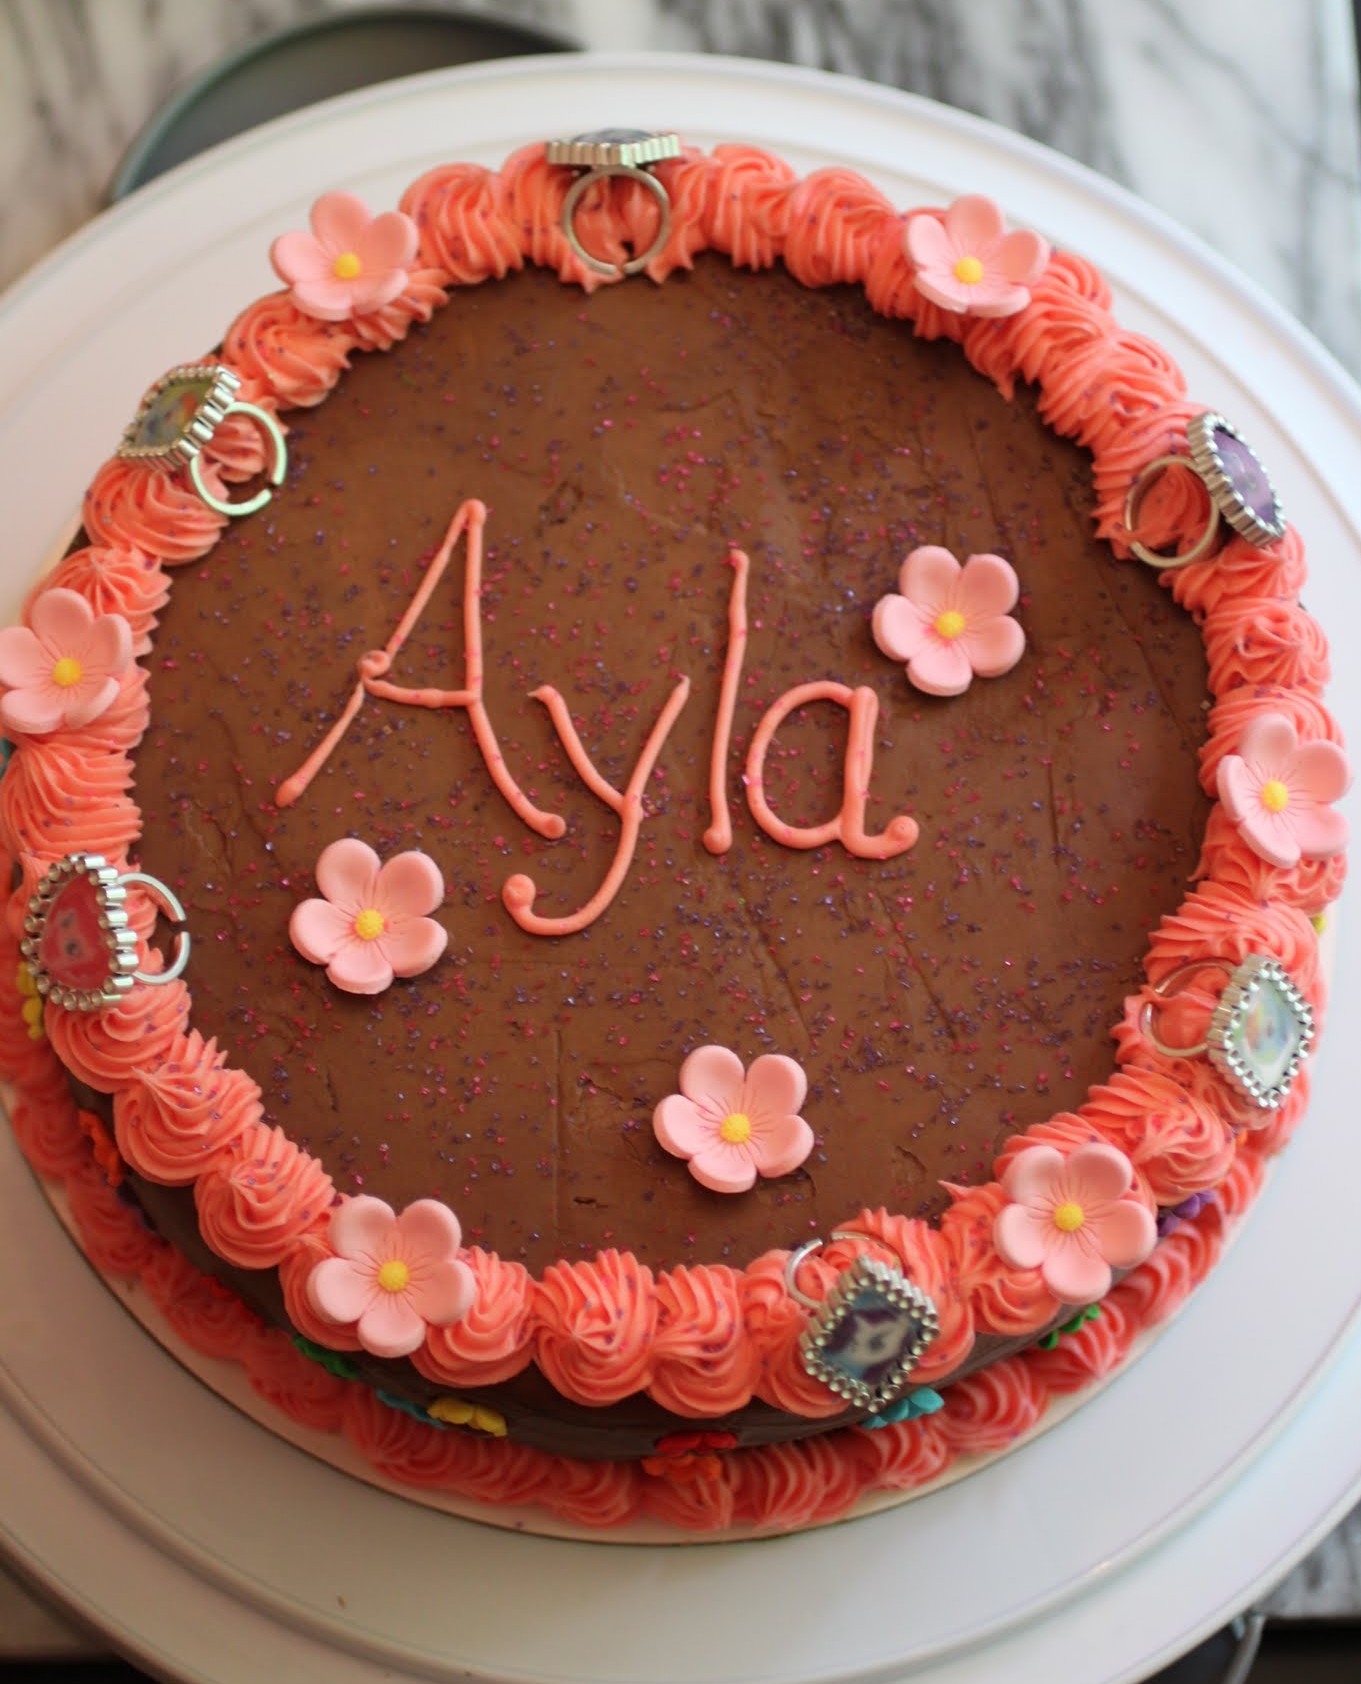
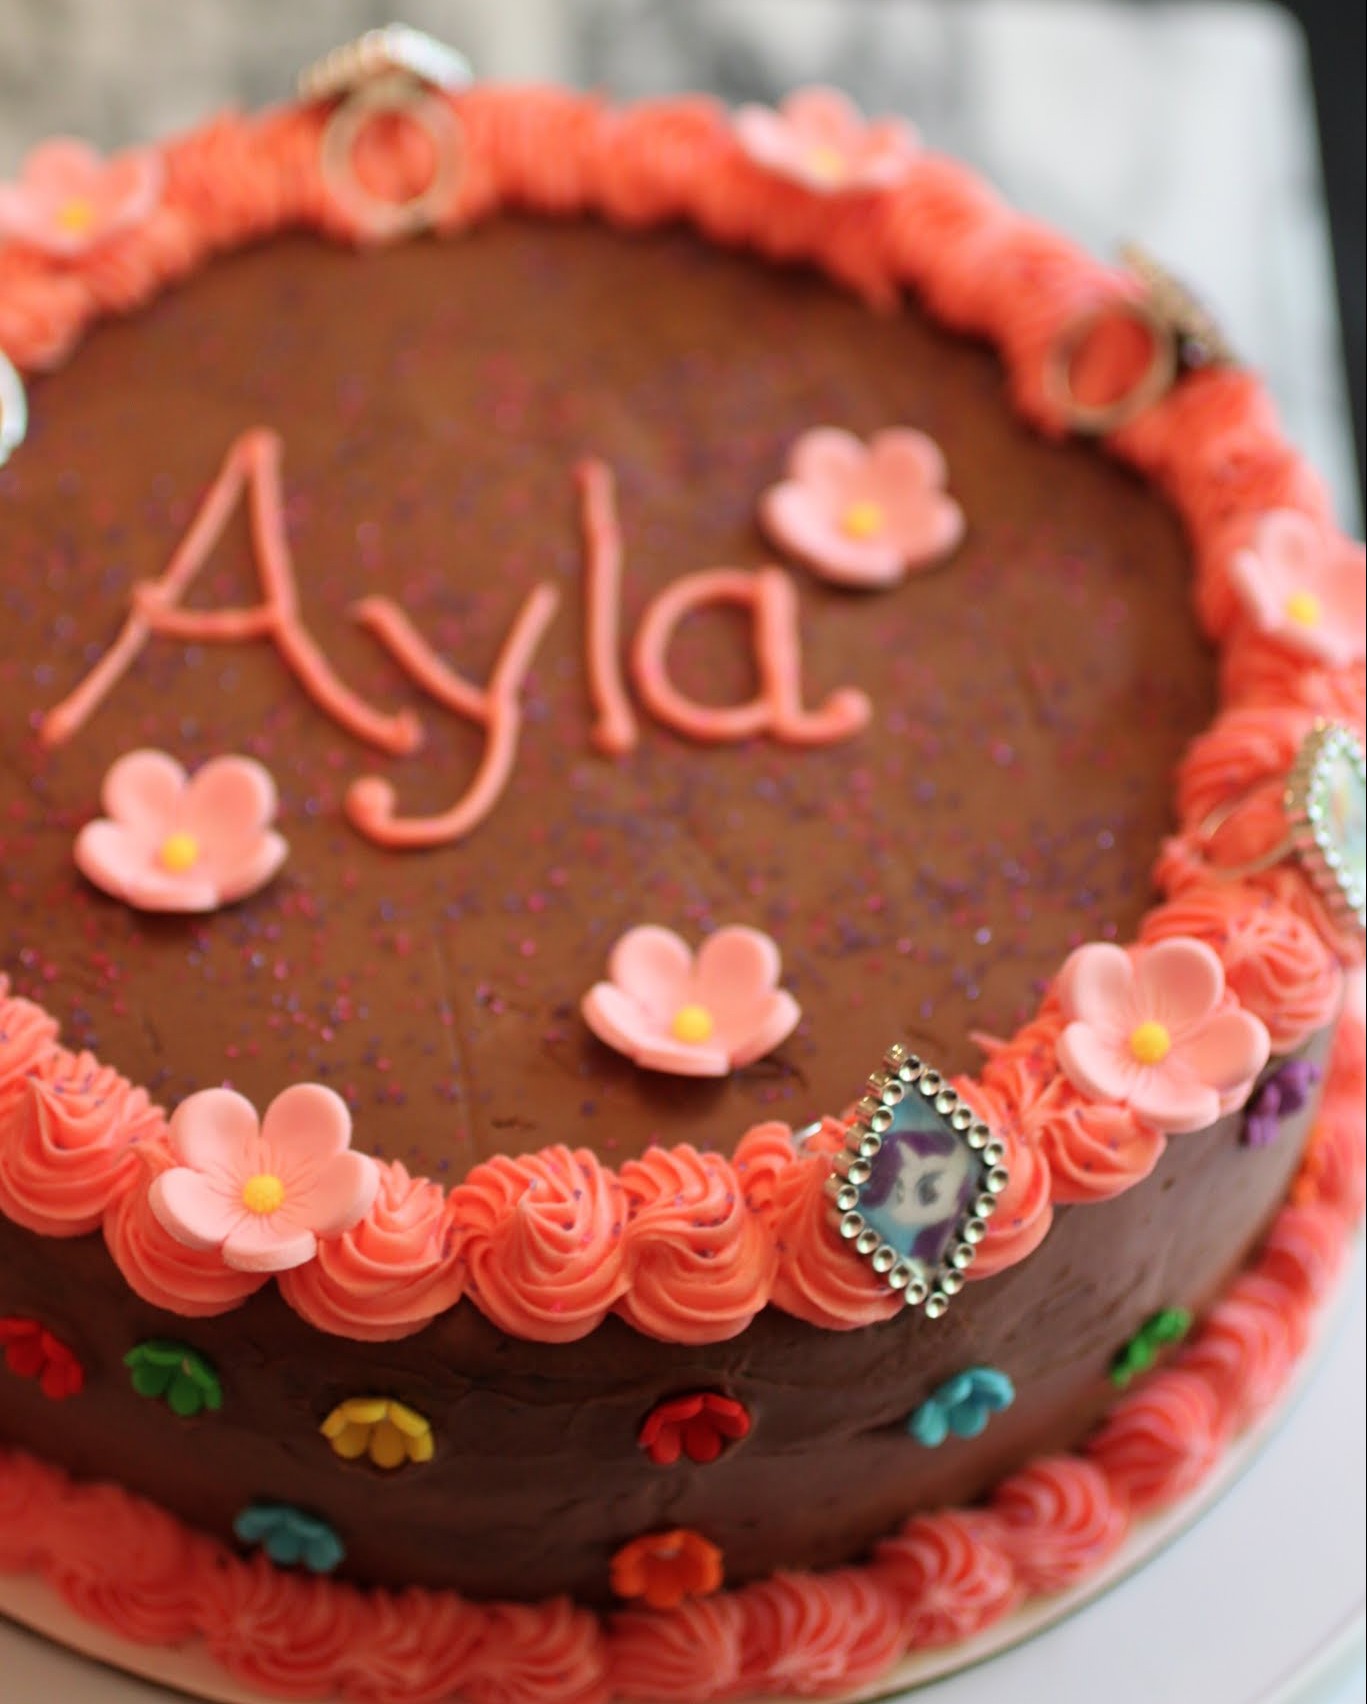
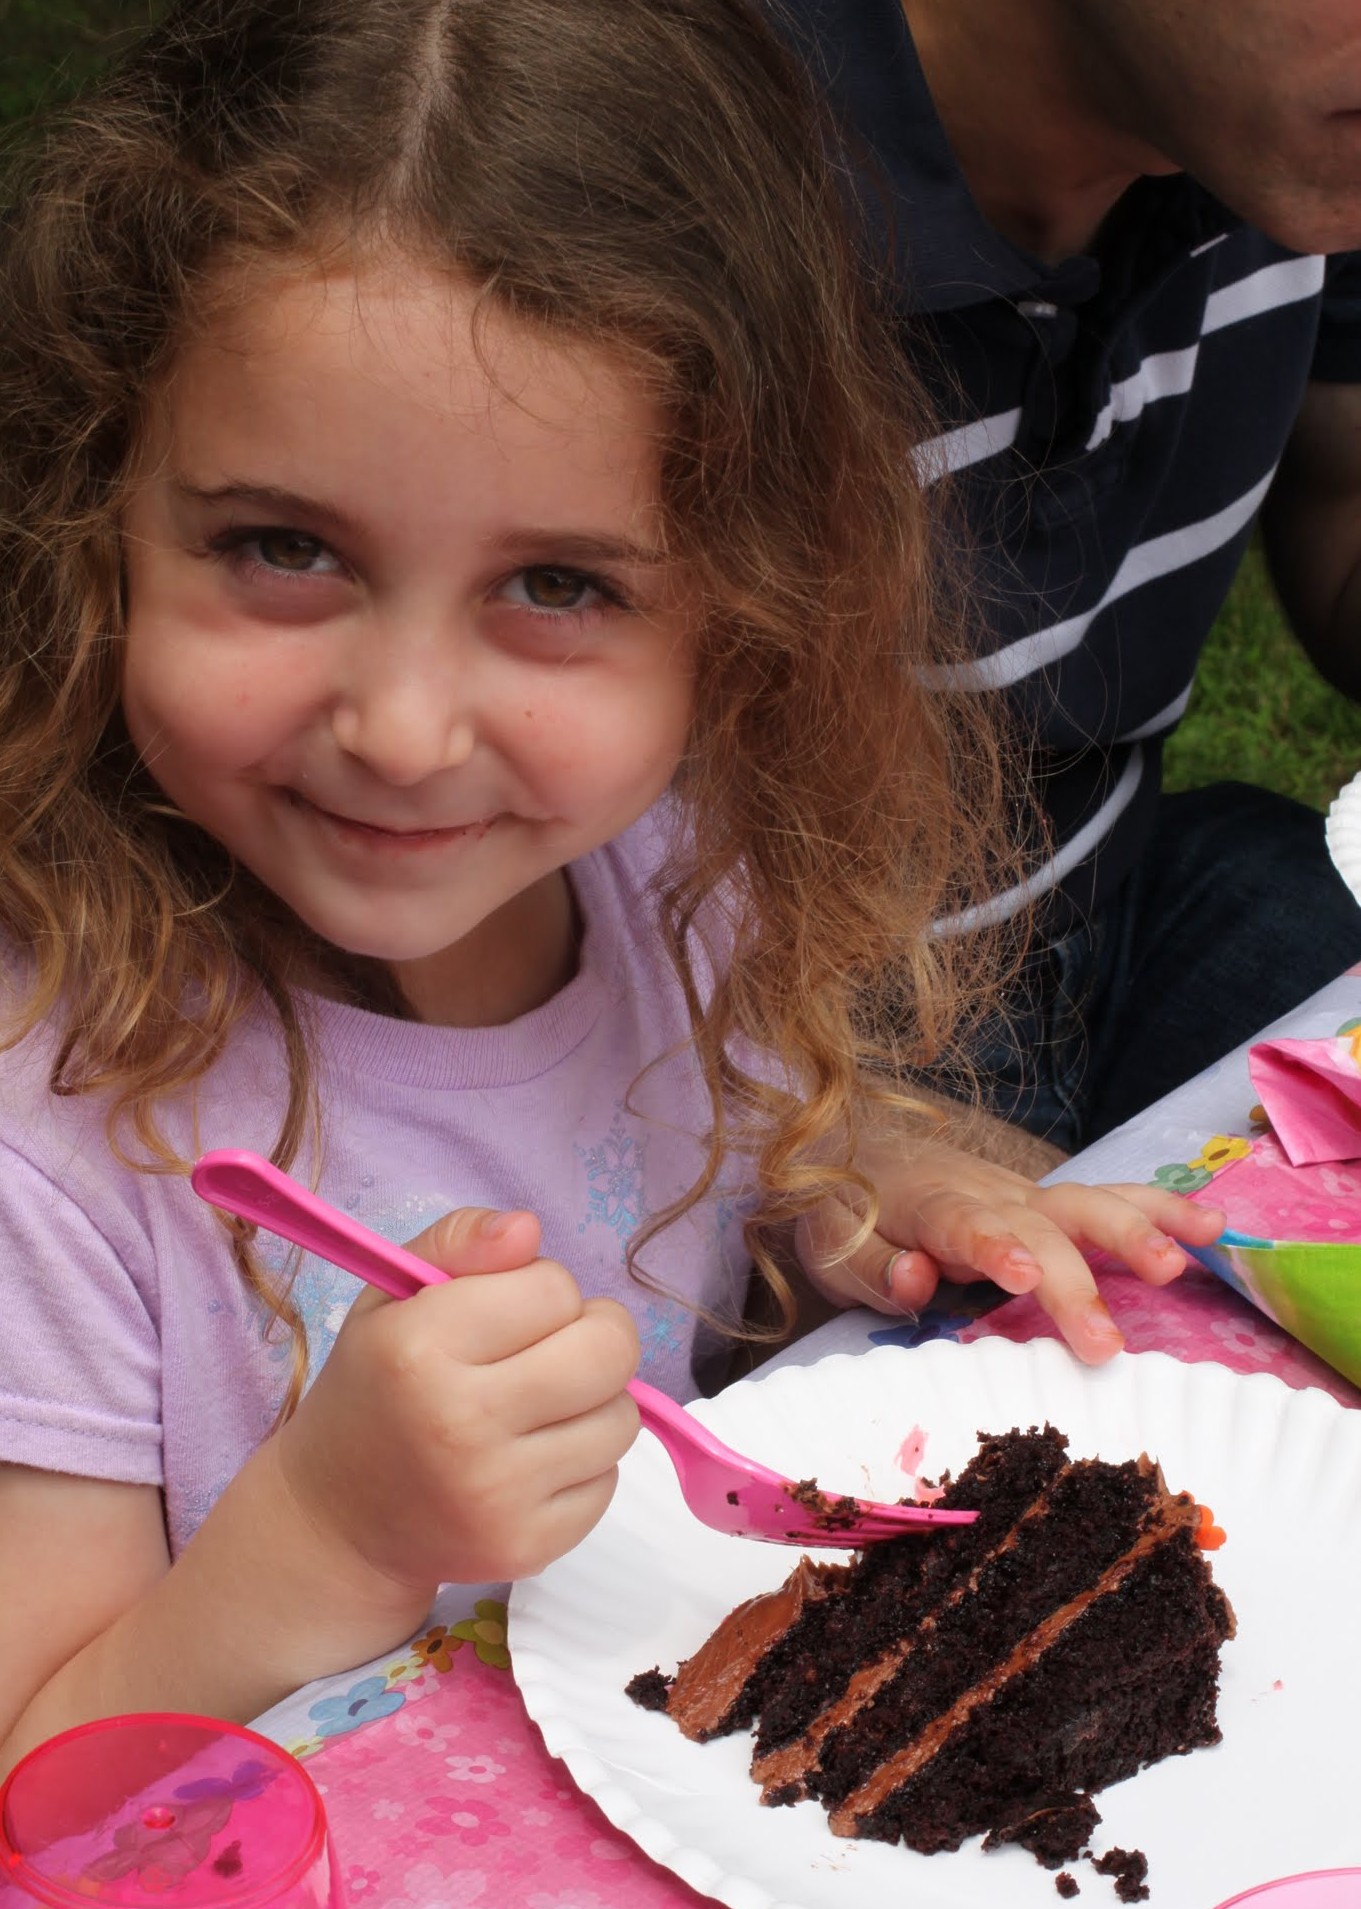
If you’re a doubter, you need to try this. I served this cake at my daughter’s birthday party to a group of people who either openly or covertly believe that gluten-free baking is crap. This cake proved them all wrong.
It’s funny how people are so quick to form judgments and hold onto them, even in the face of evidence to the contrary. Our country’s laws might indicate that somebody is innocent until proven guilty, but that doesn’t protect people from ordinary, day-to-day judgment.
We all do it, of course. We put people into categories: soccer mom, yuppie, player, punk. These first impressions usually stick the hardest, especially because we form internal judgments of people we don’t know, whether we’re standing behind them in line at Starbucks or passing them angrily on the road.

Every now and then, we’re lucky (or unlucky) enough to get to know someone better, and then we can undo some of that initial judgment. But that first impression doesn’t ever fully go away, not with people or with cake.
Still, I’m asking you to keep an open mind here when I tell you that this chocolate cake is the best one I’ve ever made, gluten-free or otherwise. It’s dense, fudgy, moist, and puts other more popular cake recipes to shame. Even better, the cake can be whipped up in one bowl by hand.
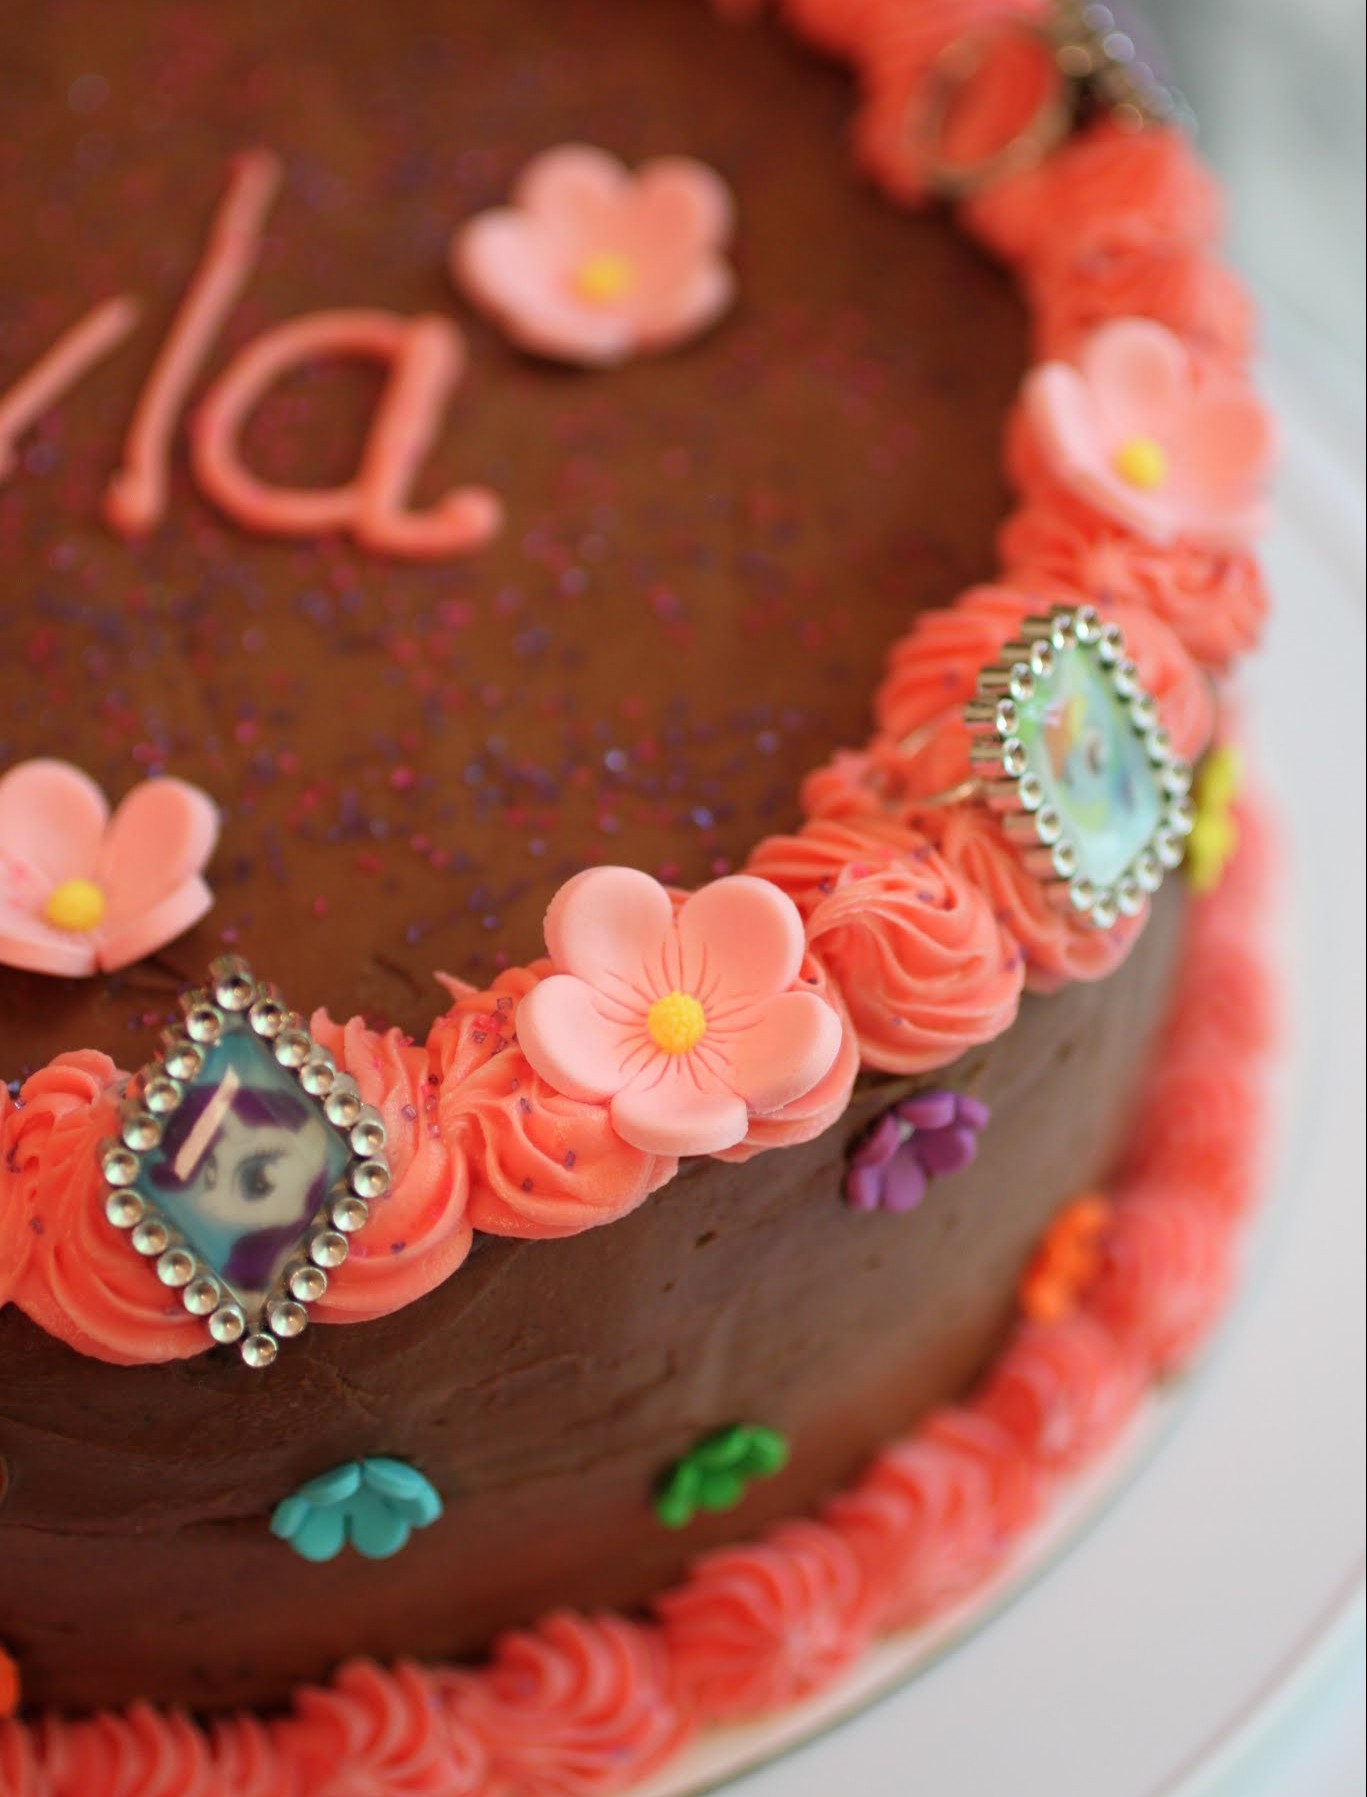
To make this recipe, I doubled the base (which will make one bundt-sized cake). Out of that, I got three nine-inch cake rounds and enough batter for an 8-inch square cake. Of all the baked goods in my house that were around for my daughter’s birthday weekend, that little square cake went the fastest.
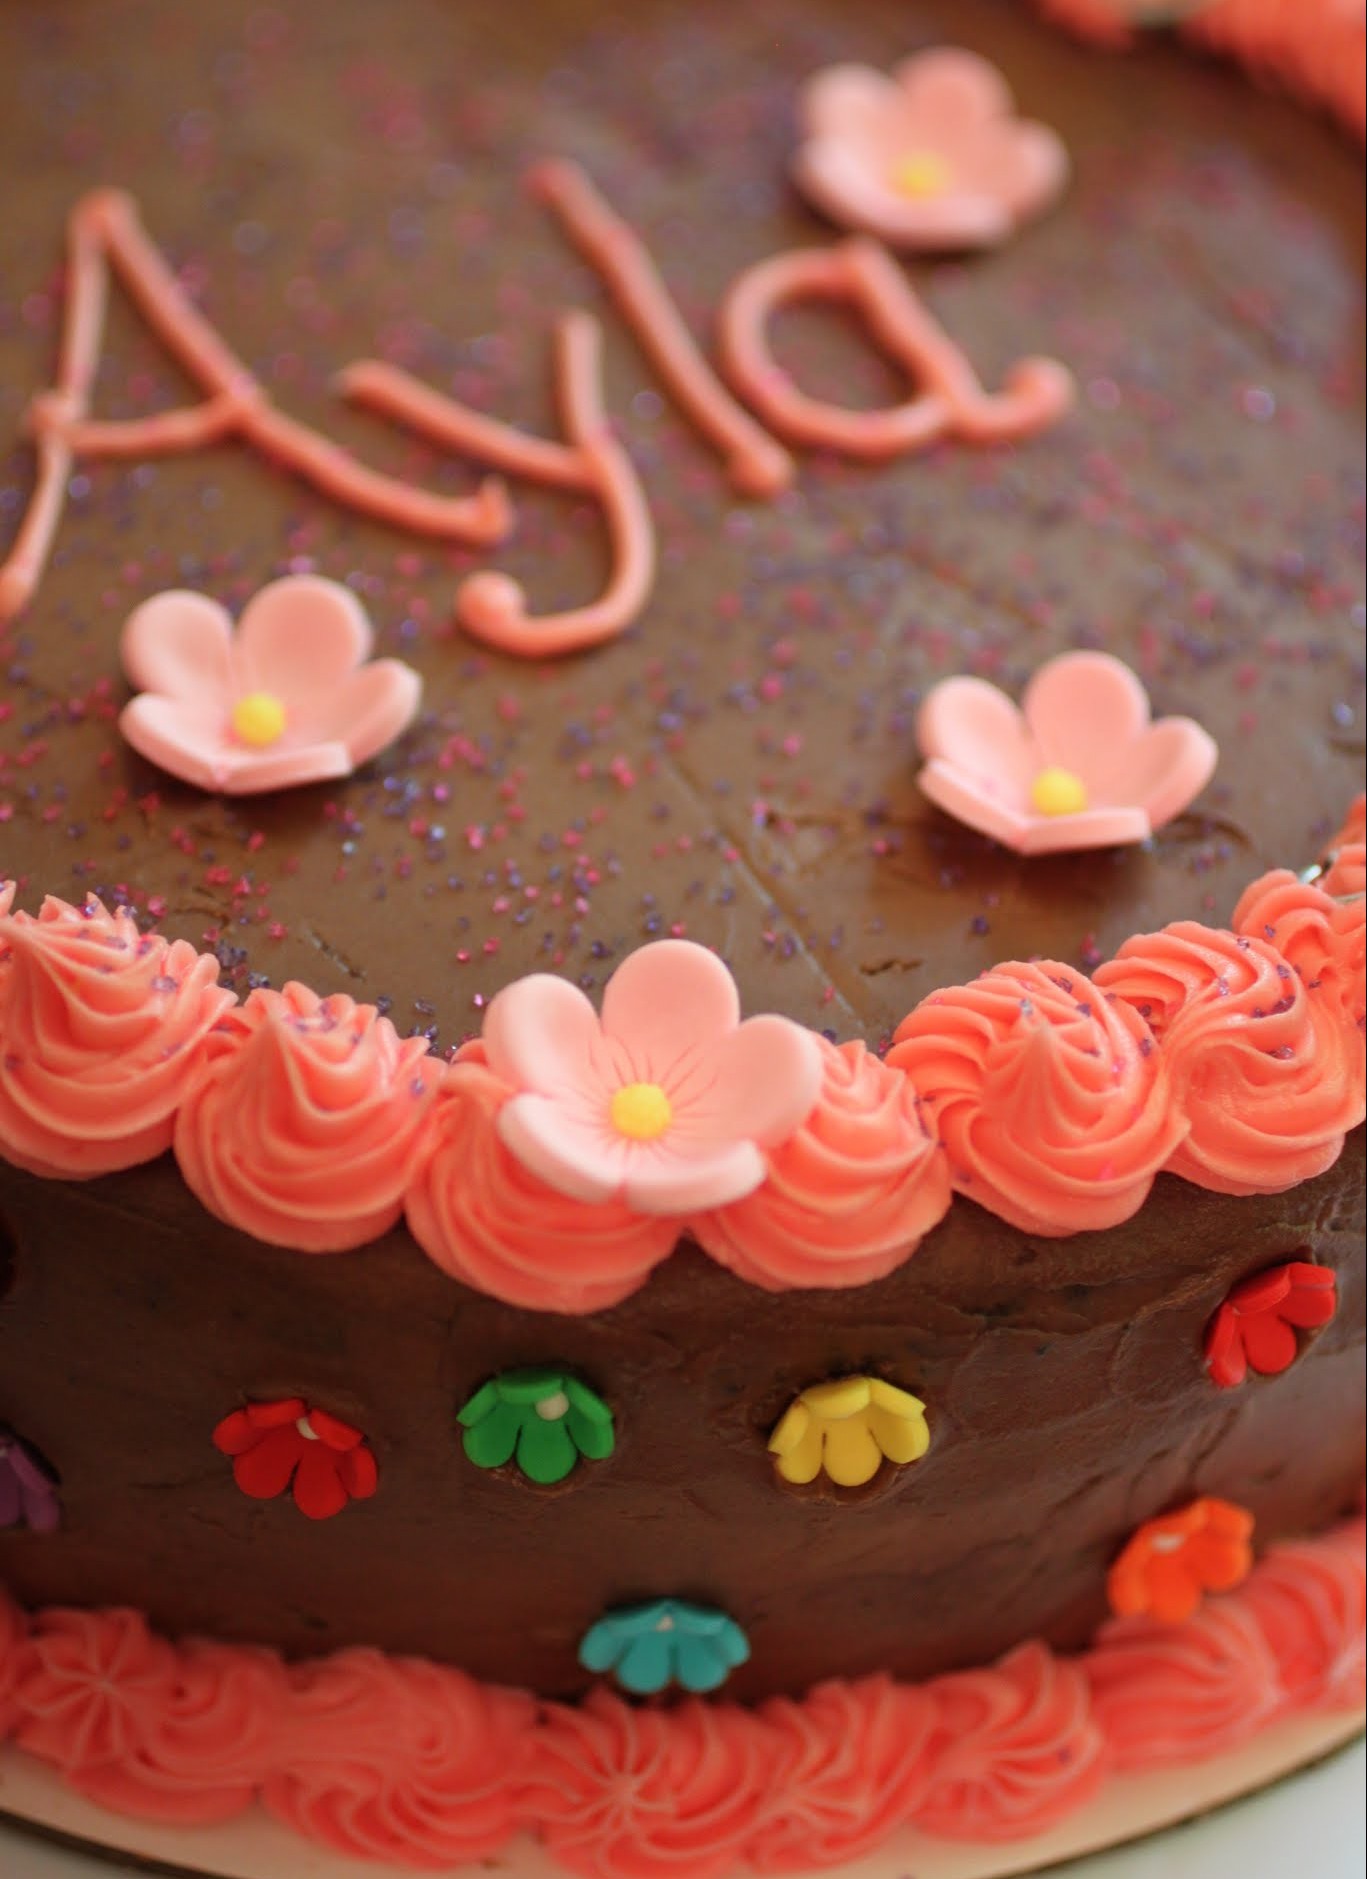
And the rest of it went into this My Little Pony-themed cake, which my daughter loved. See?
If you’ve judged gluten-free desserts too quickly, try again. This one will change the way you look at the world of GF dessert!
Ingredients
Instructions
- Preheat the oven to 350. If doubling the recipe for a layer cake as suggested above, line three 9-inch round pans with parchment rounds and coat with cooking spray. Coat an 8-inch square pan with cooking spray as well.
- Combine the sugar, oat flour, cocoa, baking soda, baking powder and salt in a bowl.
- Stir in the milk, oil, vanilla and eggs, mixing until smooth. Fold in the boiling water carefully.
- Pour the batter into the prepared pans. Bake until a toothpick inserted comes out clean. Set the square cake aside for later use.
- Cool the three round cakes for five minutes. Carefully invert each round onto heavy-duty plastic wrap and seal the cakes. Cool completely. Place each round in the freezer overnight.
- When you're ready to frost and stack, make the frosting. Cream the butter and shortening until combined. Add the powdered sugar and cocoa, beating again until smooth. Slowly add the milk until the frosting is the desired consistency.
- Spread the frosting onto the cake layers, stacking each layer evenly over one another. Do a crumb coat first, making sure to scrape down the frosting smoothly. Refrigerate the cake for at least one hour. Cover your bowl of frosting.
- When the cake is chilled, do a second coat. Ice the cake with the remaining frosting, being sure to mix the frosting vigorously before spreading it on a second time to get air bubbles out. Once again, even out the frosting.
- Decorate as desired!
]]>
Turns out, kids like to eat on a schedule. A predictable one. They like to know that they’ll eat, I guess. Constantly. And as a result, I now always contemplate my next snack or meal as well. I think I used to spend that spare energy napping.
But seeing as how I haven’t napped since 2008, I spend a lot of time preparing meals and snacks for my brood. You’d think that I’d be eating a lot more as a result, but I kind of lose my appetite after I’m done fetching milk and napkins and yogurt squeezies and more napkins to wipe up the spilled milk and then more milk because, you know, it spilled.
In other words, I don’t sit down. So in those rare moments that the house is kid-free, I suddenly remember that I haven’t eaten and I make a beeline for the brownies.
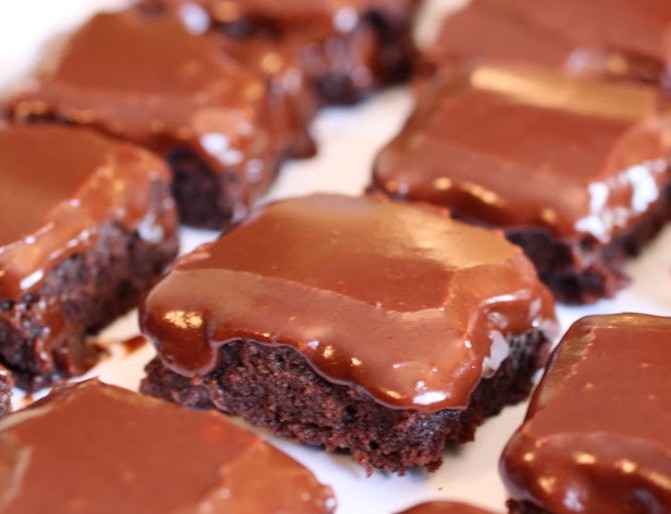
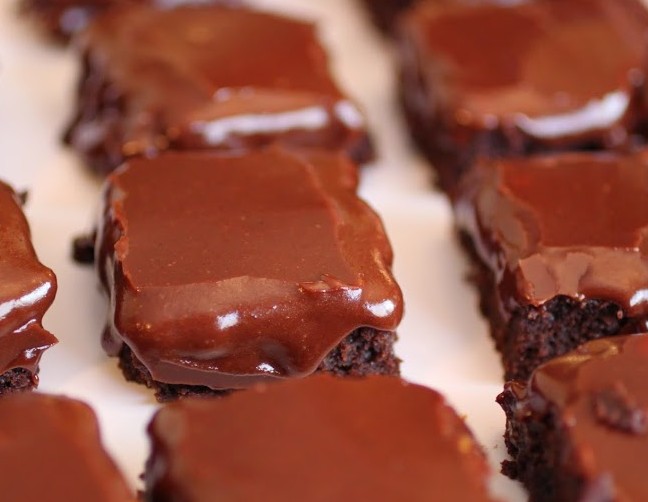
These brownies really threw me. I’ve never been able to resist a brownie, but these are covered in thick, fudgy glaze. Two layers of it. When I brought these to Thanksgiving dinner as both a gluten-free option and an alternative to pie, they just started flying off the serving plate. I had to grab a few and hide them before they were totally gone for my bedtime snack.
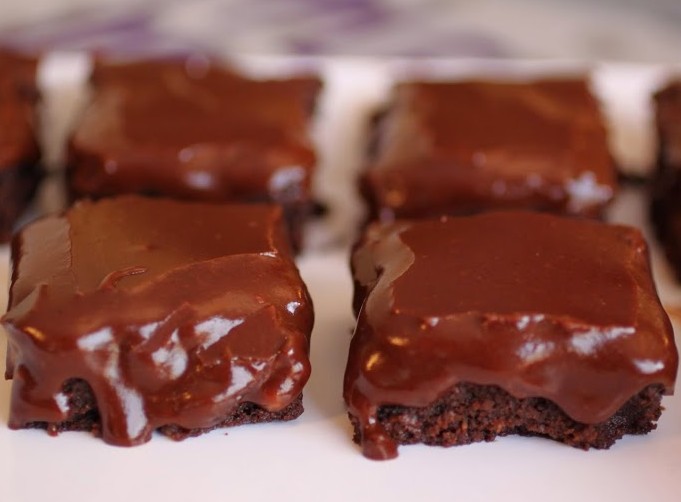
Something about the glaze is ridiculously addictive. It reminds me of the decadent fudge topping you find on bakery cakes and cookies. I couldn’t really stop eating it. And it comes together very quickly on the stove top.

Bottom line is, I spend a lot of time being grossed out as I watch my children do unspeakable things with Cheez-Its. I need the good stuff to be available when they’re sweetly asleep. These are a perfect option!
Ingredients
Instructions
- Preheat the oven to 350. Line an 8 X 8 pan with foil and spray it with cooking spray. Set aside.
- In a medium-sized bowl, mix the cocoa into the melted butter until it dissolves. Add the sugar and stir again. When the sugar is incorporated, mix in the vanilla and eggs. Add the salt and flour, mixing until just combined. Fold in the chocolate chips.
- Bake for 25-30 minutes until the center is set and the edges are firm. Cool completely.
- When the brownies are cool, make the glaze. Melt the chocolate in a saucepan with the butter and 2 tablespoons of water. When it's melted, take the pot off the heat and stir in the powdered sugar. Add the remaining tablespoons of water and stir until smooth.
- Allow the glaze to thicken for about 15 minutes. When it's a little thicker, pour half the glaze over the brownies. Let the glaze set.
- Pour the other half carefully on top of the brownies and let the second layer of glaze set.
- When the glaze is hard, cut into squares and serve.
Take my husband, for instance. I knew him for 7 years before we even thought about dating. I mean, it’s not like I never noticed him. He was super adorable. How could I not? But for some reason, it just didn’t click for quite some time that he was the man I was meant to be with. Luckily, we both figured it out.
I feel the same way about these brownies, though on a slightly less major level. I’ve made brownies for years. I’ve loved rocky road anything for years. Why have I never done this?
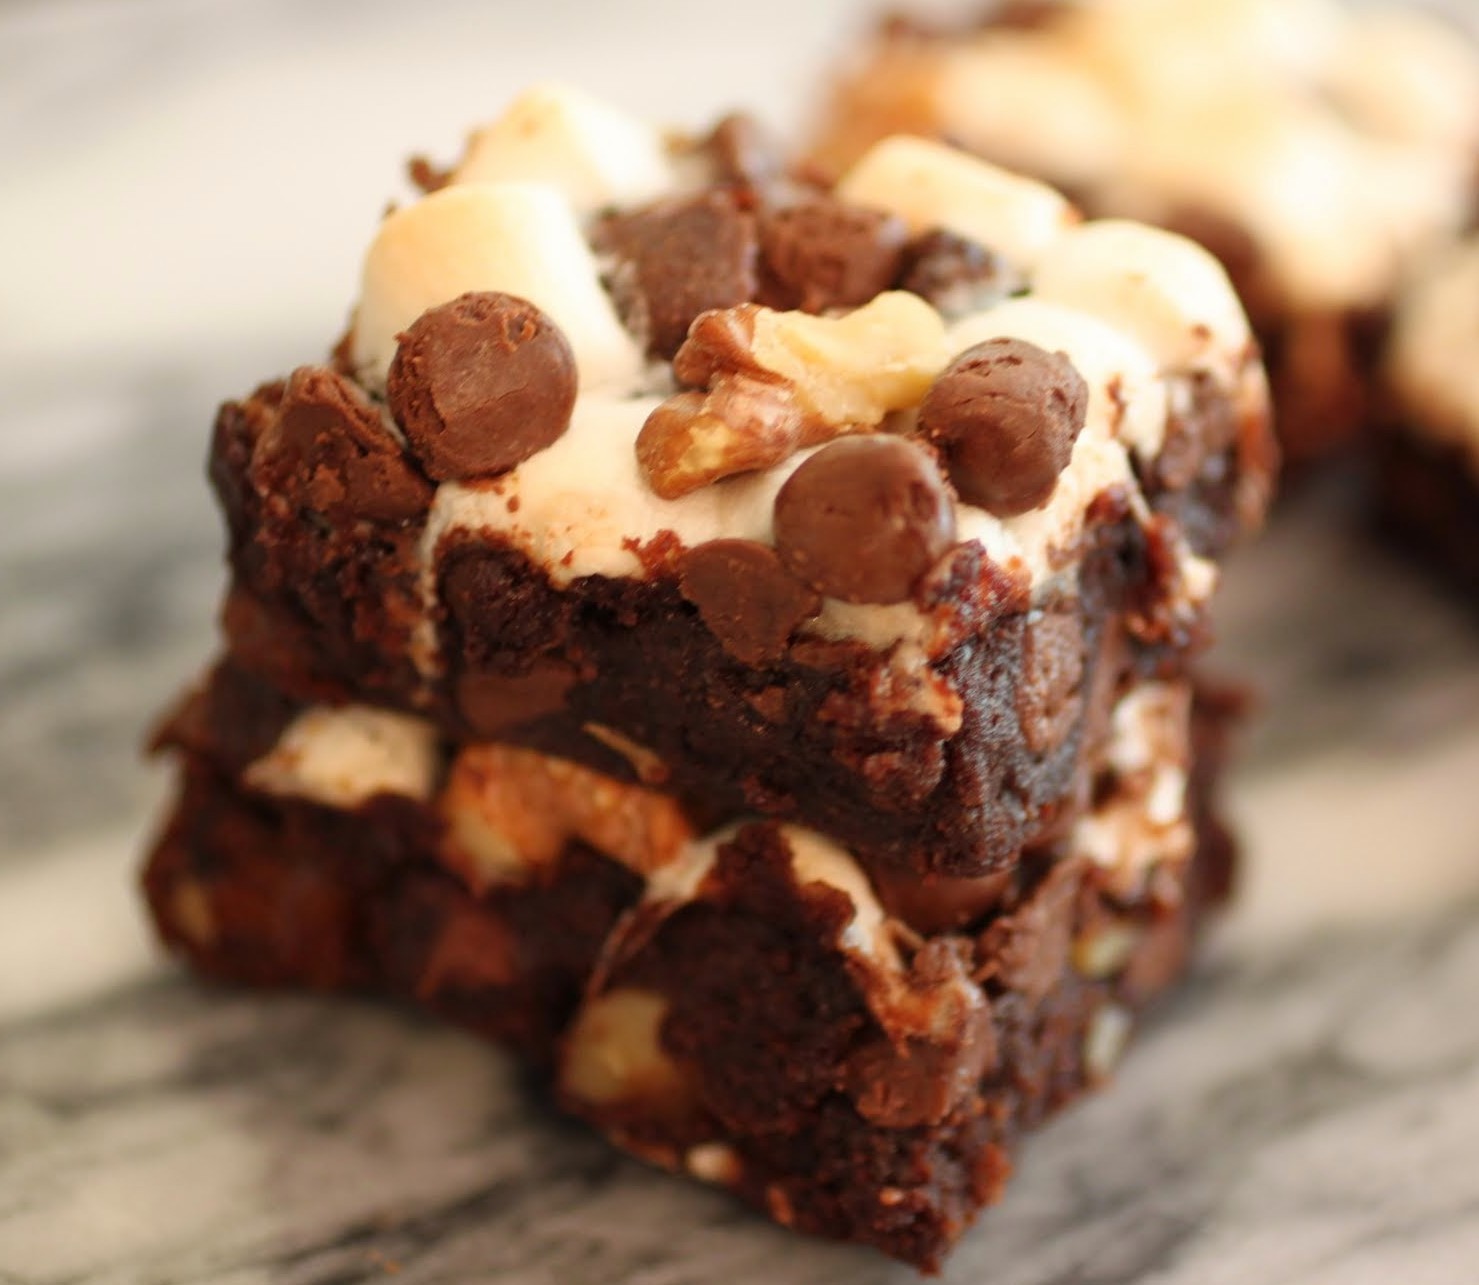
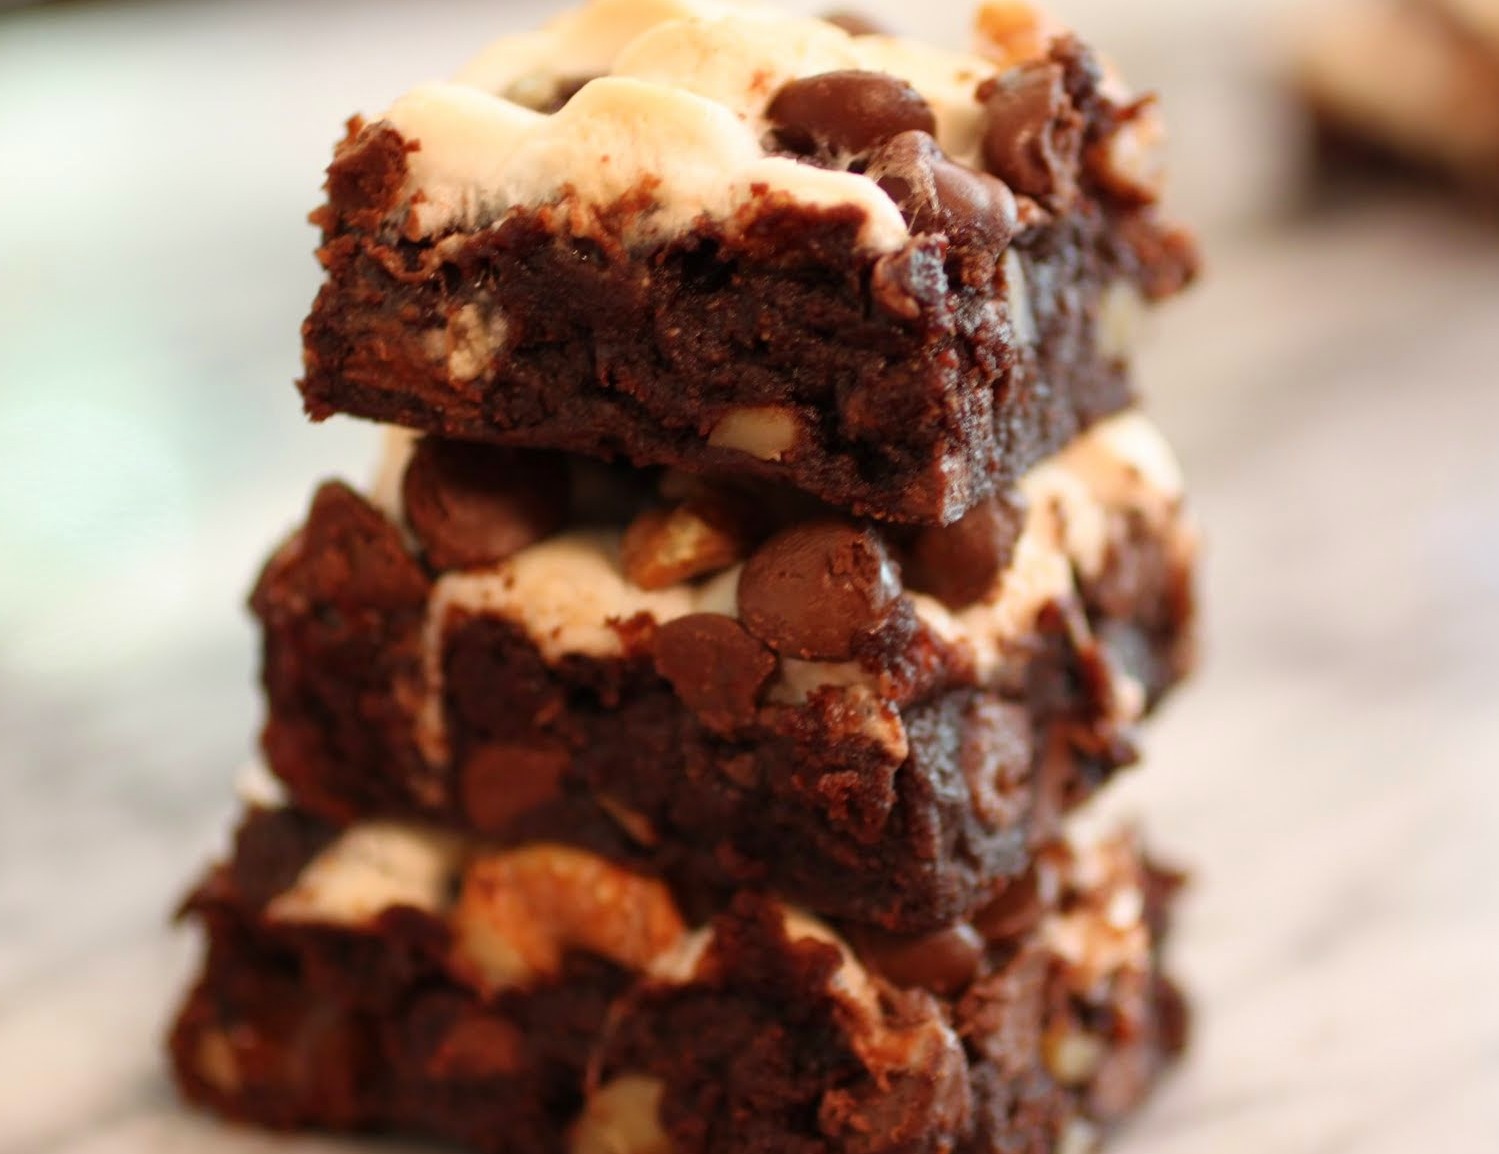
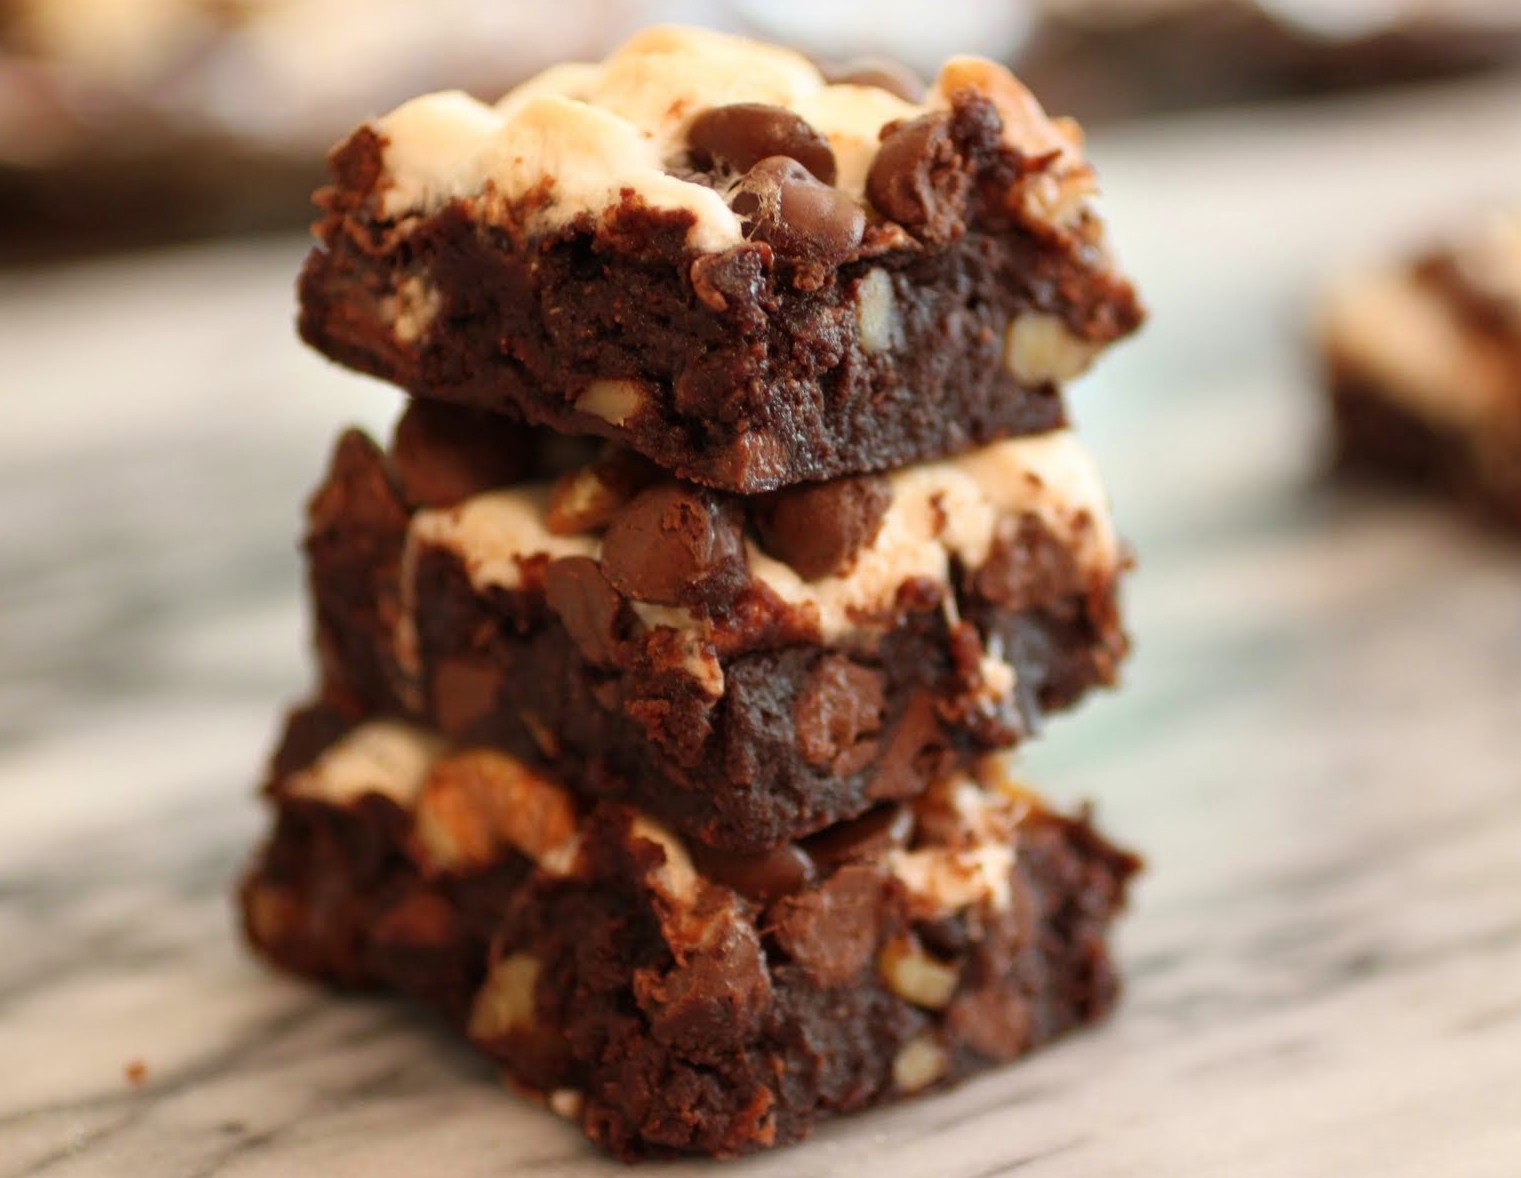
These are incredible. Rich, fudgy (and gluten-free too, though you’ll never know it), dense brownies packed with marshmallows, walnuts and chocolate chips, topped off with more of the same. Let’s just say that if these brownies don’t do it for you, nothing will. I mean that most sincerely.
If you don’t have oat flour and have no problem with gluten, just use flour. I need to bake gluten-free a lot for Kenny (my aforementioned soul mate) so that he doesn’t start eating the kids’ snacks and get sick. But you can use flour. Either way, you won’t notice a difference!
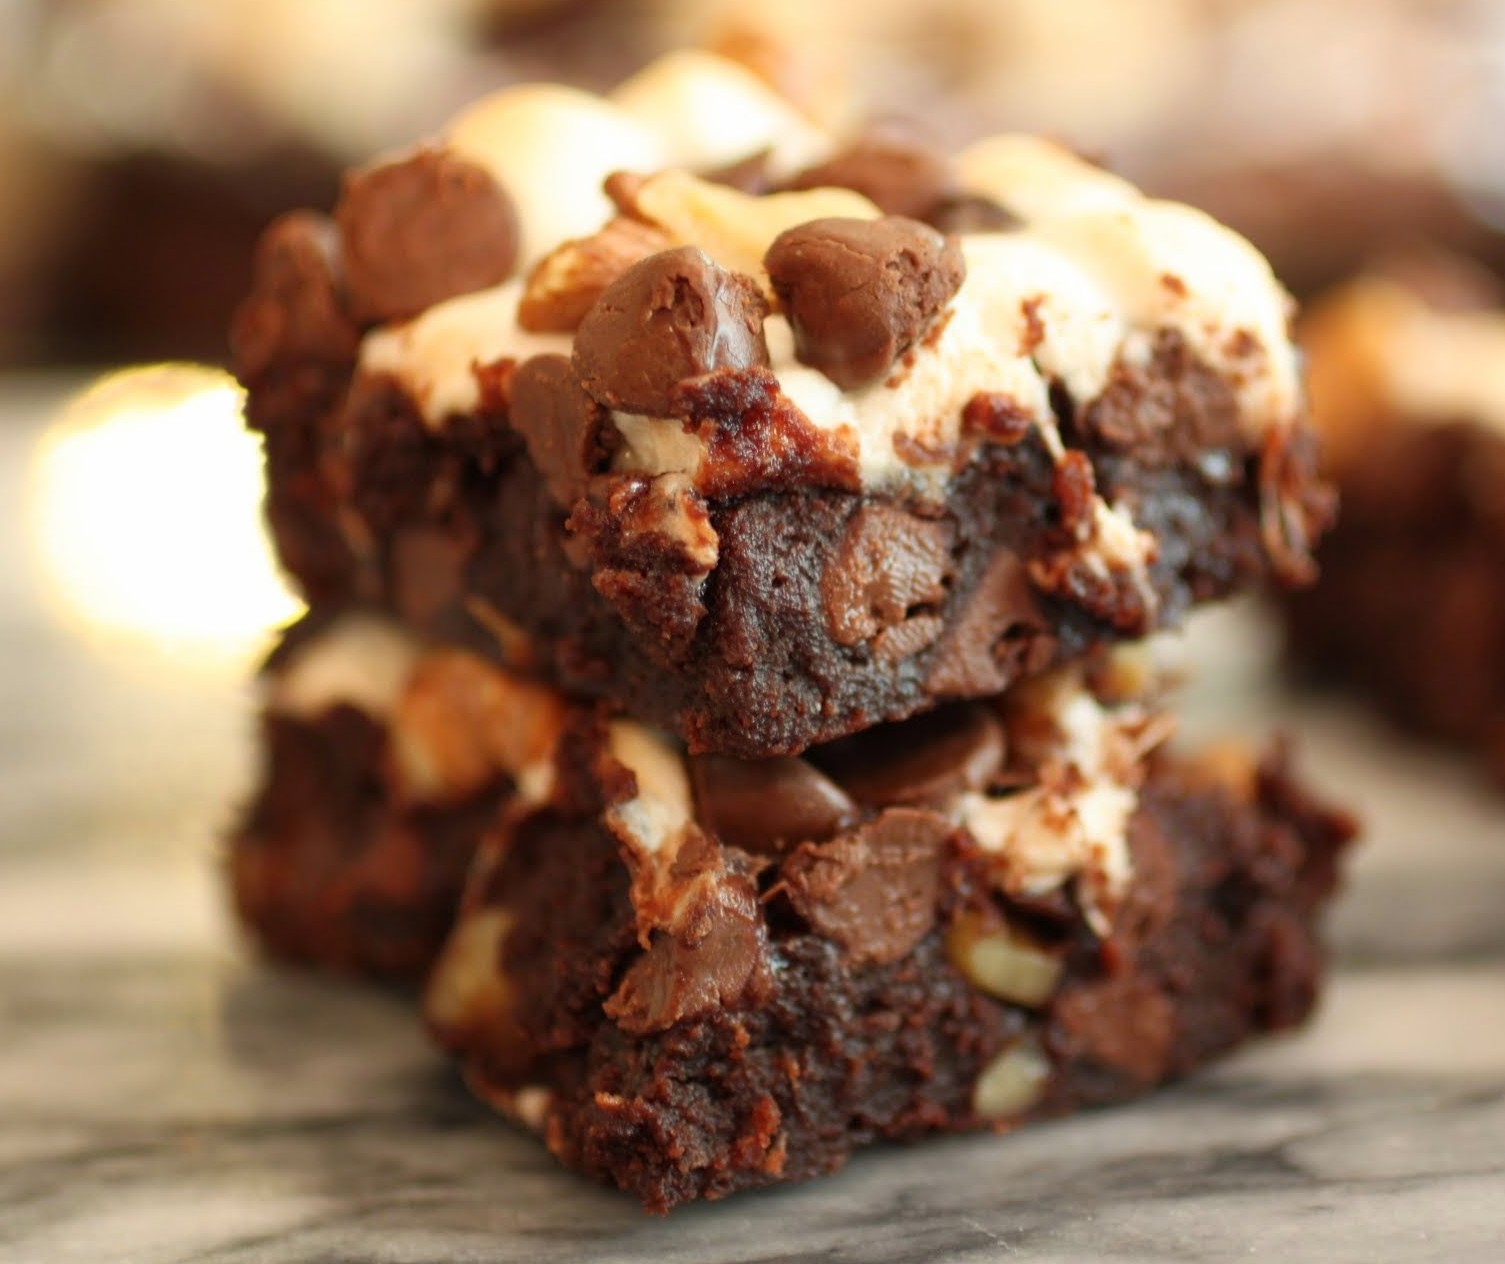
If you can wait to cut these, I’ll admire your restraint. If you can’t, you’ll get a lot of melty chocolate and marshmallow pulling at your knife. I managed to hold back until all was cool, but I had the pictures to think of. You have no such restriction!

If you’ve ever had anything staring you in the face for years before you finally saw the light, you need to make these. This recipe is easy, quick, fun and the best moment of enlightenment I’ve had this month!
Ingredients
Instructions
- Preheat the oven to 350. Line an 8 X 8 pan with foil and spray it with cooking spray. Set aside.
- In a medium-sized bowl, mix the cocoa into the melted butter until it dissolves. Add the sugar and stir again. When the sugar is incorporated, mix in the vanilla and eggs. Add the salt and flour, mixing until just combined. Fold in half the walnuts, mini marshmallows, and chocolate chips.
- Spread the batter in the prepared pan and bake for 15 minutes.
- Remove the pan from the oven and sprinkle on the remaining walnuts, mini marshmallows, and chocolate chips.
- Bake for 15-20 minutes more until the marshmallows are toasted and the brownies are done.
- Allow the brownies to cool completely. Cut into squares and store in an airtight container.
Apparently, it’s peach season. I had no idea. I always figured that peaches thrive best in the summertime, along with nectarines. Why is that not true? Can anyone explain it to me?

I’ll be honest. Given the choice between a peach and a nectarine, I’ll go nectarine every time. Something about that fuzzy skin throws me. I’m suspicious of it. But when I’m making a crumble and peeling the fruit anyway, it doesn’t matter!
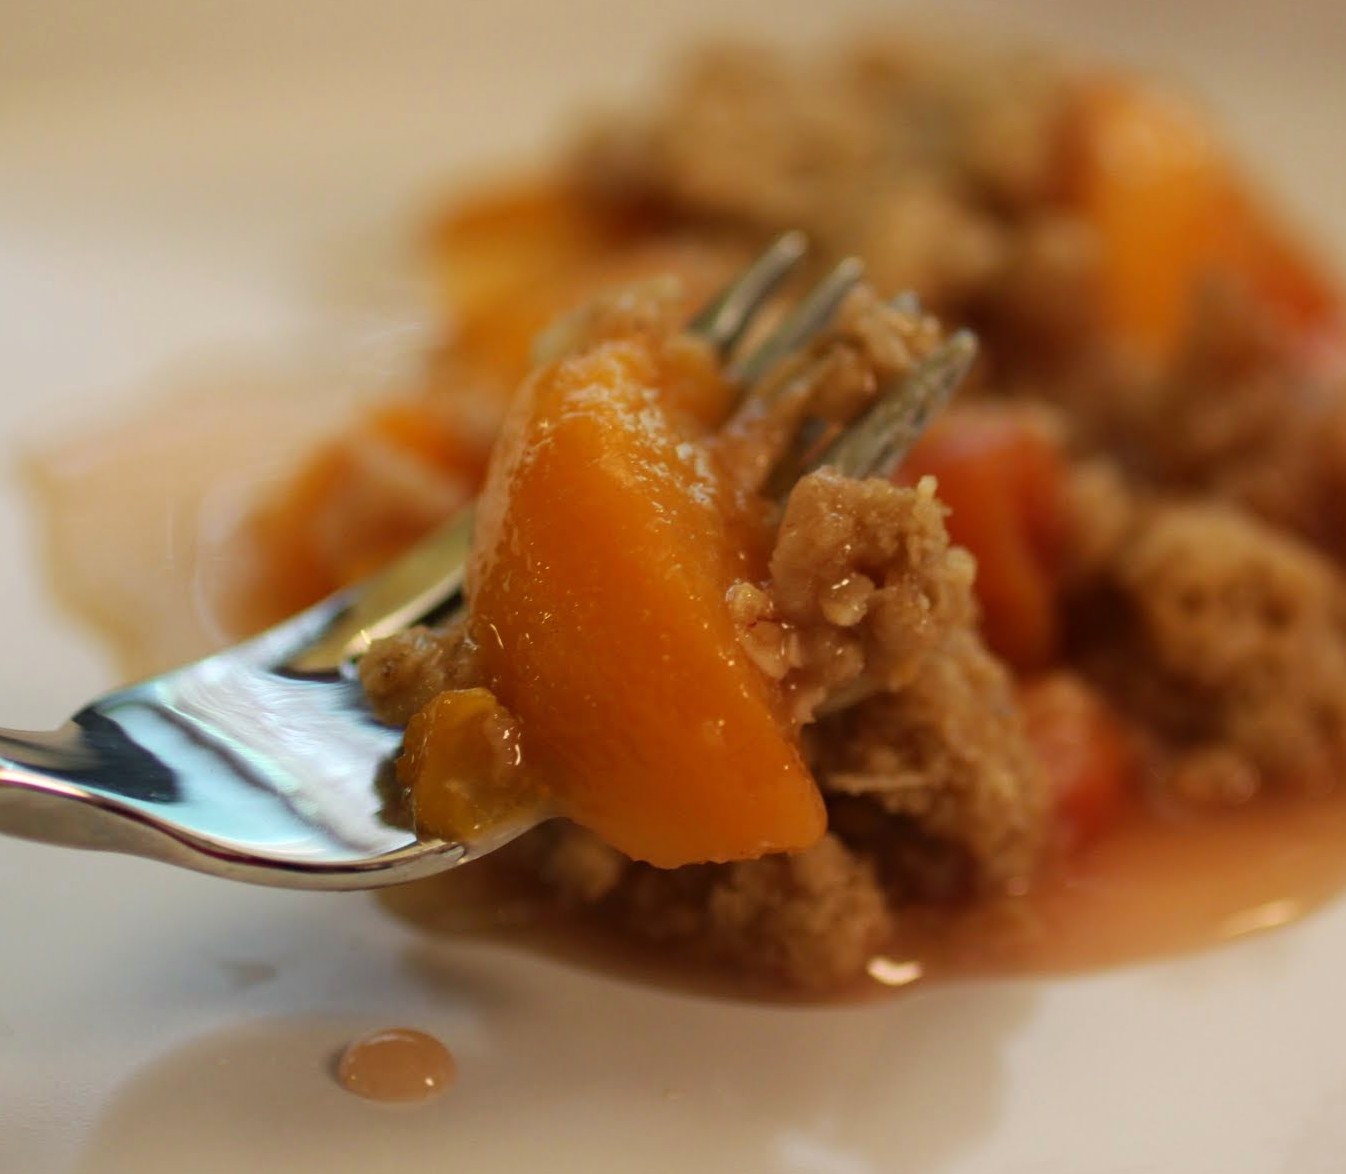
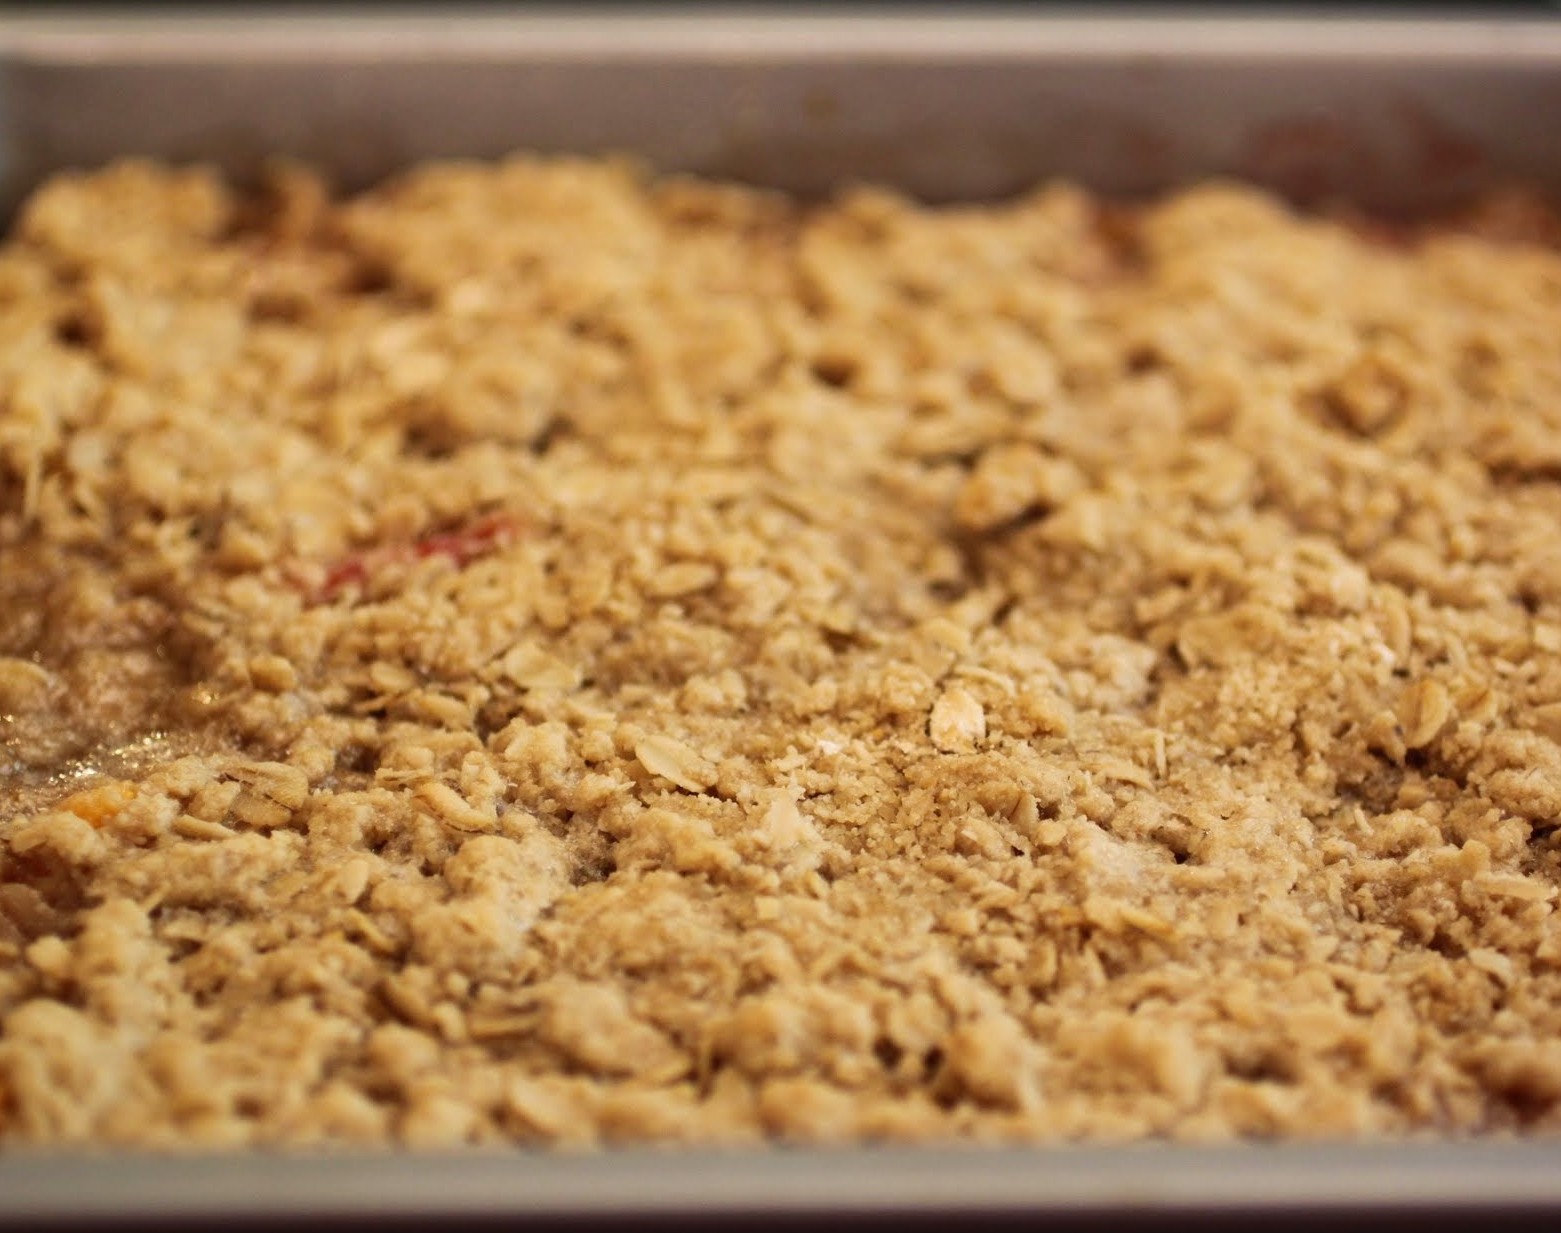
Peach crumbles are great because you can play with the flavors. I drizzled a little almond extract over the peaches along with vanilla, which works so well. You could never pull that off with a plain ol’ apple. And instead of using flour, I used oat flour. Why not? You’ll never miss it among all the oats and brown sugary goodness!
The most labor-intensive aspect of this recipe is peeling the fruit. Oh, and cutting the butter into the crumb topping. But neither one is that bad. And you can use a pastry cutter to do the topping. If you don’t have one, I highly recommend that you get one ASAP. They have them on Amazon, and you will never dread cutting butter into crust again.
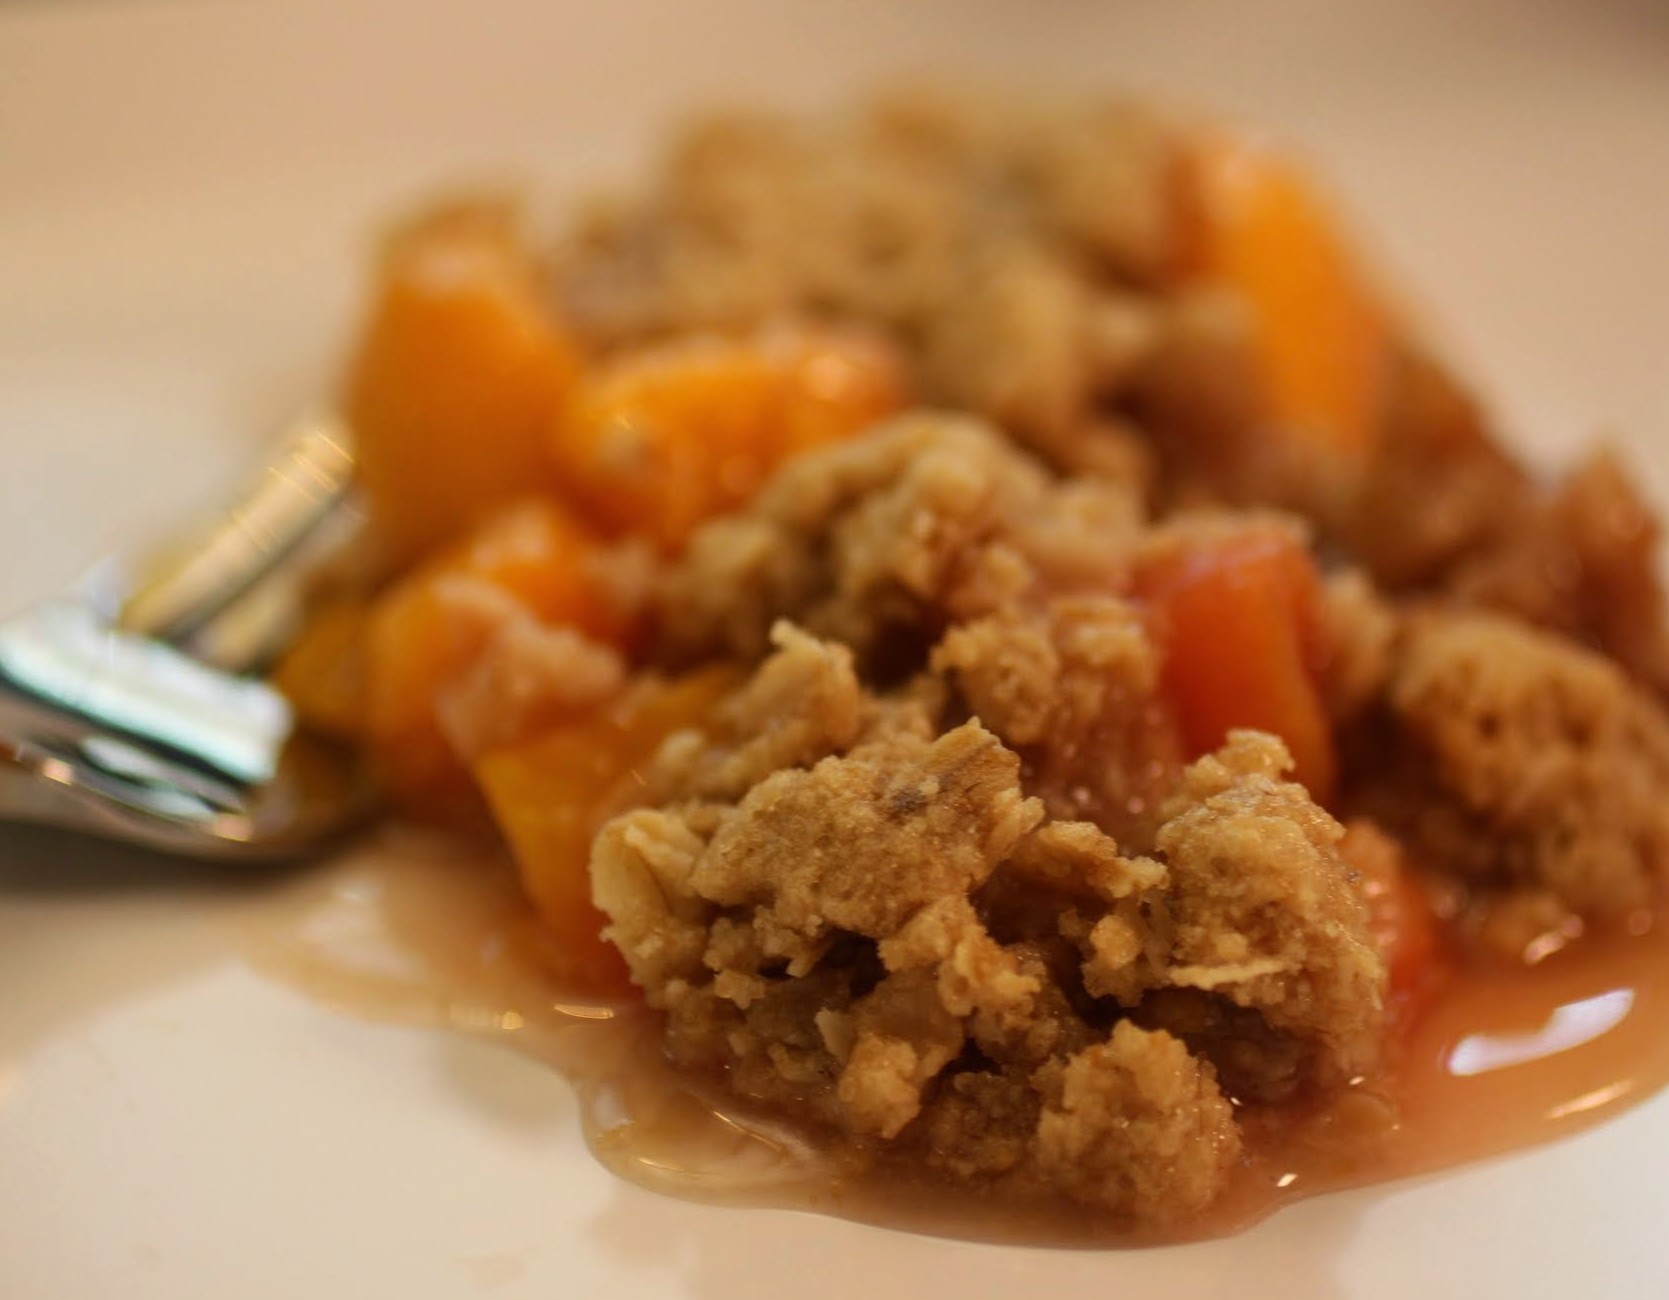
This crumble bakes up in about a half hour, and the best part about it is that you can eat it fresh from the oven! Ideally, with ice cream. And maybe some toasted almonds. And caramel. Okay, I’m gonna calm down now!
Ingredients
Instructions
- Preheat the oven to 350. Coat an 8 x 8 pan with cooking spray.
- Place the peaches evenly in the pan. Drizzle carefully with the almond and vanilla extracts. Sprinkle the granulated sugar evenly over the peaches.
- In a bowl, mix the oats, oat flour, and brown sugar. Cut in the butter with a pastry cutter or two knives and mix until crumbs form. Be sure not to let the crumbs get too small.
- Sprinkle the topping evenly over the peaches.
- Bake for 30-35 minutes until golden and bubbly. Serve warm.
]]>
Sorry, I’m gloomy. When this kind of mood strikes, only one thing can help. Lots and lots of peanut butter. In a bar. With chocolate.
And even though my husband is off tomorrow, it’s not his fault. So these are gluten-free! Don’t worry, you’ll never know.
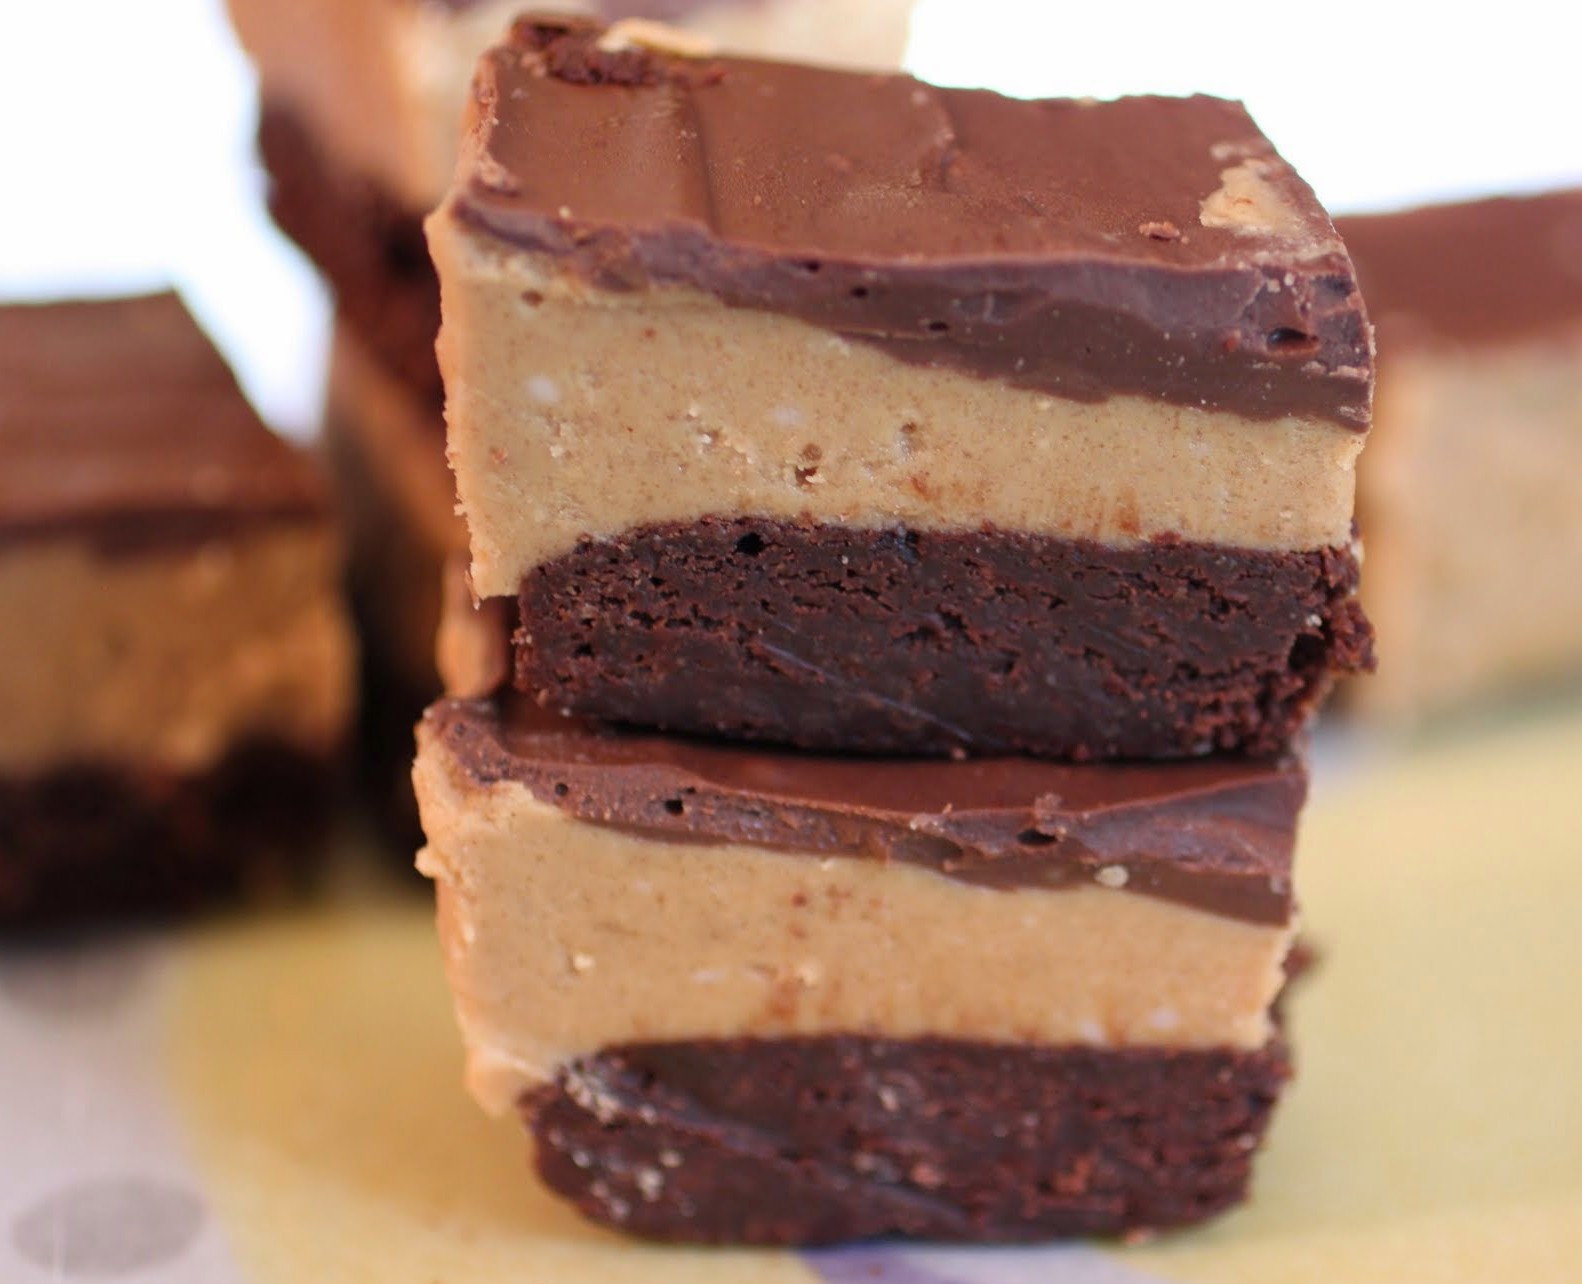
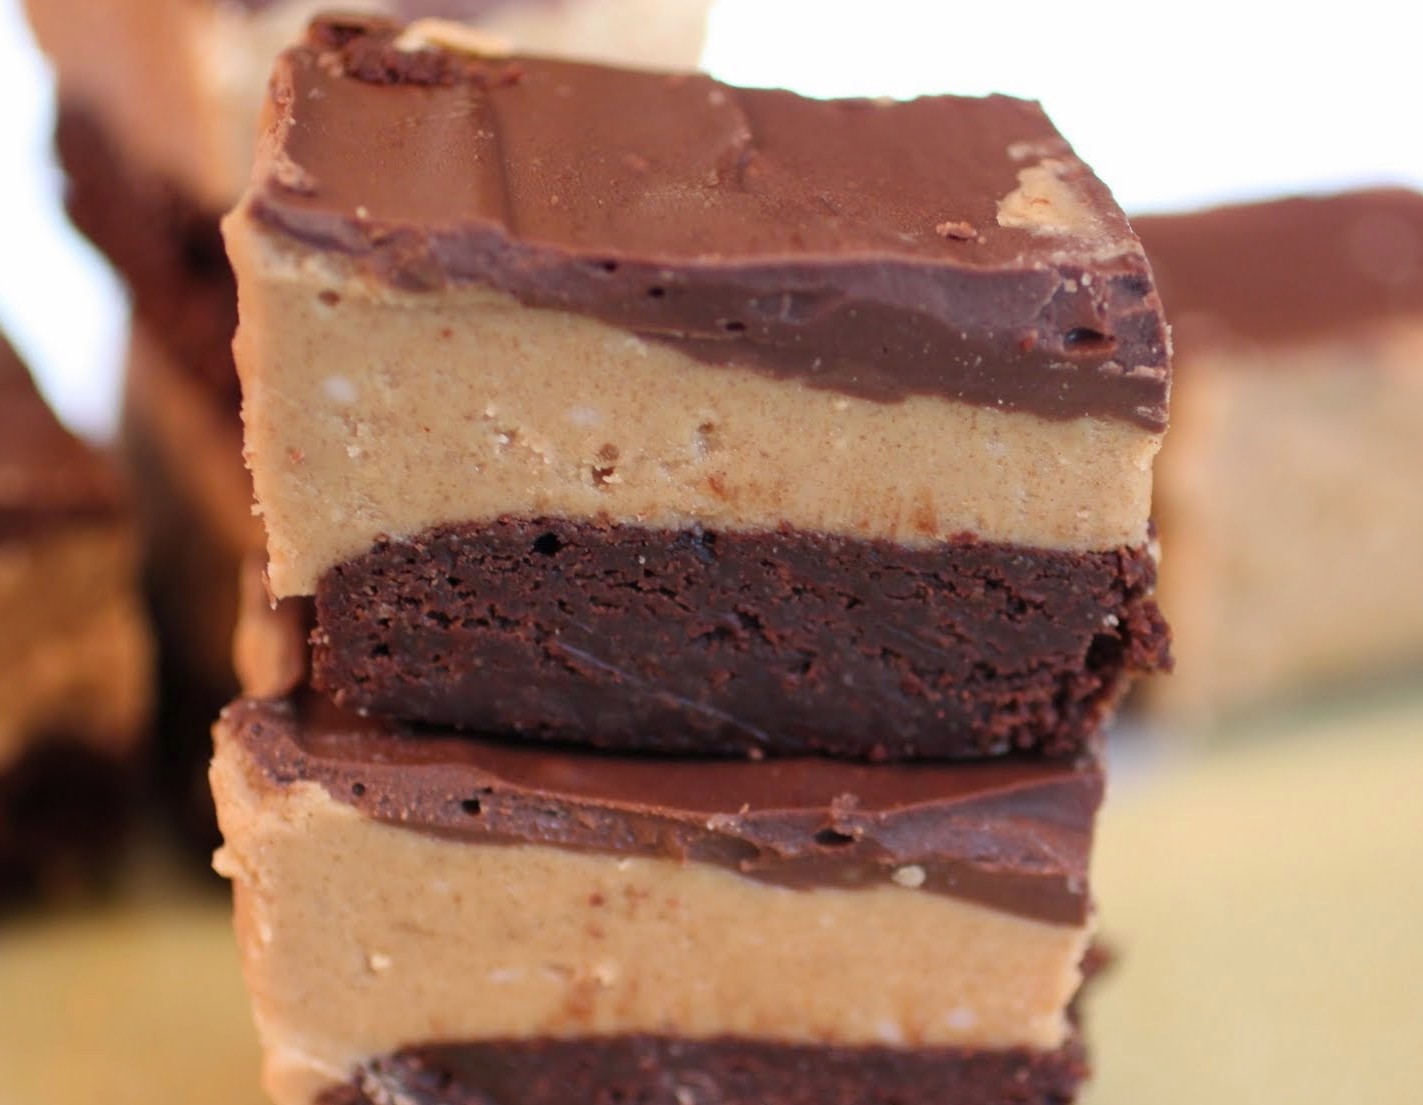
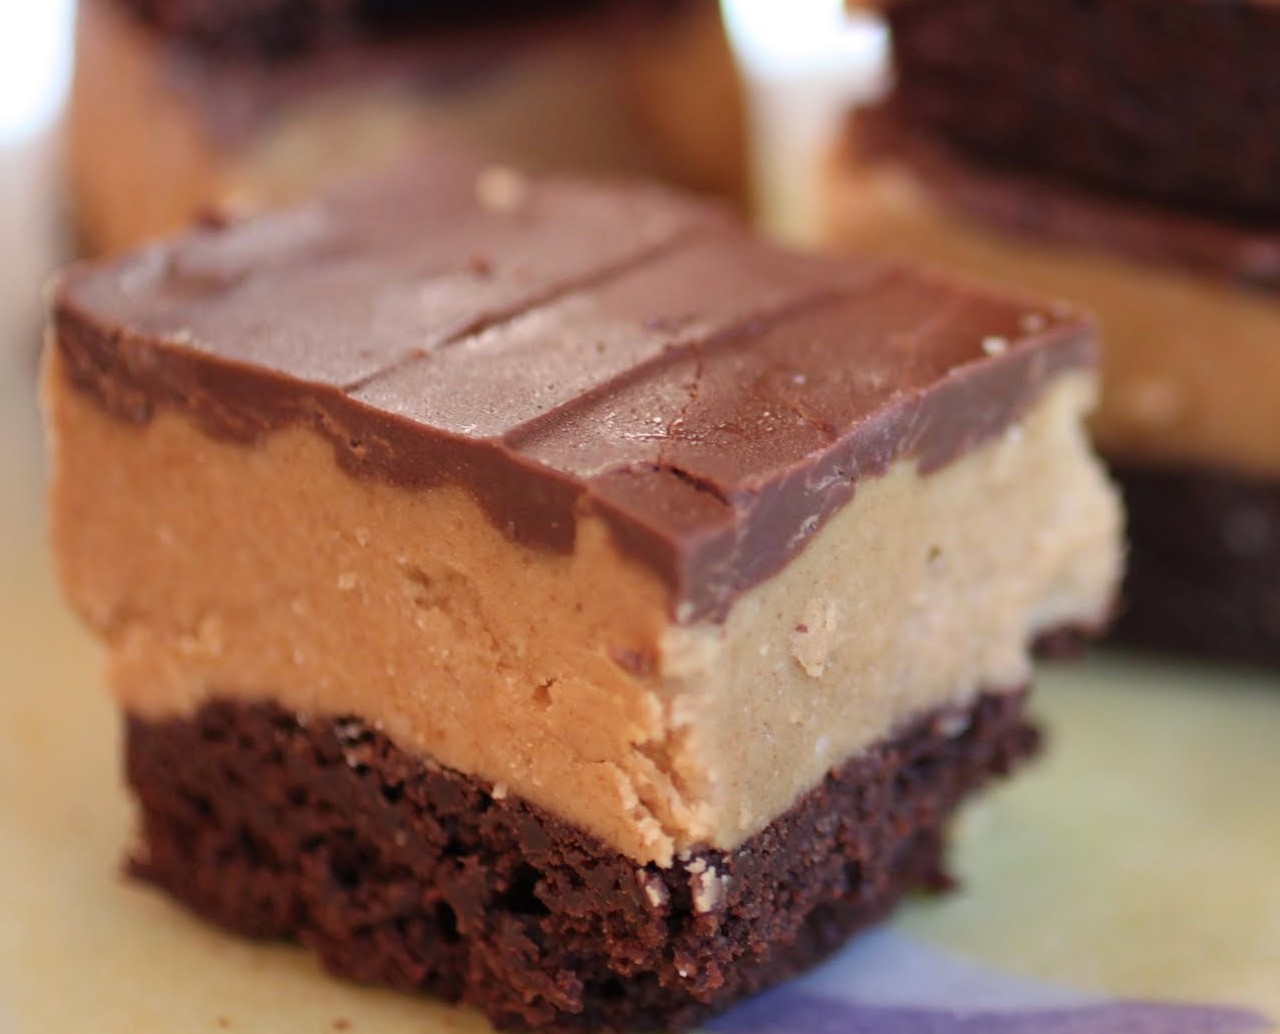
I made a much less crazy version of these a few months back, so if you’re into something simpler, try my GF peanut butter bars. But if you’re like me and enjoy taking things up a notch, add a layer of amazing brownie underneath!
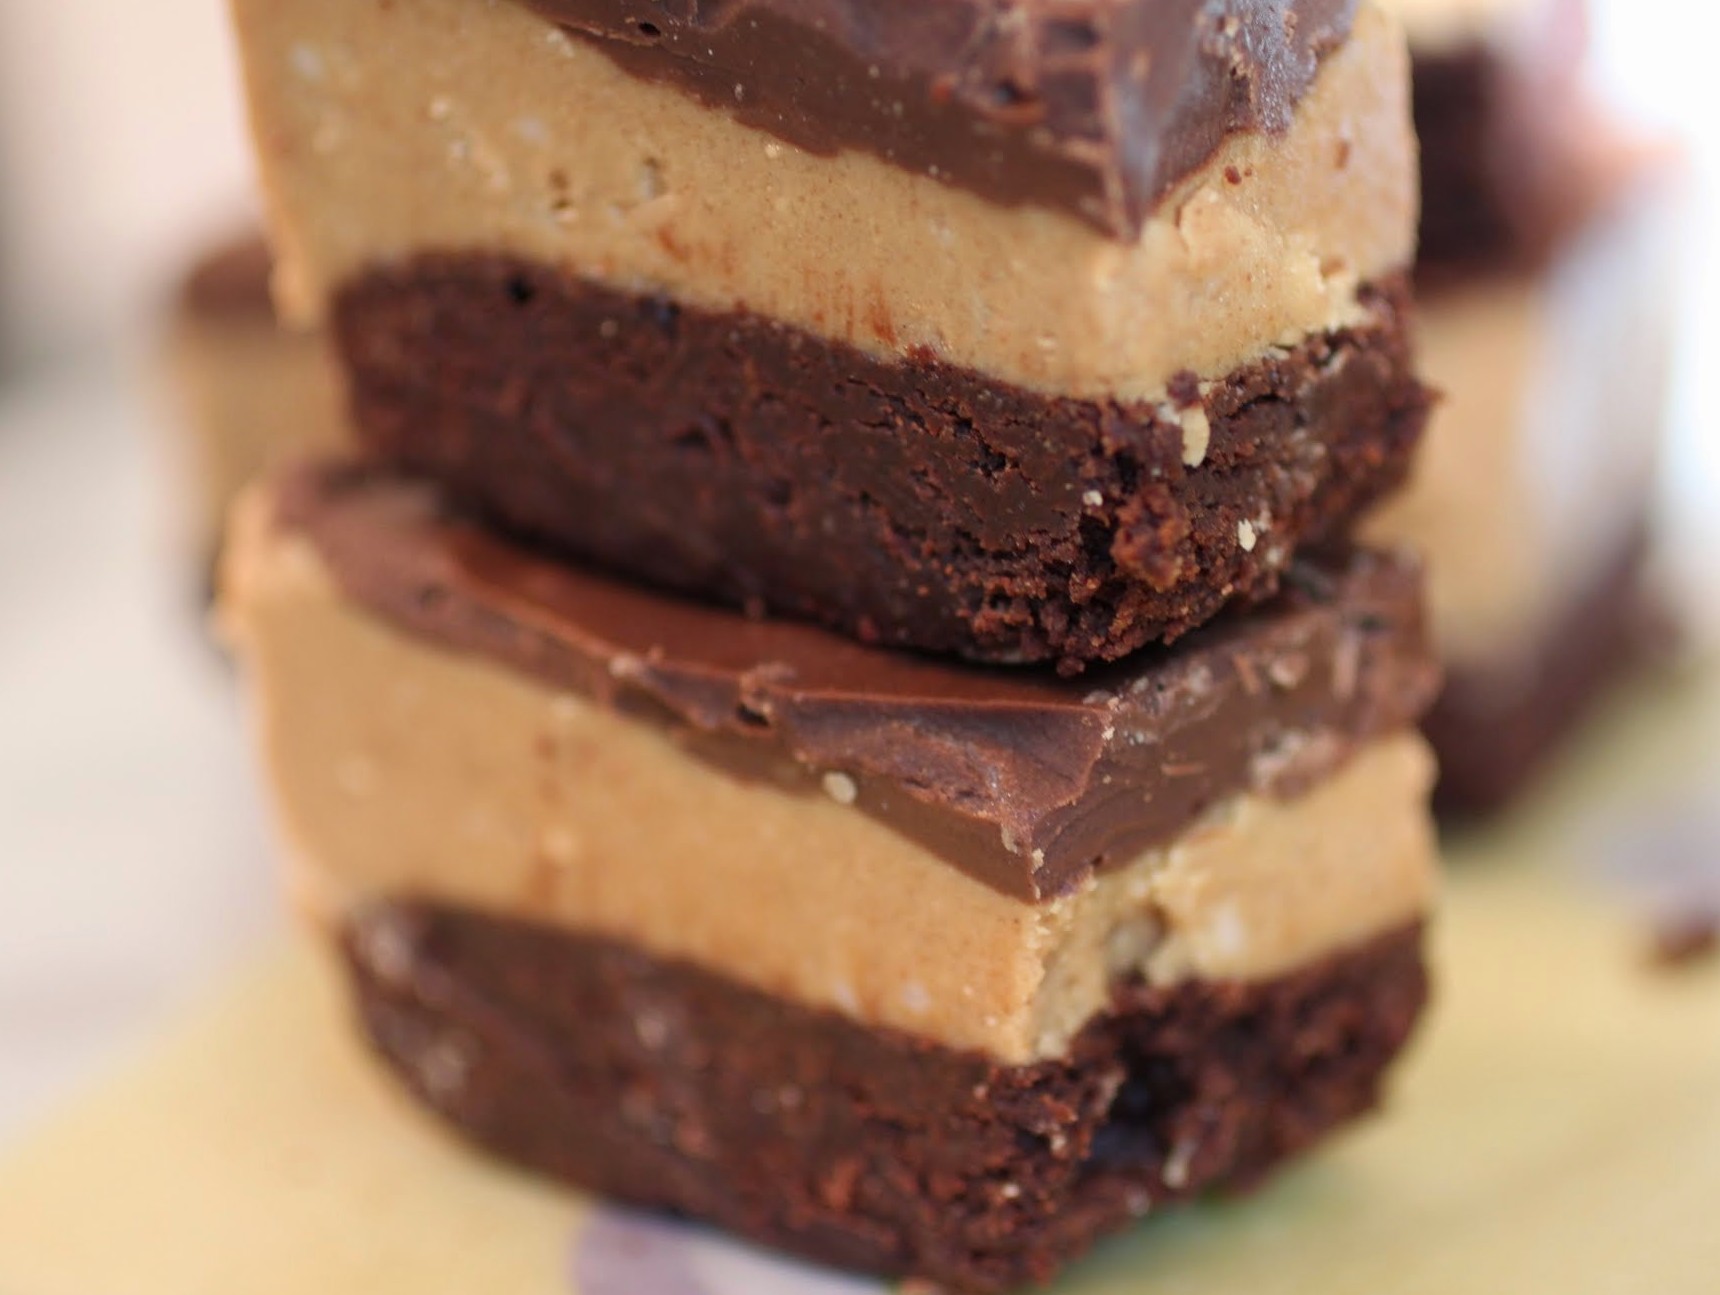
Yep, that’s the setup. A layer of brownie, made with oat flour. A layer of peanut butter filling which, I swear to all the powers above, tastes like a peanut butter cup, but better. And then, a nice thick layer of milk chocolate.
Instead of testing this out with my husband, I actually brought this to a friend’s house. She has to eat a GF diet, and I was thrilled that not only did she eat hers up, but so did everyone there. And most of those people eat gluten. So I guess they couldn’t tell!
If you’re having a bad Sunday night or just need that everlasting PB/chocolate fix, step right up! The antidote for any blah moment is right here!
Ingredients
Instructions
- Preheat the oven to 350. Line an 8 X 8 pan with foil and spray it with cooking spray. Set aside.
- In a medium-sized bowl, mix the cocoa into the melted butter until it dissolves. Add the sugar and stir again. When the sugar is incorporated, mix in the vanilla and eggs. Add the salt and flour, mixing until just combined.
- Spread the batter in the prepared pan. Bake for 25-30 minutes until the top is set.
- While the brownies are baking, make the peanut butter filling. On the stovetop, melt the butter over low heat. Add the brown sugar, peanut butter, powdered sugar, vanilla and salt. Stir until the mixture is combined and smooth.
- Press the peanut butter mixture lightly on top of the brownies, doing your best to make an even layer. Sprinkle the chocolate chips on top and wait five minutes. Using a spatula, spread the melted chocolate over the peanut butter layer.
- Chill for about 30 minutes until the chocolate is set. Let the bars come to room temperature and cut into small squares.
But then I made my first pumpkin recipe of the season and I couldn’t help it. Suddenly, I was eating tons of pumpkin. I was re-hooked. I forget every year how delicious pumpkin recipes are! How can I forget?
Well, I’m on the bandwagon now, people. I’ve been baking several pumpkin recipes each week. And the truth is, pumpkin is just so easy to work with. It’s a baker’s dream. It’s not like we’re baking and coring our own pumpkins most of the time. That canned puree is the best stuff on earth.
Plus, it’s easier to go gluten-free with pumpkin. My favorite gluten-free oat flour tastes perfect with it. The flavors are completely complementary. So of course, off I rushed to bake my husband these bars.
Even though he keeps reminding me that pumpkin isn’t his thing, I don’t necessarily listen to my husband when he shares his preferences. It’s autumn, baby. Gotta go with the flow! And pumpkin is non-negotiable right now.

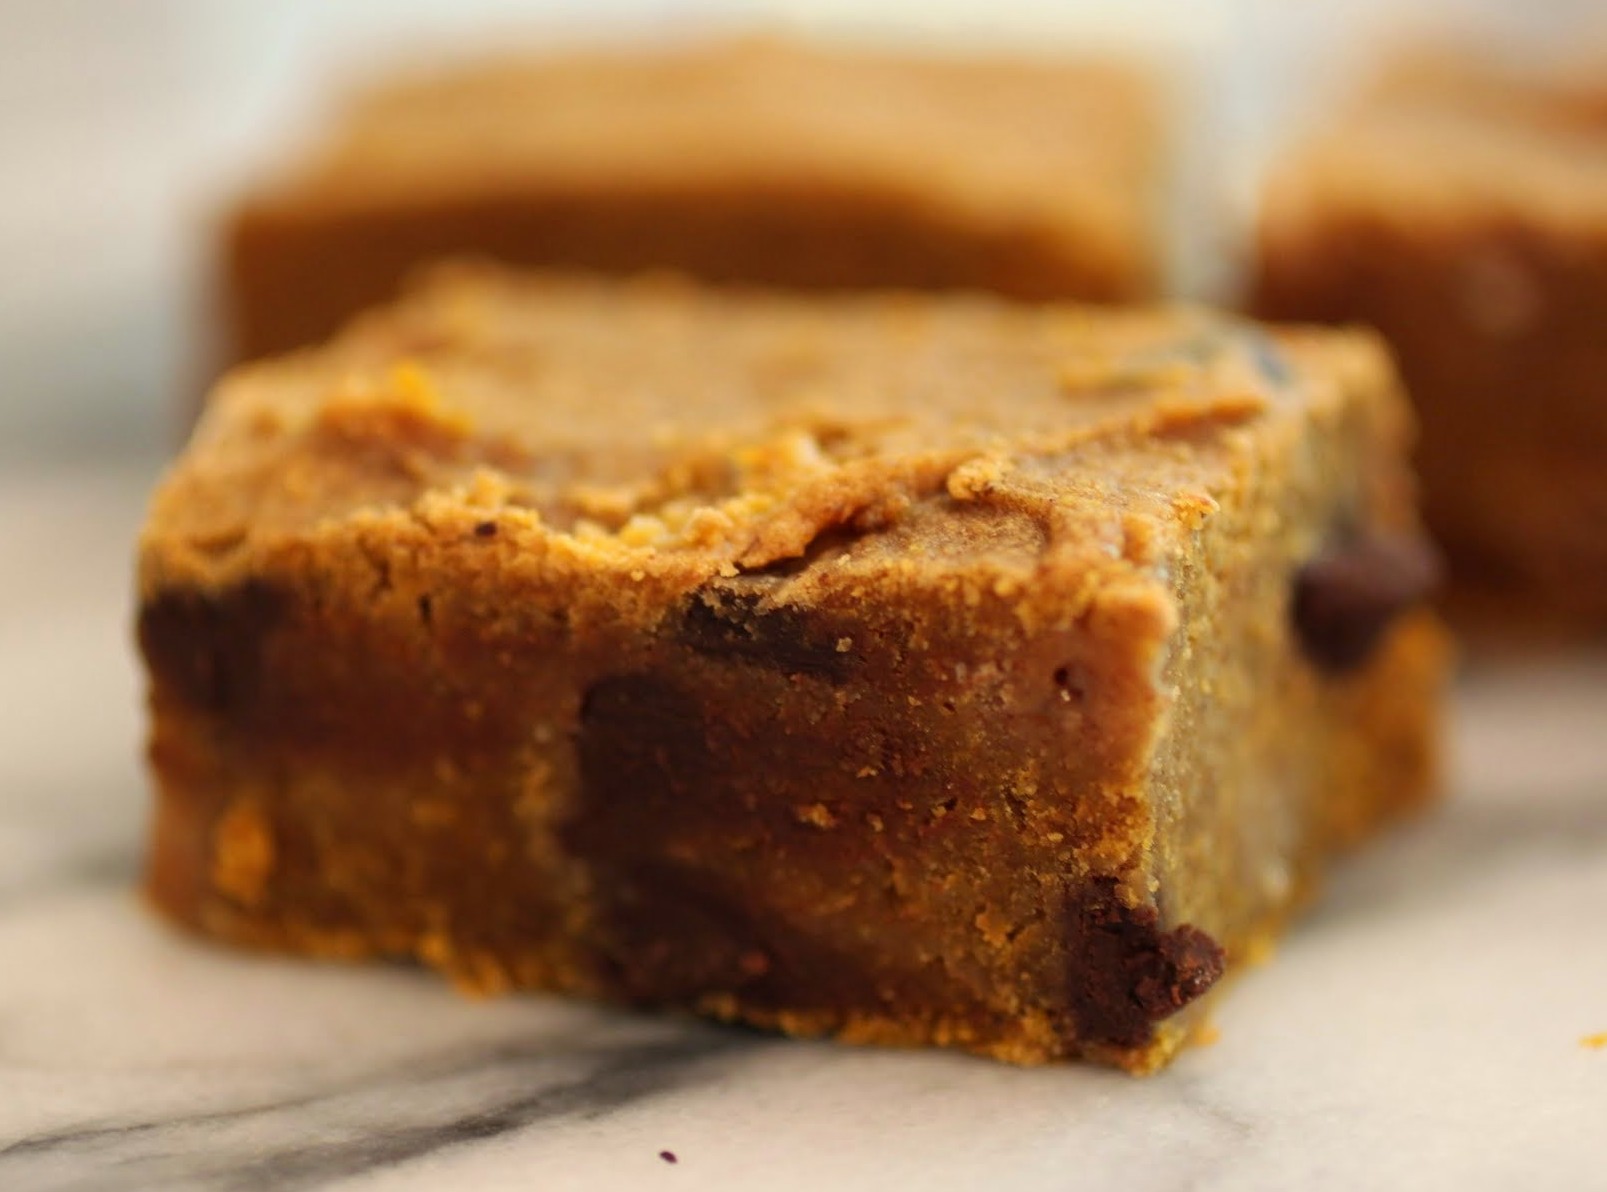
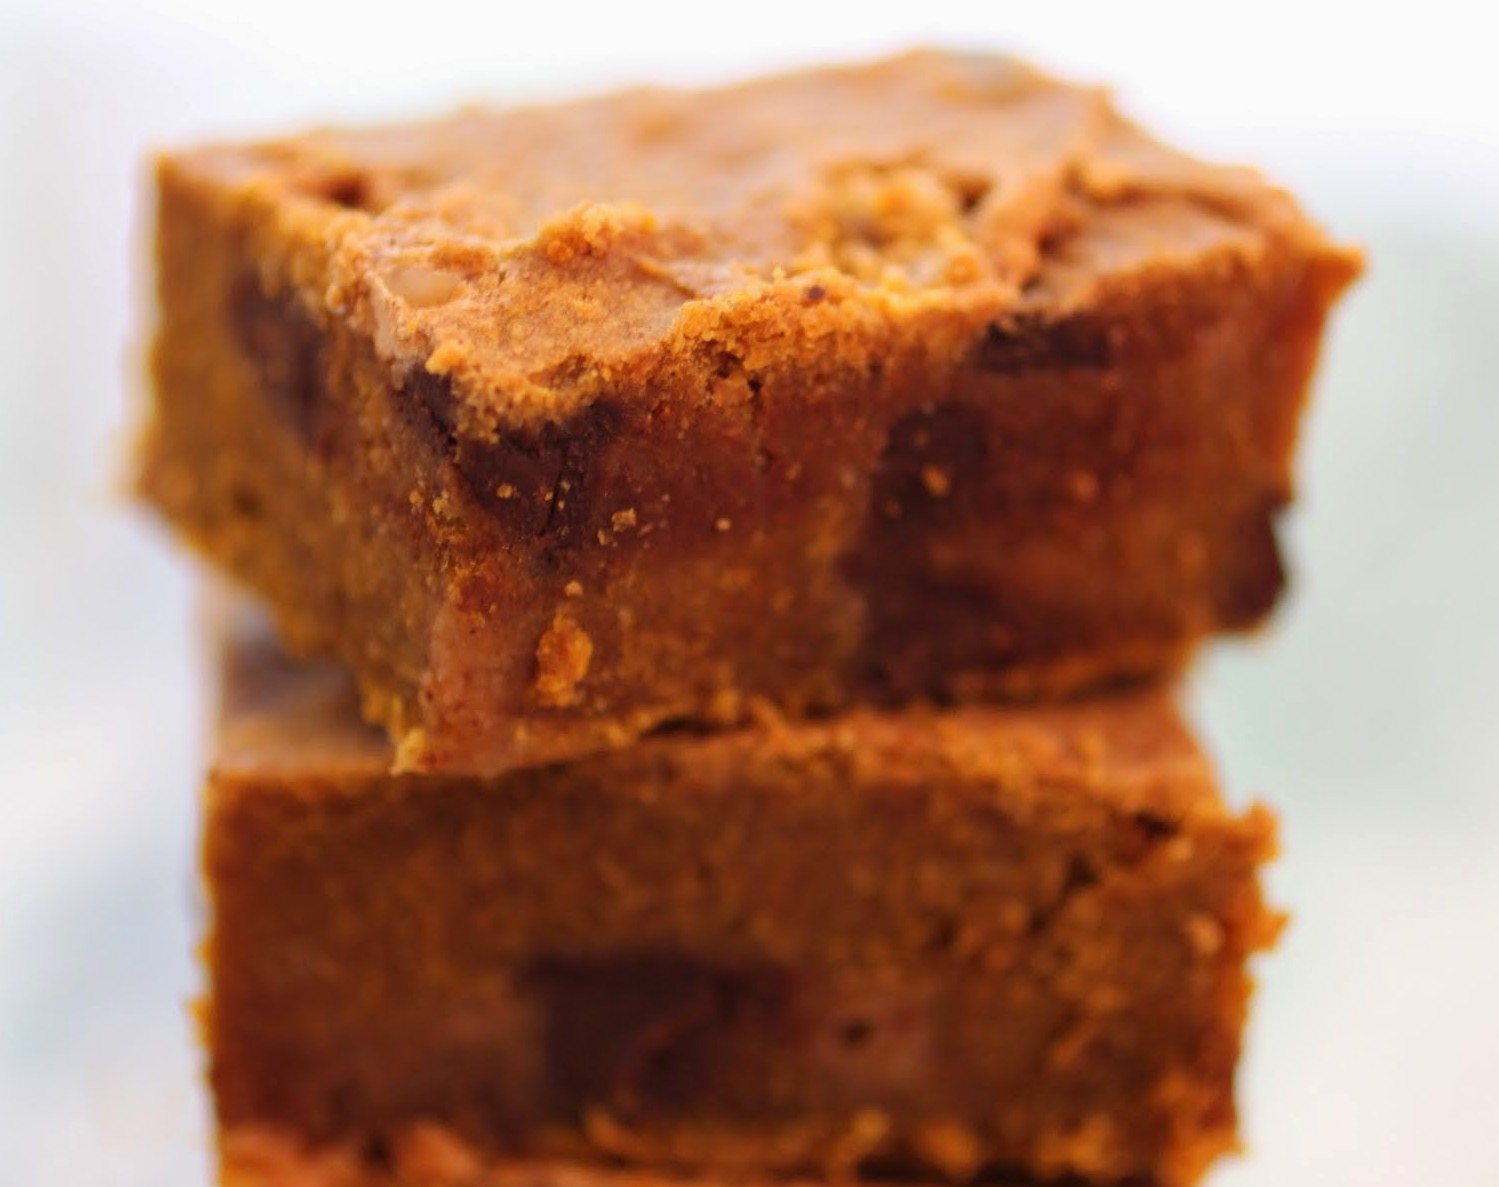
These are dense and soft at the same time, so perfect for any bar. And there’s pumpkin pie spice in there too, getting everyone ready for Halloween and Thanksgiving. Fall holidays are the best!
If you’d like to bake these with regular flour, go for it. But for my gluten-free friends, here’s another winner!
Ingredients
Instructions
- Preheat the oven to 350. Line an 8 x 8 inch baking pan with aluminum foil and coat with cooking spray. Set aside.
- In a medium-sized bowl, combine the melted butter, sugar and egg. Stir until well-combined. Add the vanilla and pumpkin and stir again.
- Mix the oat flour and spices together. Pour into the pumpkin mixture and stir until the dry ingredients are just incorporated.
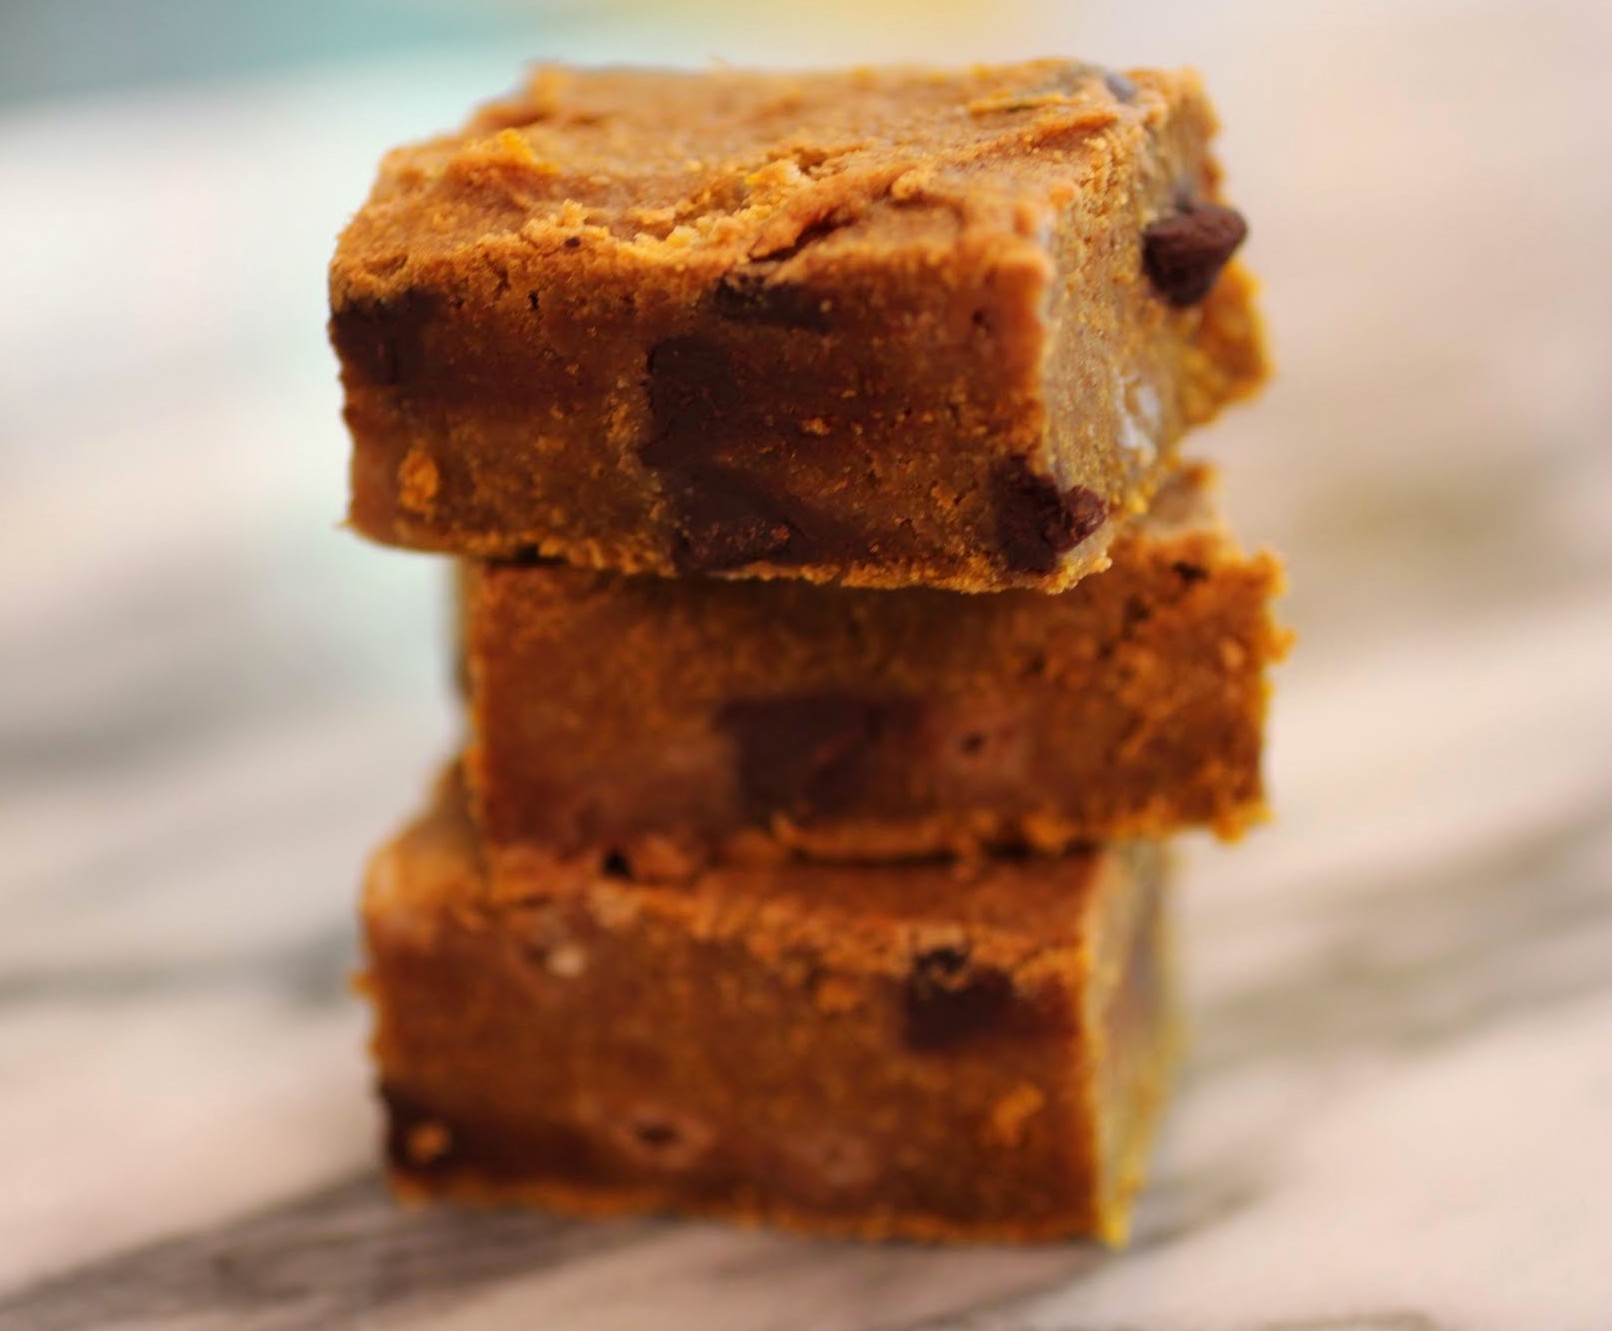
- Fold in the white chocolate chips and chocolate chips.
- Spread the batter evenly in the prepared pan and bake for 25 minutes. Do not overbake.
- Cool and cut into squares. Store in an airtight container.
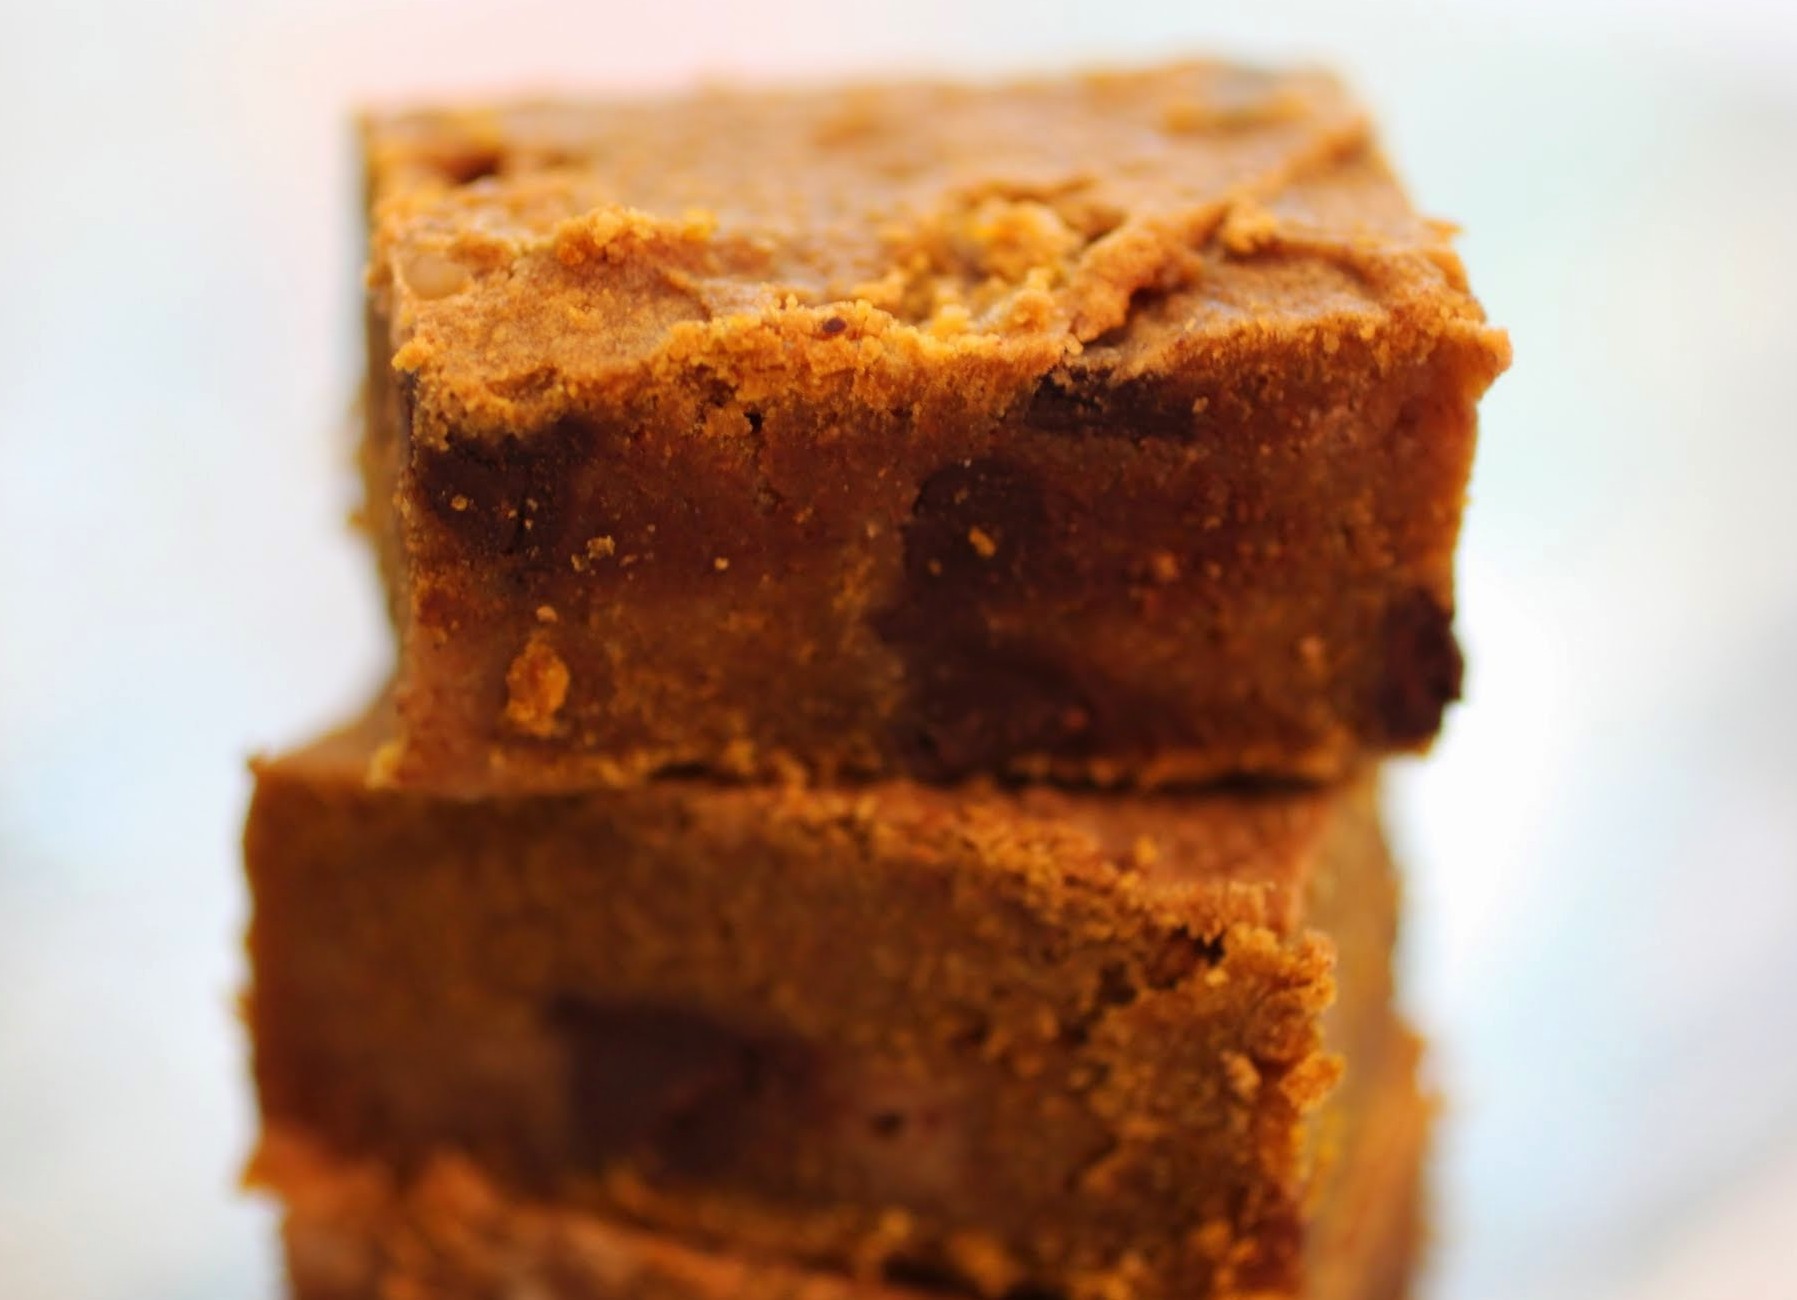
Except, well, they’re often ugly. And breakable. And most aren’t airtight, so the cookies go bad faster. And when kids get home from school (or their exhausted teacher mom), a cookie isn’t necessarily the answer. Sometimes you want cake. Amazing snack cake. No, not Little Debbie’s (though I do miss those hydrogenated suckers). Healthy, delicious, homemade pumpkin snack cake.

When I shoved the first forkful into my mouth, I thought I’d made a mistake. You see, this cake is gluten-free. But I could’ve sworn I dumped a cup of real flour in there. By some miracle, this cake is light and fluffy and moist and probably the best pumpkin cake I’ve ever tasted. Not exaggerating. For the first time in my life, I was in danger of bingeing on a healthy, no-butter, no gluten, vitamin-filled pumpkin cake.

You see, I like pumpkin, but it’s not my number one thing. Not anymore. This was incredible. And it’s filled with white chocolate chips, which are so perfect with pumpkin. Light and sweet, they make a wonderful contrast for the spice-filled cake base.
This cake passed the husband test (i.e., he ate a ton of it late at night when I wasn’t looking) and my kids were into it, too. Miracles do happen! I guess snack cake is the answer to my what-will-I-feed-them-now struggle. And did I mention that I also ate way too much of it? No regrets. None!
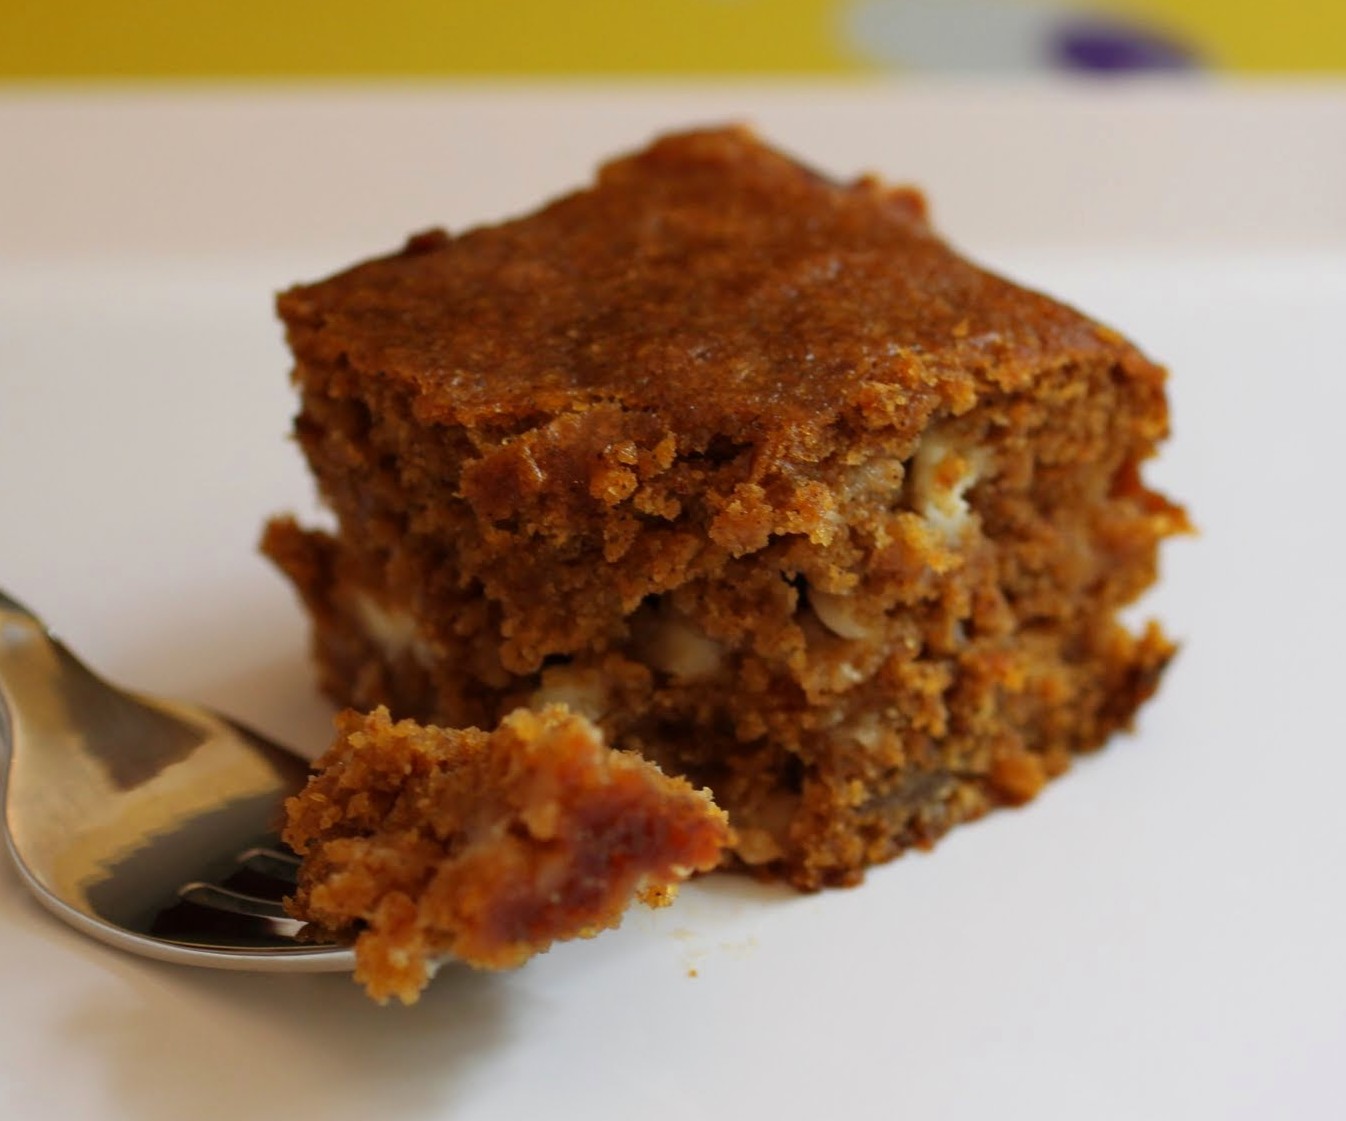
Here it is, the answer to everyone’s mid-afternoon snack cravings. It’s easy and quick and delicious!
Ingredients:
- 1 and 3/4 cups oat flour (labeled gluten-free)
- 1 teaspoon baking soda
- 2 teaspoons cinnamon
- 1/4 teaspoon nutmeg
- 1/4 teaspoon cloves
- 3/4 teaspoon salt
- 2 eggs
- 3/4 cup sugar
- 1/2 cup firmly packed light brown sugar
- 1 can pumpkin puree
- 1/2 cup canola oil
- 3/4 cup white chocolate chips
Instructions:
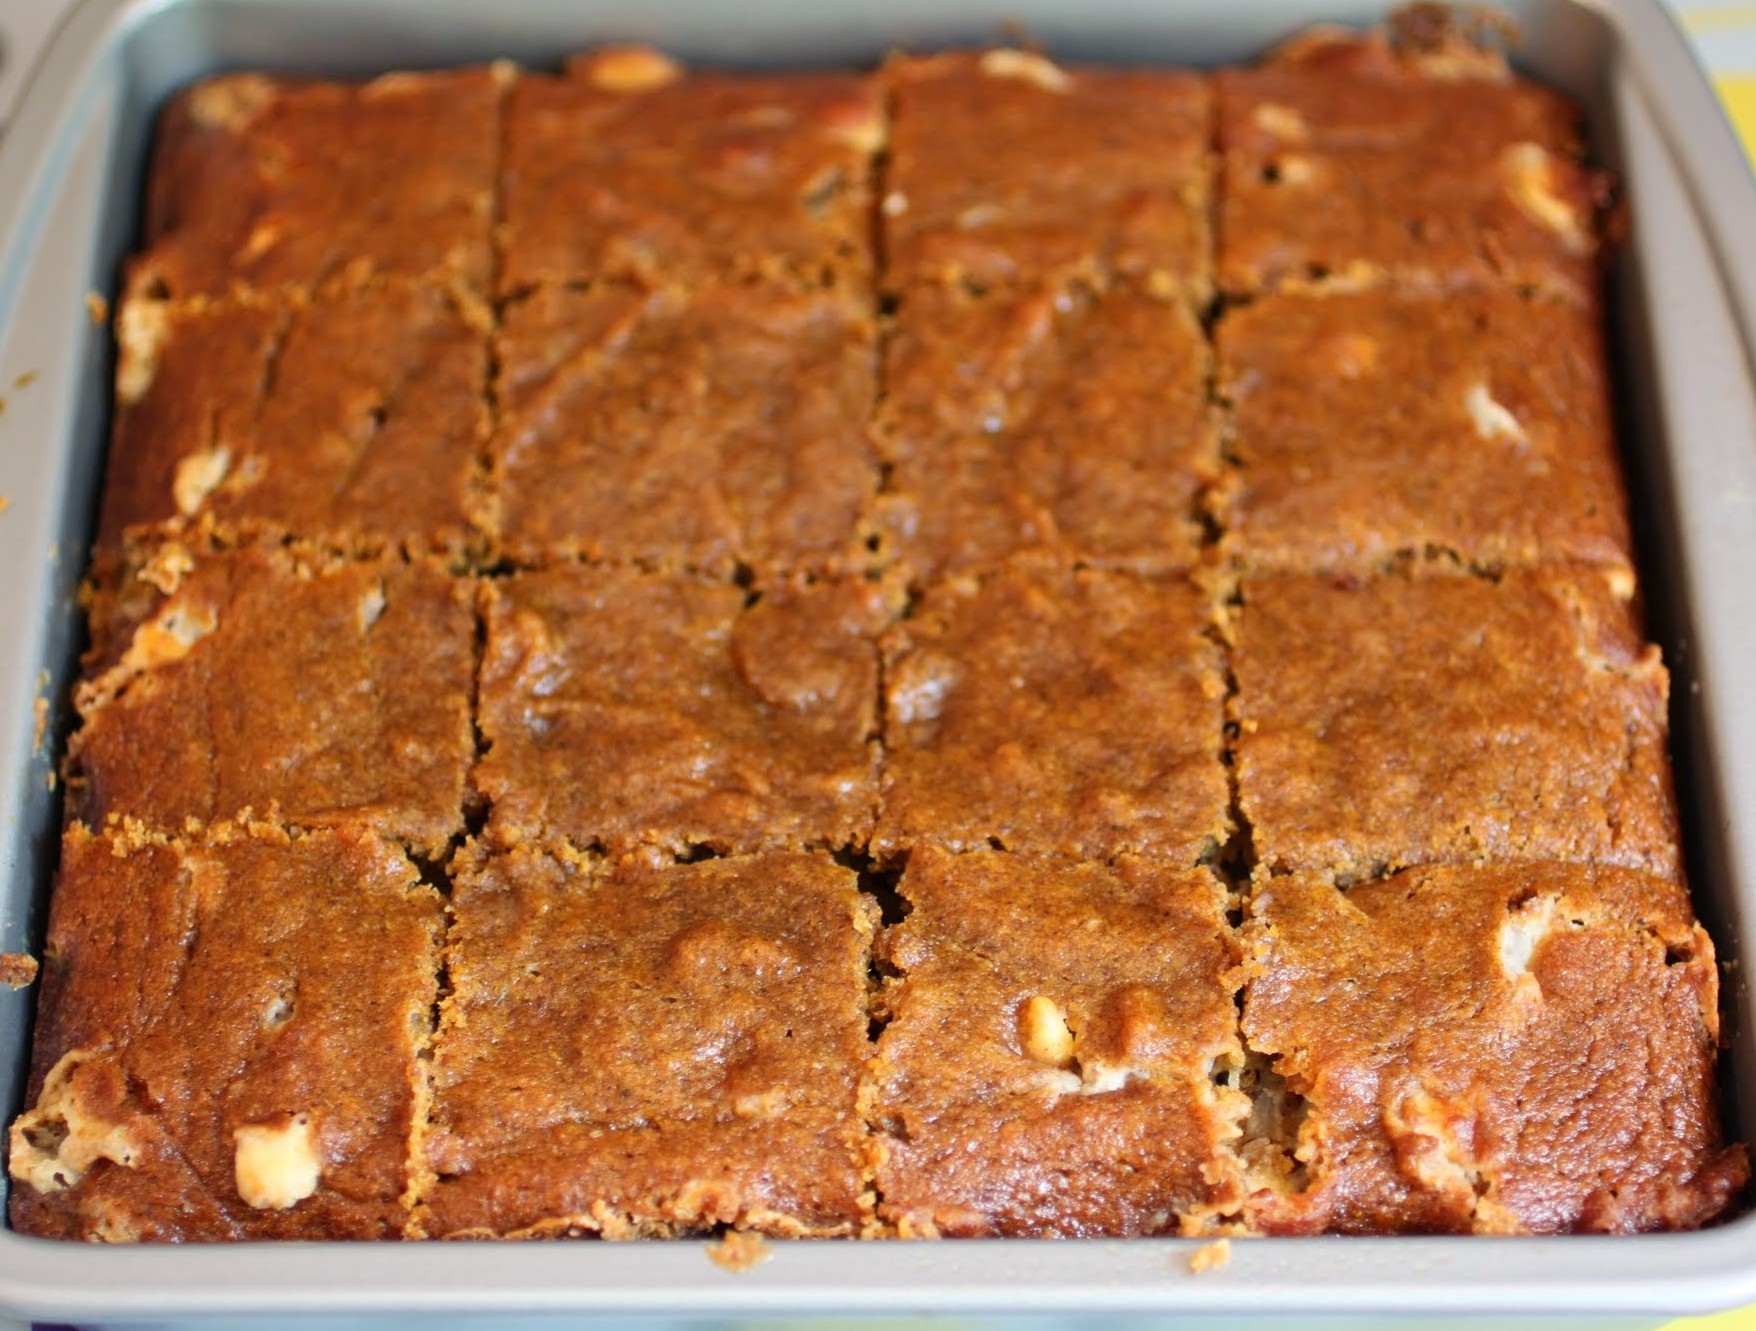
Preheat the oven to 350. Spray an 8 x 8 square pan with cooking spray and set aside.
In a large bowl, mix all the dry ingredients except the sugars and white chocolate chips until well incorporated. Set aside. In a medium-sized bowl, combine the eggs and sugars and mix well. Add the pumpkin and oil and stir again. Add the wet ingredients to the dry and beat until a smooth batter has formed. Fold in the white chocolate chips.
Bake for 35-40 minutes until the cake is done, as tested by a toothpick. Cool and then cut into squares.
]]>