I’m not really sure how to classify this dessert. My grandmother, who taught me how to make it, called it a cake. In fact, she made it for my grandfather’s birthday every year. But darn it, whenever I make it, I just see a pie. So we’ll go with that. Sorry, Grandma.
Whatever you call it, this dessert is fabulous and easy to make. It’s one of those happy recipes that is mind-numblingly simple to create but that will still impress the masses. Impressing your fans is important. You want people to think that you worked so much harder than you did.
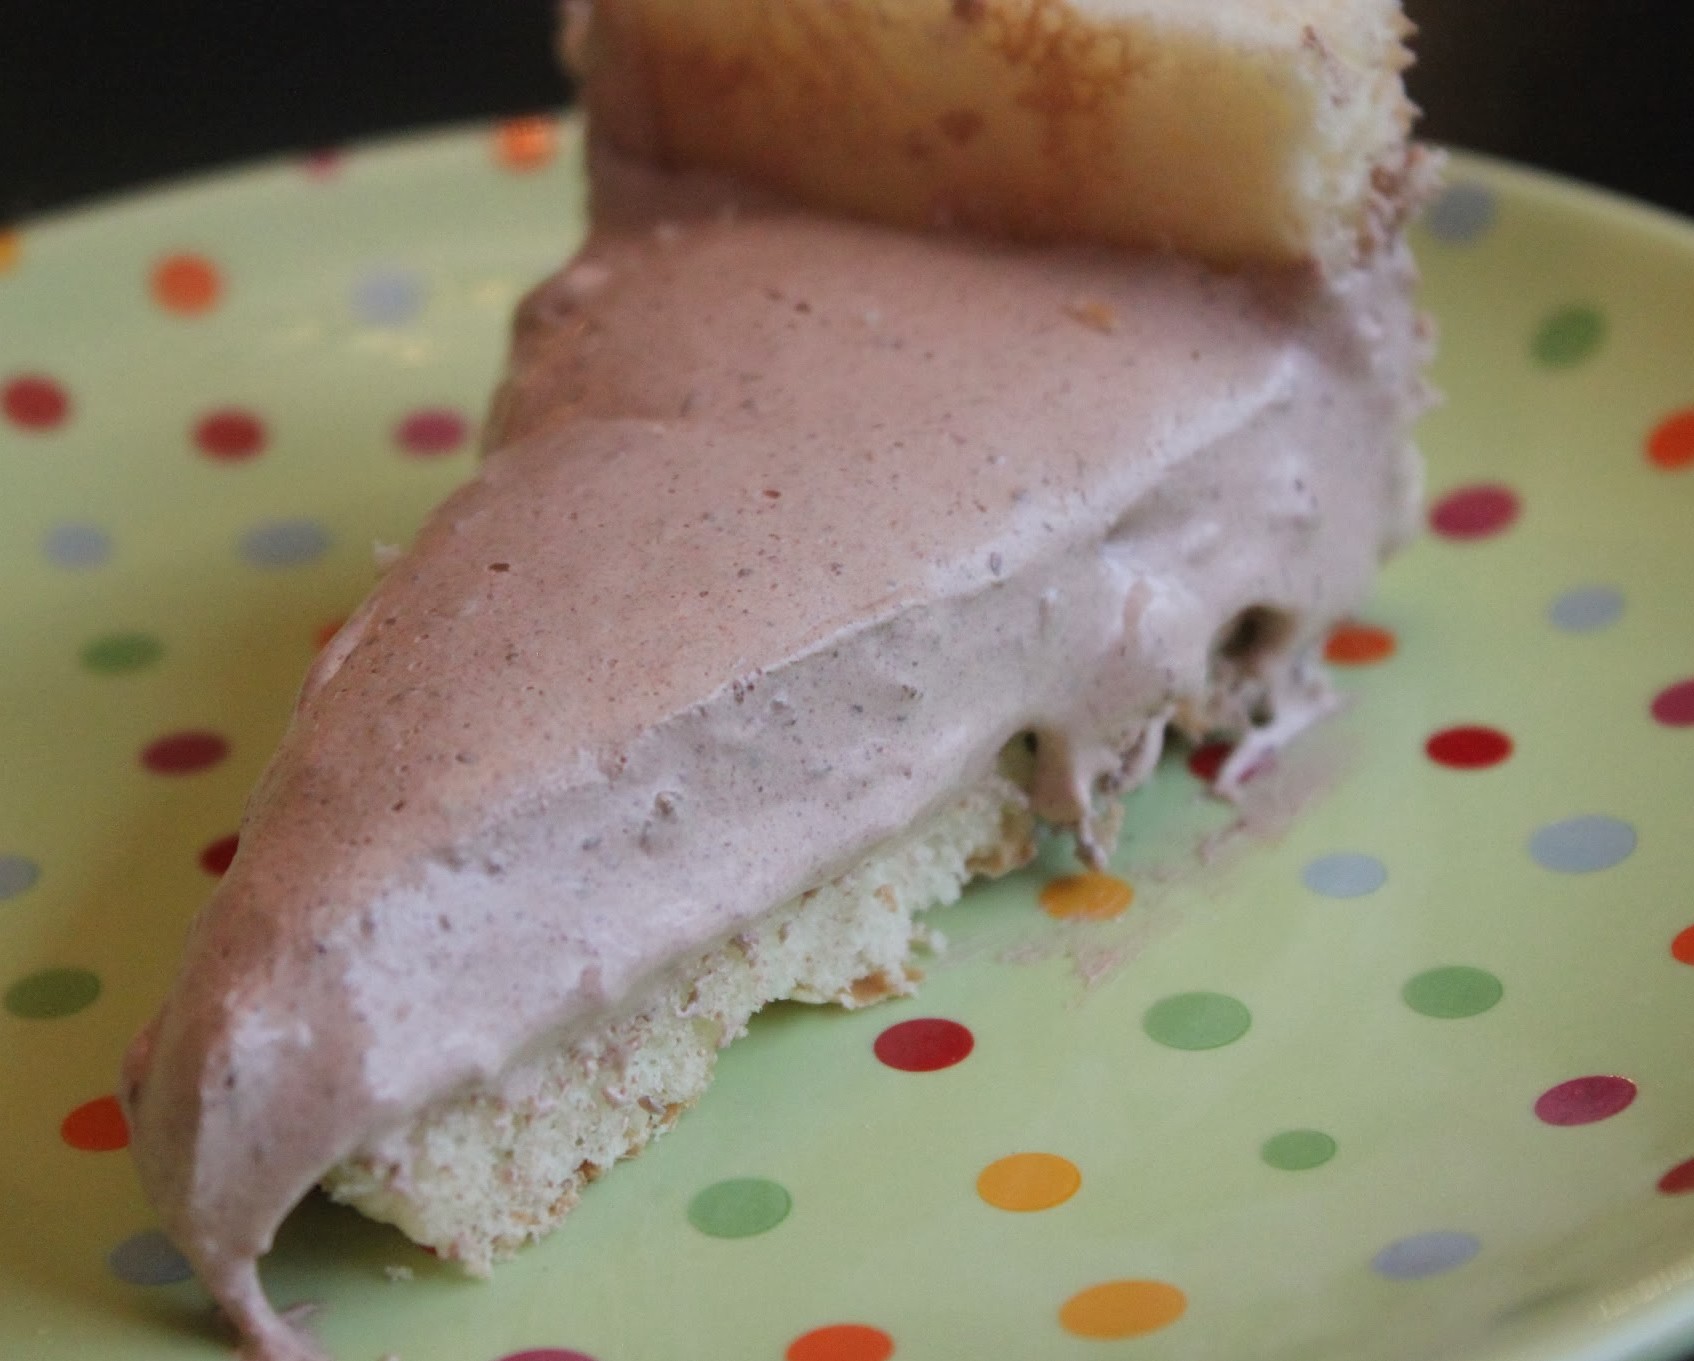
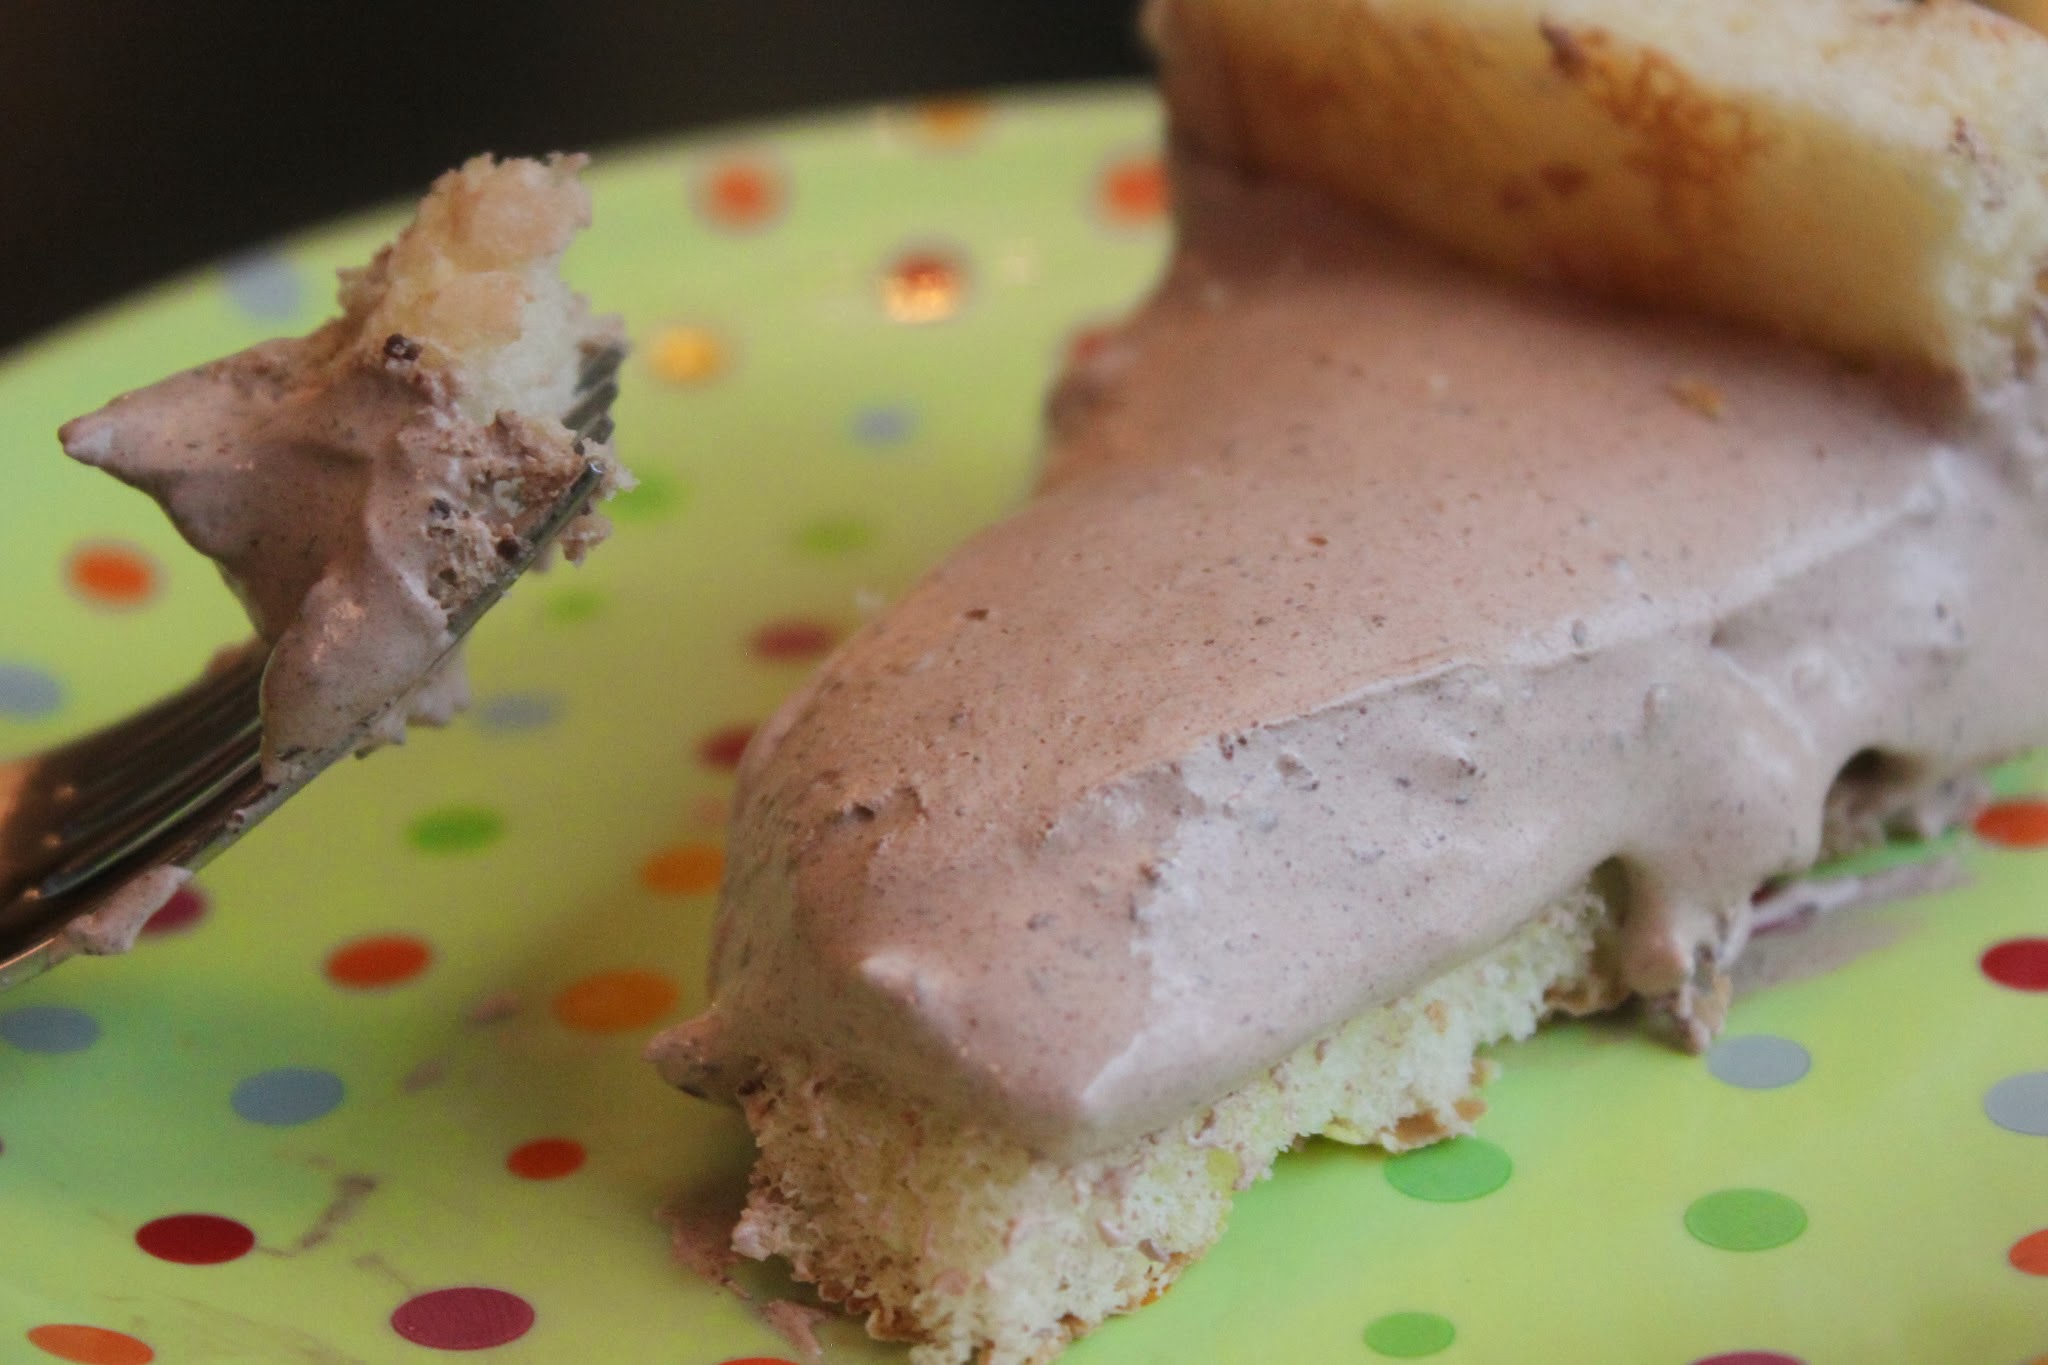
If you’ve seen my peanut butter brownie trifle recipe, then you’re familiar with this mousse base. It’s a great solution for people who don’t like to eat traditional mousse because of the raw egg factor but who still want to have that dessert experience. The answer is to combine thawed Cool Whip (in this case, light) along with melted chocolate chips and to let the mixture chill and set.
The pie is made in a springform pan with lady fingers forming the mousse’s crust, or outer shell. Lady fingers are typically stored in your grocer’s bakery section. When I went to my local supermarket, I had to ask the bakery to get some out of the back storage for me. But fear not: they still exist, and you can find them!
How you place the lady fingers is up to you. You need to evenly cut a bit off the bottom of the cookies and then you either put the cut side down to make them sit flat against the pan, or you can flip them the other way for a straight edge. That’s what I did, but my grandmother used to prefer the scalloped edge, so she’d put the cut side down, like this:
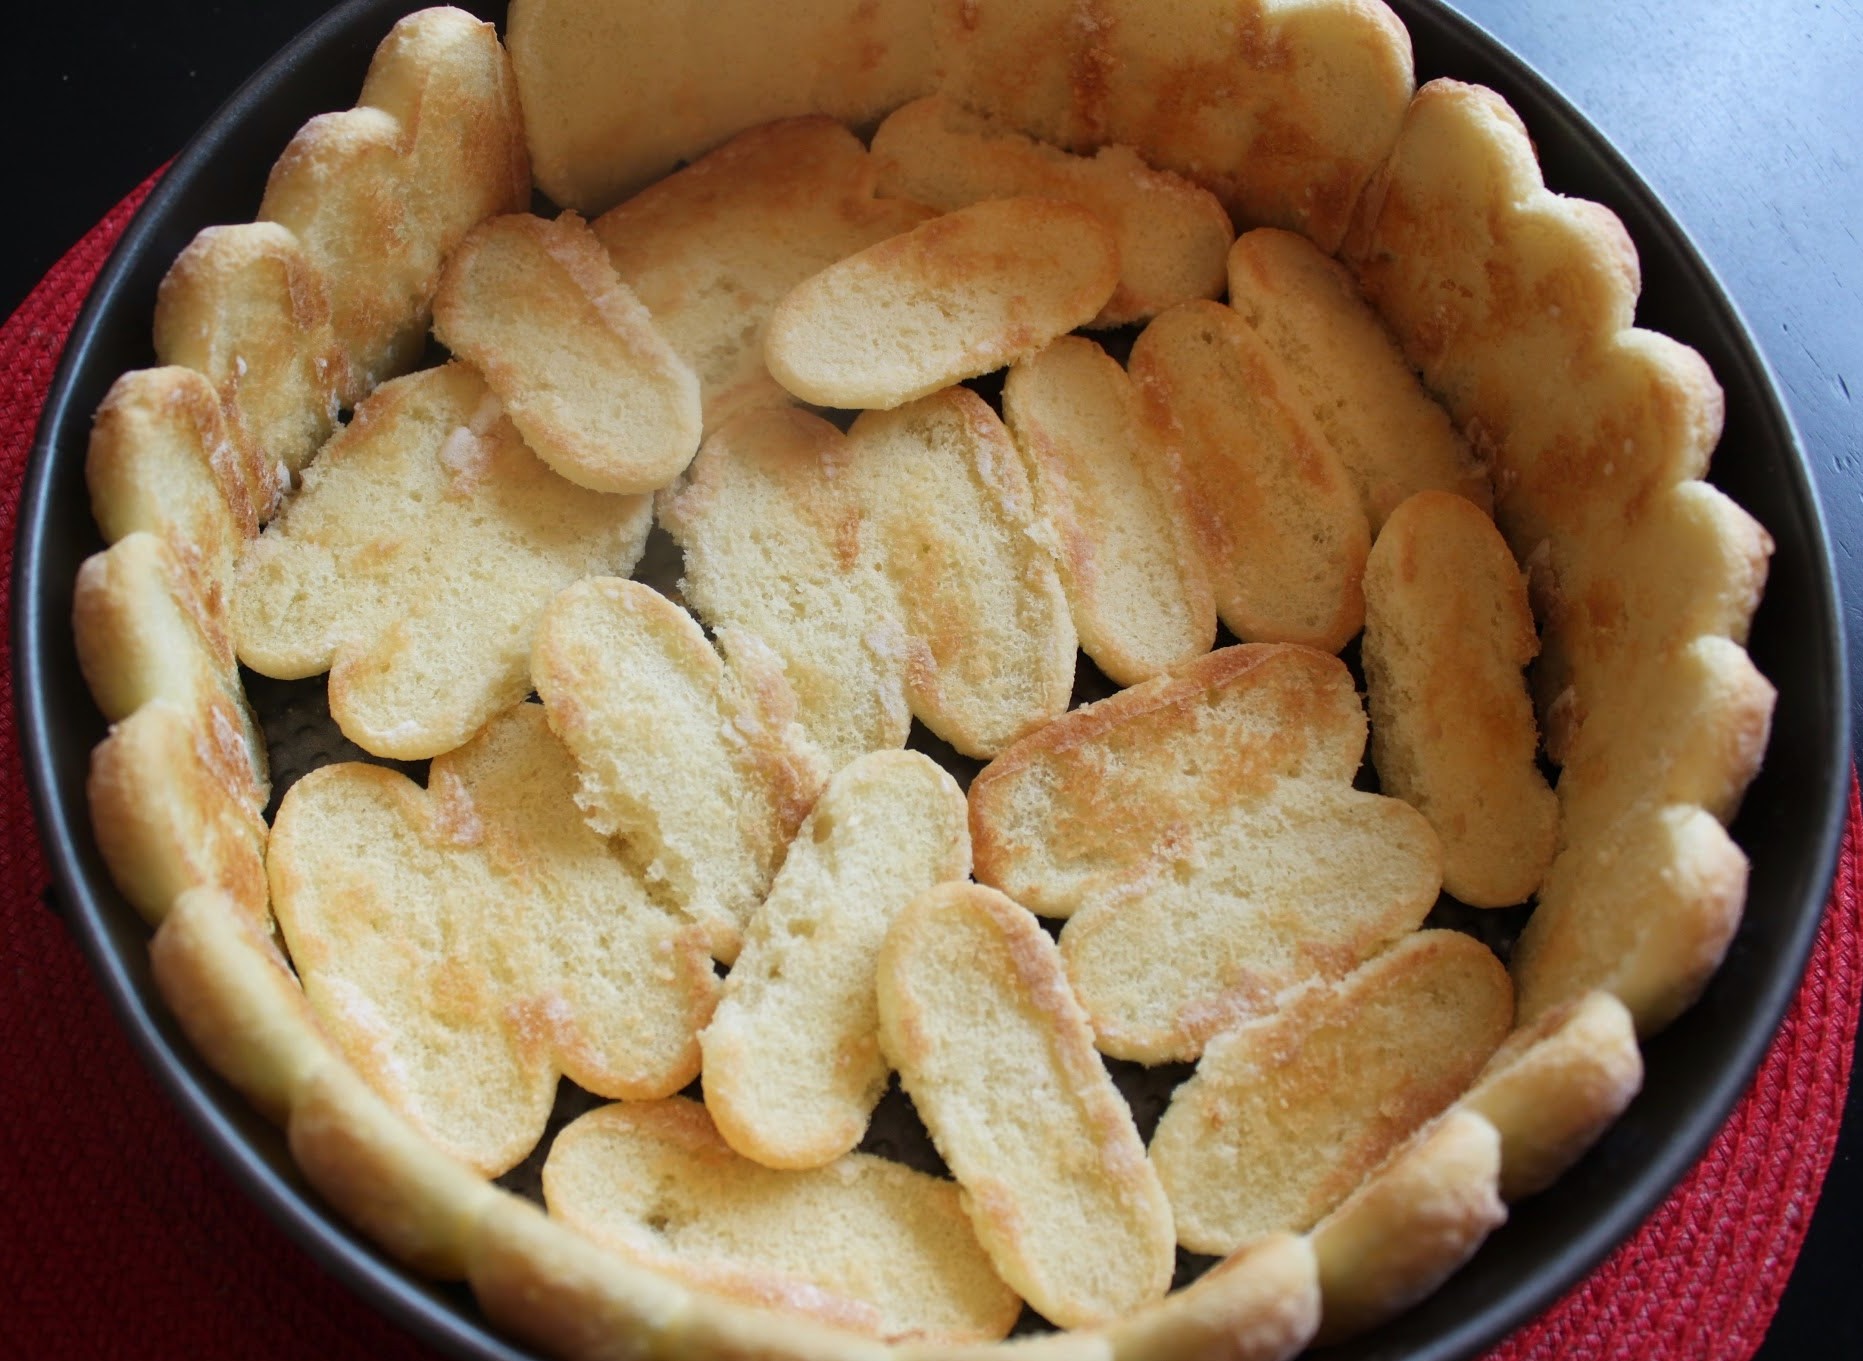
Anyway, you line the lady fingers along the sides of the pan, and then you fill in the bottom with your remaining cookies. The spongy texture of the lady fingers absorbs the mousse really well and reminds me a little of ice cream cake.
Once you’ve made your filling and set up the lady finger crust, pour the filling into the pan and then let it chill for at least a few hours, though overnight is better. When the mousse sets, it’s ready to eat!

People will be super impressed with your culinary skills. They’ll think it looks so pretty and impressive, and will never guess how little time you spend making the mousse. And all of that ease and deliciousness will give you more time to do what really matters in life: play with kids, read magazines, take a bath, or just stare into space. Why not?
Ingredients:
- 8 oz. (1 cup) semi-sweet chocolate chips, melted
- 16 oz. Cool Whip (I used light), thawed
- 2 packages lady fingers
Instructions:
Line a springform pan with lady fingers, starting with the sides and then filling in the bottom (see post above for more specific instructions).
In a microwave safe bowl, melt the chocolate chips. Heat for two minutes, and then stir. If the chocolate isn’t melted, heat in 30-second intervals, stirring after each interval, until the chocolate is melted and smooth. Be careful not to burn the chocolate.
Working in batches, add the Cool Whip gradually to the chocolate, stirring after each addition until the two ingredients are smoothly incorporated. There should be no white streaks in the bowl.
Once the mousse is ready, pour it into your lady finger crust.
Place the mousse in the fridge and chill for several hours or overnight.
Serve when ready! Keep the pie in the fridge when it’s not being served.
]]>