I. Love. Grapefruit. I know it must come as a shock that a sugar-addicted fiend like me actually eats fruit, but my diet is reasonably healthy. And I eat half a grapefruit every day.
In fact, I love grapefruit so much that I’ve specifically avoided going on a medication because it would ban grapefruit from my diet with some awful chemical reaction. I can’t do that. Every day I need my fix, and if I bake it into a tart, well, so much the better. This is a tart for the ages! You’re going to love it.
A few days ago I wrote a post complaining about my body aches and pains, and I’m happy to report that I can once again move my head from side to side. Last week my neck and shoulders went, and I had to go through my day moving like a robot. My students found it hilarious. Well, until I reminded them that if they continued to mock me, I’d have my revenge when I was all better. That stopped them pretty quick.
The act of staying healthy is a delicate balance, one that most of us struggle with. It’s not just about what you eat, or how much you move. It’s about how you see yourself. And I gotta say, mass media is working against women pretty strongly these days.
Before I had daughters, I would mindlessly read magazines on weekends, enjoying the endless (and repetitive) tips they offered up each month: how to be happy, why eating breakfast is so important, ways to organize my life, and the ever-present cover headline: drop five pounds in two weeks! Or something along those lines.
I never used to think about magazines or their covers much, but now that I have girls, I’m paying attention. I’ve gone through life being far too much of a perfectionist about my own physique, and I don’t want to pass that on to my girls. I’m careful on all sorts of levels on that front, and one way to make positive change is to get the magazines out of the house.
Really. Next time you’re in a grocery store line, read the covers. They’re demeaning. And despite the fact that the magazine industry claims to be embracing more realistic body types, they’re still classifying women in a healthy weight range as plus-sized, and associating that with shame. And their cover models are still unrealistically photoshopped.
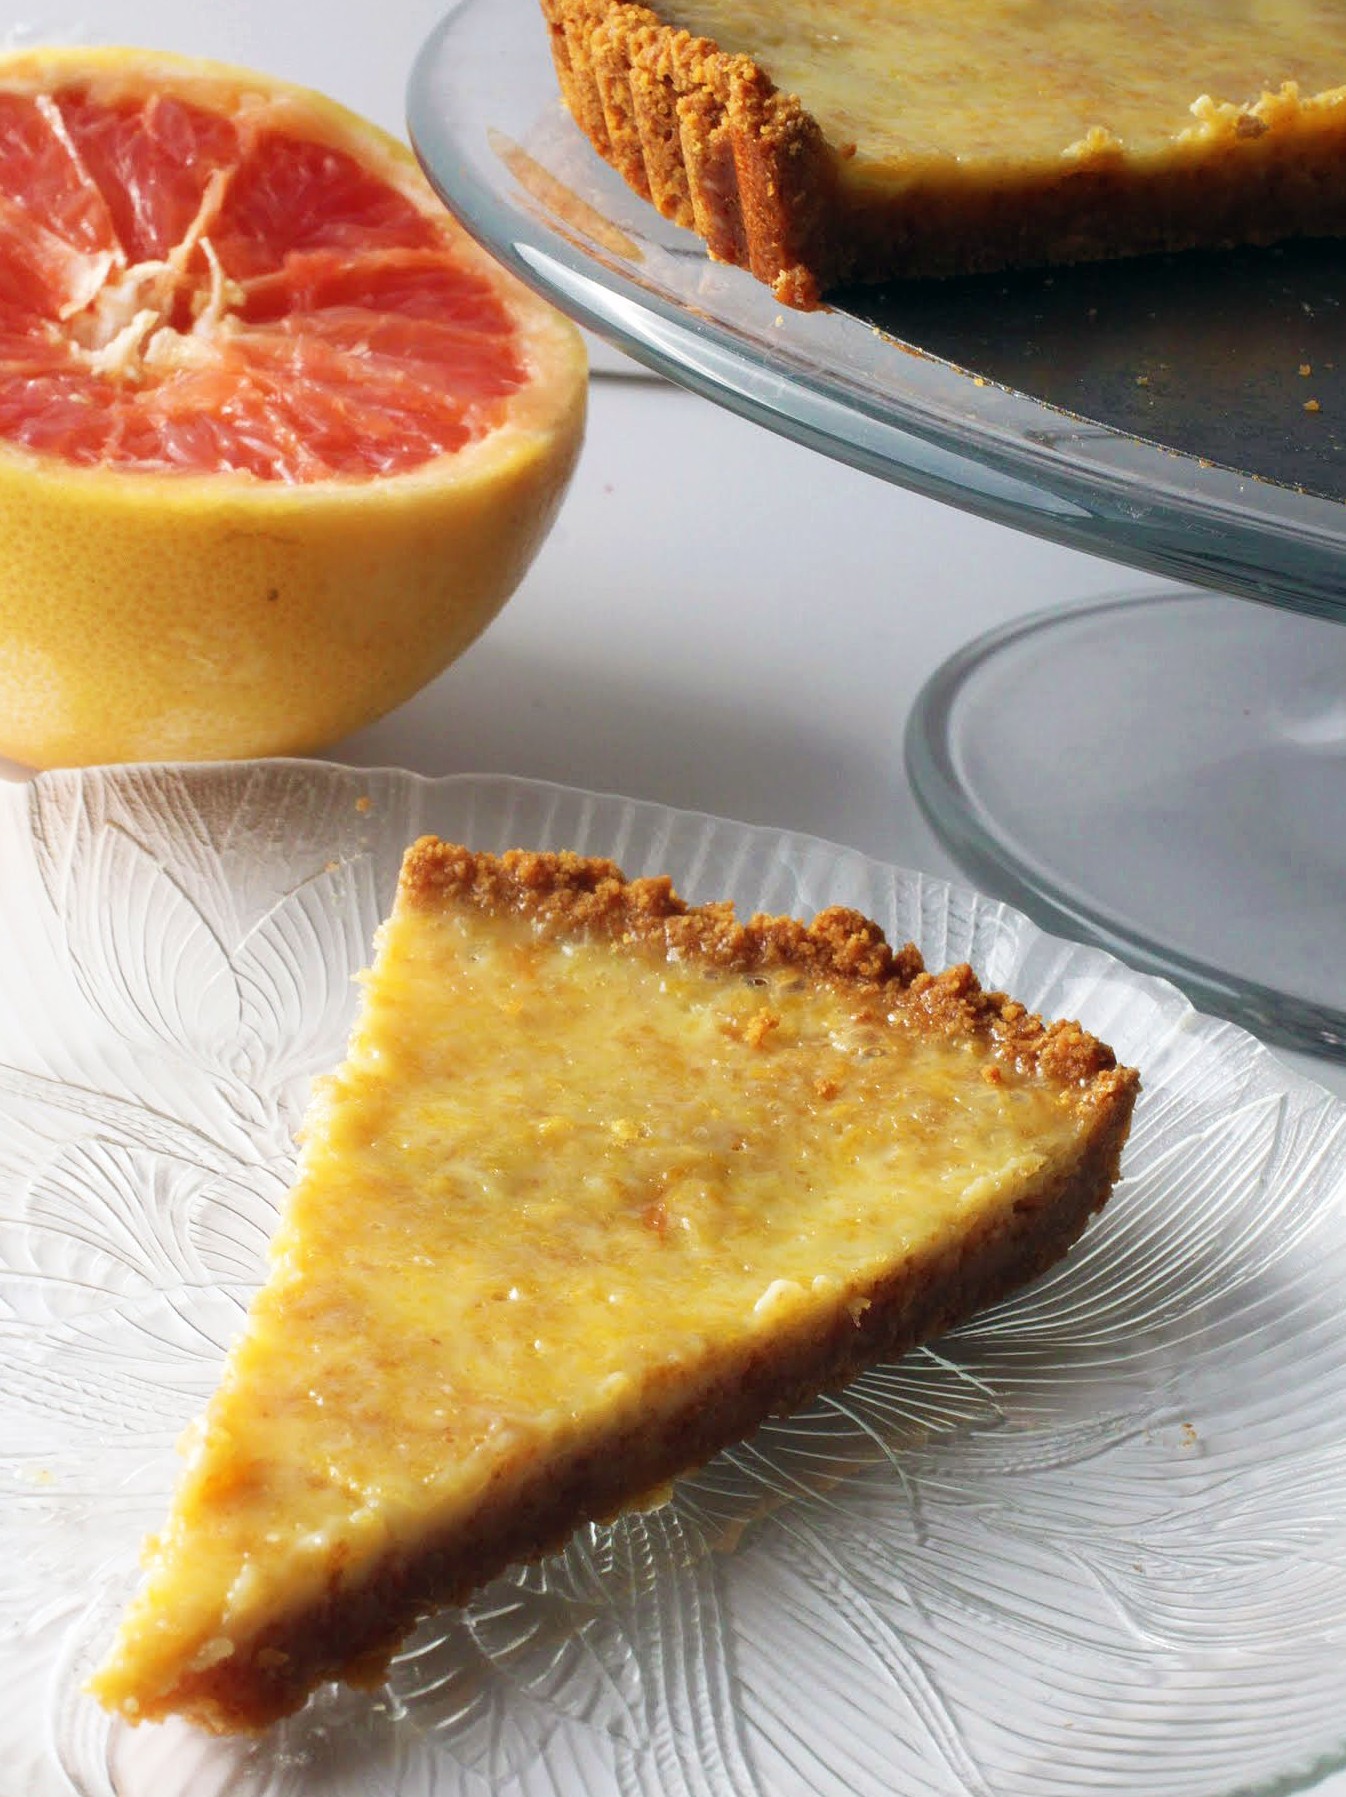
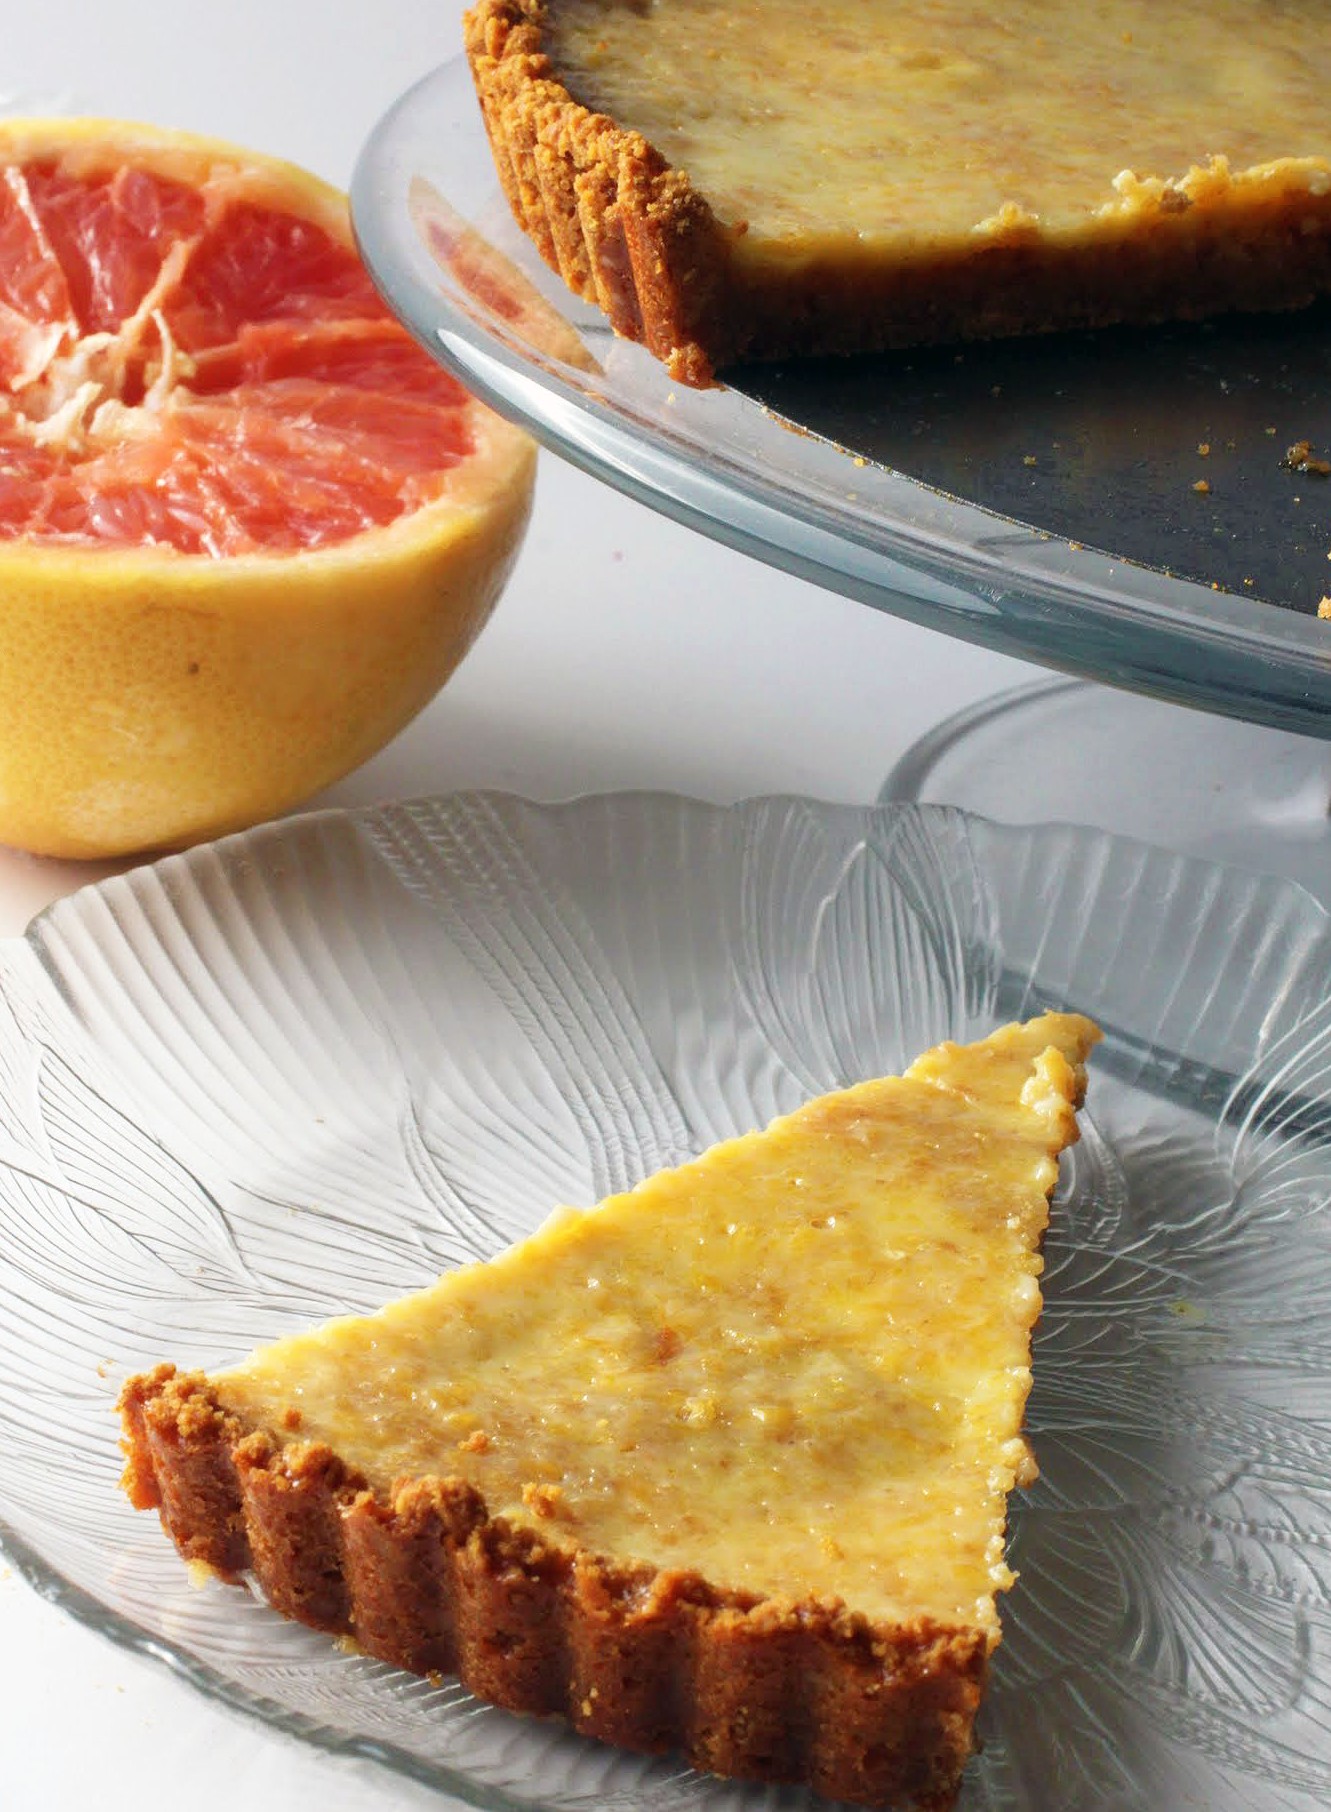
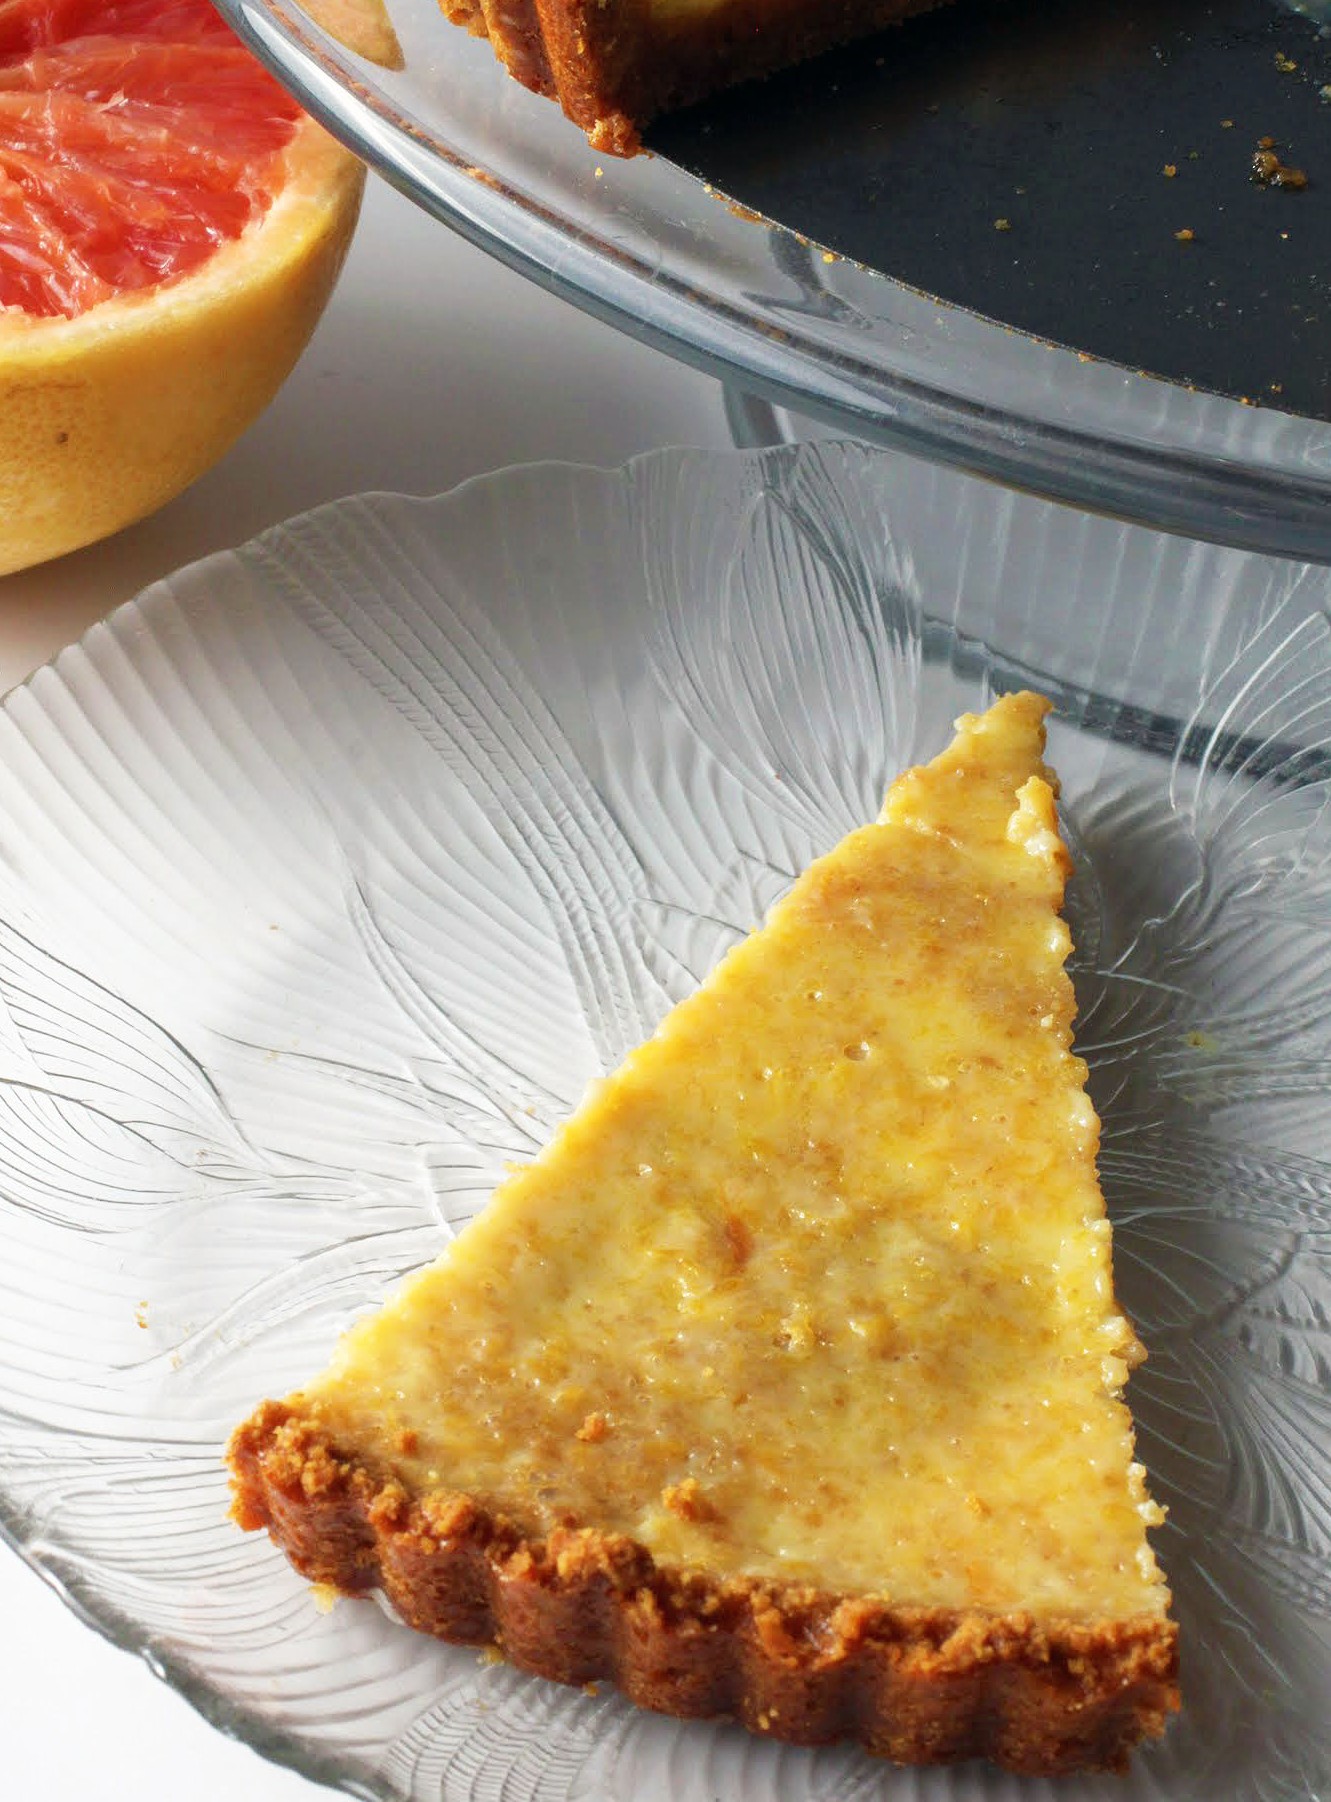
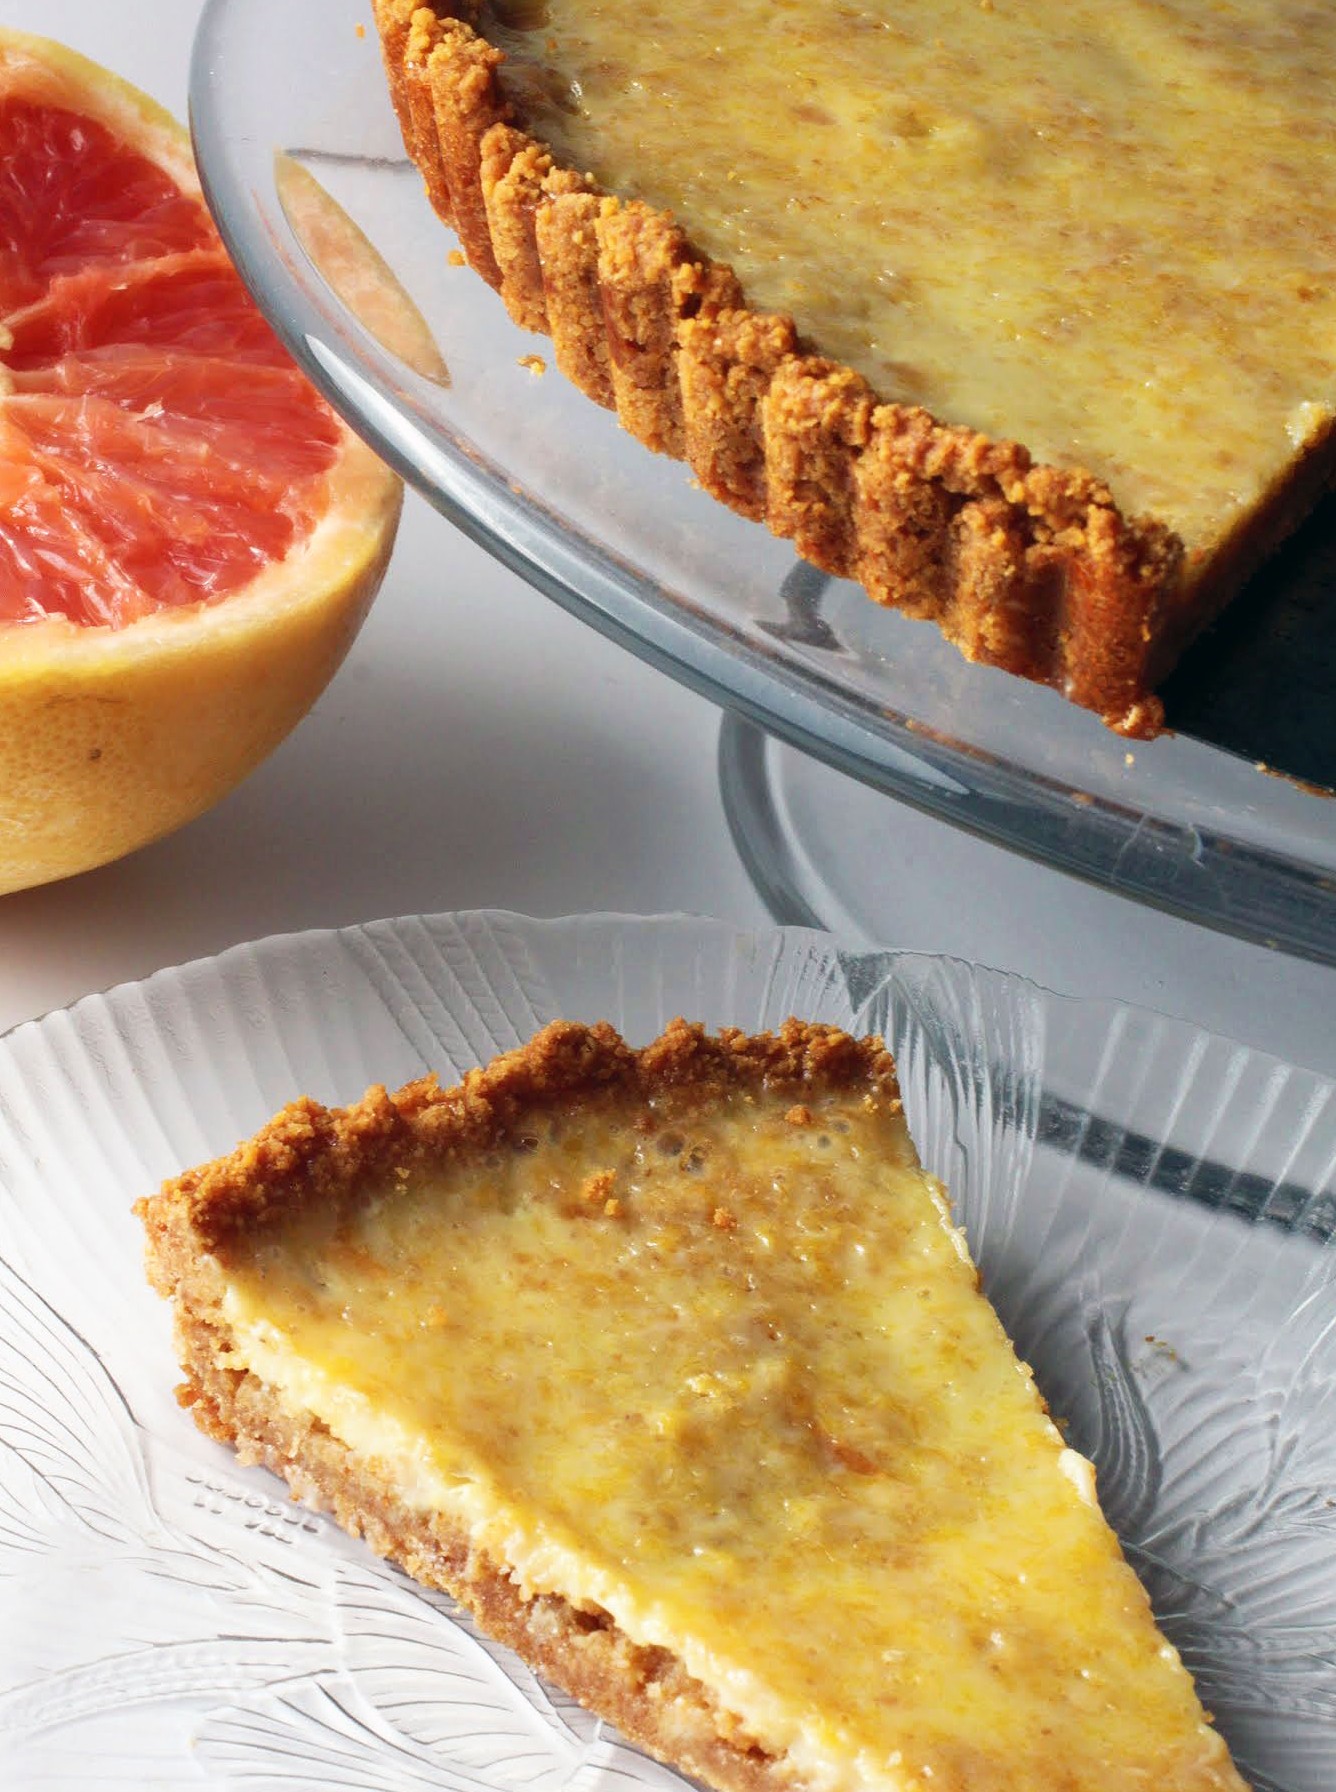
I’d like to put this tart on a magazine cover. That’s how splendid it is, and how opposite of anything horrible I find it to be. This is one of those times that I get obsessed by my own dessert. It doesn’t happen all the time, so when it does, you can bet I’ll tell you.

It’s so easy to make, too. The base is my white chocolate graham cracker crust, and the filling is just a mixture of fresh ruby red grapefruit juice, condensed milk, zest, and egg yolks. That’s all, folks.
Trying to raise kids with a healthy self-image is really hard. Trying to be a balanced, healthy eater is also hard. So make it as easy as you can on yourself, and incorporate some of those lovely fruits into dessert. They make for real showstoppers!
Ingredients
Instructions
- Preheat the oven to 350. Coat a tart pan that has a removable bottom with cooking spray and set aside.
- In a microwave-safe bowl, melt the butter and white chocolate for one minute. Stir until smooth. Mix in the graham cracker crumbs and brown sugar until the crumbs are moist. Press the crumb mixture into the bottom and up the sides of the prepared tart pan, being sure that you pack the crust tightly with your fingers or the back of a measuring cup.
- Bake the crust for 5-10 minutes until set.
- While the crust is baking, prepare the filling. Combine the zest, grapefruit juice, and egg yolks. Stir in the condensed milk and mix until thoroughly combined. Pour the filling into the crust and bake for 15-20 minutes until set.
- Allow the tart to cool completely. Refrigerate overnight. When you’re ready to serve, slice into wedges!
]]>
Every time I bake a cheesecake on the blog, people seem to really enjoy it. If you think about it, that makes sense. Very few people in life don’t want cheesecake.
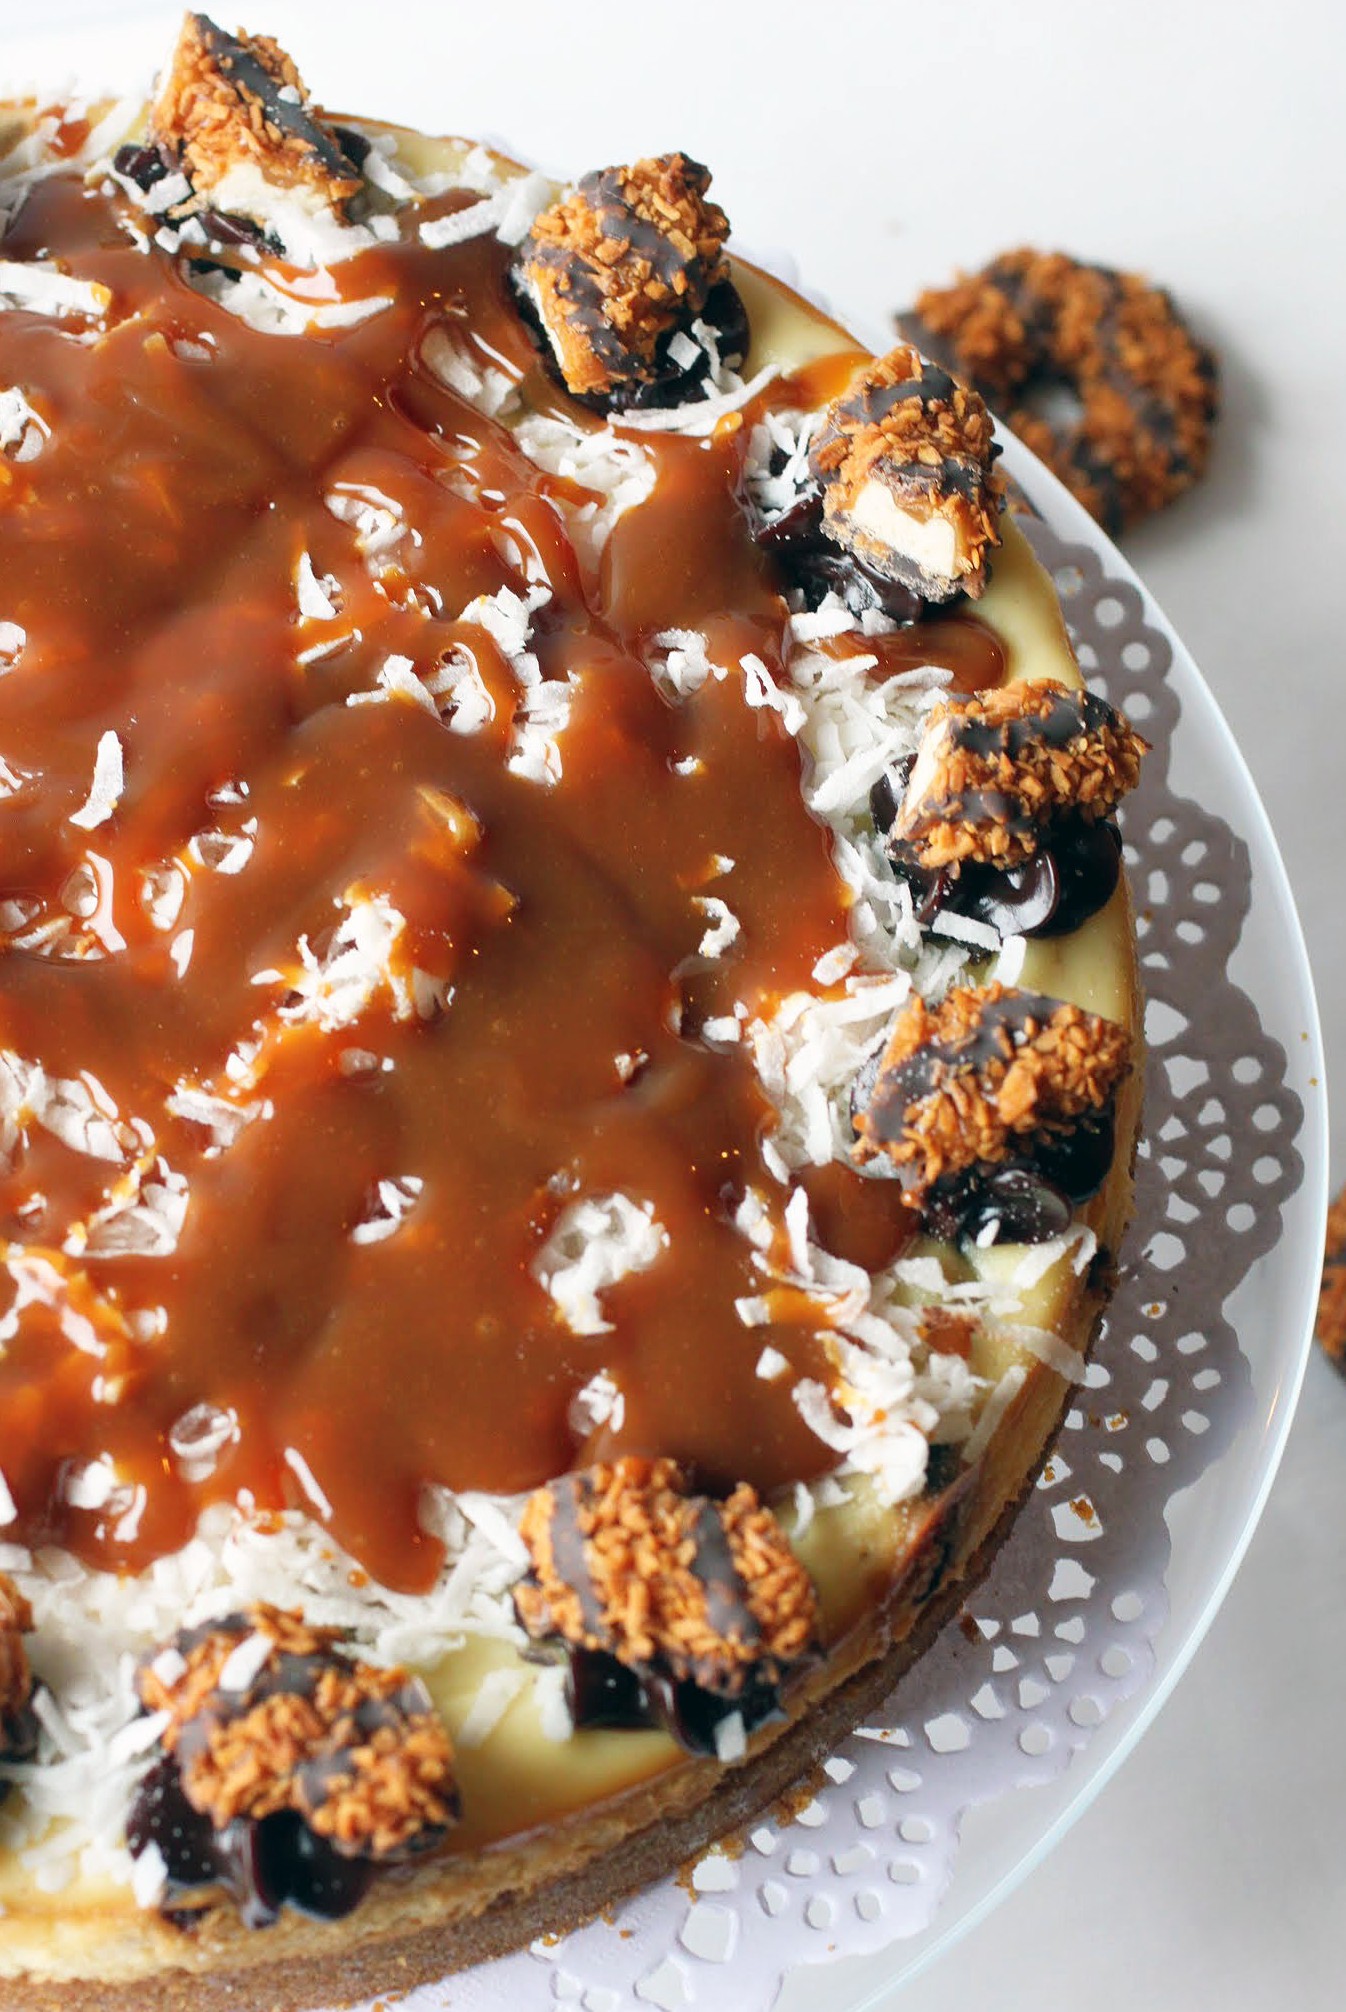
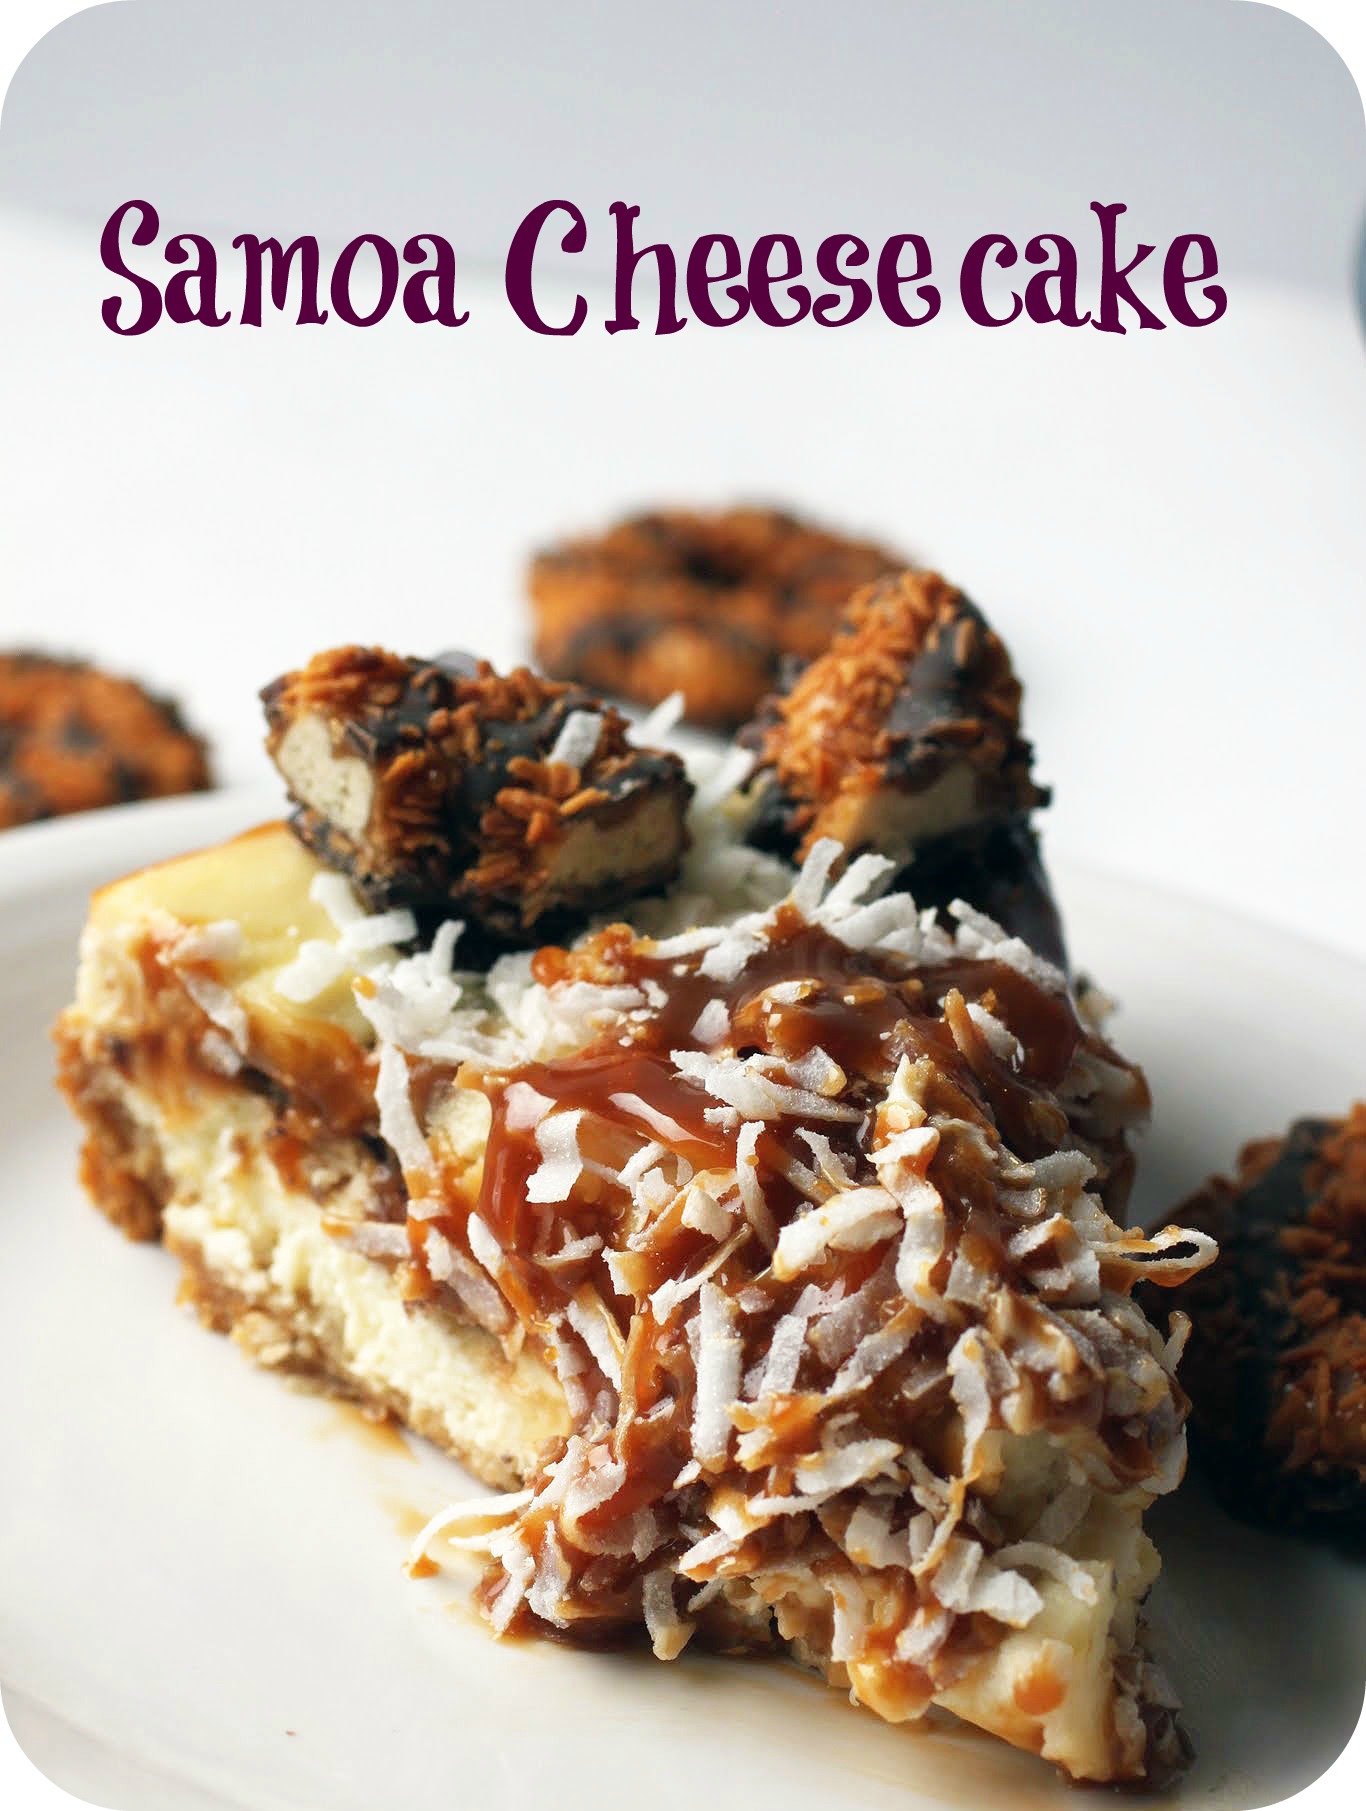
Especially when it’s filled with Samoas. There is Girl Scout cookie goodness through and through, from the cheesecake to the topping! I’ve gone rogue on this thing.
Last week, I had the flu. Or at least, that’s what it felt like. I’m still not sure because I will go to great lengths before I ever let anyone give me a flu test again.
Have you ever had a flu test? They take this implement and shove it very far up your nose. I have a hard time describing the level of discomfort (translate: pain) that is involved with this test. First of all, that region is usually sensitive and congested anyway, and anything being stuck up there is massively unpleasant.
Let me put it this way: I might rather give birth yet again than have a flu test. It’s much more comfortable. And that’s without the epidural.
Maybe that seems hyperbolic, but I swear it’s not. In fact, here’s a list of things I’d rather do than take a flu test ever again:
- Get five flu shots in a row in a 10-minute period
- Fast for a day (no food or water)
- Watch an episode of Keeping Up With the Kardashians (oh torture)
- Ask my daughter to pull my hair even harder than she already does while she’s playing hairdresser
- Eat an entire box of stale Cheez-Its (and I don’t even like fresh ones)
And the list goes on and on!
In fact, the flu test is worse than actually having the flu. So now you know how I feel and we can talk about cheesecake.
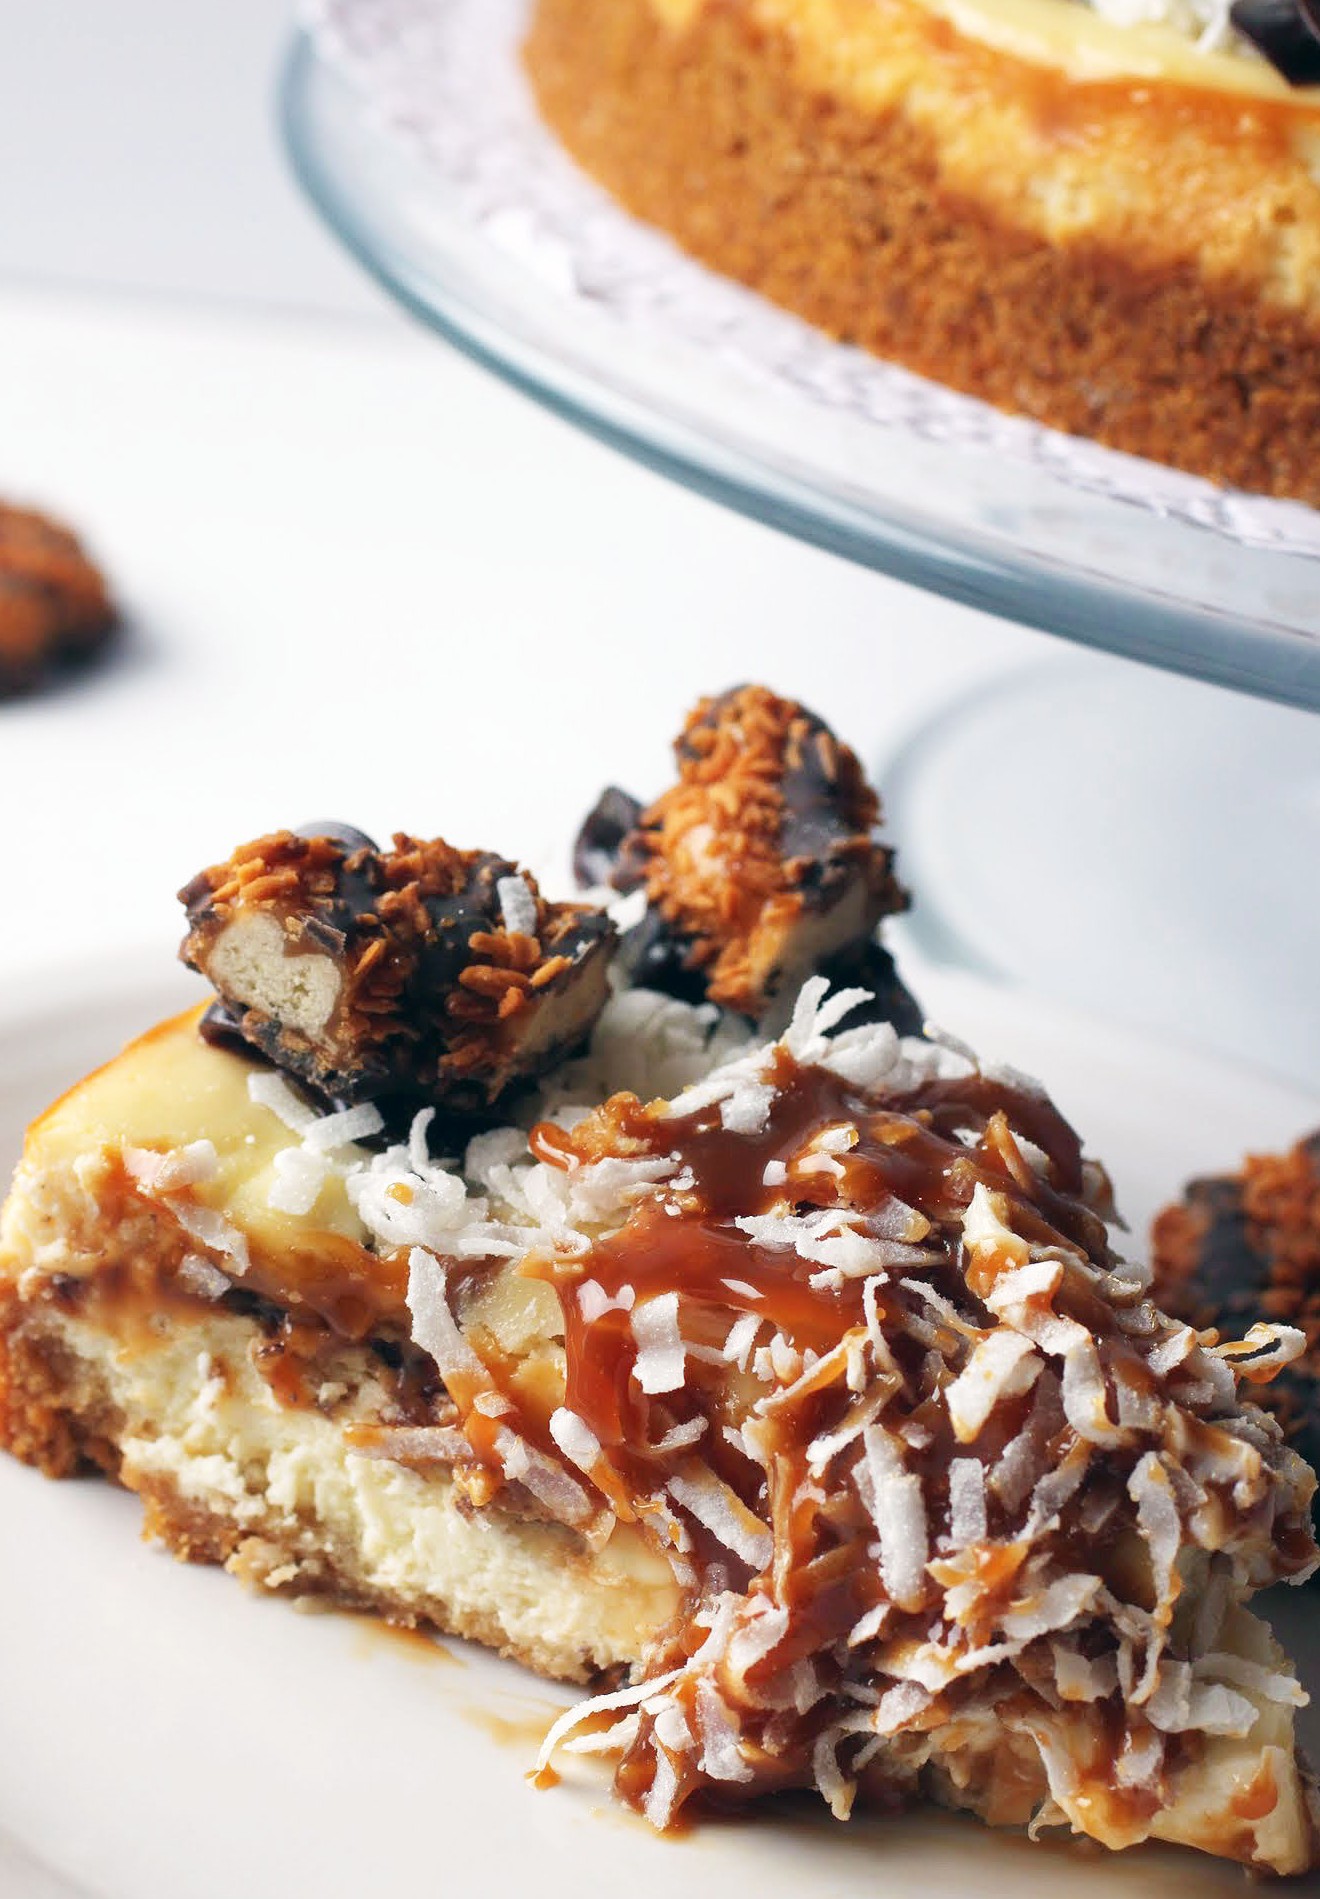
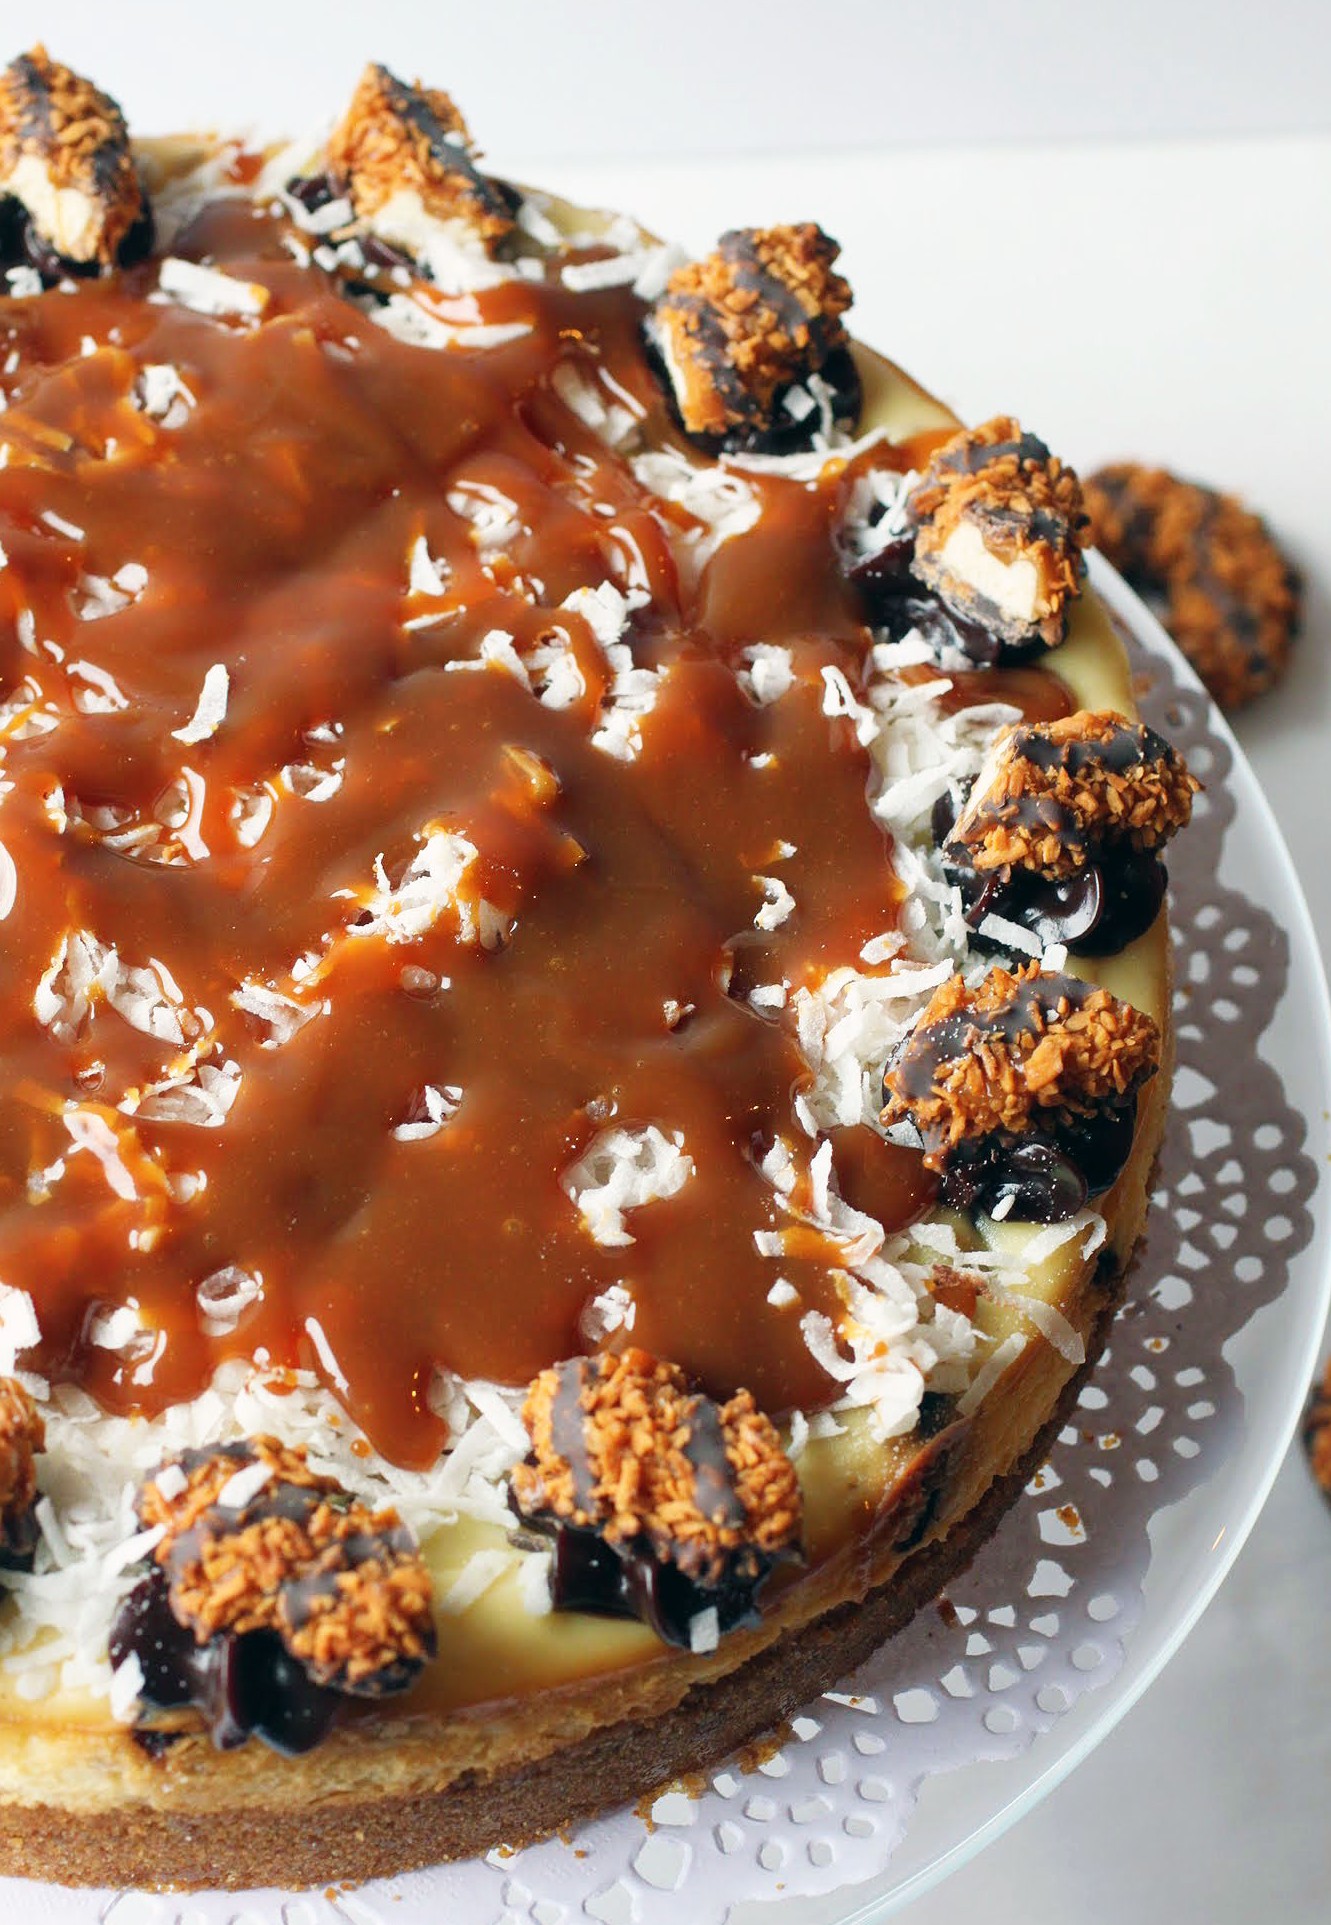
This one is just happiness. It’s creamy, full of Samoa bits, and topped with more Samoas. Oh, and coconut, caramel, and some hot fudge. Yesssssss.
I brought this to work to give to my friend who loves Samoas. She foolishly put the cake out on a communal table and turned around for about five seconds. When she turned back, the cheesecake was gone. Hey, finders keepers!
You’re going to love this, unless you have the flu. Then you can freeze it and eat it later. But for all you well kids out there, cheesecake away. And remember, when the time comes: the flu test is massively sucky, and it won’t take away your flu. But this cheesecake will be waiting for you when you recover!
Ingredients
Instructions
- Preheat the oven to 350. Coat a 9-inch springform pan with cooking spray. Set aside.
- In a medium bowl, combine the graham cracker crumbs, brown sugar and melted butter until the crumbs are moistened. Press the crumb mixture into the prepared pan, pressing firmly into the bottom and slightly up the sides.
- Bake the crust for 15 minutes,
- While the crust is baking, beat the cream cheese and sugar in the bowl of a stand mixer until creamy. Add the yogurt and vanilla and beat again. Finally, add the eggs and beat until just incorporated. Fold in the chopped Samoas.
- Pour the filling into the crust and bake for 50 minutes. Do not open the oven door while baking.
- When the cheesecake is done, turn the oven off and crack the oven door. When the oven has cooled, remove the cheesecake and let it cool completely.
- Refrigerate the cheesecake overnight.
- Make the topping. Using a star tip, pipe hot fudge around the cake in even swirls. Top each swirl with a chopped Samoa. Fill the top of the cake with sweetened coconut and pour the caramel topping onto the coconut.
- Cut into wedges. Store chilled.
That is, until I read the narrative baking book Saved by Cake by Marian Keyes. If you’re not familiar with her work, she’s an Irish chick lit author. Her books are funny, honest, and have some fantastically complex characters. I’ve been a huge fan for quite a while.
So when she wrote a baking book a few years back, I couldn’t wait to buy it. This cheesecake loaf is an adaptation of one of the recipes in her book. I’ve changed it, but it’s the same idea. Sorry, Marian. I reserve the right to tinker. That’s what baking is all about!
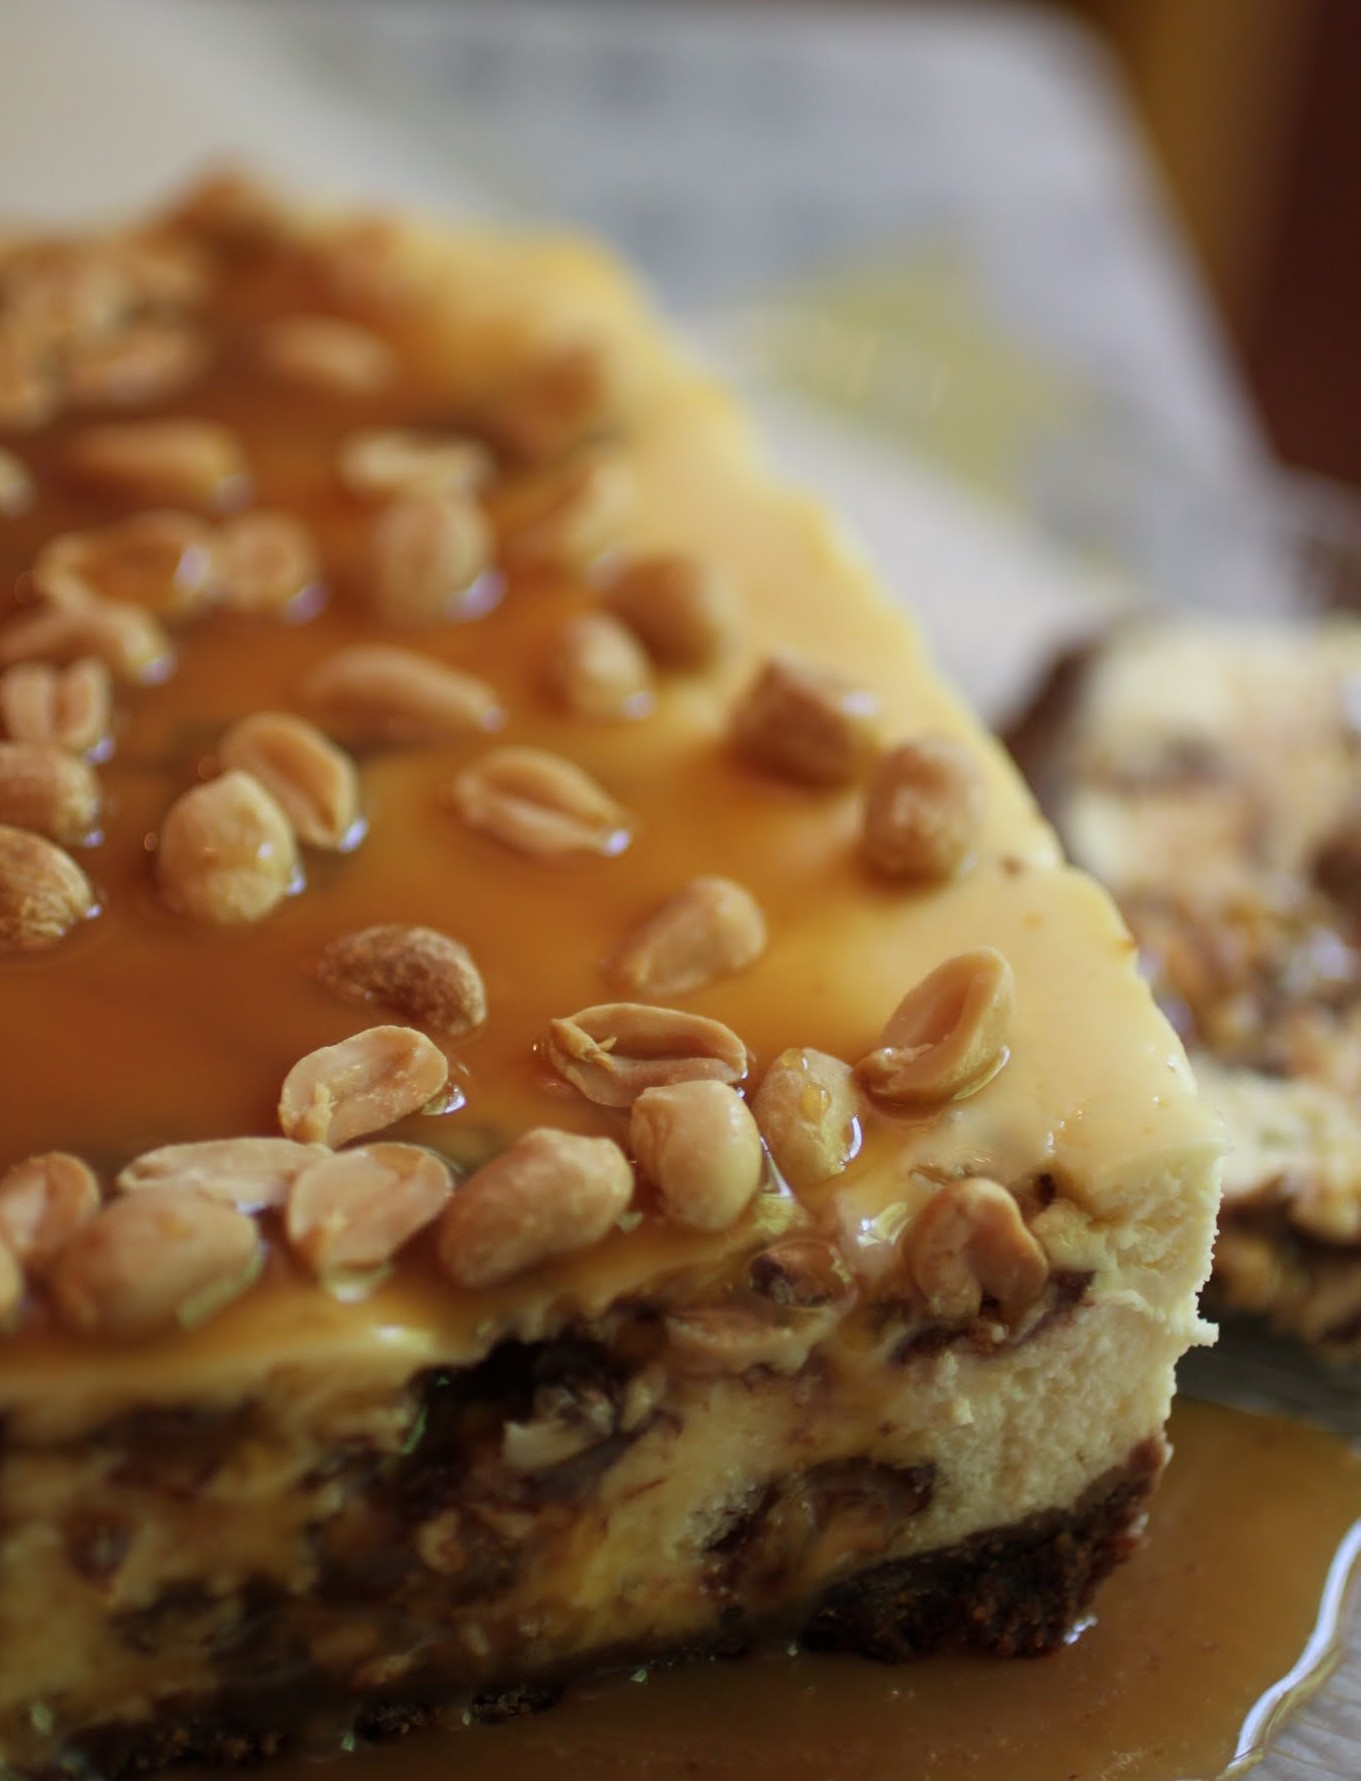
In her book, Keyes shares the perception that anything with Snickers is inherently more “blokey,” or in American, man food. That’s fascinating, because I have never really thought of Snickers as being masculine. I mean, it’s chocolate. Don’t we girls have the monopoly on that? Or does the darker packaging and no-nonsense design scream “male?” It’s a thinker.
Whenever I think of food, I kind of gender assign it. Maybe that’s a bad idea, but the whole stereotype of women liking chocolate and men guzzling beer has held up with a lot of people I know. Which, of course, begs the question: if we hadn’t been raised to like certain foods over others based on our gender, would our tastes be different? If I hadn’t been indoctrinated into chocolate early on, would I be more inclined to skip dessert and just eat a hunk of red meat the size of my head?

Last week, I read three blog posts in a row that involved steak. Suddenly, I couldn’t take it anymore. I stopped at the grocery store on the way home (a much-hated errand after a long day at work) and picked up a steak. Just for me. Everyone else got hamburgers. And eating that steak was so satisfying that I had to wonder: would I miss the brownies if I just ate like a man?

It’s a complex question, and one that I wonder about a lot. Because it’s not like men don’t like their brownies. And I think that after about three days of steak, I’d go running back to the Reese’s with nary a second glance behind me. Sugar addiction might be a serious problem, but I’m not willing to detox yet. Especially if I’ll go running straight from sugar to cholesterol.

Besides, if you can’t eat like a man, work out like one. I’ve been a strength training convert for two years now, and I’ve never looked back. It’s the answer to so many questions about fitness and health. And Snickers is not.
But hey, that shouldn’t stop any of us (male or female) from indulging. And since Snickers have all those peanuts, it’s protein for after a strength training workout. If Snickers really are candy bars for men, maybe that’s why some of them are so buff!
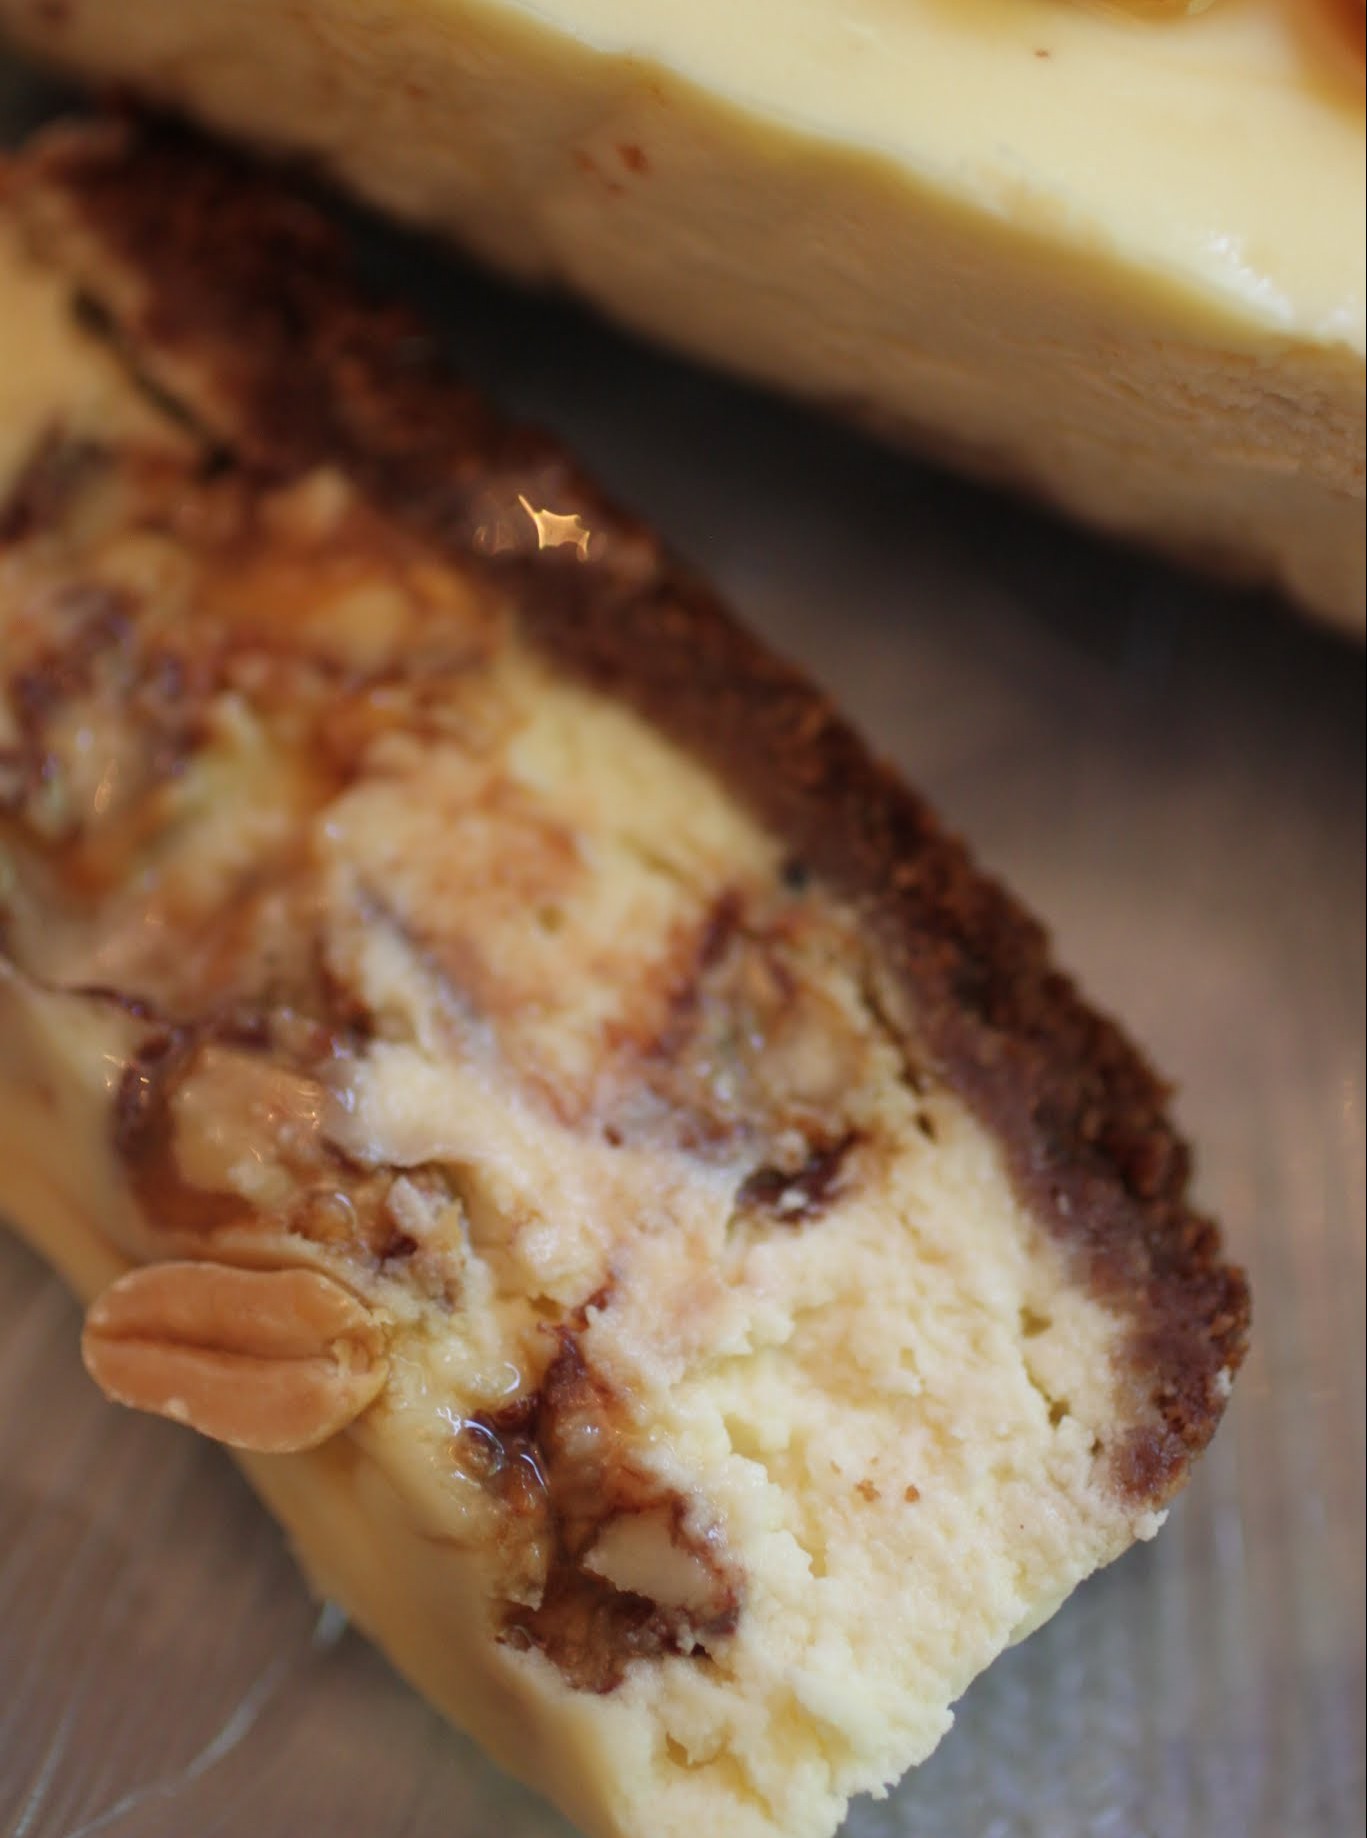
This recipe threw me a little, because the original calls for a combo of ricotta and mascarpone cheeses. On the day I went shopping, there wasn’t any mascarpone at the grocery store, so I bought cream cheese instead. The ricotta is grainier in texture, so I wasn’t sure how I’d feel about the final result. But really, it came out nice and creamy, even though the texture is not what a traditional American cheesecake calls for.
The other question mark for me in this recipe was the baking time. The recipe wants the cheesecake to bake for an hour and half at 325, something that I didn’t have time for. Apparently, baking it at a lower temp will make the top caramelize more. Since I wasn’t able to try that, you’ll see that the recipe below has a higher cooking temp with less cooking time. It’s all about tinkering!
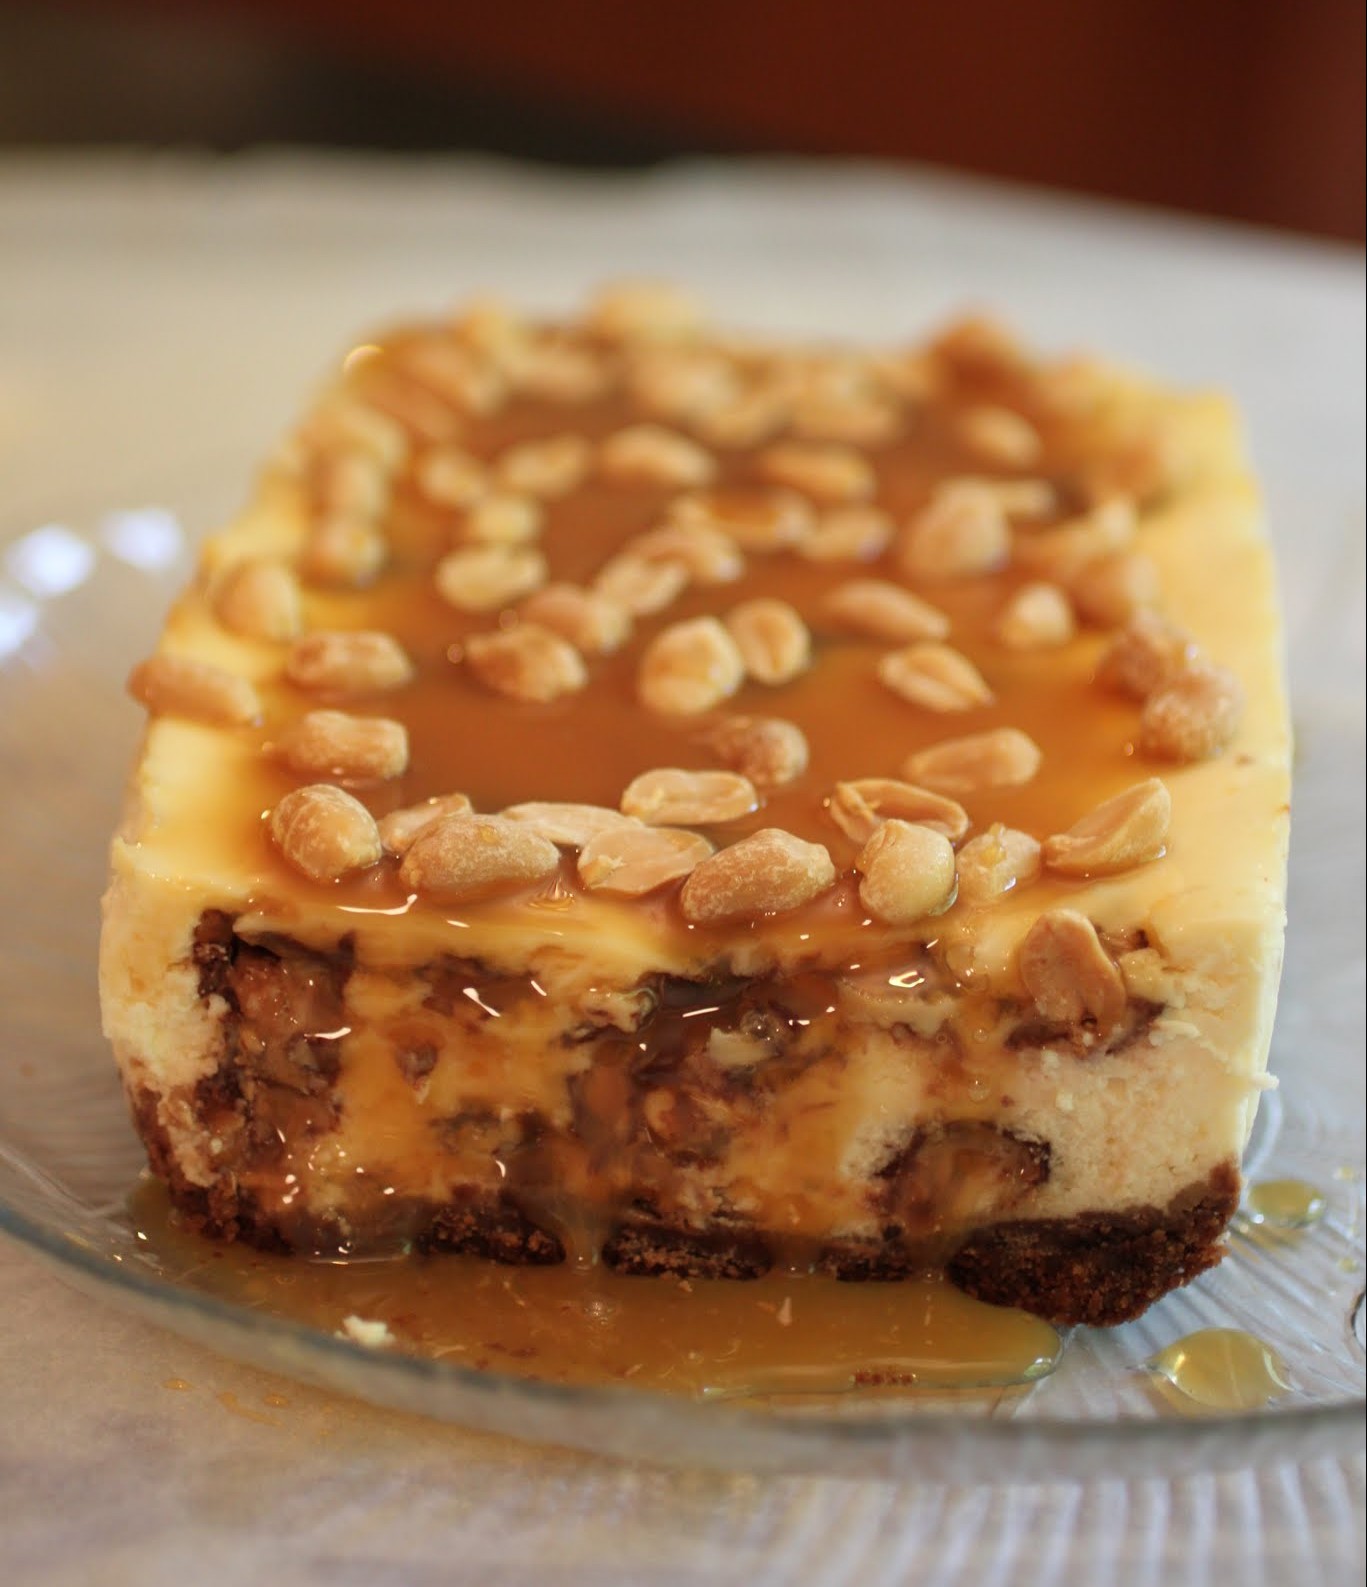
Once you cover this cheesecake with caramel sauce, it’s a sticky delight. I can’t believe this is my first cheesecake loaf, but it won’t be my last. And I plan to taste-test it among men and women alike to see how “blokey” it really is. Thanks for the inspiration, Marian Keyes!
Ingredients
Instructions
- Preheat the oven to 350; Line a loaf pan with aluminum foil, leaving enough to hang over the sides of the pan. Coat with cooking spray. Set aside.
- In a microwave-safe bowl, melt the butter and chocolate chips for one minute. Stir until smooth. If needed, heat an additional 20 seconds before stirring again.
- Add the brown sugar and graham cracker crumbs to the melted butter and chocolate mixture. Stir until the crumbs are moistened.
- Pack the crumbs evenly into the bottom of the prepared loaf pan. Bake for 15 minutes.
- While the crust is baking, make the filling. In the bowl of a stand mixer, beat the cheeses and sugar until creamy. Add the eggs, one at at time, stirring after each addition. Add the sour cream and mix until smooth.
- Chop the Snickers bites in half. Fold them into the cheesecake batter. Pour the batter into the loaf pan.
- Bake for 40-50 minutes until the top is set. Turn off the oven and open the door. Allow the cheesecake to cool slowly.
- Remove the cheesecake from the oven and cool completely. Transfer to the refrigerator and chill overnight.
- When ready to serve, use the overhanging foil to remove the cheesecake from the pan and place on a platter. Drizzle the caramel sauce over the cheesecake. Sprinkle the peanuts over the caramel.
- Cut into slices and serve. Store chilled.
]]>
This recipe is one of those finds. Four ingredients, guys. Four. In other words, any novice or reluctant or lazy baker can tackle this one!
If you have a can of sweetened condensed milk, a box of graham cracker crumbs, some baking powder and chocolate chips, pay attention. This recipe might be for you! But only if you like those ingredients. Me? I happen to love them.
I’ve got four more days of work left and then it’s summer, baby. To celebrate this momentous annual occasion, I plan on doing what I call my “Shawshank Pose” (the official yoga name) as I exit the school building. It’s a very dramatic moment. I walk out the doors, fling my arms wide out (must be sure that nobody is standing there to get whacked in the face), take a deep breath in, and raise my head up to the sky. Of course, I always picture a camera panning around my body in true movie drama style. It’s a great moment.
Then I quietly get into my car and drive home.
The thing is, endings are not usually dramatic. In fact, they tend to happen with a whimper and not a bang, as my good friend T.S. Eliot would term it (except he is slightly more poetic than I). We look toward closure and expect big moments, and then? Crickets. When something ends, we are often alone to see it.
I guess that’s because most big moments in life aren’t accompanied by an amazing musical score and really great lighting. It’s too bad, but there you have it. Luckily, your dessert can be photographed in good (I hope) lighting and savored. And maybe you’ll even hear violins in the background as you’re eating?

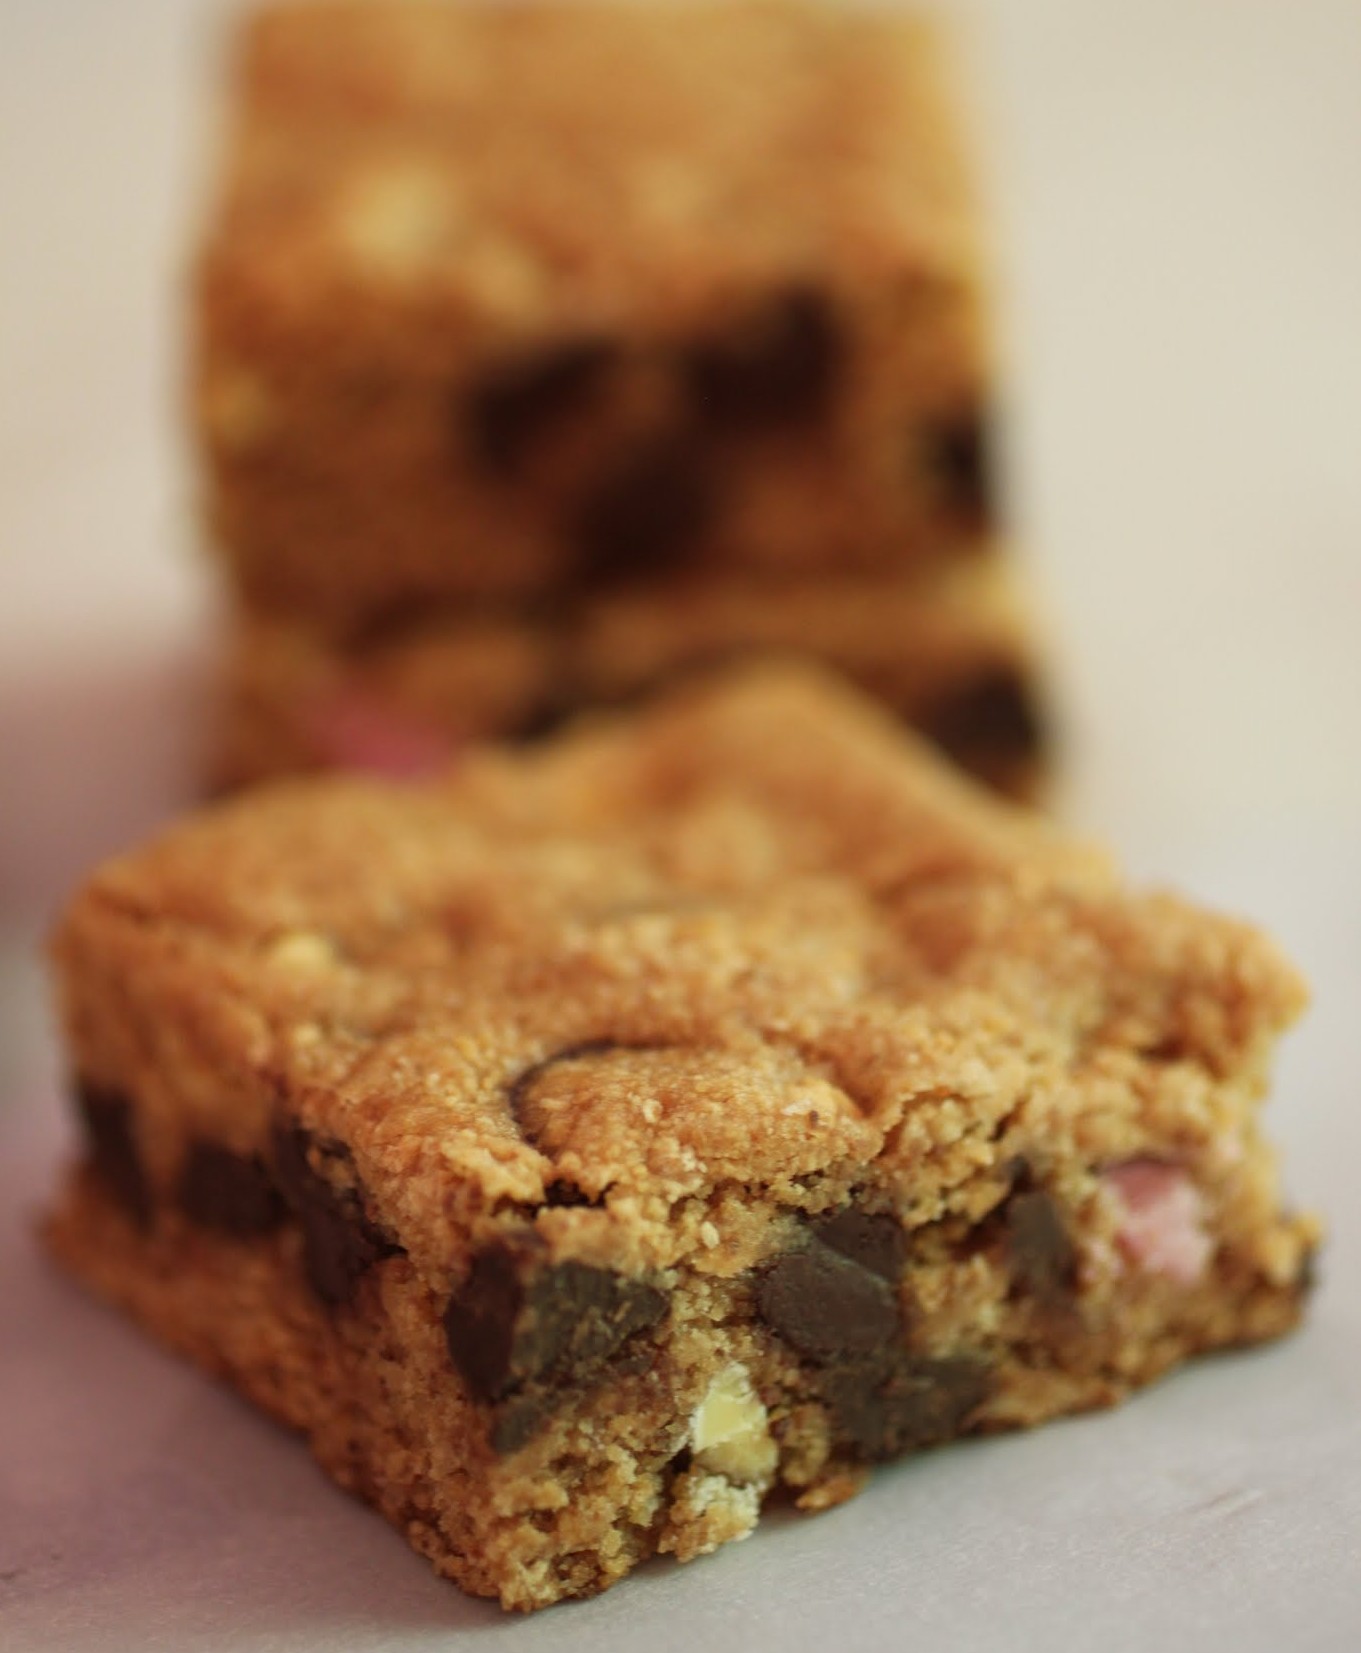
These graham cracker bars should have their own little song. They’re one of those rare desserts you can whip up in two minutes flat and have, baked and ready, less than 30 minutes later to serve. They are that easy to make. Anyone can cook, you know. Ratatouille spoke truth.
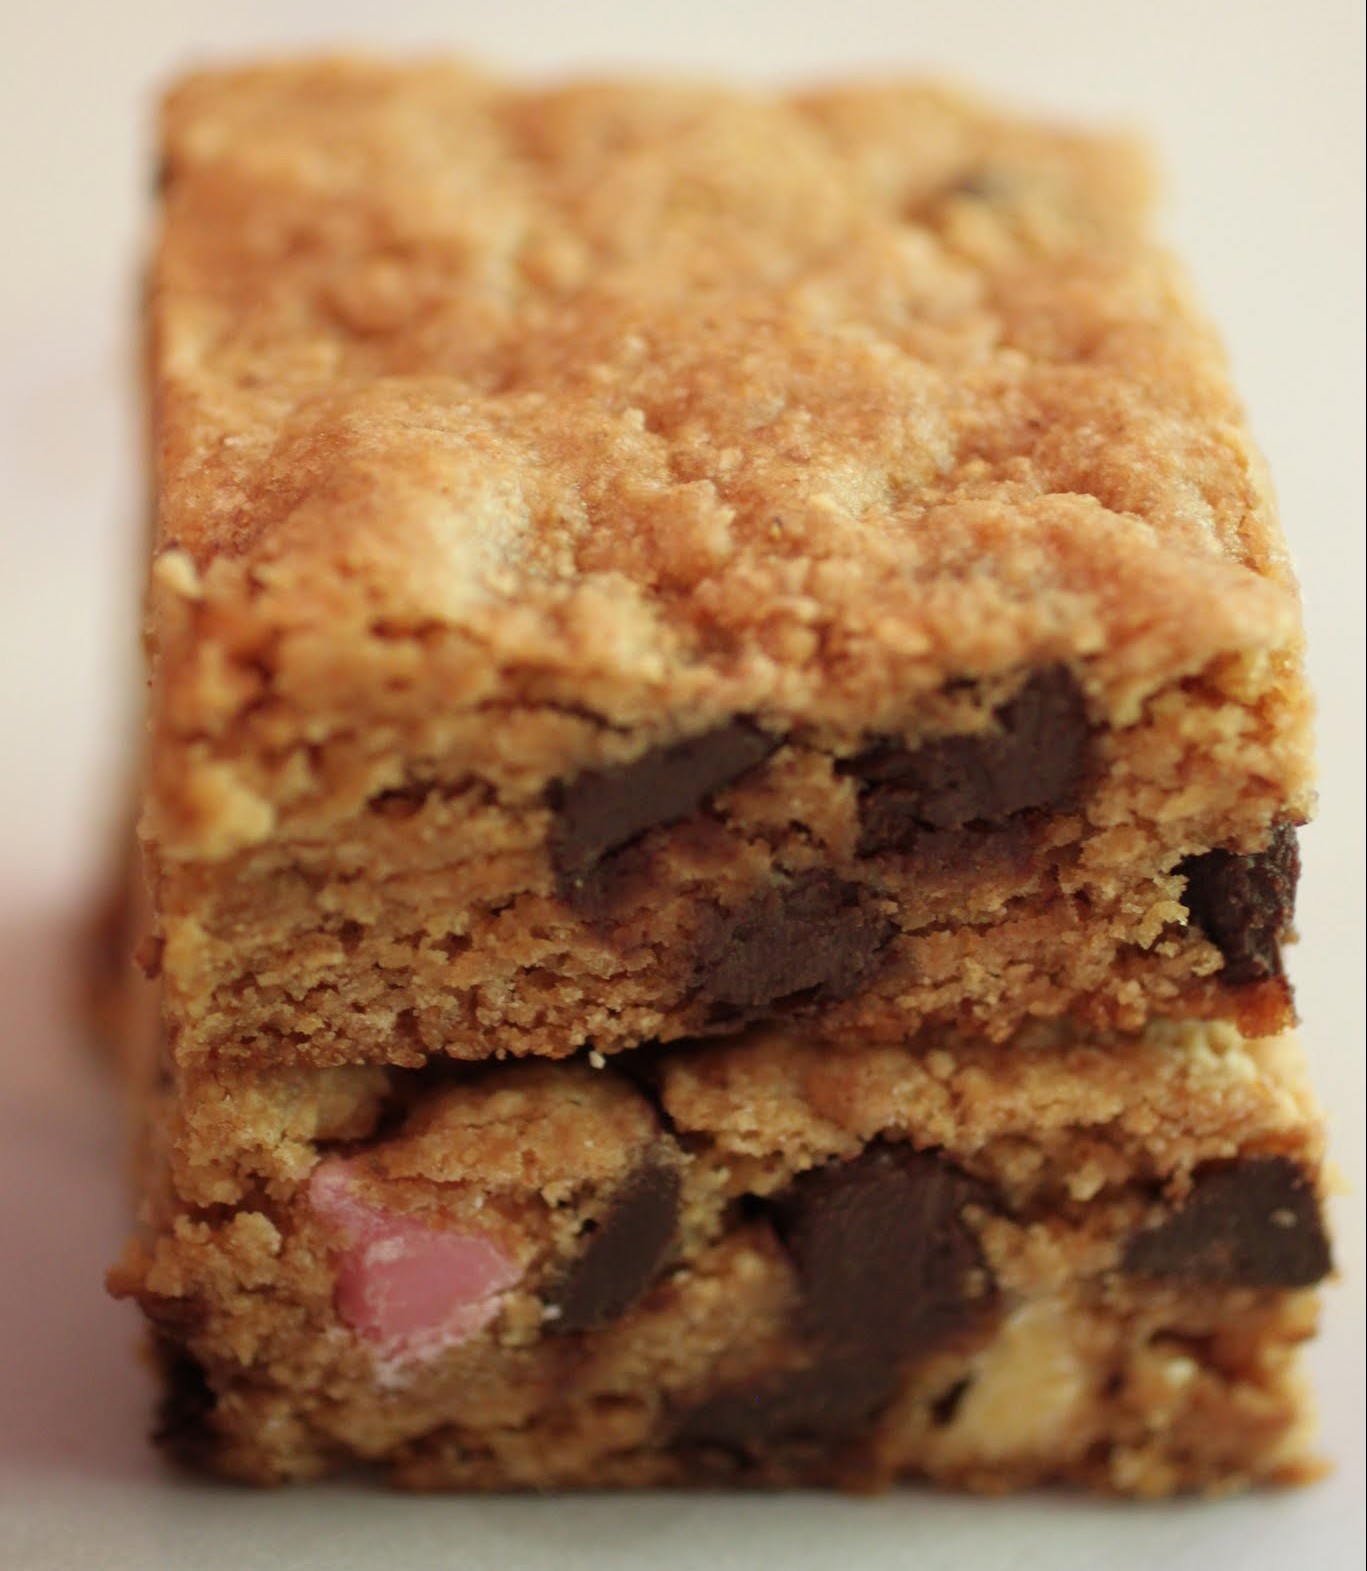
The bars are dense and sweet, with plenty of chocolate chips to brighten their landscape. I brightened it even further by using more of my Nestle spring edition chocolate chips. Any excuse to get pink and yellow chips into a recipe and I’m there!
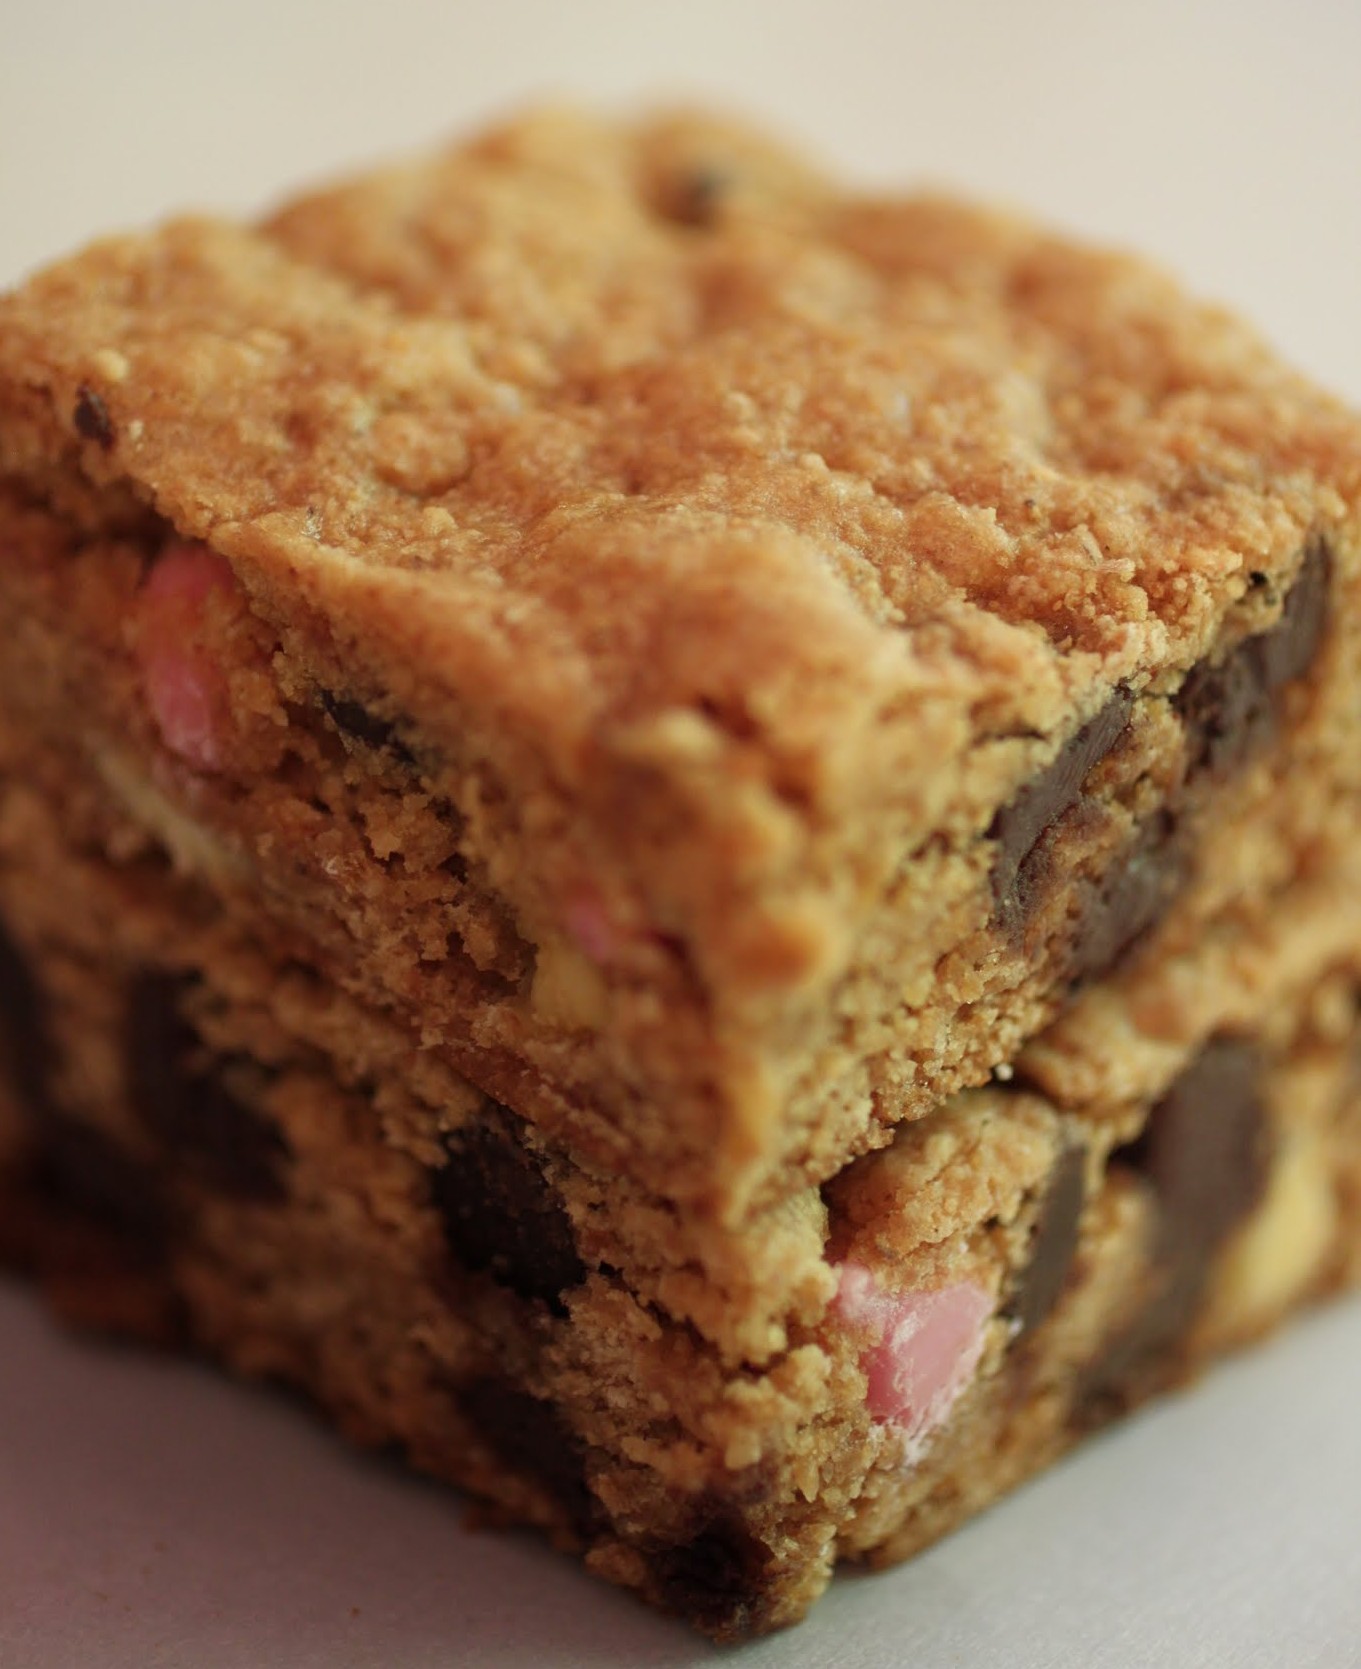
When you mix this up, it will be sticky and you’ll need a large bowl to ensure that graham cracker crumbs don’t go flying out at you every time you stir too enthusiastically. You can pat the whole thing into your pan with a spatula, and then you’re good to go!
Not all of life’s moments will be dramatic or worthy of a film soundtrack. That’s probably a good thing. But you can give yourself little moments as you need them, even if you’re the only one there. It’s worth it to savor a fantastic slice of life (or dessert) before it passes.
Ingredients
Instructions
- Preheat the oven to 350. Line an 8-inch square pan with foil, leaving enough to hang over the sides. Coat generously with cooking spray. Set aside.
- In a large bowl, combine all the ingredients and stir until incorporated.
- Using a spatula, press the mixture evenly into the prepared pan.
- Bake for 25-30 minutes until set. Cool and cut into squares.
]]>
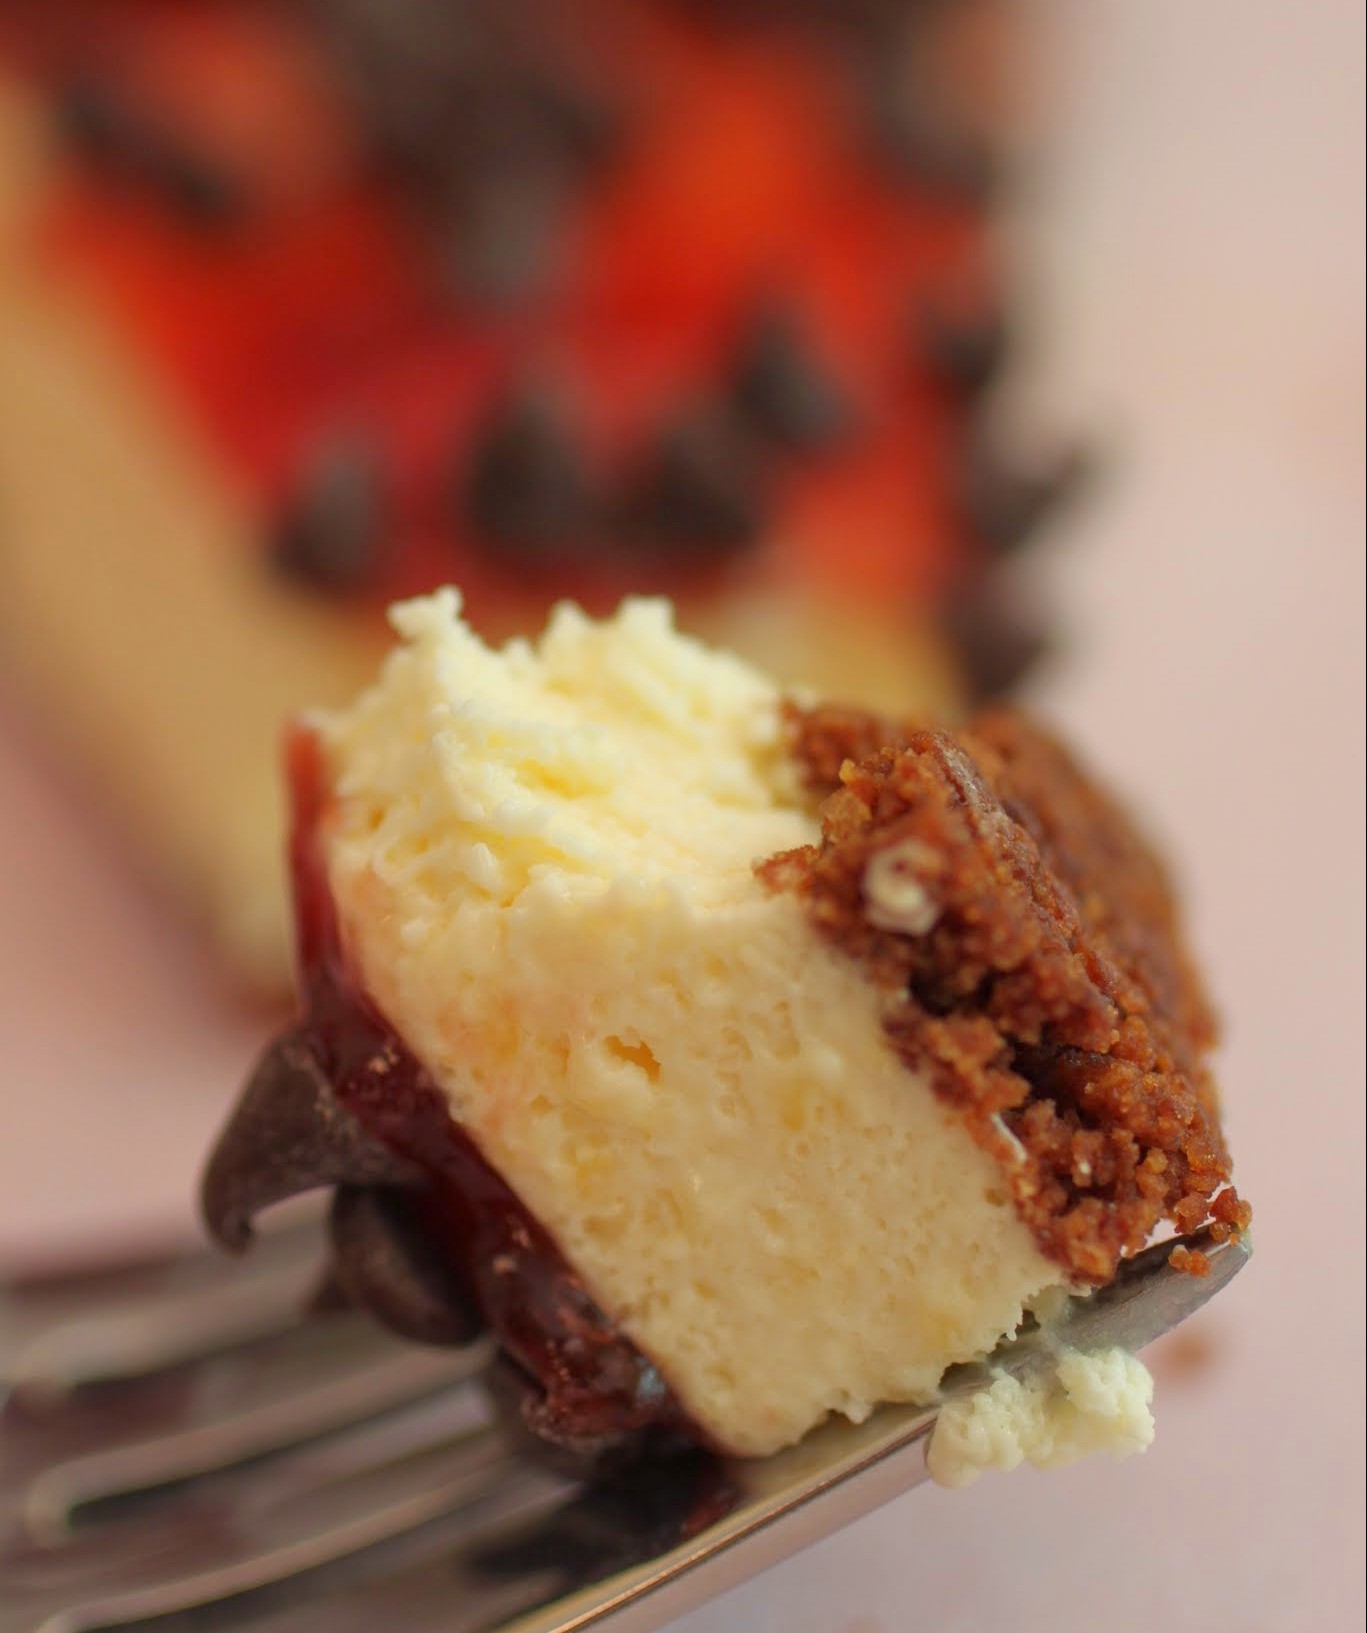
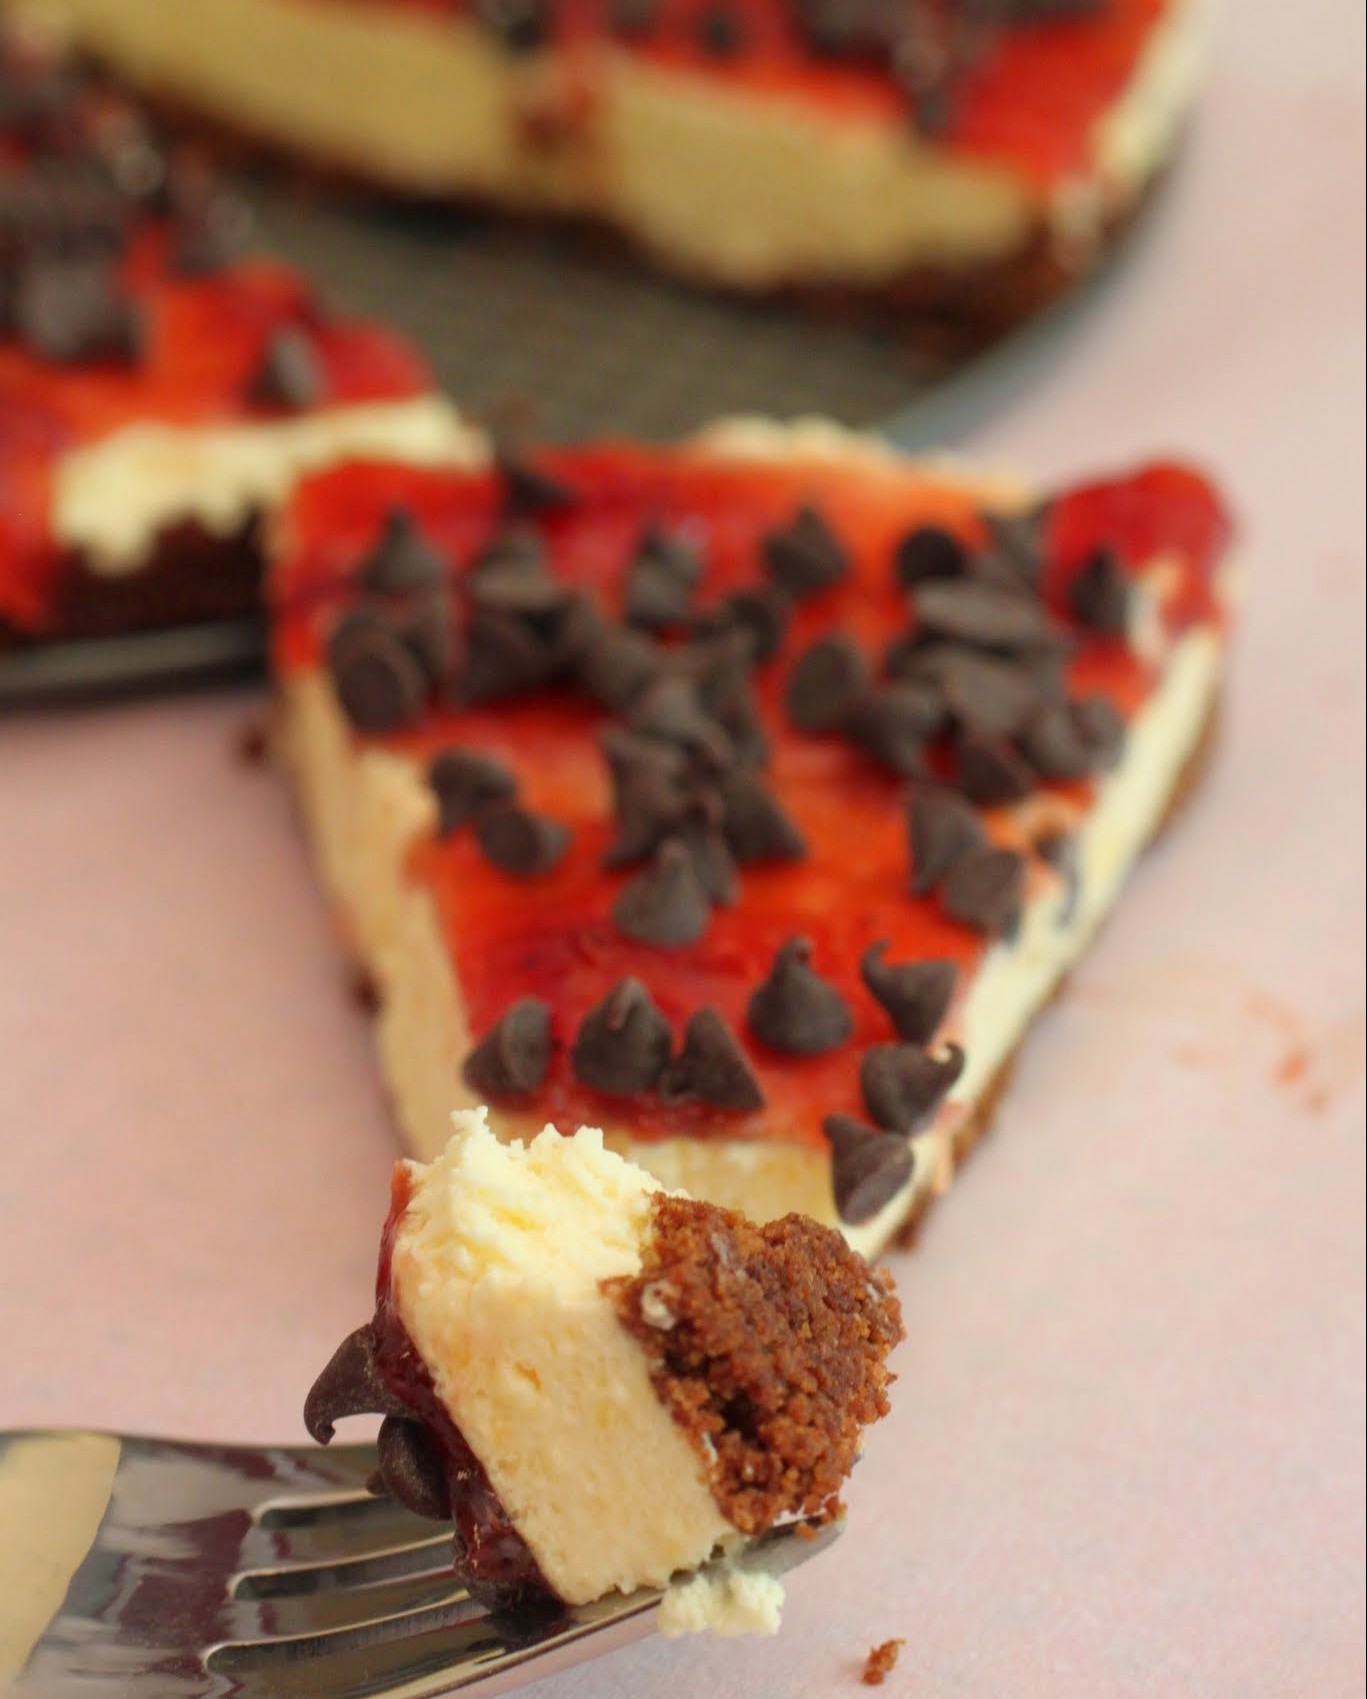
This looks like a cheesecake. But it’s not. It’s something very, very special.
Hey, it’s almost summer! This time of year, baking blogs undergo a shift as fruit actually becomes available. Like, good fruit. Not the stuff that looks really pretty and tastes like nothing.
This is a partially no-bake dessert that incorporates fruit notes with strawberry jam, but that hasn’t gone all out yet with fresh fruit. Can you use fresh fruit? Or homemade jam? Sure. But I didn’t. I was more about savoring these last few weeks of spring, when school is still in session and we have a whole summer to look forward to.

Anticipation is, after all, much more fun than whatever you’re looking forward to. Like my birthday. I retain the childish hope every year that my birthday will be the best day ever. Somehow, a normal day will stretch out idyllically, full of amazing meals and fun outings and sunshiny skies. Gotta tell you, that’s not exactly how it goes down. Looking forward to something is usually just better than whatever happens.
Unless we’re talking about food. I anticipate a meal at my favorite restaurant, and almost always, it’s just as amazing as I thought it would be. And I have to say, a trip to Baskin Robbins rarely disappoints. So there are some certainties in this cold, cruel world.
I’d like to say that when school lets out in a few weeks, I will be embarking on a fantastic summer. But I’m afraid to have expectations that are too high. I’ll be working on a book over the next few months, getting in some pool time, walking the DC streets in the peak of the summer heat, and ferrying my children to and from camp. I’m expecting ice cream. I’m expecting some nice days. I hope that’s not out of reach!

This dessert is definitely in reach, which is kind of unfortunate if you’re trying to avoid awesomeness. I’m not, so it’s all good. The base is a graham cracker crust that I’ve tricked out with chocolate chips and cocoa. On top is a magical filling, made up of pudding mix, condensed milk, and Cool Whip. It’s pretty great. The whole thing gets rounded out with strawberry jelly and a generous sprinkling of mini chocolate chips.
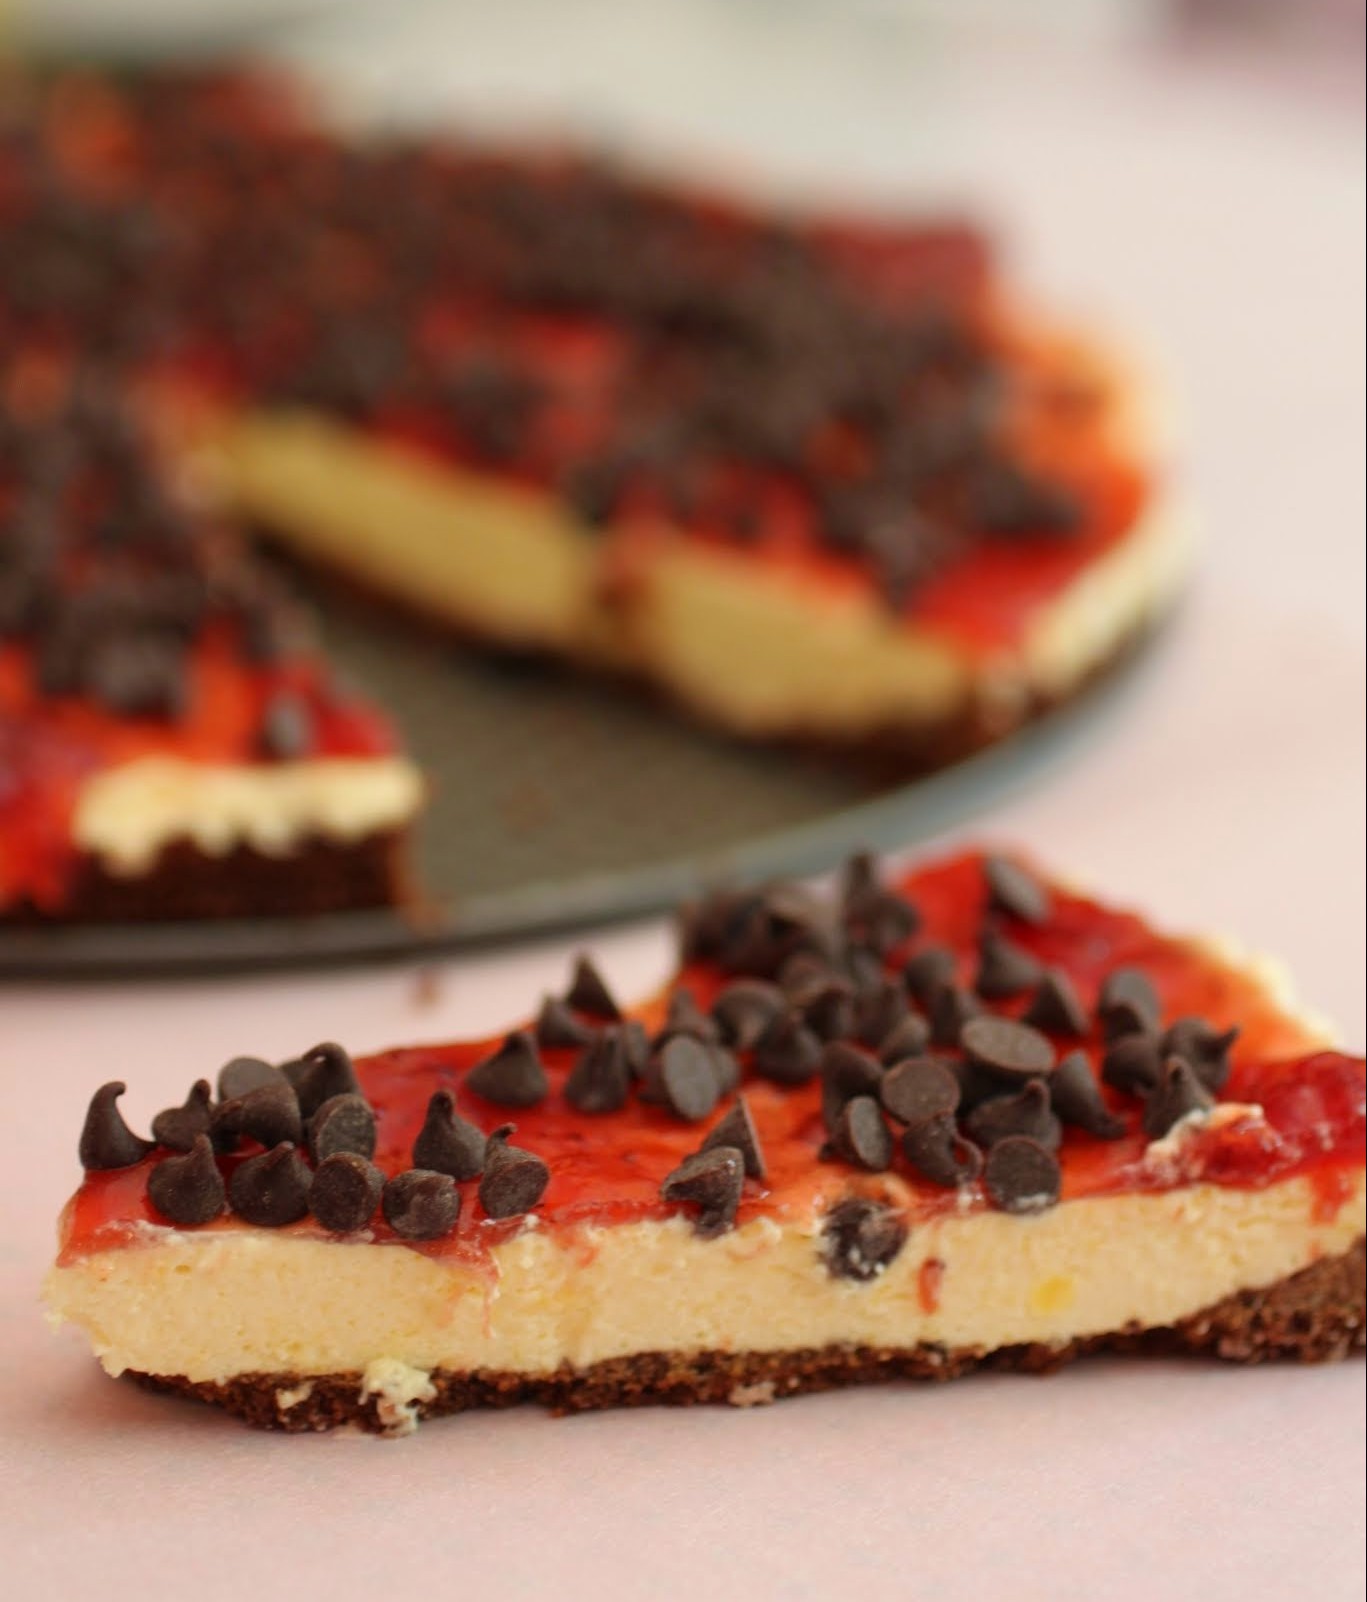
If you’re into cool desserts, especially ones that nobody’s ever tried before, this is it. It’s creamy, it’s easy, and most importantly, it tastes delicious. And it’s the perfect transition toward summer, as we all anticipate what comes next.
We all need something to look forward to, but if you can, make the present count as much as the mythical future. It’s all part of your life! A life that includes fantastic pie.
Ingredients
Instructions
- Preheat the oven to 350. Coat a 10-inch springform pan with cooking spray. Set aside.
- In a medium bowl, melt the butter and mini chocolate chips in the microwave for 30 seconds. Stir until smooth. Add the graham cracker crumbs, cocoa, and brown sugar, stirring until the crumbs are sandy.
- Press the crumb mixture into the pan and bake for 15 minutes. Remove from the oven and cool.
- Make the filling. In a bowl, combine the sweetened condensed milk and water, stirring until smooth. Add the pudding mix and beat for a minute or two.
- Place the bowl in the refrigerator and chill for five minutes.
- Remove the bowl from the fridge and fold in the Cool Whip. Pour the mixture into the springform pan (on top of the baked crust) and chill for one hour until set.
- Spread the strawberry jam evenly over the chilled pie in a thin layer. Sprinkle on the mini chocolate chips.
- Keep the pie in the refrigerator, chilled, until you're ready to serve. Slice into wedges.
Mine always begins with the biggest physical shock possible to my system. I stumble out of bed (no snooze, get right up), throw on my workout clothes, and immediately start moving. It’s always a little odd knowing, as I lie in bed for those last precious seconds, that within a few minutes I’ll be moving at top speed.
It sounds awful to almost everyone I know, but I love getting my body going before my mind. As I do my routine, my mind slowly wakes up and catches up with the rest of me. And there’s something really gratifying about getting all those muscles firing before most people are even awake.
Plus, then I have the rest of the day to eat cheesecake bars! No, really. If I kick my own butt for an hour every morning, you can bet your own derriere that I’m eating dessert every day. Not all day. Just every day.
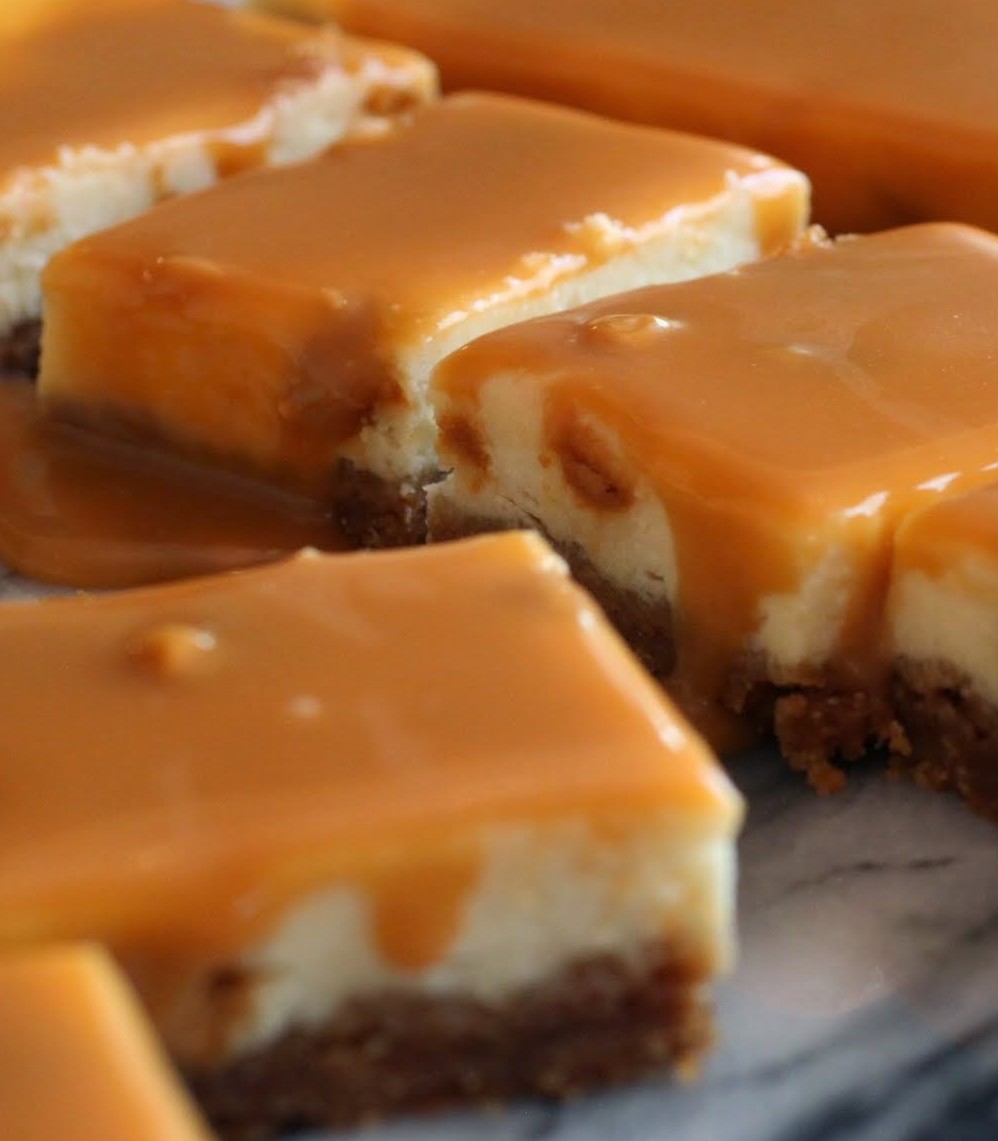
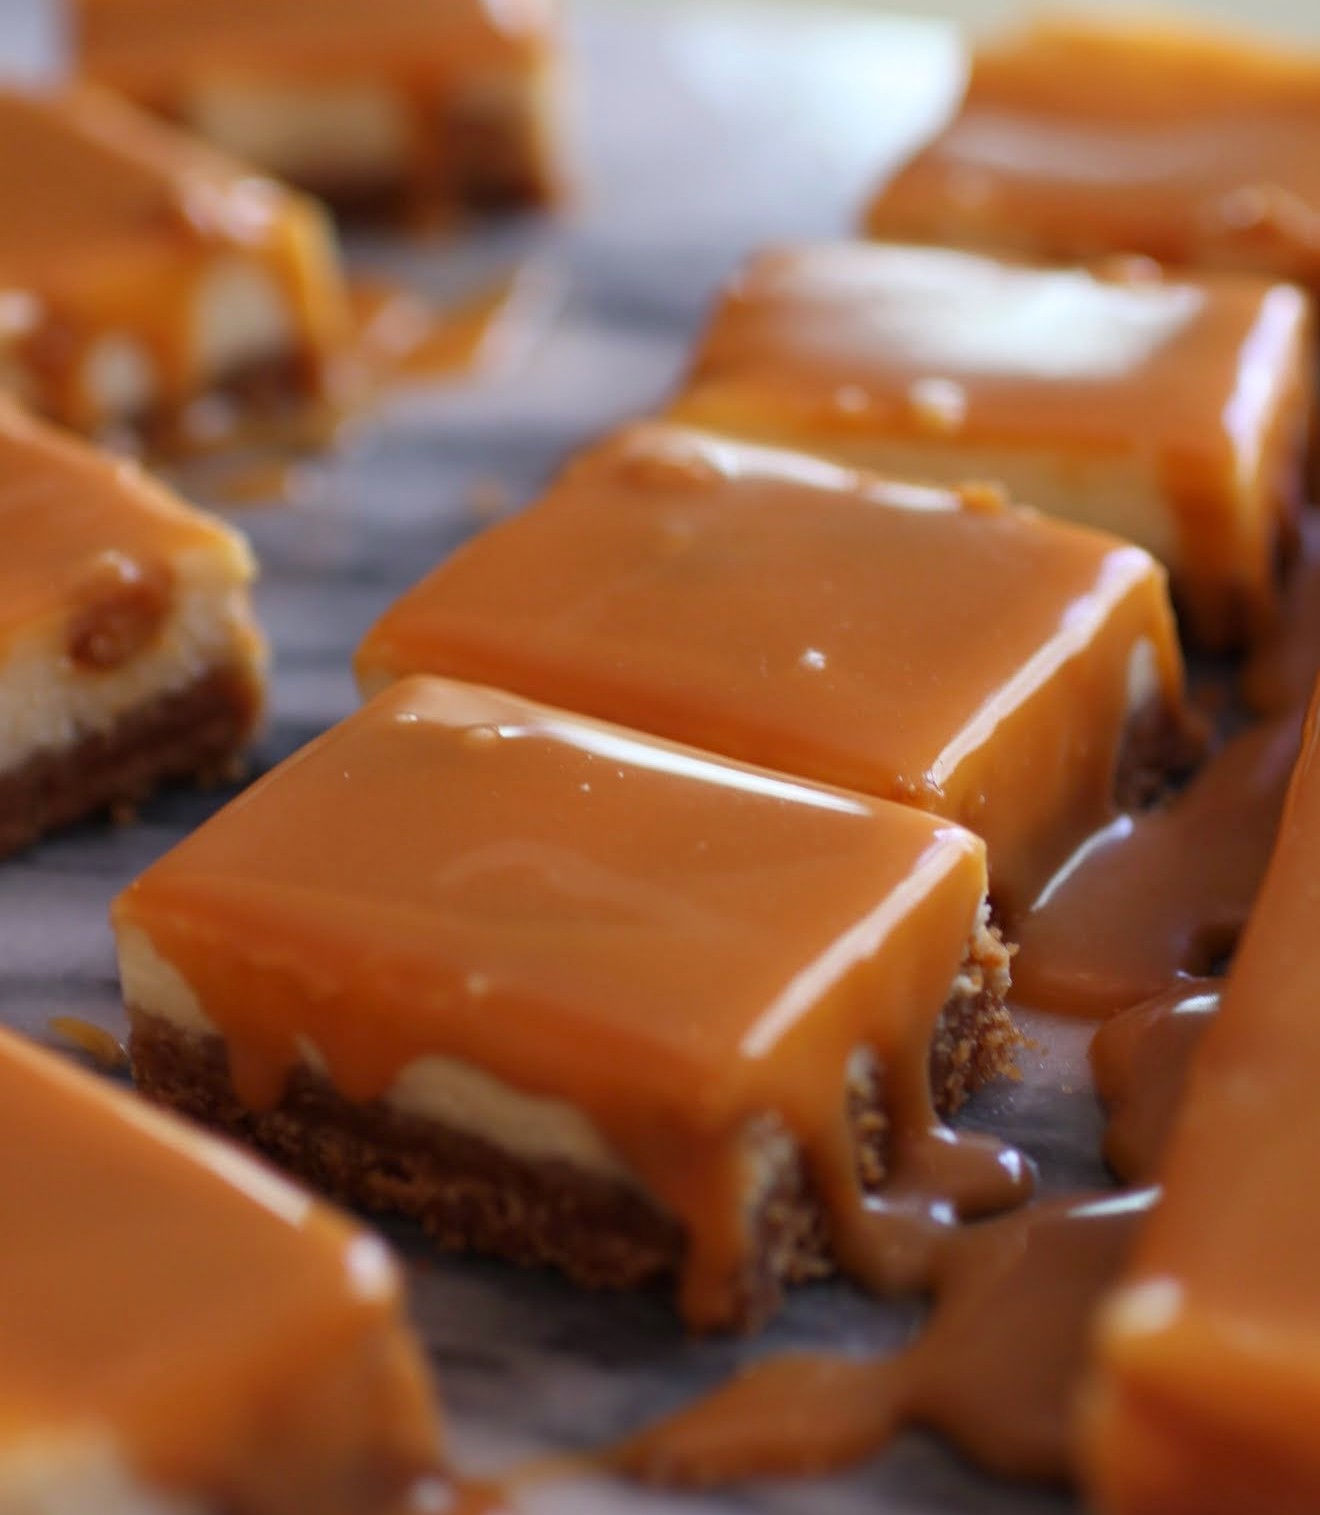
These bars in particular are quite the reward for any early-morning workouts. Butterscotch is neglected and that is so unfair, because it’s one of the best dessert flavors out there. I was going to do this as a cheesecake before Lindsay did it, and because she’s better than I am, I adapted my idea to this.
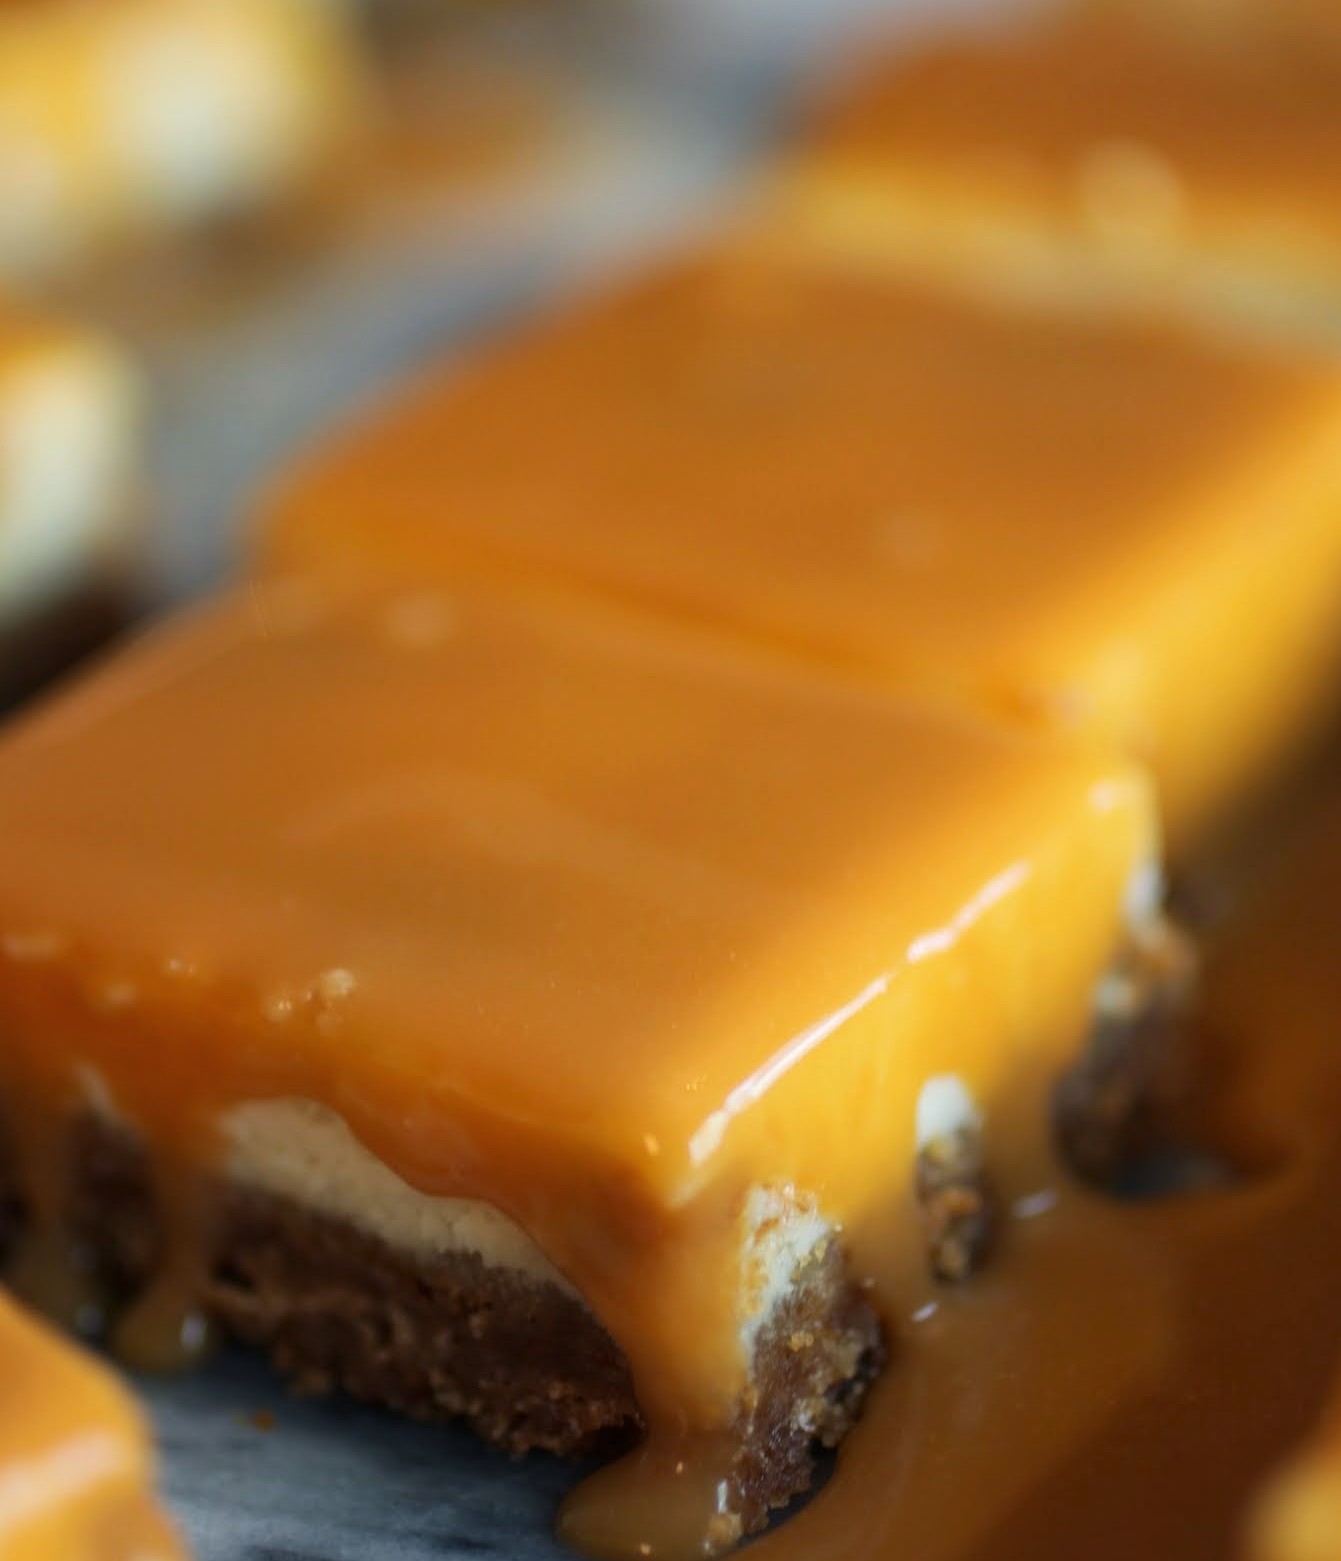
These might be the most addictively sticky cheesecake bars I’ve ever made. Yes, you’ll need a fork for that butterscotch ganache top, and it’s worth the extra effort. If you’ve never been to butterscotch heaven, this is it!
There are actually three layers of butterscotch in these bars. The first appears in the graham cracker crust. One of my favorite baking hacks of all time is melting baking chips into the crusts, so the butterscotch chips are part of the base. They also appear in the cheesecake filling, and finally, in the ganache on top.
Ganache sounds complicated, but it’s really easy. You simply melt the butterscotch chips with some heavy cream in the microwave, stir until smooth, and then pour on top. It chills very nicely indeed, and that makes the glossy, enviable topping!
Truth be told, these are very sweet. Bar squares are just right for something like this. You can eat your cheesecake and not undo your workout!
We all start our days differently. By all means, share your favorite way to wake up! But mine is to exercise first and sugar later. I know that seems contradictory, but we’re all human, and we’re allowed our inconsistencies. And we’re definitely allowed our cheesecake!
Ingredients
Instructions
- Preheat the oven to 350. Line an 8 x 8 pan with foil, leaving enough to hang over the sides. Spray with cooking spray. Set aside.
- In a microwave-safe bowl, melt the butterscotch chips and butter for 1 minute. Stir until smooth. Add the brown sugar and graham cracker crumbs, stirring until moistened.
- Press the crumbs tightly and evenly into the prepared pan with a spatula. Bake the crust for 15 minutes.
- While the crust is baking, prepare the cheesecake filling. Beat the cream cheese and sugar until light and fluffy. Add the sour cream, egg, and vanilla, beating until completely smooth. Fold in the butterscotch chips.
- Bake for 25 minutes. Turn the oven off and let the bars sit in there until the oven cools.
- When the bars are cool, make the ganache. Melt the butterscotch chips and the heavy cream in the microwave for 1 minute. Stir until completely smooth. Pour over the cheesecake bars.
- Chill completely, anywhere from 3 hours to overnight. Cut into squares. Serve with forks!
]]>
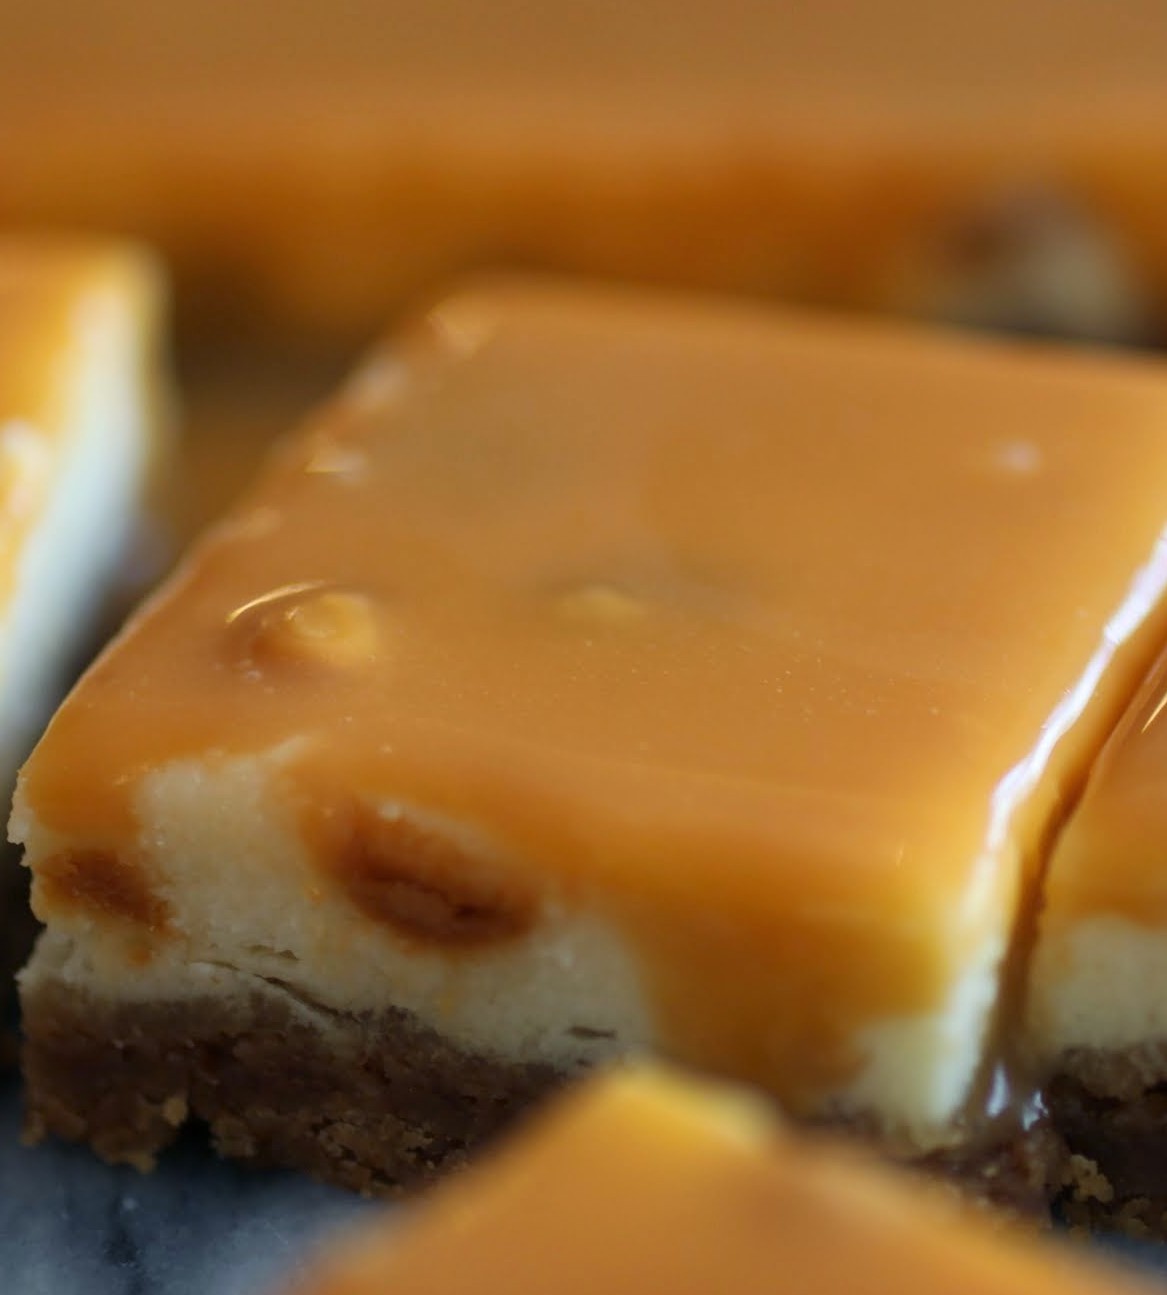
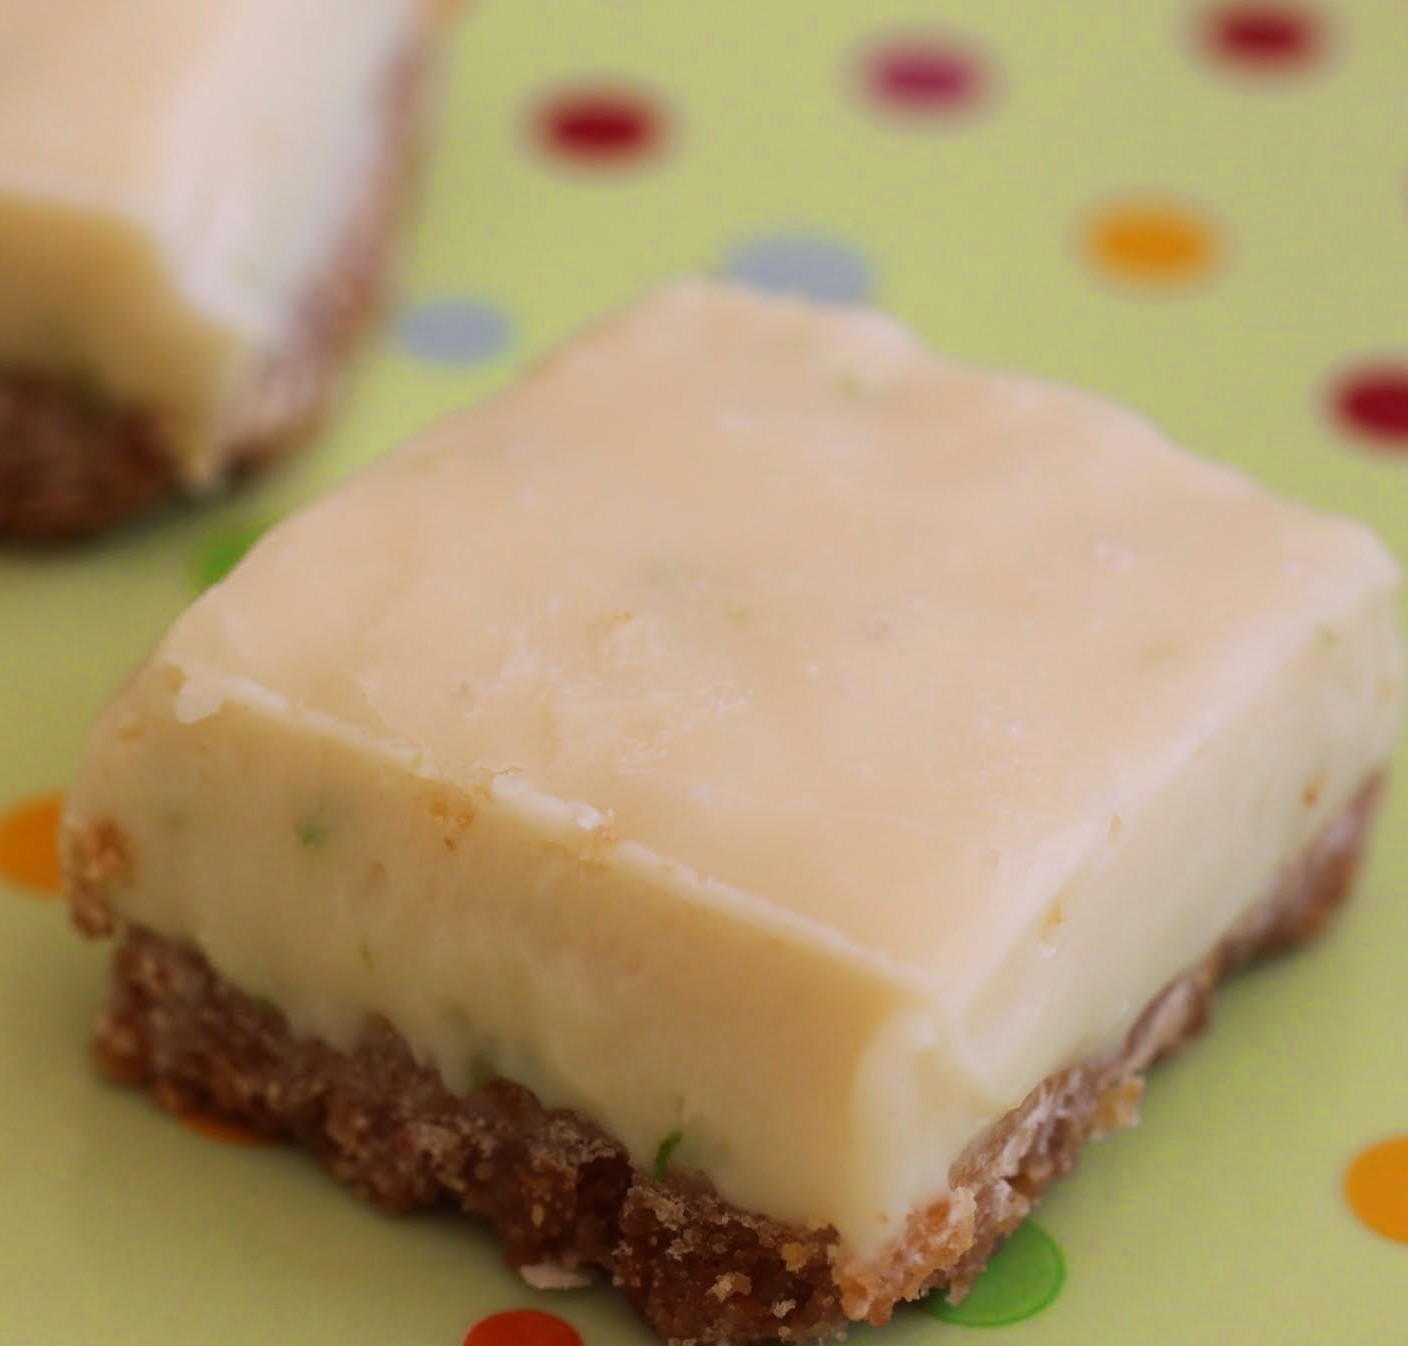
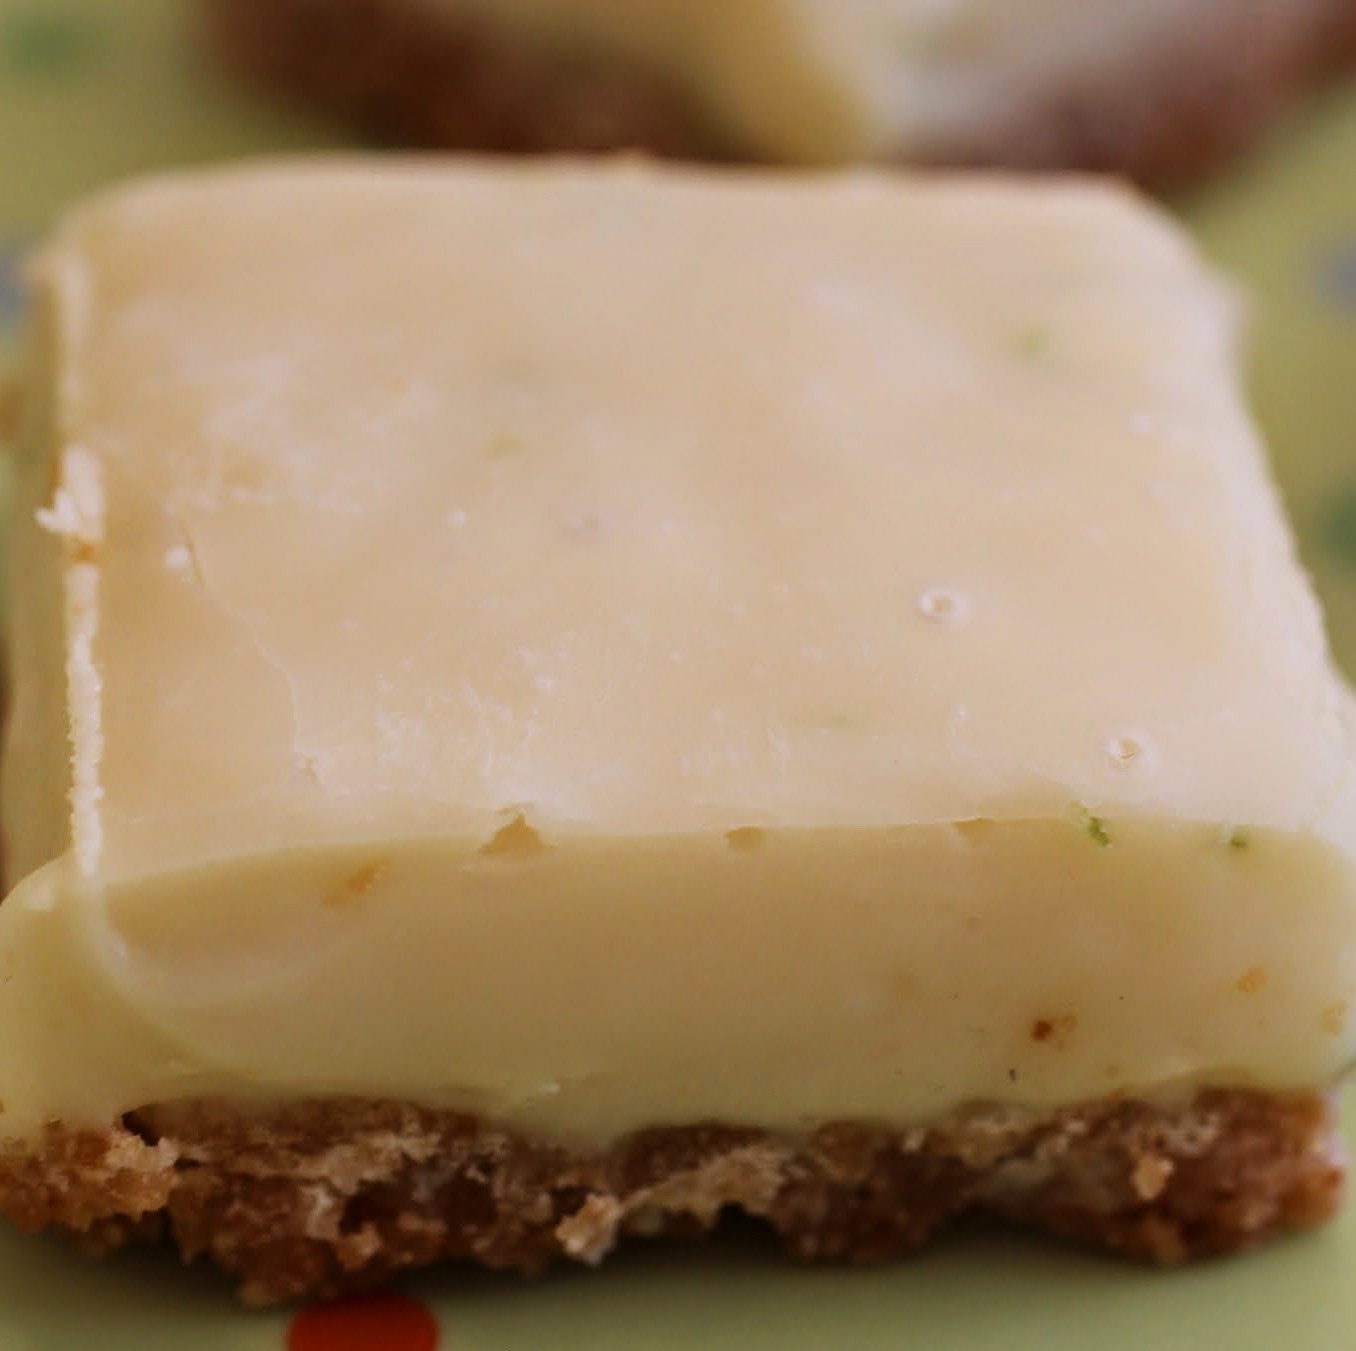
Or bless the day? I’m not really sure. All I know is that I have become totally okay with adding crust to my fudge, and now life will never be the same. And this key lime pie fudge is off the chain!
I’m going to mix business with pleasure here for a minute and rant about standardized testing. May I? Please?
Without getting into specifics right now because I’m a teacher and I value my job, I wish to all the powers above that our nation’s politicians would just back the heck off when it comes to testing kids. It does nobody any favors. Not the kids who are being given terrible tests created by businesses and not teachers, not the teachers who have to cut down on instructional time to administer the tests, and not the parents who don’t get a full picture of what their kids are in for.
The problem is, people don’t trust teachers, even highly qualified ones. It’s part of a cultural attitude toward a female-dominated profession, and I don’t know how to undo any of it. All I know is that unless people give teachers a little more credit for knowing what we’re doing, these tests will continue and children will cease to know what it means to think critically.
I have so much more to say, but that’s the tip of the iceberg, baby. And instead of going farther right now, I’ll just say that one of the things I love most about teaching is creativity. And that’s what I love most about baking, too.
What is more fun than creating new desserts? This key lime pie fudge became part of my consciousness in the middle of a solitary stroll, and now that I’ve made and eaten it (way too much of it, honestly), I can tell you that it’s an experience you need to have.
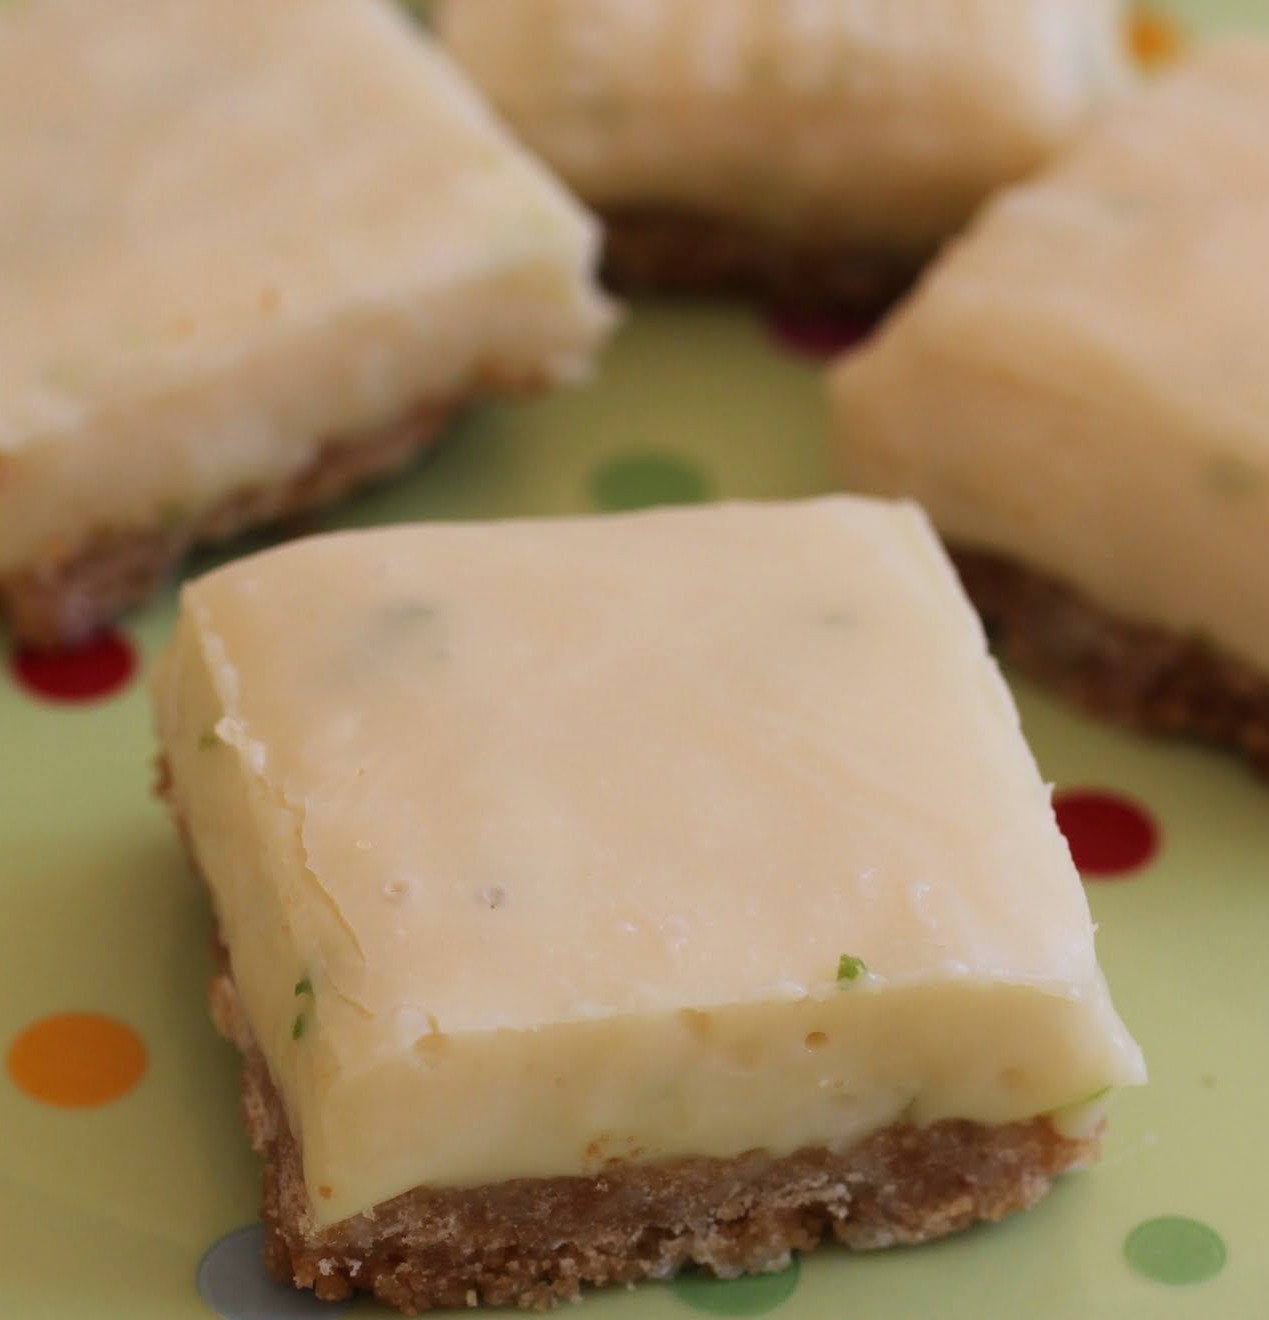
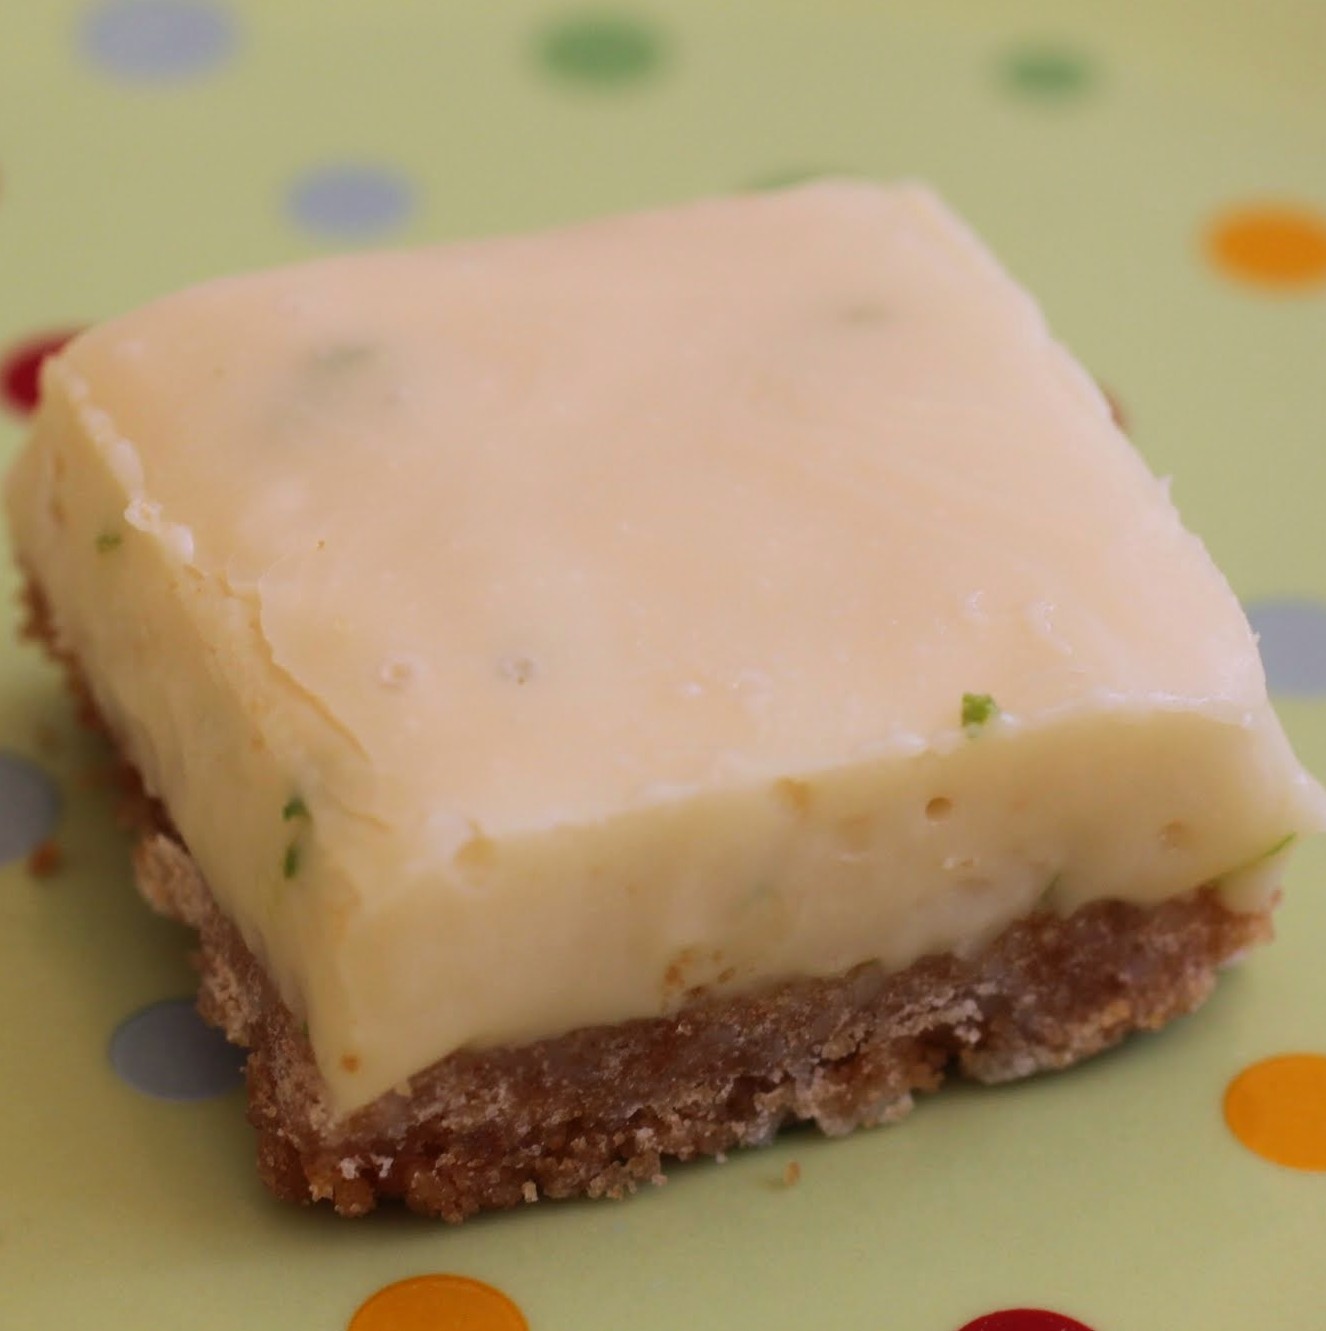
This fudge has the exact same flavor as key lime pie, but from there the experience differs. While you can probably eat a couple of slices of key lime pie without feeling an unbearable sugar rush, this fudge packs a powerful punch. A little goes a long way, which is why I immediately put half on a plate and gave it away. The other half is all mine to eat my way through slowly!
Yes, I’m greedy. But those flecks of lime zest in the fudge are irresistible. And the whole dessert lends a bright spot to an otherwise dreary time in my work life, when I have to stop teaching and proctor tests. I love teaching. It’s the best. So why does standardized testing keep ruining it?
At least I can control this fudge and keep my dessert experience pure. I recommend you do the same!
Ingredients
Instructions
- Preheat the oven to 350. Line an 8 x 8 pan with foil, leaving enough to hang over the sides. Spray with cooking spray. Set aside.
- In a microwave-safe bowl, melt the peanut butter chips and butter for 1 minute. Stir until smooth. Add the brown sugar and graham cracker crumbs, stirring until moistened.
- Press the crumbs tightly and evenly into the prepared pan with a spatula. Bake the crust for 15 minutes.
- While the crust is baking, make the fudge. On the stove over low heat, melt the white chocolate chips with the condensed milk, stirring constantly, until the mixture is melted and smooth. Stir in the lime juice and lime zest.
- Remove from the heat.
- Pour the mixture over the baked graham cracker crust, spreading carefully to even out the top.
- Chill for 3 hours. Let the fudge come to room temperature. Cut into squares with a sharp knife and store in an airtight container.
No, I’m not confused. I realize that I’m four days late. It happens, okay?
Here’s the thing. It’s always so much more fun to celebrate a holiday once it’s over. Example: your birthday comes and goes, but there’s that one friend who forgot or was out of town, so they take you out a week later and celebrate. It’s so nice to keep the party going!
Or think about the holiday season. Last year, I got overloaded with holiday goodies. I write a ton of college recommendations, so the treats really flow in right before winter break begins. I remember staring at a peanut butter brownie layer cake, a batch of brownies, five bags of Lindt truffles, two boxes of Godiva truffles, and a chocolate cheesecake, wondering what on earth I was going to do with it all.
But sure enough, two weeks later, I had no treats around and I was really wishing that some of my students could have given me their holiday gifts late. Why not?
That’s a dangerous question, by the way. Never ask “why not?” unless you’re prepared for a brutally truthful response. Usually, there’s a reason why not. Just trust me on that one.
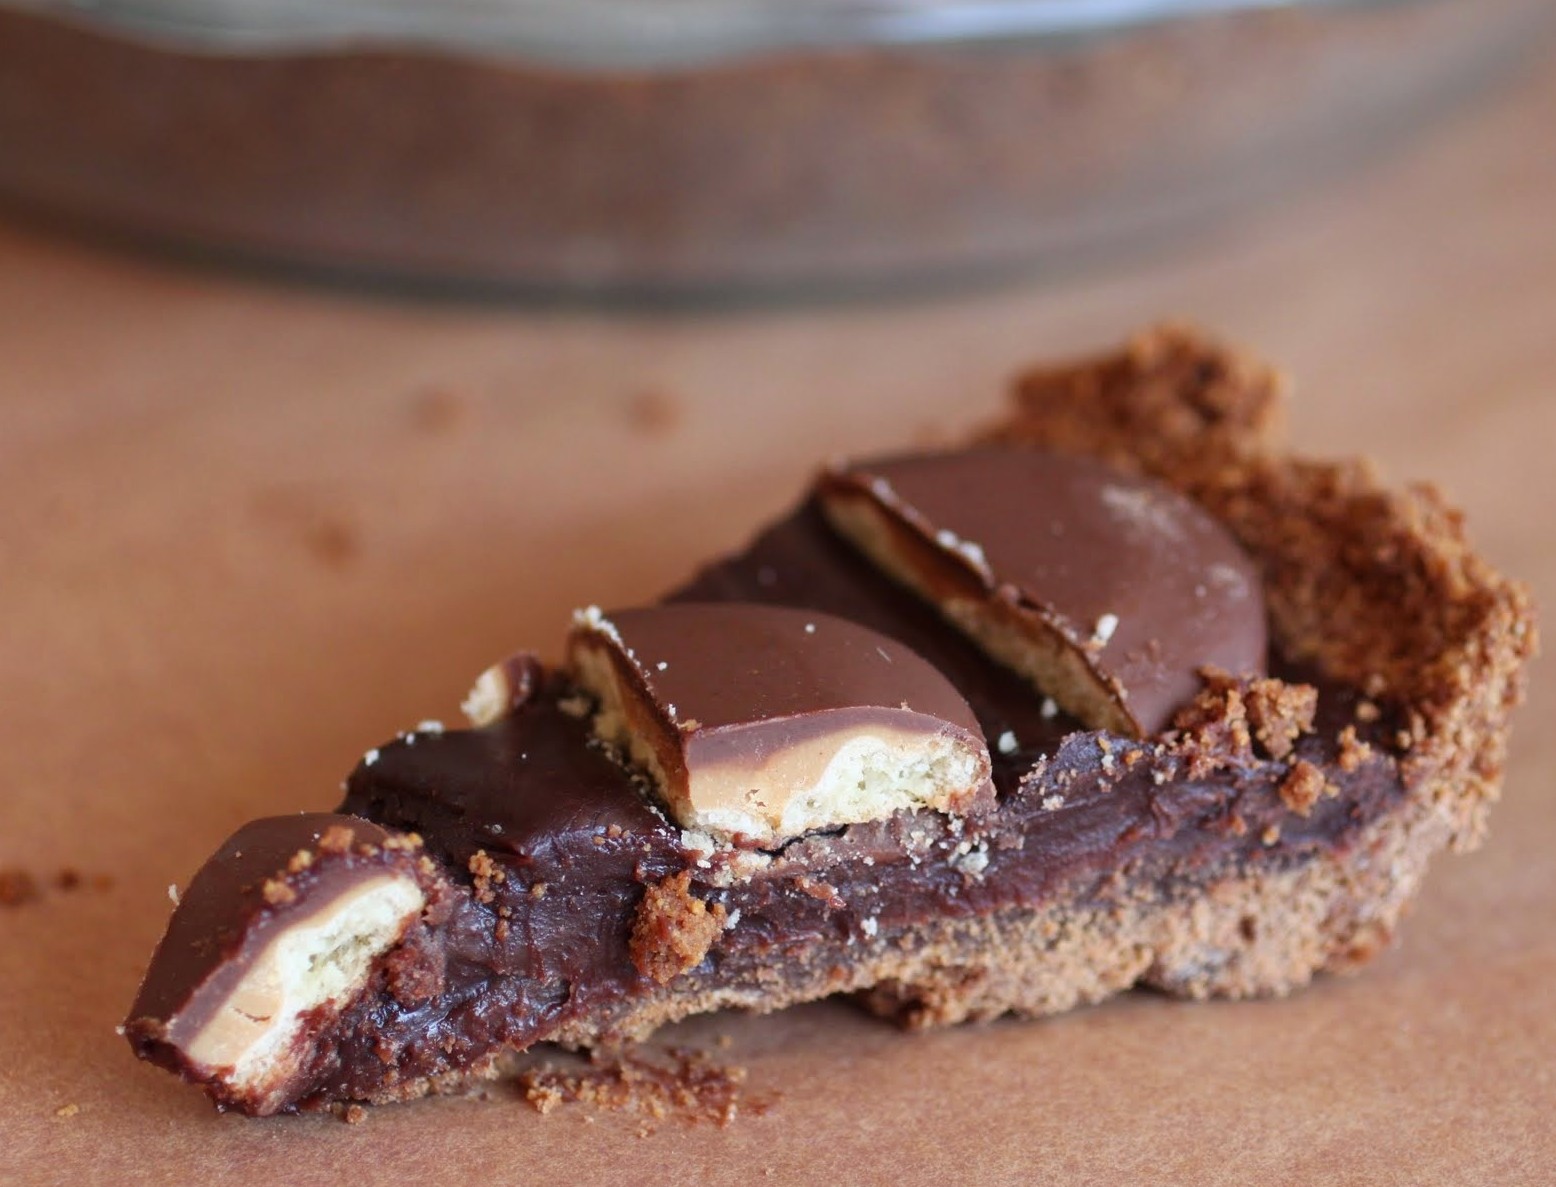
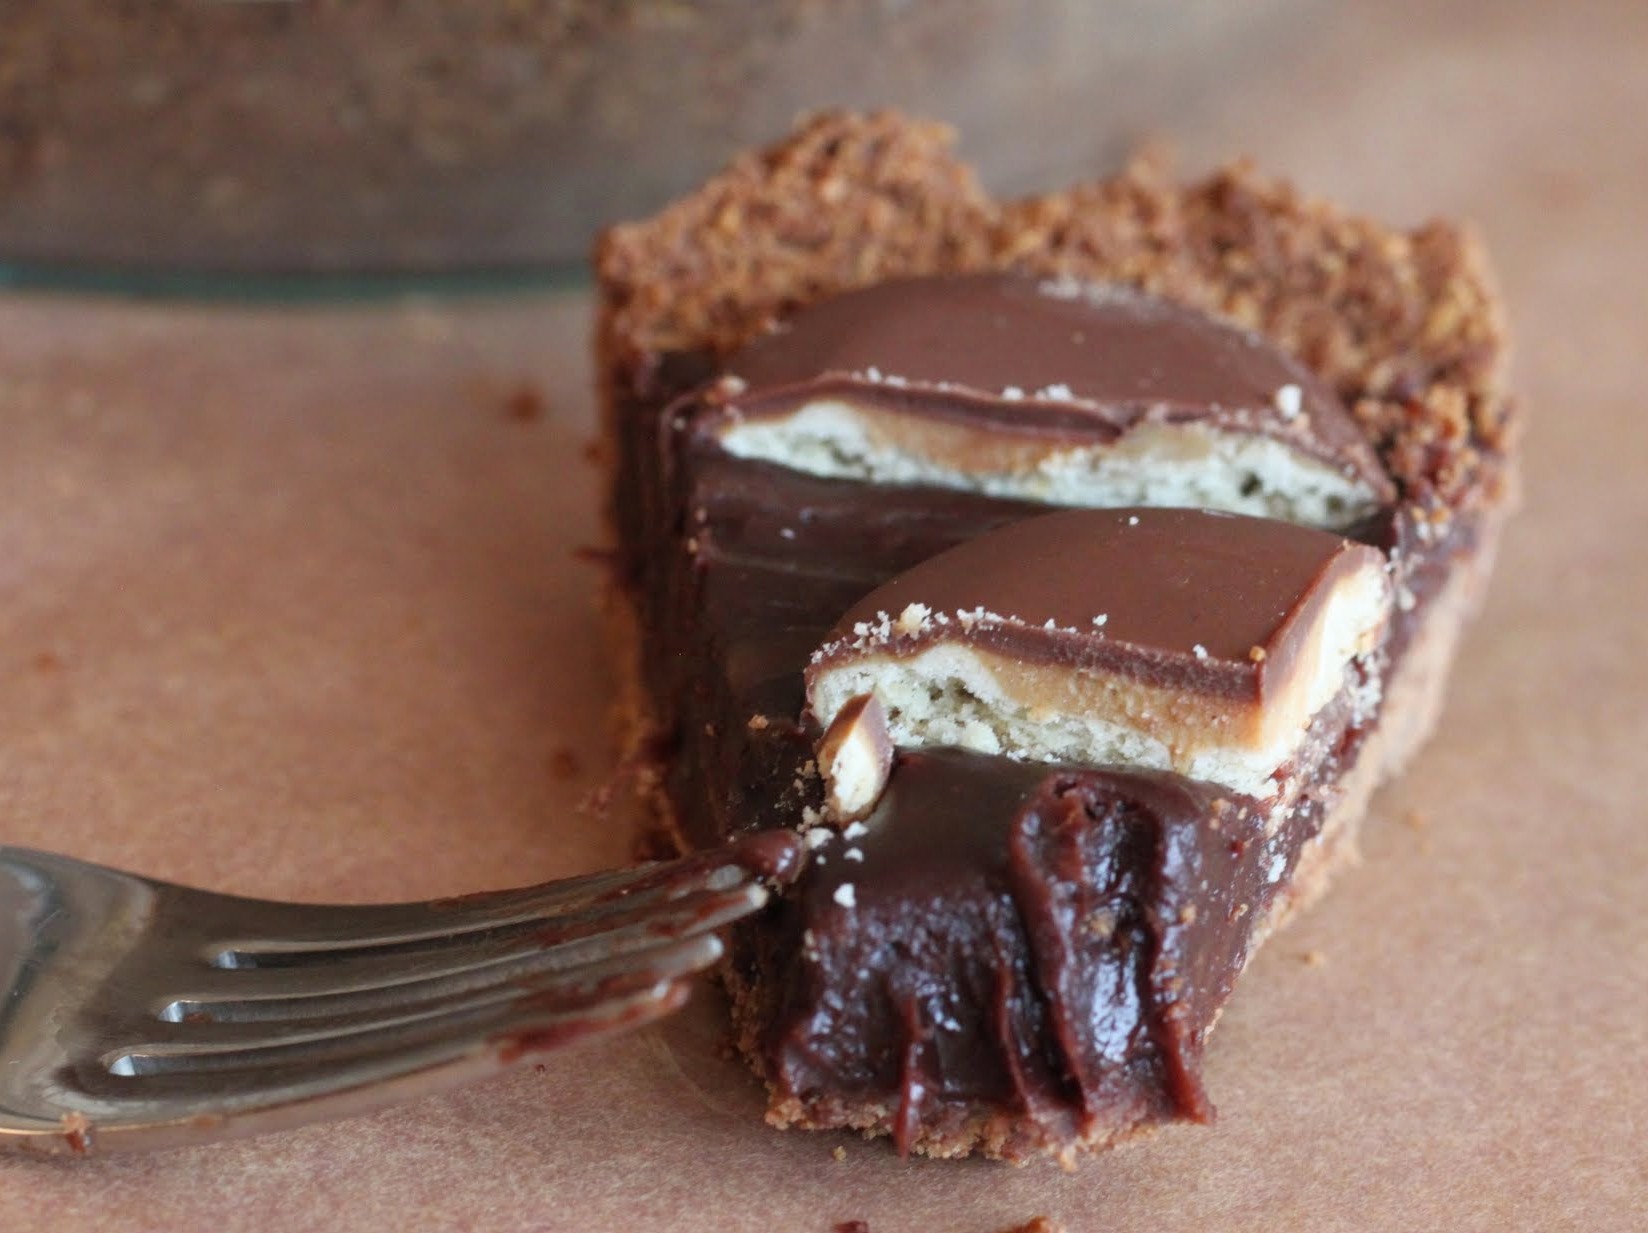
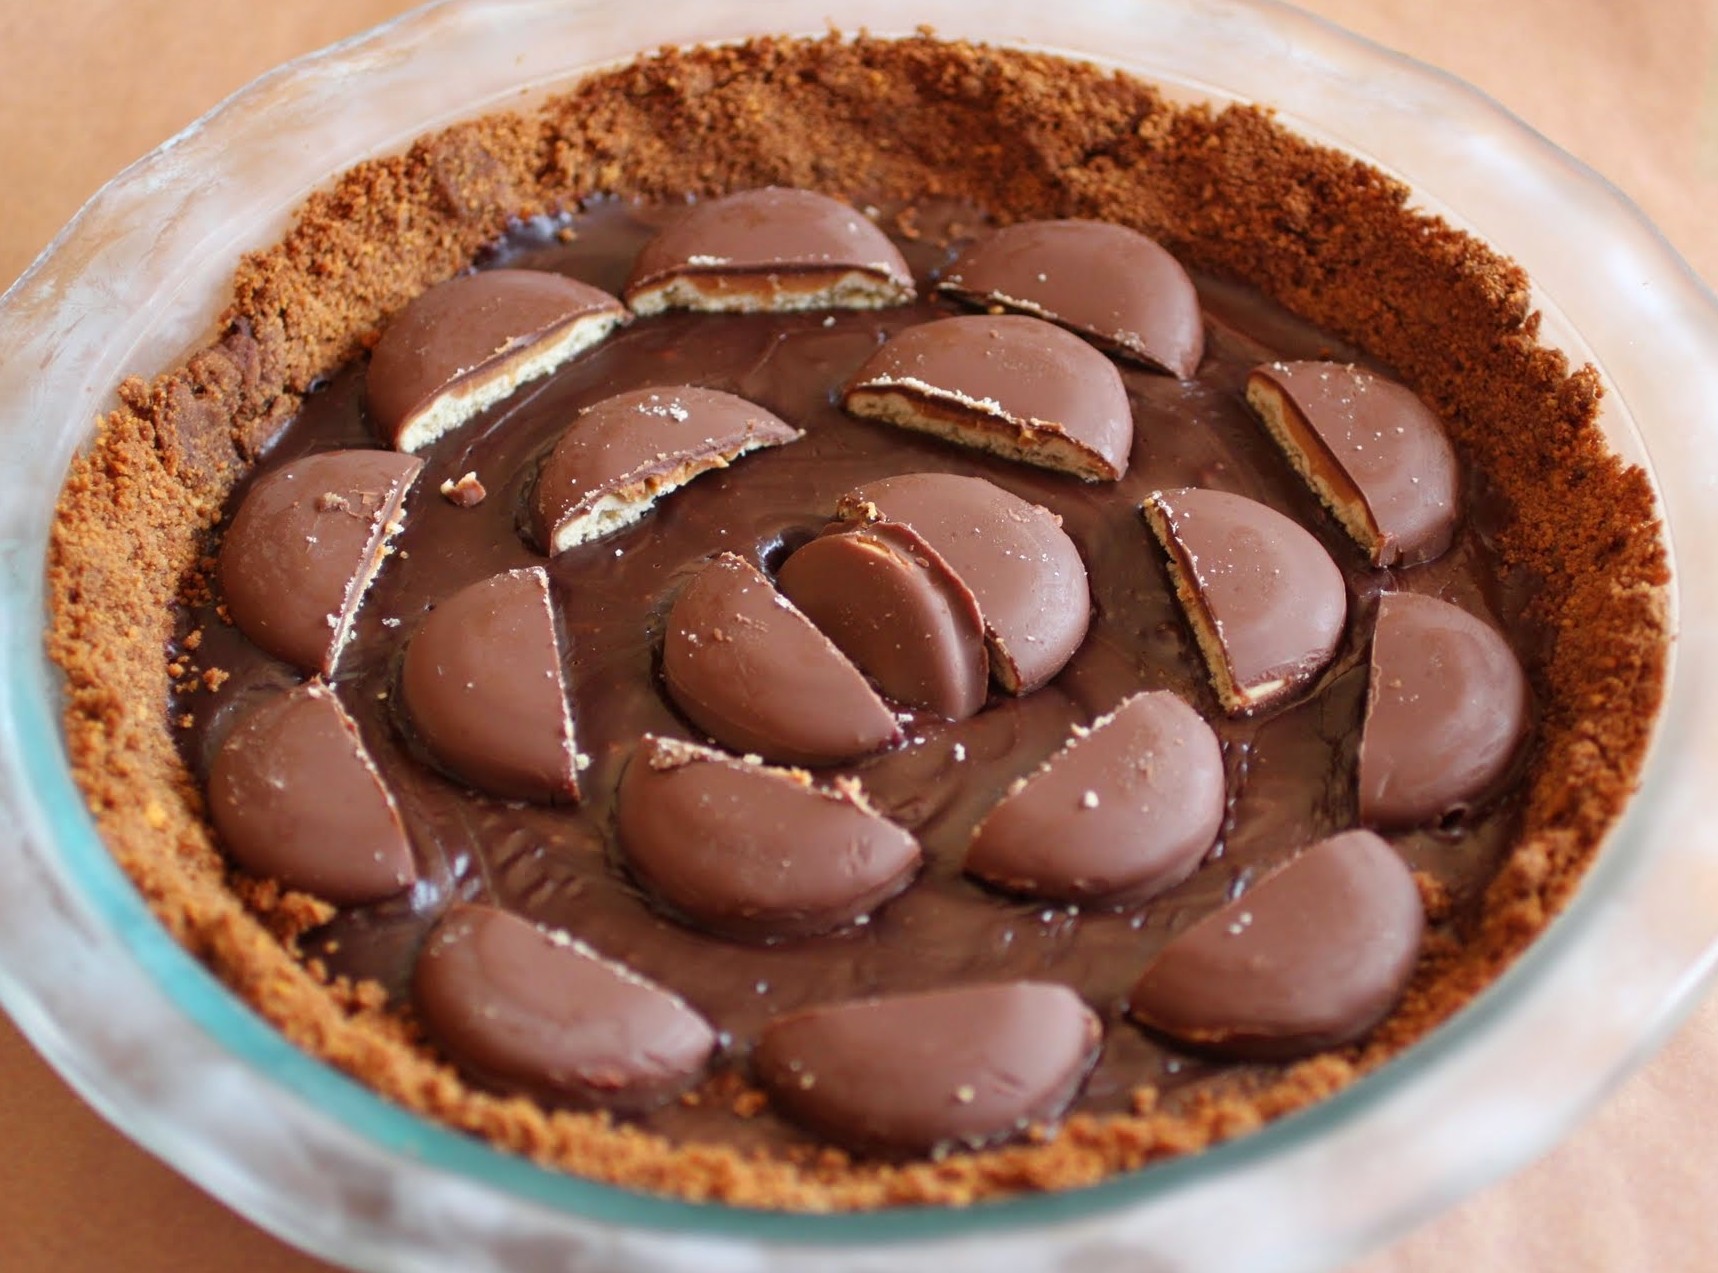
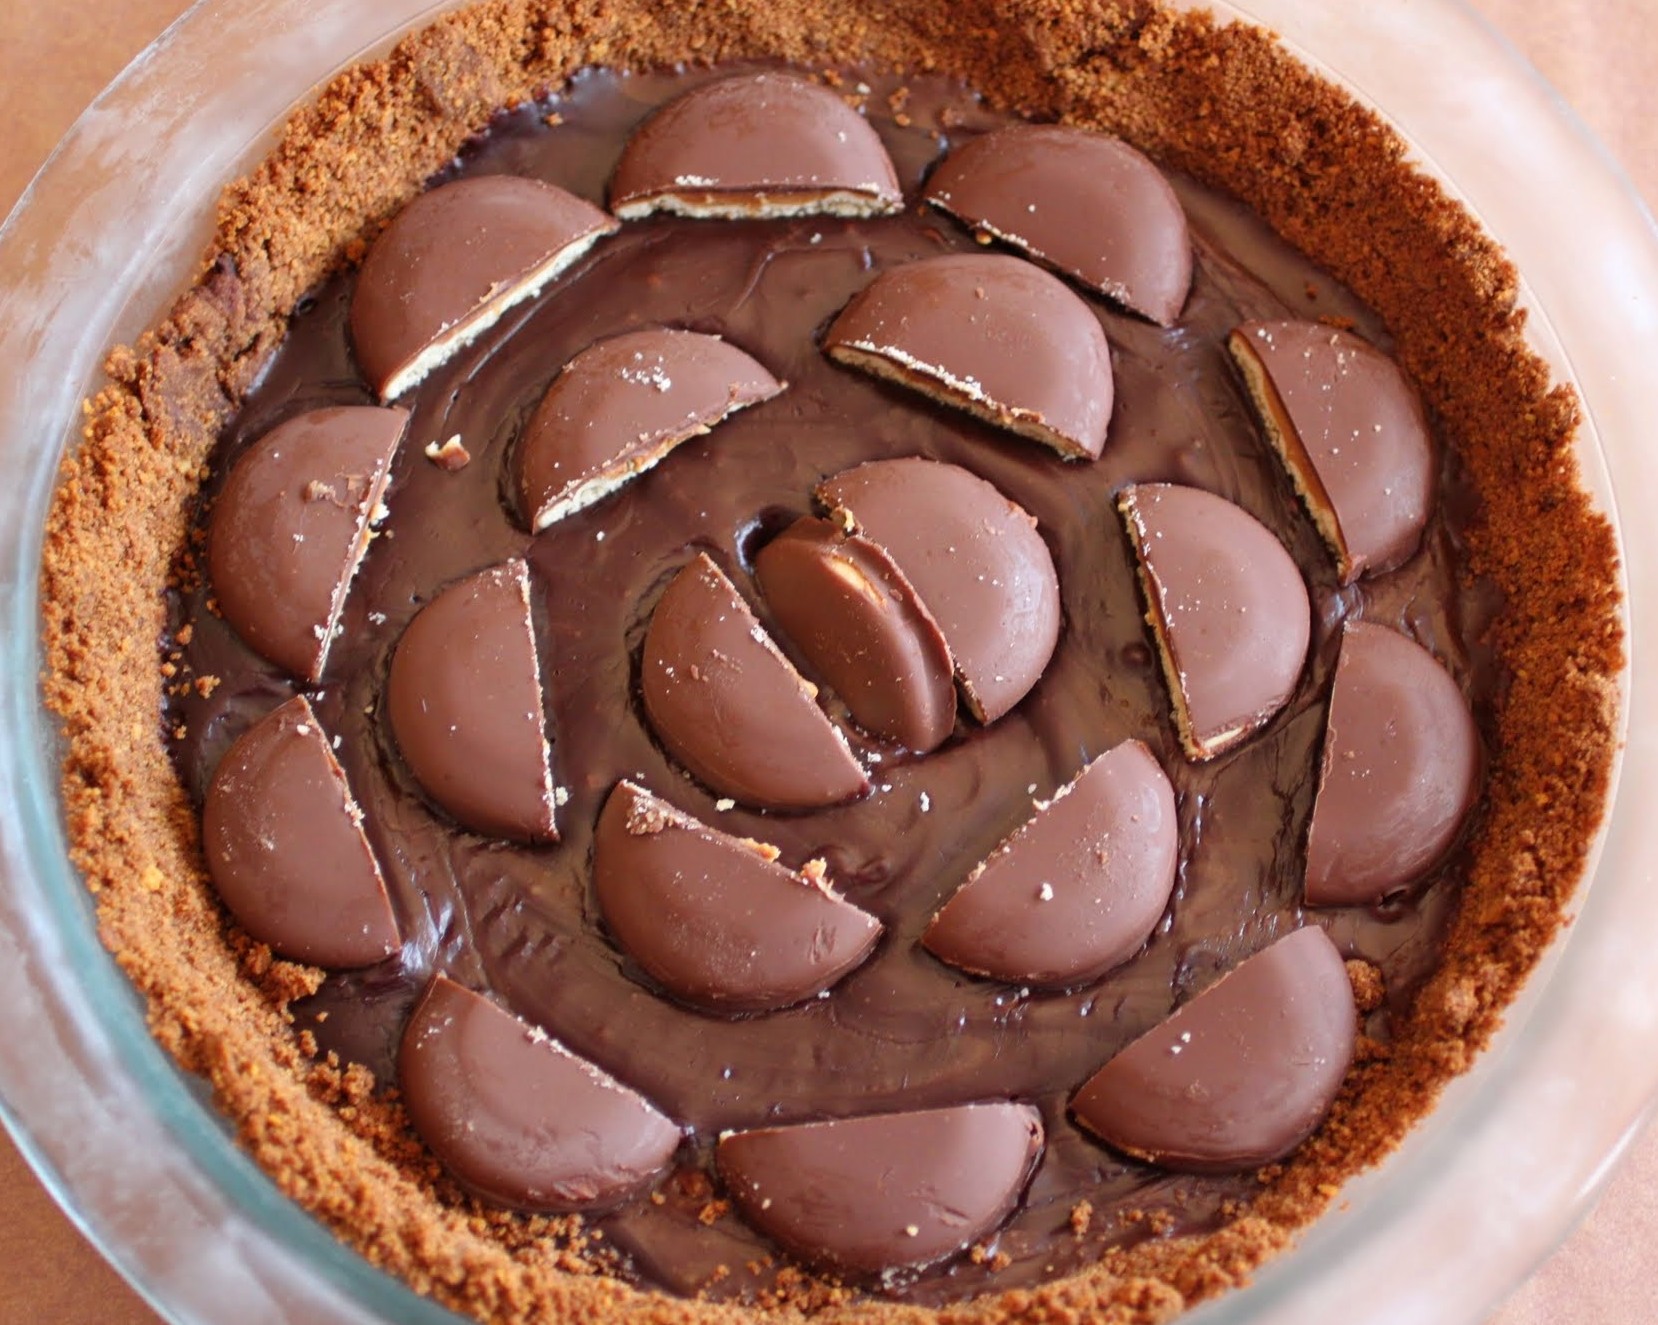
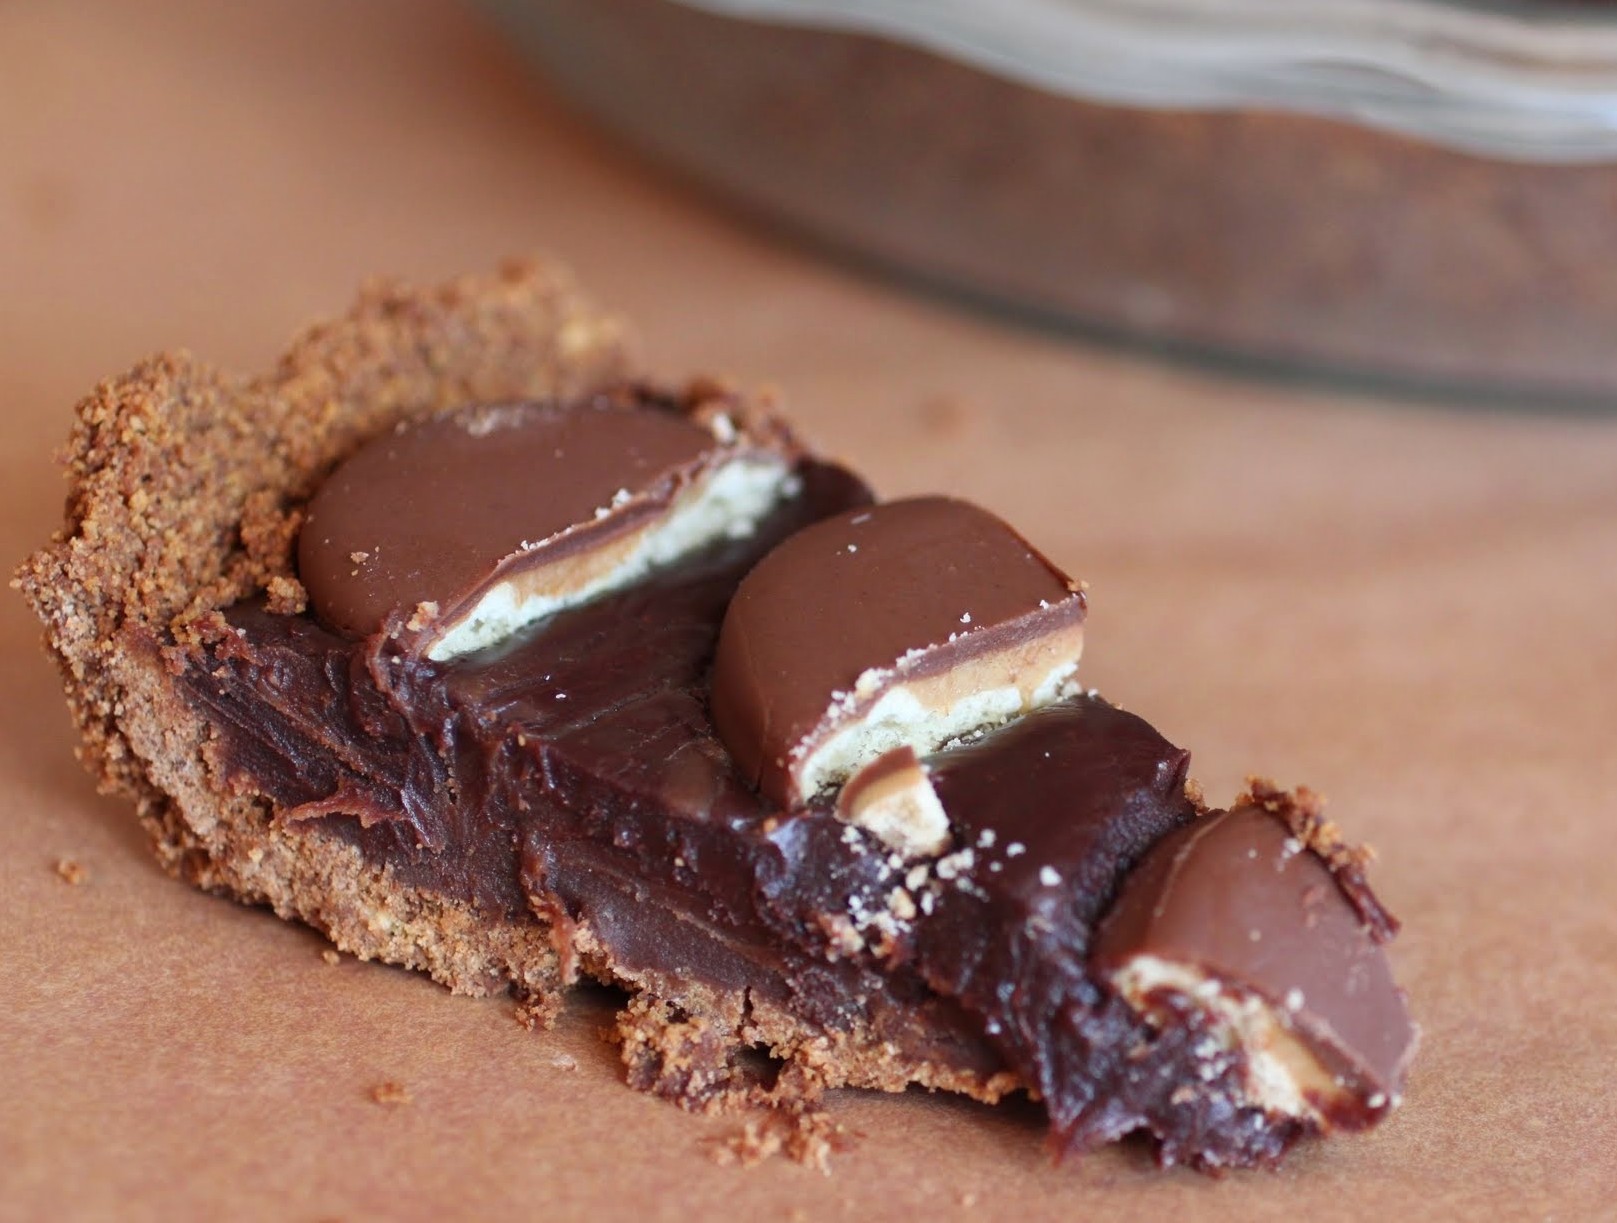
So, on this belated Pi Day, I chose to use up my remaining box of Girl Scout cookies. Oh, the things I do for you. But don’t worry, because I ate plenty of this Tagalong Pie. It’s full of peanut butter chocolate ganache and Tagalongs. How could I resist?
And even better, I made this pie a full day after actual Pi Day, which means that it made me very happy. I felt as though Pi Day (the perfect no strings attached holiday, mind you) were still going on. It was perfect.
This pie is also made with my tricked-out graham cracker crust, so be sure and check out how that’s done in the recipe below. I guarantee your life will change. And what better way to celebrate Pi Day? Later is better. Don’t forget that!
Ingredients
Instructions
- Preheat the oven to 350. Coat a 9 or 10-inch pie plate with cooking spray. Set aside.
- In a microwave-safe bowl, melt the chocolate chips and butter for one minute. Stir until smooth. Add the brown sugar and graham cracker crumbs, stirring until moistened.
- Press the crumbs tightly and evenly into the pie plate, working the crumbs up the sides. Bake the crust for 15 minutes. Remove from the oven to cool.
- While the crust cools, microwave the heavy cream with the peanut butter chips and chocolate chips for two minutes. Stir, and then microwave in 30-second intervals until the mixture is smooth (if needed).
- Pour the ganache into the pie crust. Refrigerate for one hour.
- Remove the pie from the refrigerator and gently press the Tagalongs into the top, using whatever pattern you choose.
- Put the pie back in the refrigerator anywhere from two more hours to overnight.
- Slice and serve. Store chilled.
]]>
Example: when I’m not sure what to bake, the answer is magic bars, pure and simple. Because no matter how basic a magic bar is, different flavors and combinations abound. And when there are Girl Scout cookies in the world, attention must be paid.

This is my one-year blogiversary, everyone. You’d think I’d be celebrating by popping champagne and downing one of my decadent desserts, and perhaps that will happen, too. At the moment, though, I’m feeling more contemplative than celebratory.
You see, blogging is kind of hard, if you keep it up. I have a demanding full-time job as a high school teacher, and I also have three small kids. Any attention I give Just About Baked has to be stolen time. That happens early in the morning before anybody is awake, late at night after everyone is asleep, or on weekends, when the kitchen suddenly becomes a whirlwind of spilled flour and sugar.
Through this year, Just About Baked has become stronger and is shaping into something that I’m really proud of. There’s still so much I want to do, and I’m not sure when that will happen. But I’ve learned something really important in life, and it applies to my blog. Ready for this wisdom?
Forget perfect. Try good enough.
You see, I’m never going to be perfect, not in anything. I’ll never be the perfect wife, the perfect mom, the perfect teacher, the perfect person. And my blog won’t be, either. My pictures could use some improvement, I am guilty of the occasional typo, and I have left ingredients out of recipes. Sorry, folks.

Those transgressions alone are enough to shut down many a food blogger. But that’s not going to happen here. I can’t learn or grow if I quit, and unless I accept that my blog, as it stands, is good enough. I will keep working and trying, and that’s all I can do.
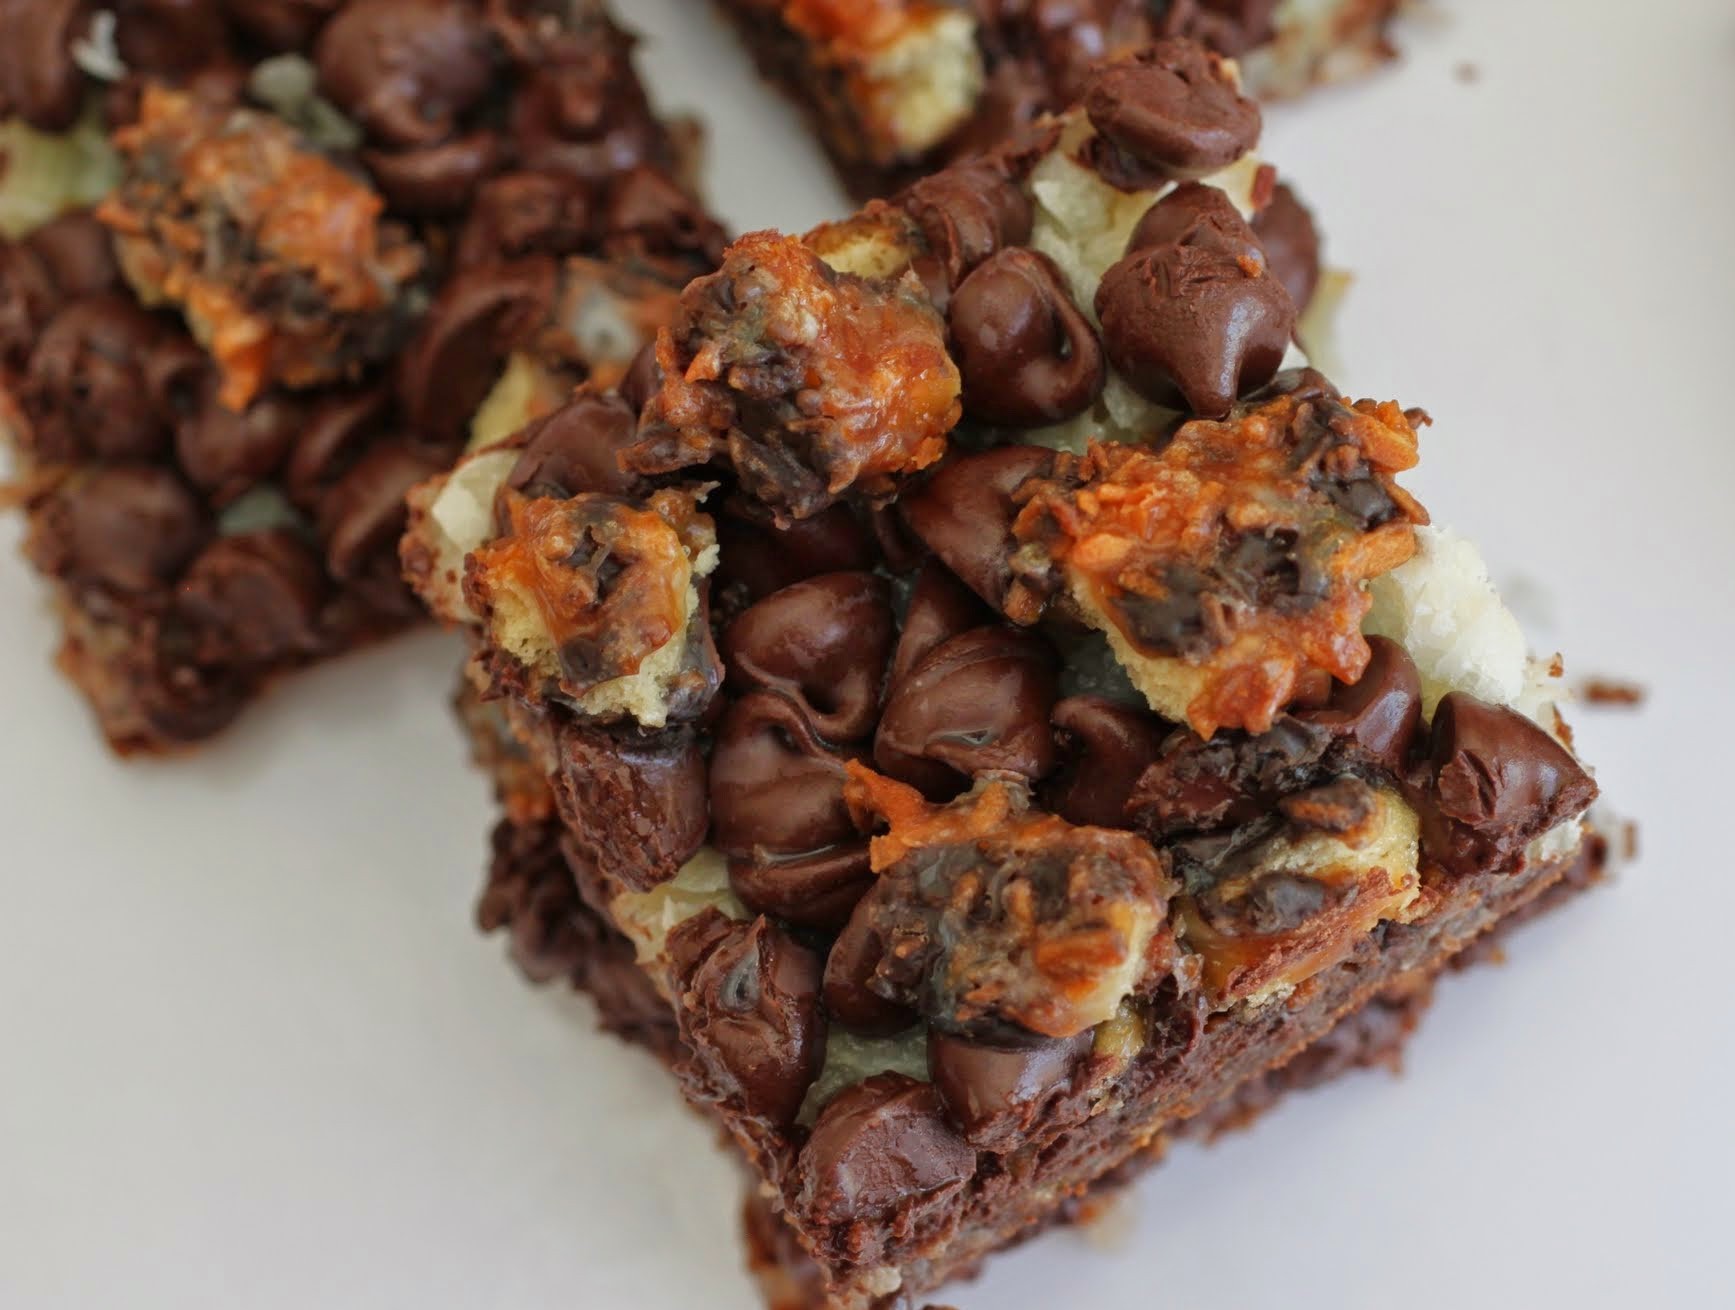
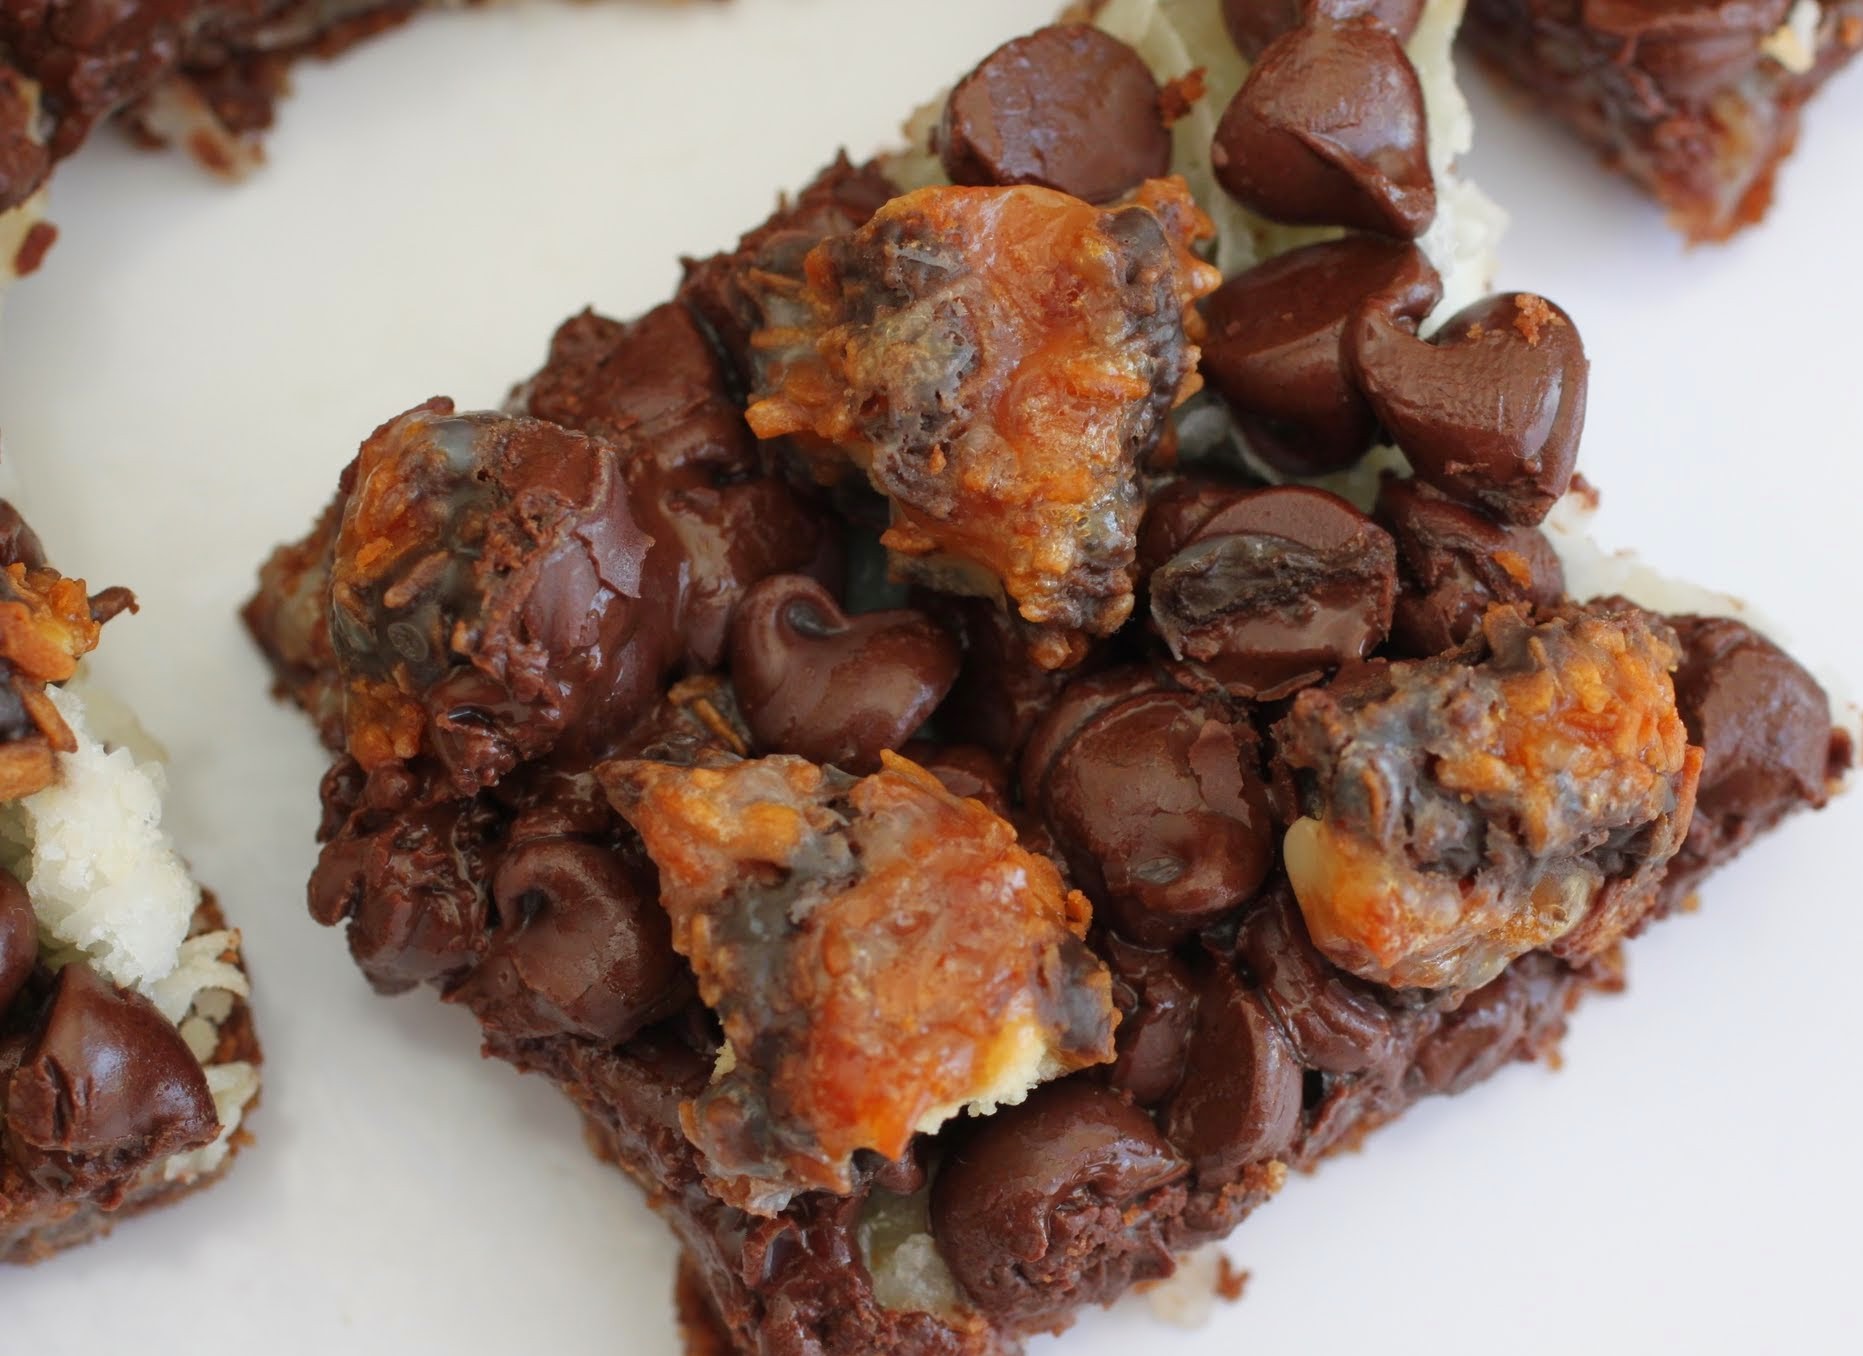
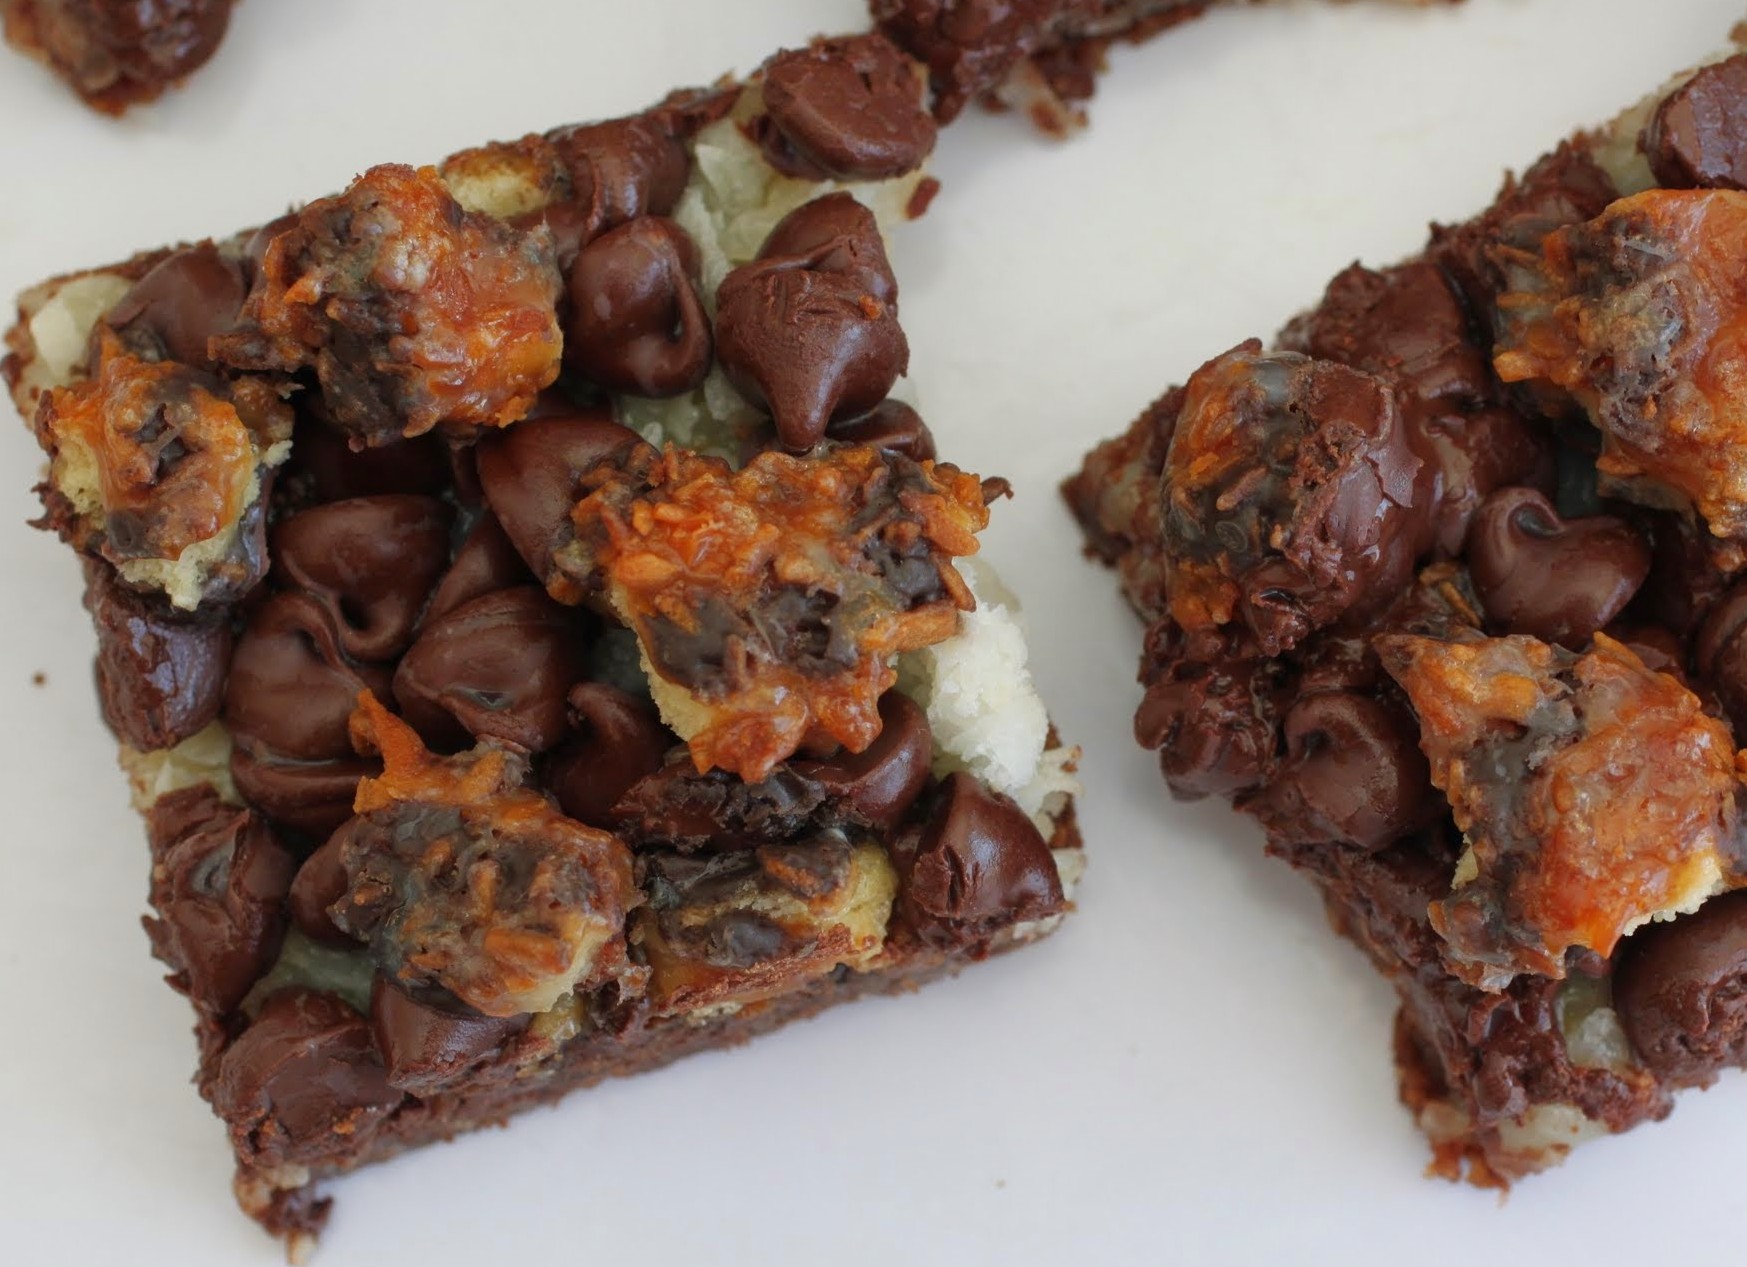
So on this one-year anniversary of Just About Baked, I’ve gotten pretty serious. But I also want to say thank you to all of you who read and support my blog, who write in lovely comments, and who compliment my crazy ideas, like this one. After all, why not make a Samoa more of a delight by adding it to a chocolate graham cracker crust topped with coconut, chocolate chips, Samoa pieces, and condensed milk?
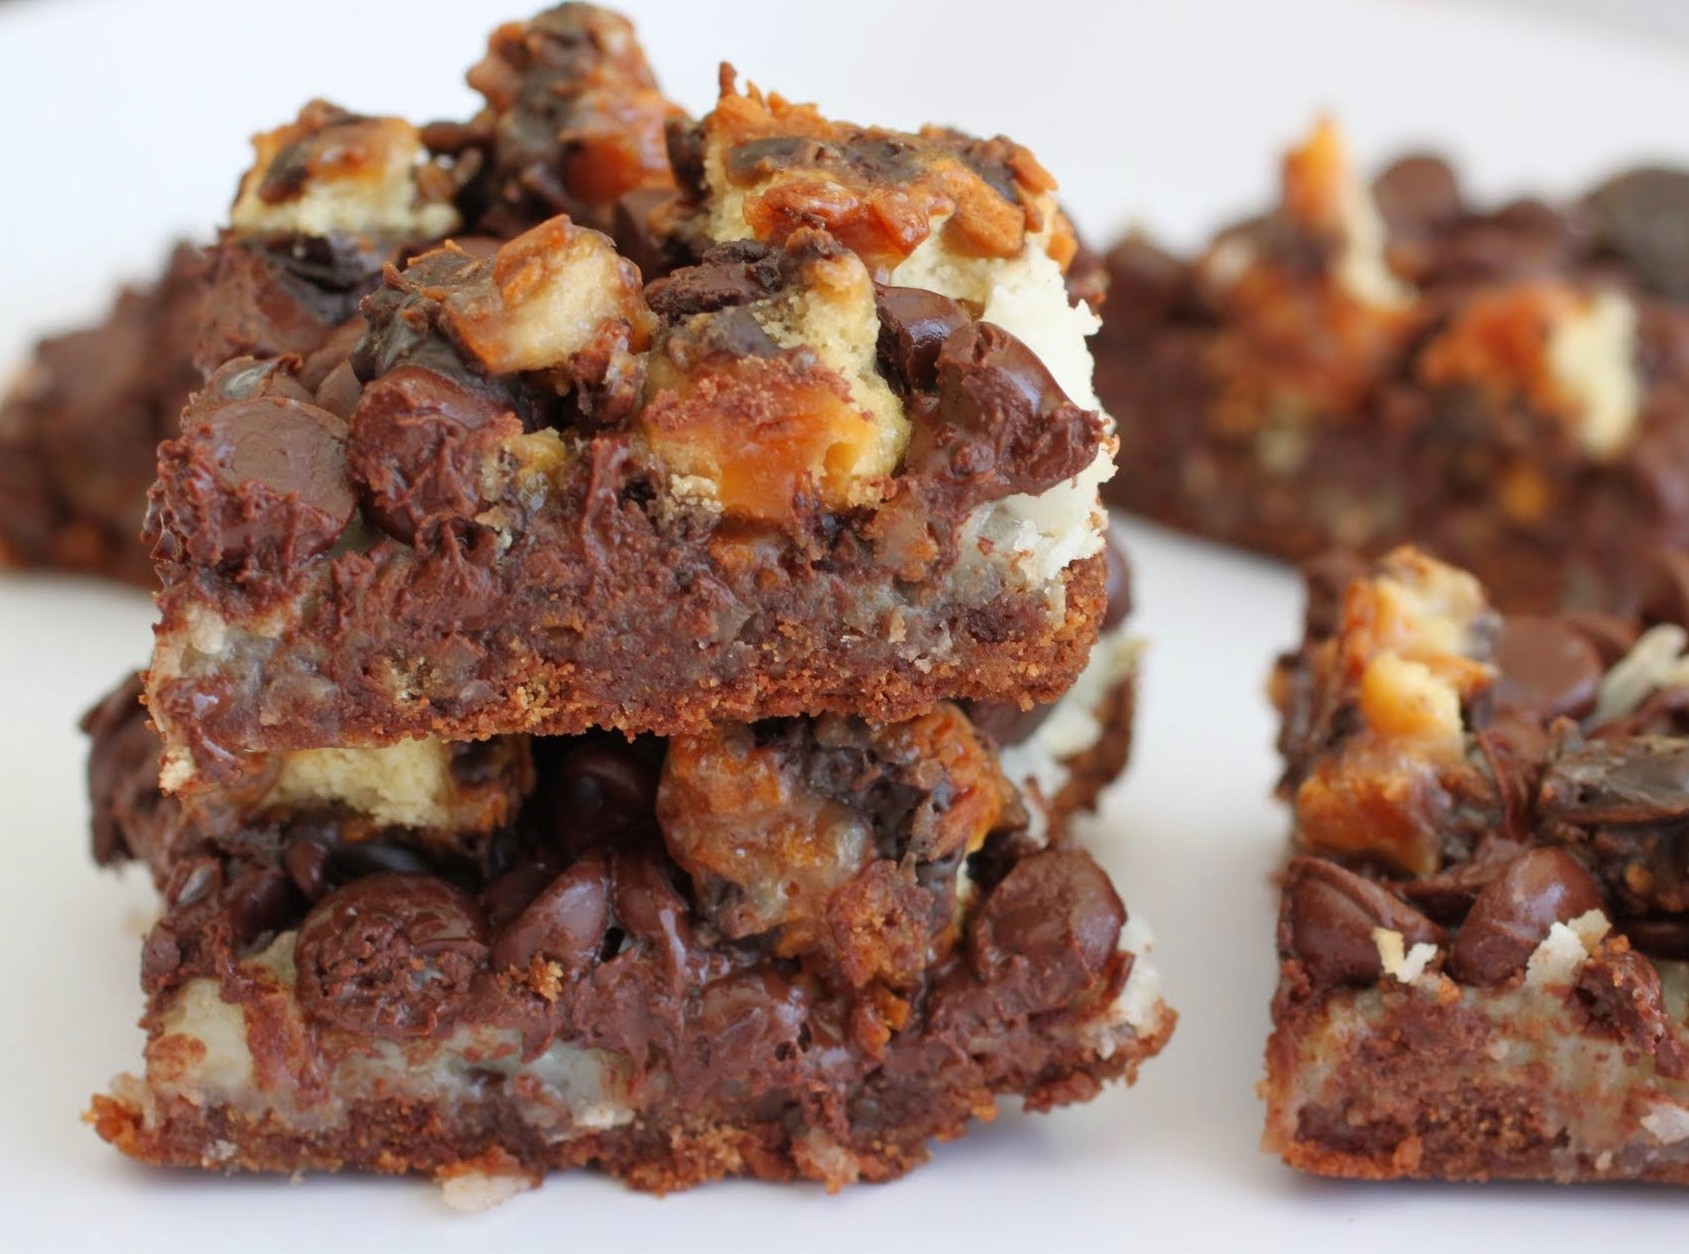
See? Magic. Even magic doesn’t have to be perfect. So happy blogiversary to me, and here’s to being good enough. Let’s all raise a magic bar to that!
Ingredients
Instructions
- Preheat the oven to 350. Line a 9 x 13 pan with foil, letting the foil hang over the sides. Coat with cooking spray. Set aside.
- In a microwave-safe bowl, melt the butter and chocolate chips for one minute. Stir until smooth. Add the graham cracker crumbs, cocoa and brown sugar, mixing until the crumbs are moistened.
- Press the crust into the prepared pan with a rubber spatula, ensuring that everything is packed in evenly. Bake for 10 minutes.
- Remove the crust from the oven. Lightly but evenly spread on the coconut. Sprinkle the chocolate chips on top, and then the Samoas. Be sure to cover every possible area with the broken cookies. Pour the sweetened condensed milk evenly over the top.
- Bake for 25 minutes. Cool completely and cut into squares.
]]>
Why don’t I feel good about breaking that record?
Maybe because if I’m going to be a witness to record-breaking, I’d rather there be something more fun involved, like cheesecake eating. Has anyone ever broken a cheesecake-eating record? I’m sure. I’d like to be told about it, but please don’t send me any videos.
The upside of winter is that, like horrible phases your kids go through, it’s temporary. My daughter is going through this thing where she falls asleep in the car on the way home from school every day. Then she wakes up at home, starts screaming, makes me hold her and doesn’t calm down for an hour. It’s super fun.
But see, I’m a seasoned mom now, and I know that everything ends. And that’s both a blessing and a curse, because while her afternoon screeches will come to an end, so will her adorable baby cheeks. I mean, she’s almost three. They can’t stay around forever.
And neither can these cheesecake bars. I believe they disappeared in record time. And how could they not? They’re chock full of Tagalongs!
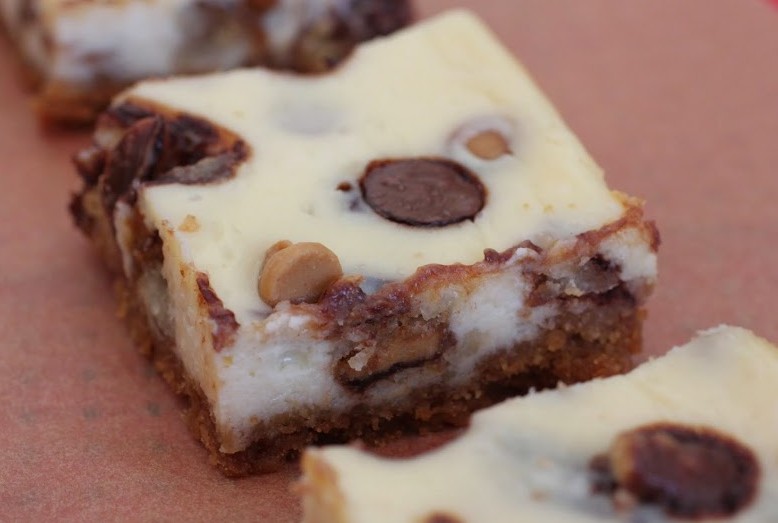
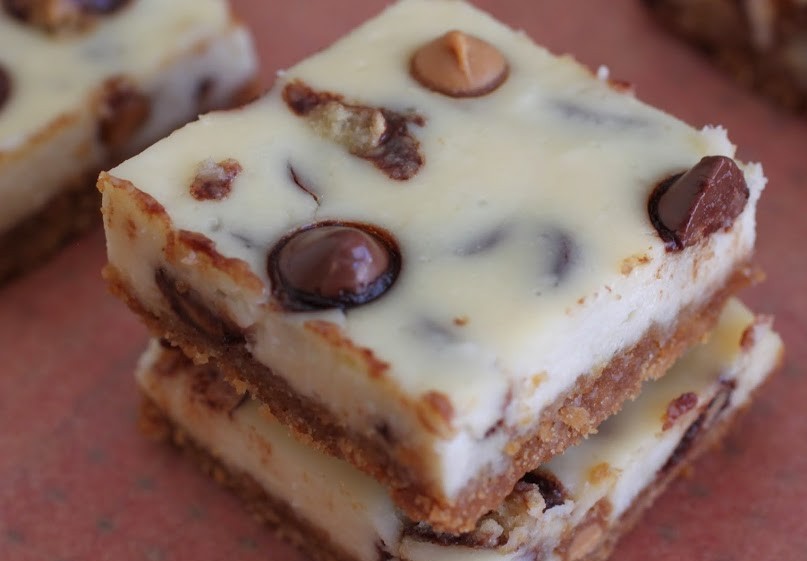
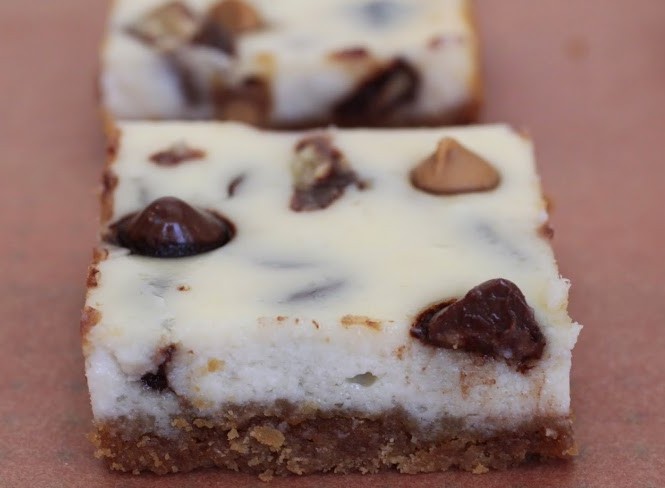
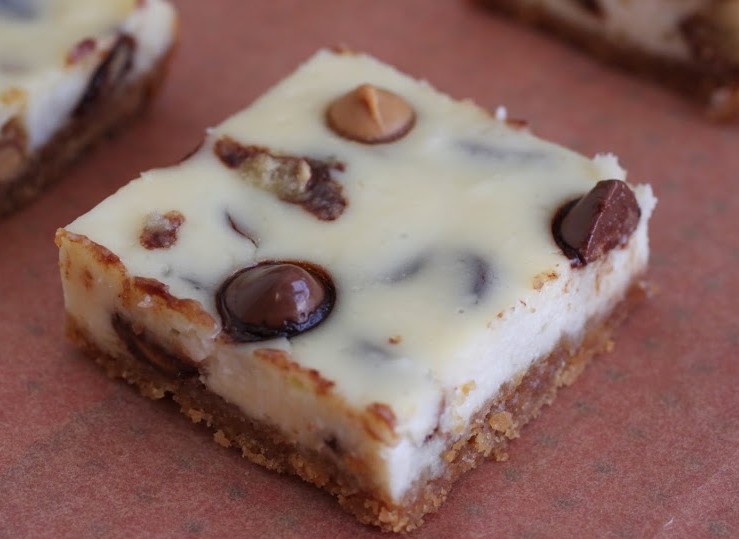
These bars begin with my peanut butter graham cracker crust, which is very simple. You just melt peanut butter chips along with the butter, and there you go. The crust is topped with a basic cheesecake batter which becomes beyond fun with the addition of chopped Tagalongs, peanut butter chips, and peanut butter-filled chocolate chips.
While I love using Girl Scout cookies for baking, I tend to use Tagalongs the most. After all, I’m a bona fide, die-hard peanut butter girl. So don’t be shocked if you see at least one more Tagalong recipe on here in the near future. But I’ll try to give Samoas some mo’ (get it?) love soon!
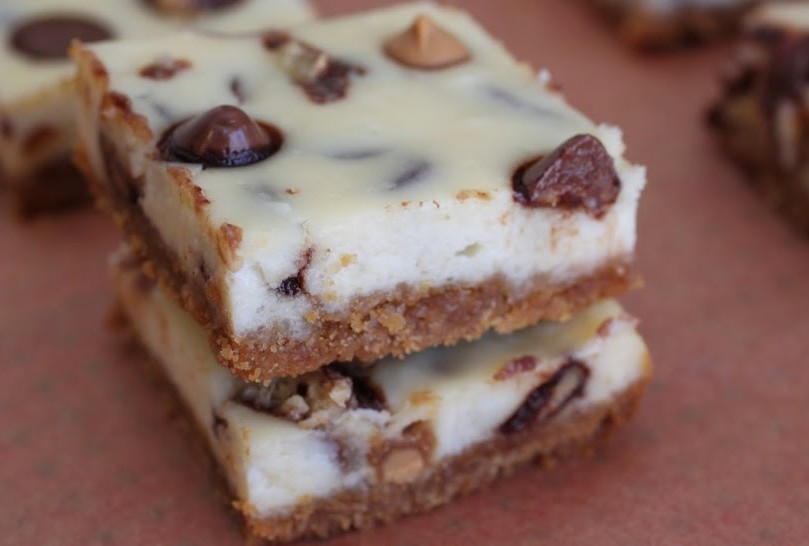
Cheesecake bars are always addictive, but these are above par, believe me. If you want to ensure that people will eat what you bake, this is it. In life, everything is temporary. It’s up to us to savor the good and realize that the bad is, well, a learning experience. How’s that for positivity on a Monday?
Ingredients
Instructions
- Preheat the oven to 350. Line an 8 x 8 pan with foil, leaving enough to hang over the sides. Spray with cooking spray. Set aside.
- In a microwave-safe bowl, melt the peanut butter chips and butter for 1 minute. Stir until smooth. Add the brown sugar and graham cracker crumbs, stirring until moistened.
- Press the crumbs tightly and evenly into the prepared pan with a spatula. Bake the crust for 15 minutes.
- While the crust is baking, prepare the cheesecake filling. Beat the cream cheese and sugar until light and fluffy. Add the sour cream, egg, and vanilla, beating until completely smooth.
- Fold in the chopped Tagalongs, peanut butter chips, and peanut butter-filled chips, reserving a few of each for the top. Pour the cheesecake filling into the pan, smoothing out. Press the reserved chips/Tagalong pieces into the top lightly.
- Bake for 25 minutes. Turn the oven off and let the bars sit in there until the oven cools.
- Remove and cool completely. Chill for 2-3 hours before cutting into squares.