Do I buy most of my friends? Heavens, no. But two of my pals, good old Ben and Jerry, like it when I spend my hard-earned cash on them. So I try to be a loyal buddy.
Over the years, Ben and Jerry’s flavors have gone through quite a rotation. They’ve taken away some of my absolute favorites, and I’ve been very vocal on their website about bringing those flavors back. But thank the powers above that my very favorite is still in existence. It’s known as Everything But The…
No, I didn’t cut off in the middle of the sentence. That’s the flavor. But we all know that expression ends with the words “kitchen sink.” In baking, that’s a term we use to describe the scientific process by which we take all the leftover crap in the house, dump it into a batch of whatever, and call it a night.
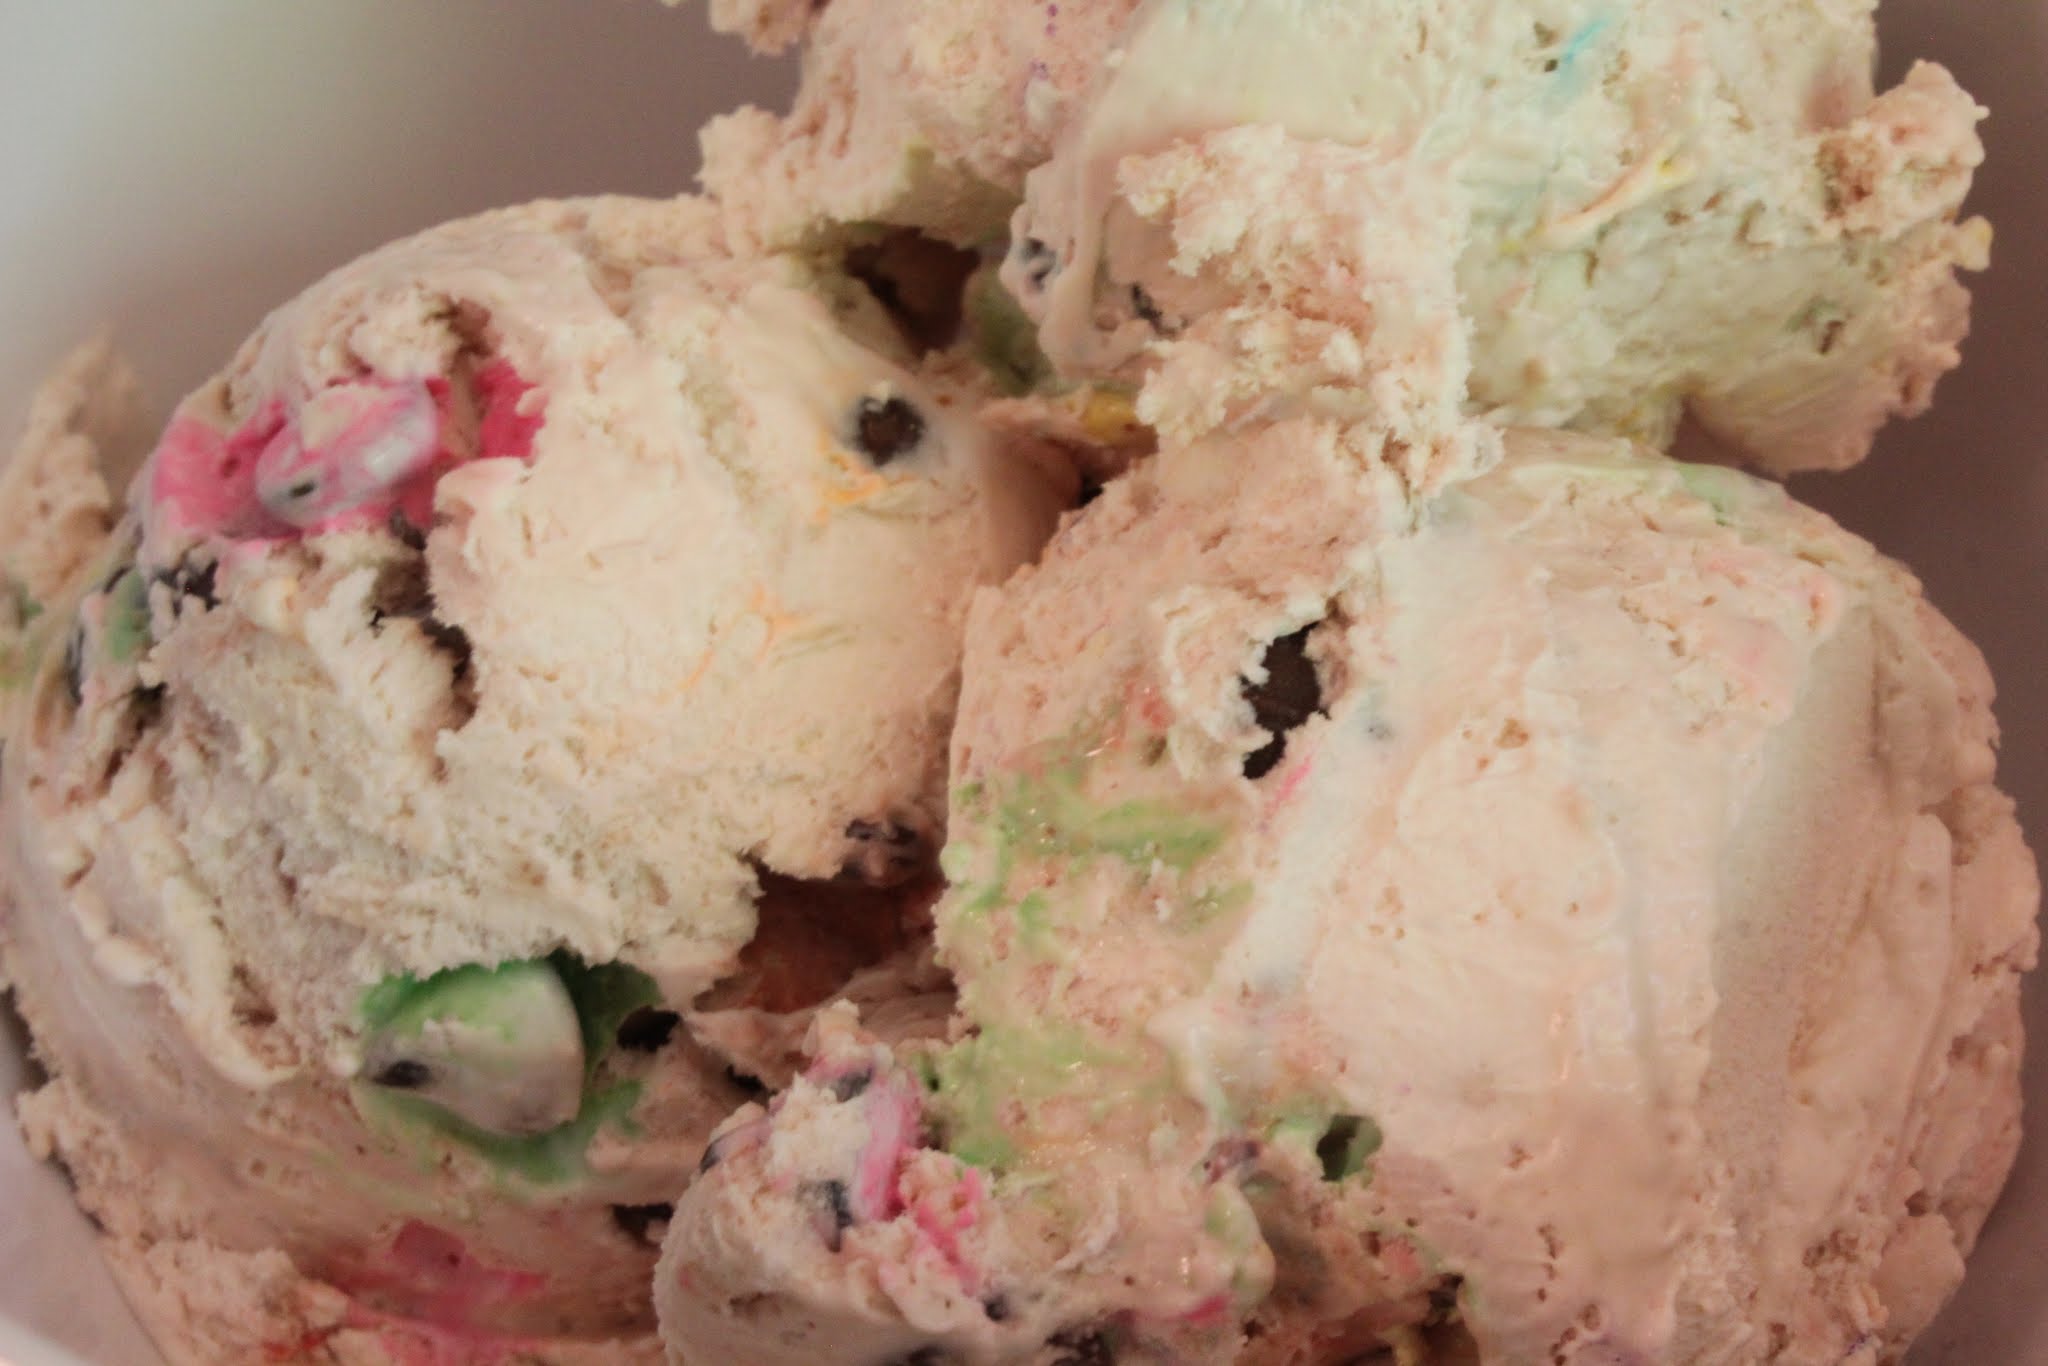
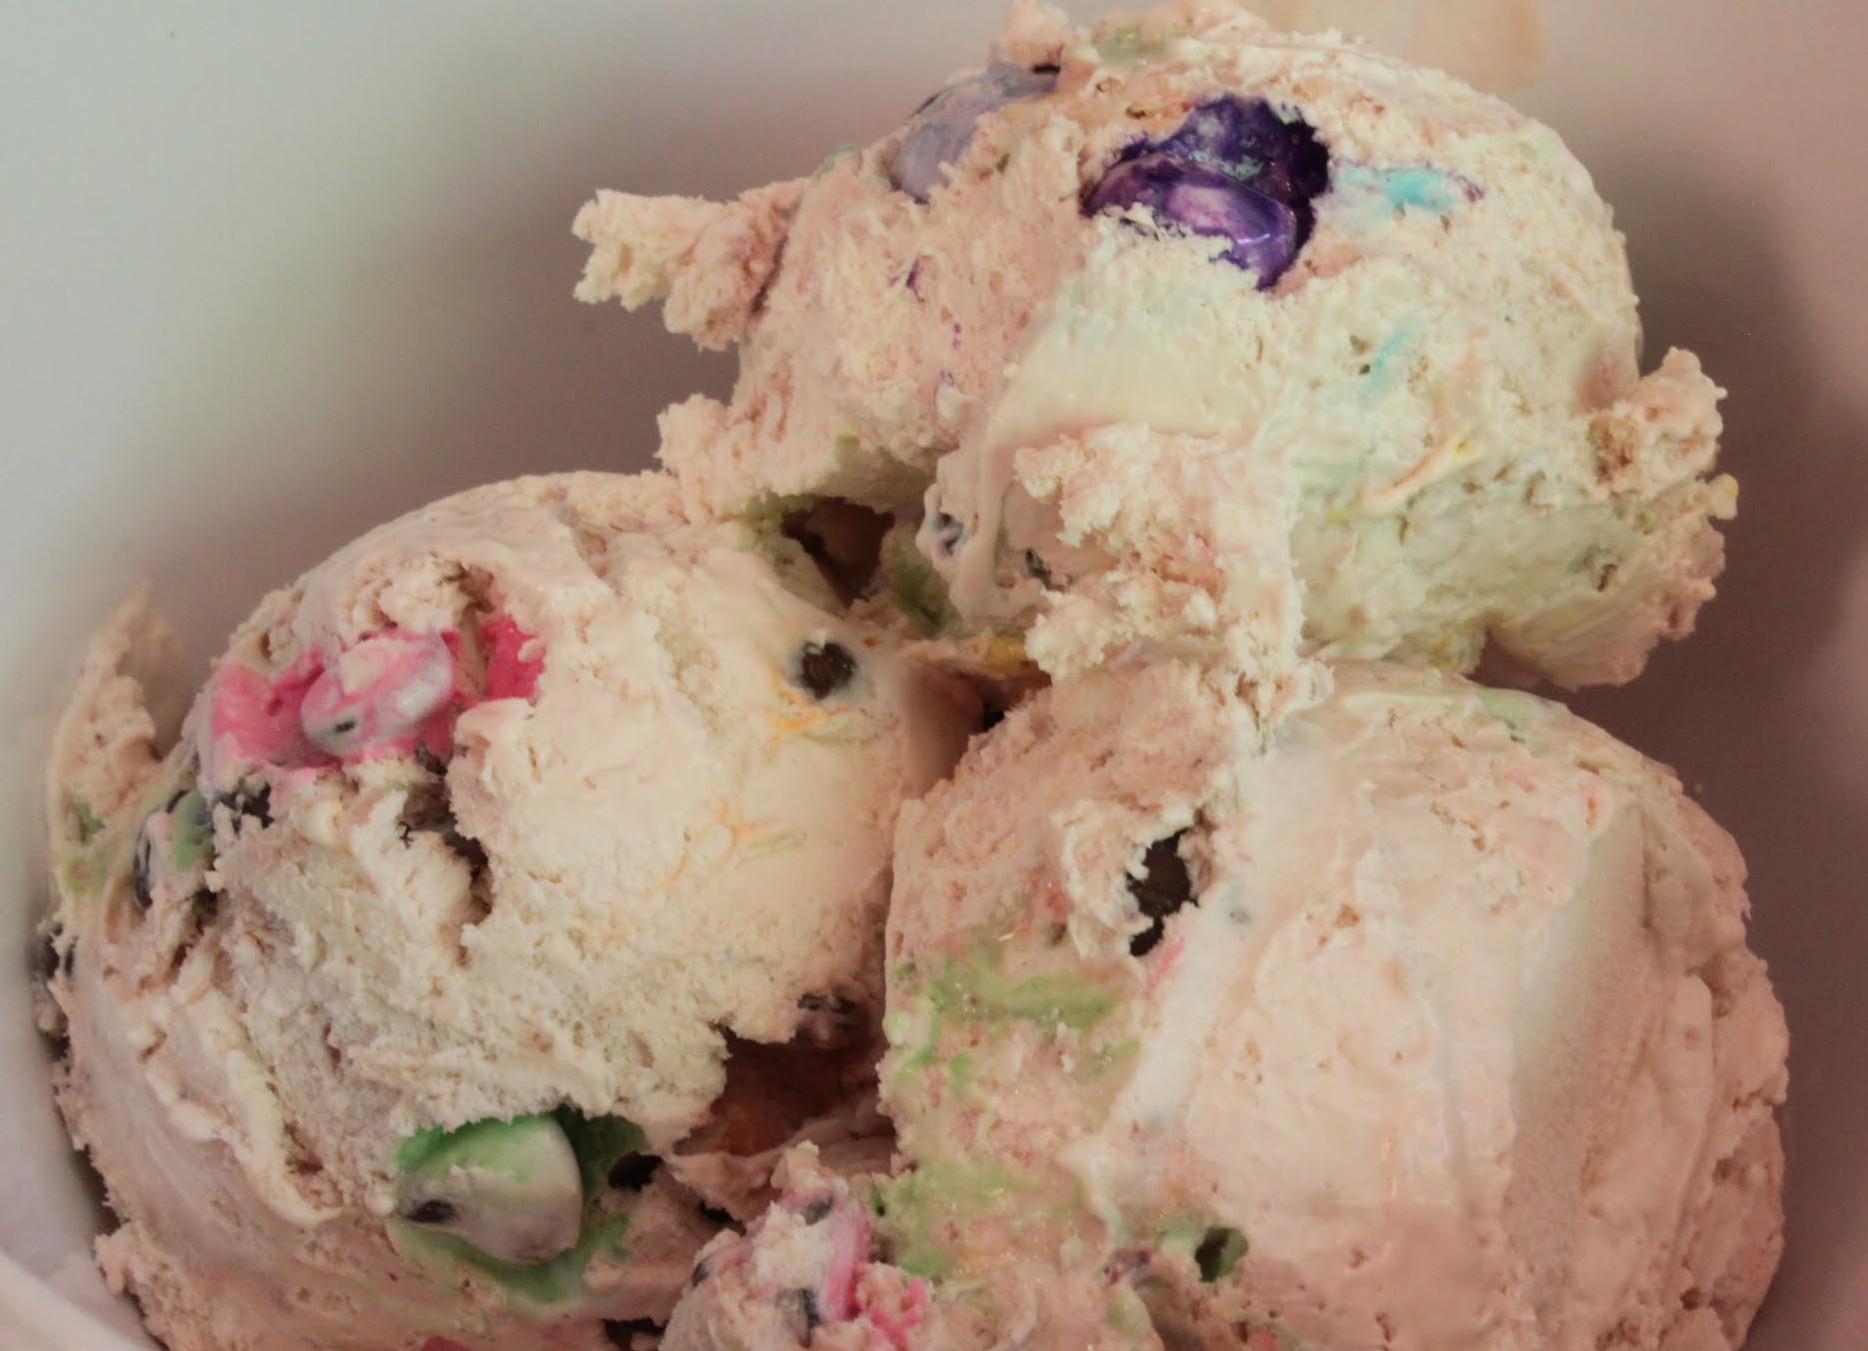
So here it is, folks! No, not the same kind as Ben and Jerry. I had a bunch of stuff in my freezer (M & Ms, chocolate chips, rainbow chips) and they all went into the ice cream. But since the base is vanilla, add whatever you want! Caramel. Peanut butter cups. Brownie chunks. Sprinkles. The field is yours. Play away!
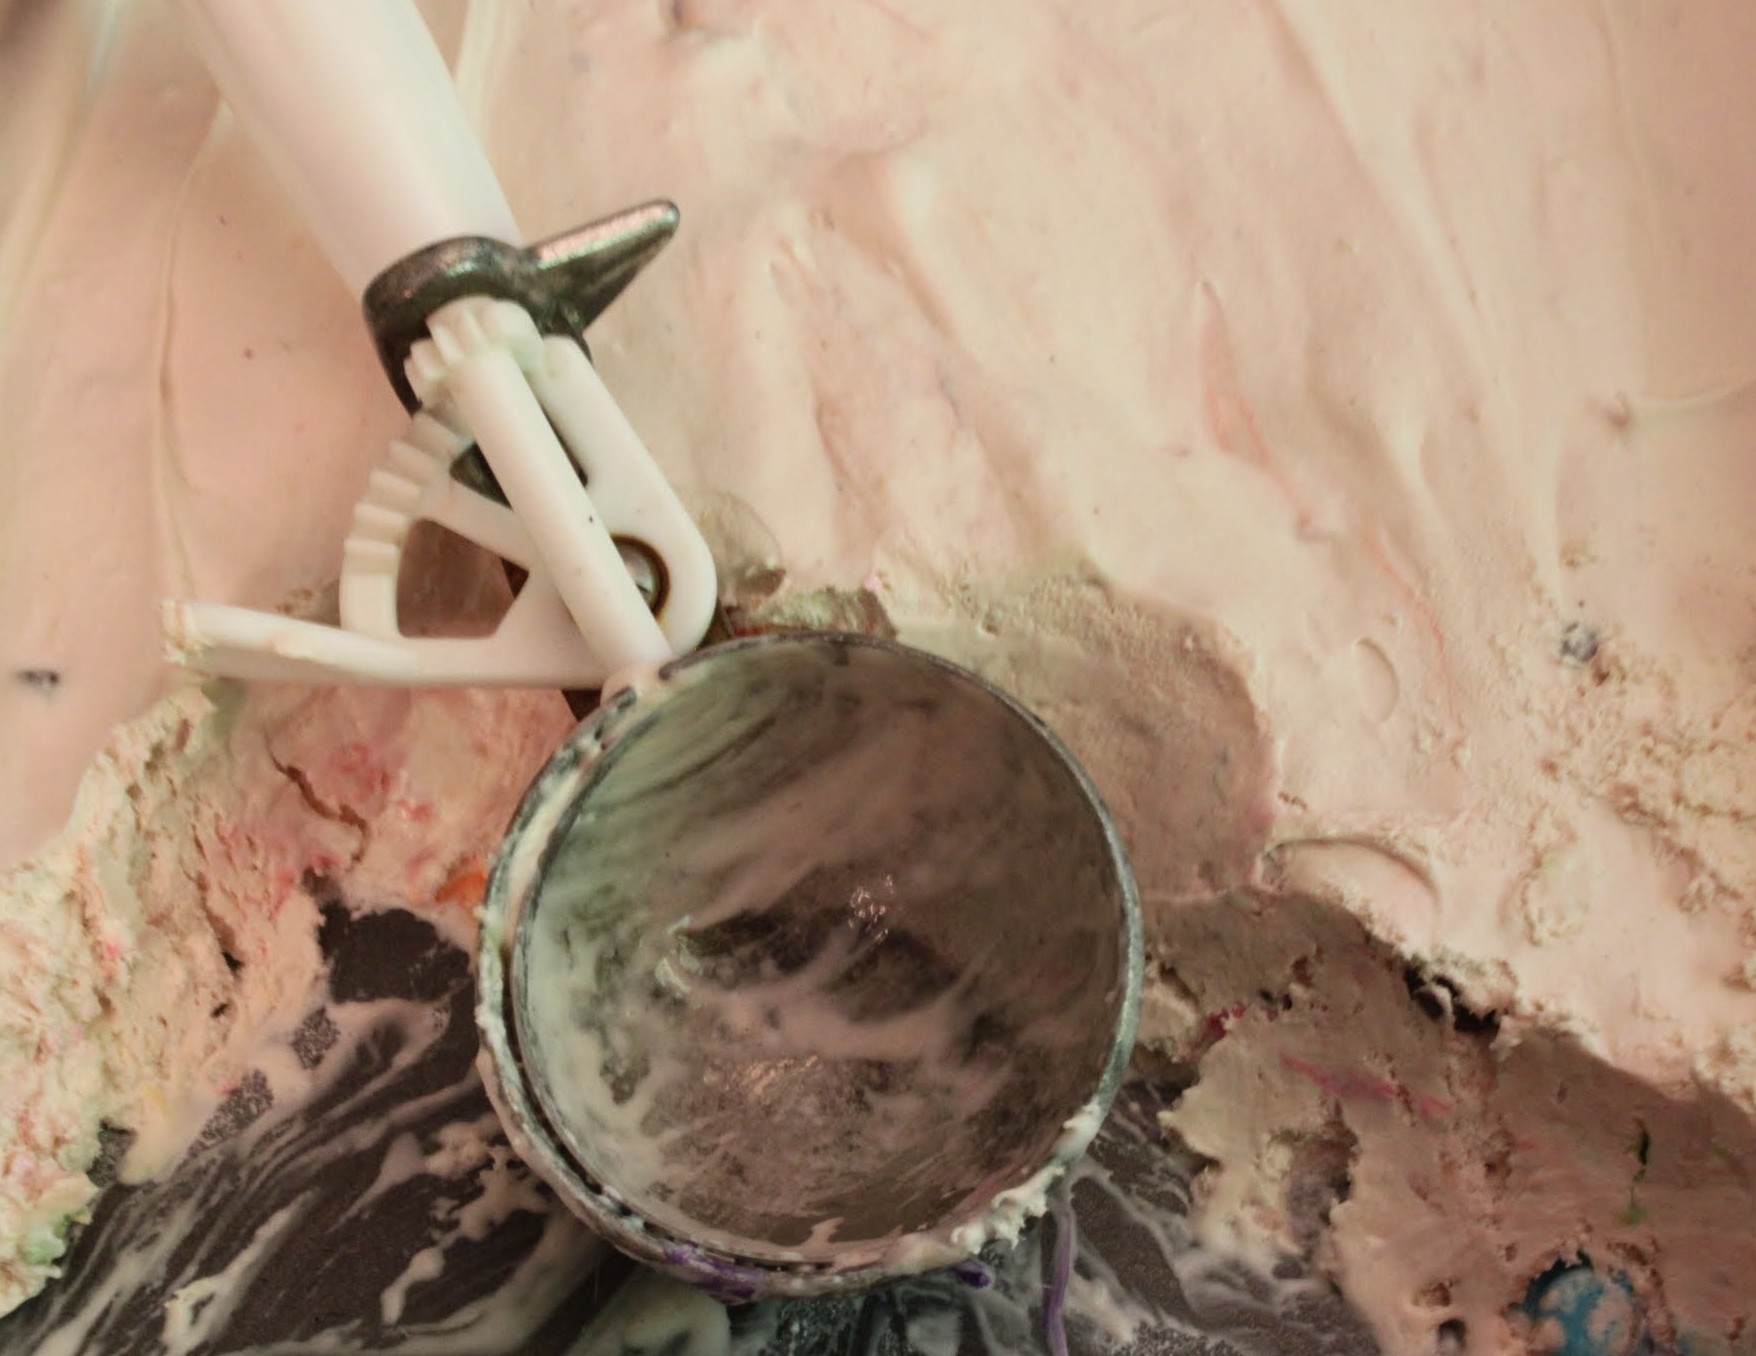
The best part about this ice cream is that it comes together in two seconds. If you don’t want to use Cool Whip because you are a snob, then just use heavy whipping cream. You’ll have to whip it, by the way. I use light Cool Whip here because it’s easy. I like easy.
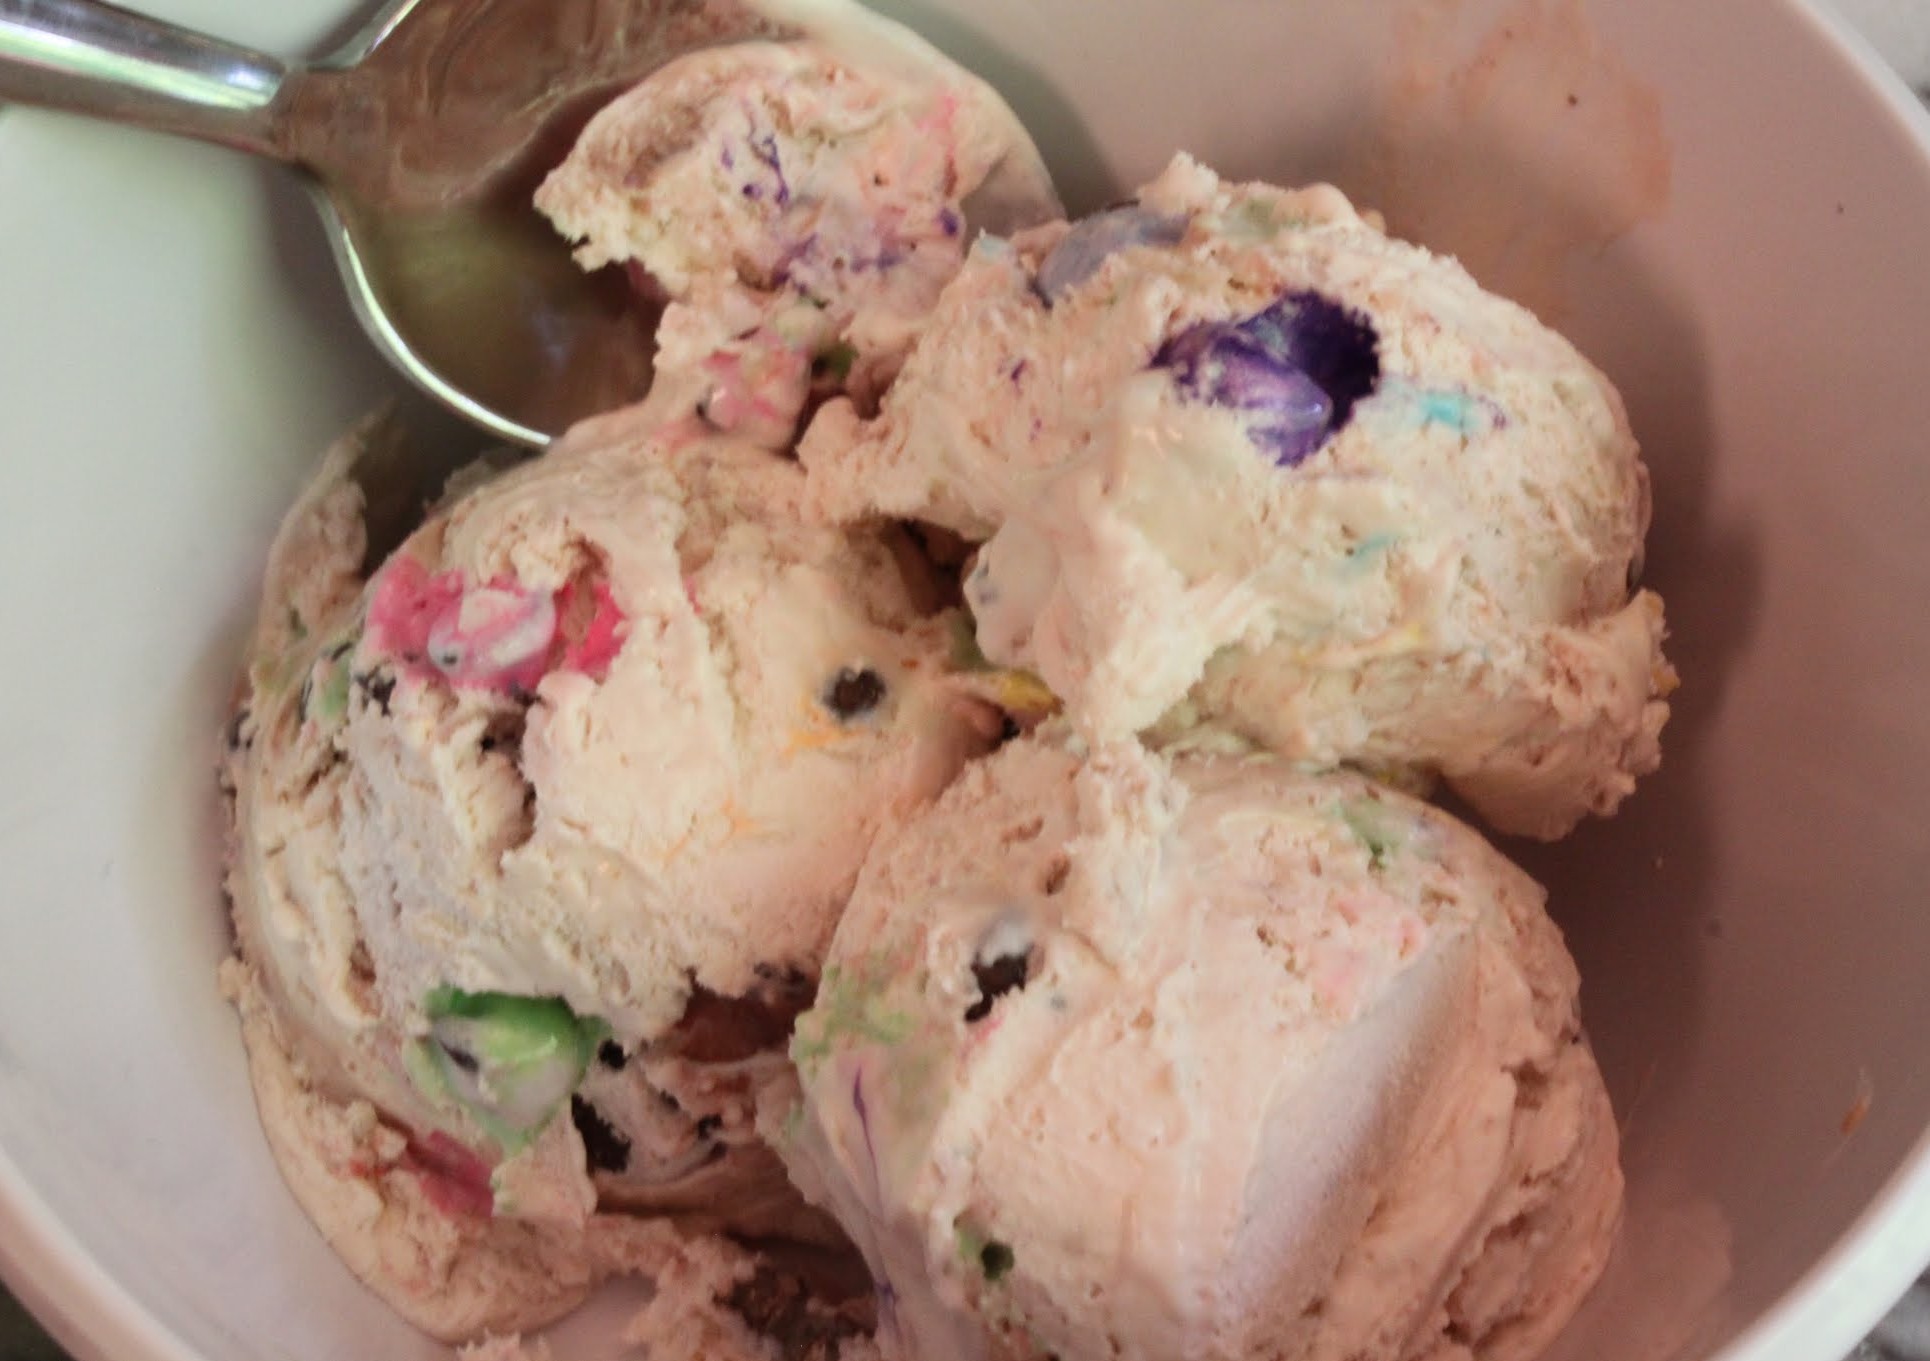
My kids like this stuff. It’s colorful and full of candy that bleeds color everywhere. And it’s ice cream. Case closed.
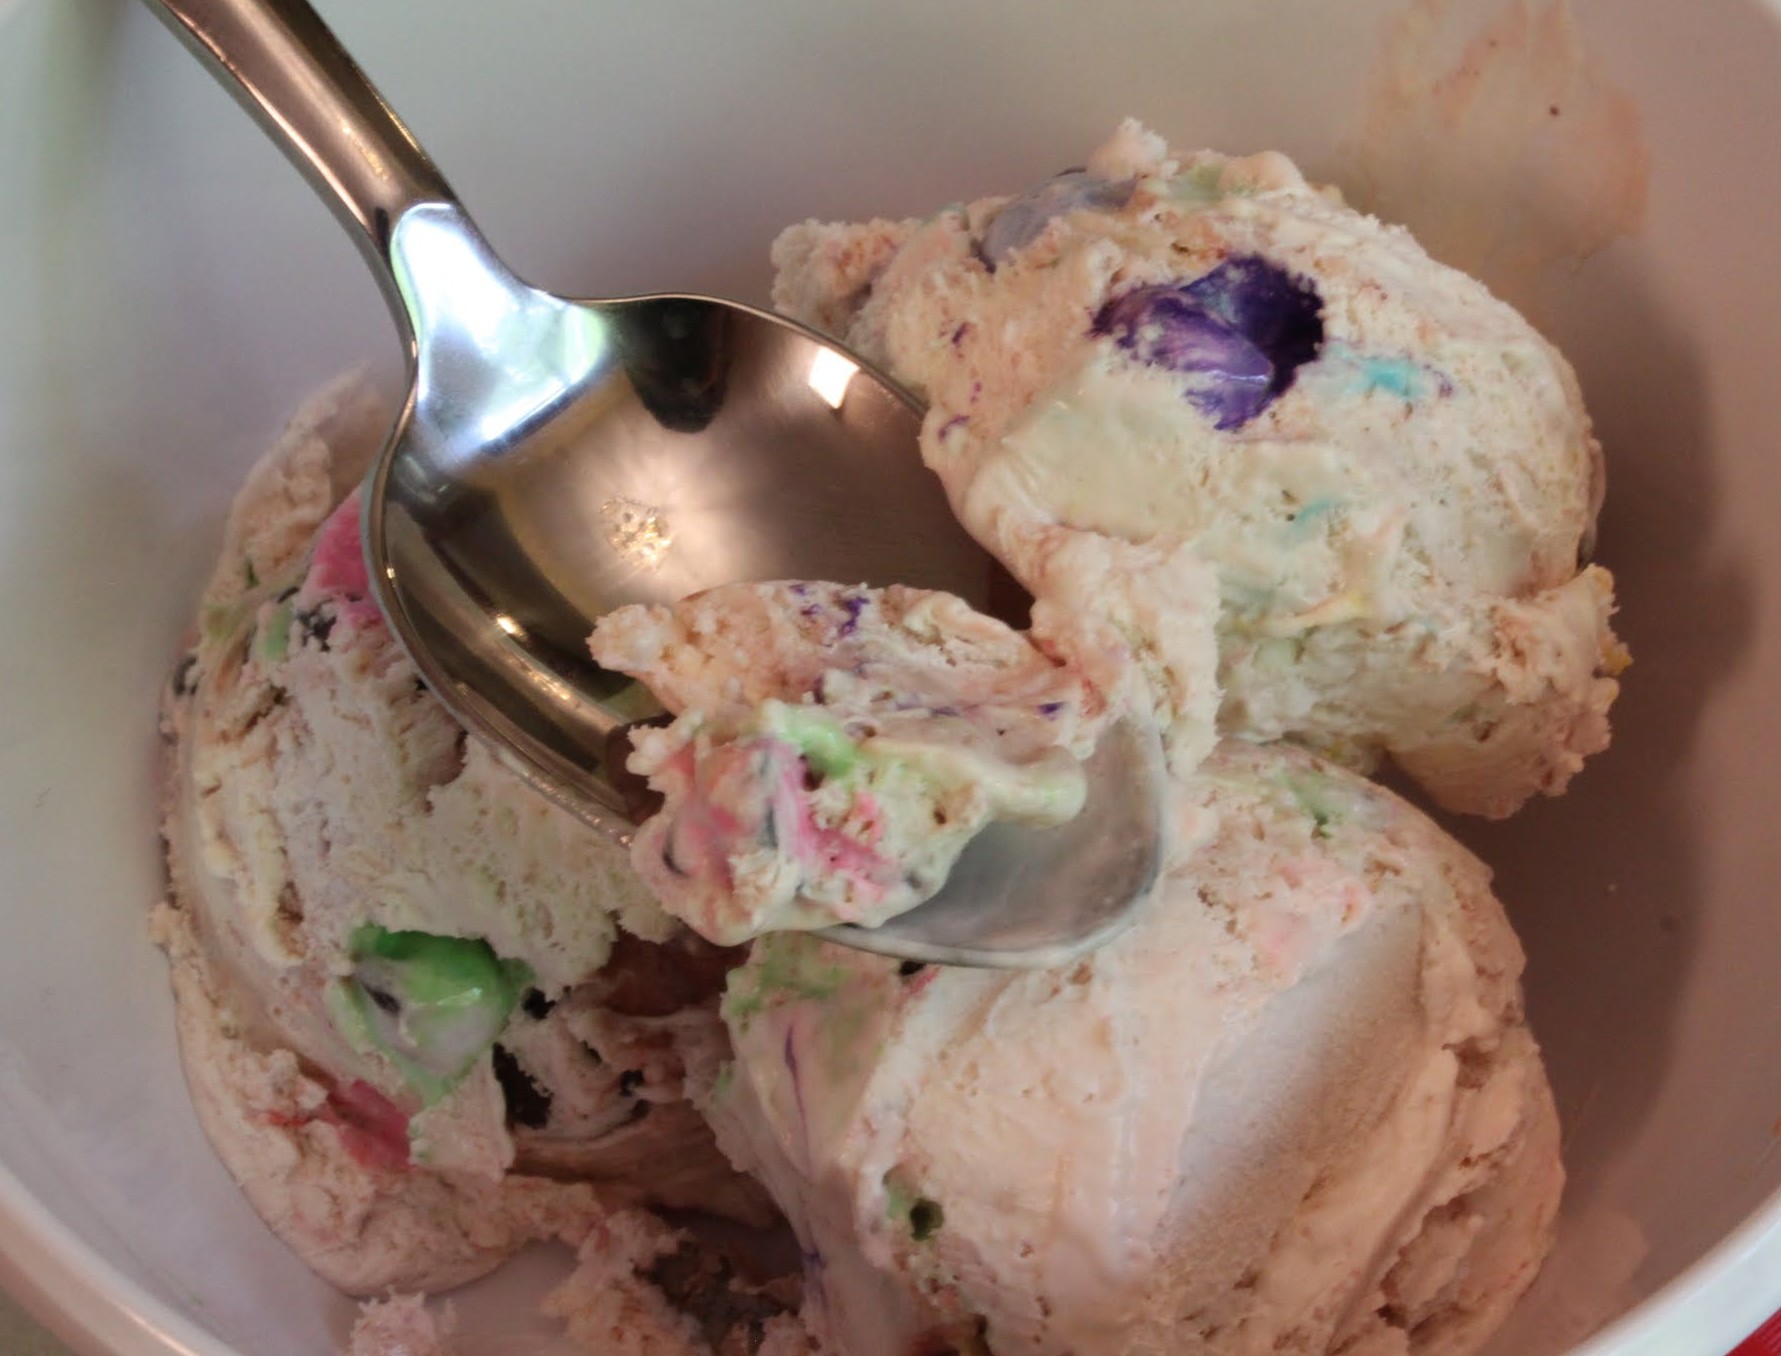
Seriously, is any time of year better than this? What beats ice cream? Really. What?
Summer is the time, folks. Eat the cold treats while you can! And stay tuned for my Beach Week next month. I’ll be posting boardwalk-themed treats based on my delightful experiences at the Eastern Shore. But for now, I hope this ice cream hits the spot!
Ingredients:
- 8 oz. cream cheese, softened to room temperature (I used light)
- 14 oz. sweetened condensed milk (I used fat-free)
- 1 teaspoon vanilla
- desired “kitchen sink” mix-ins
- 16 oz. Cool Whip (I used light)
Instructions:
In the bowl of a stand mixer, beat the cream cheese until smooth. Gradually beat in the condensed milk.
Take the bowl out of your mixer. Add the vanilla and mix-ins, and then slowly fold in the Cool Whip until everything is combined.
Put in a freezer-safe container or pan, cover, and refrigerate overnight. Enjoy!
]]>He just had a birthday and he loves Oreos. He turns down dessert a lot, which I know because I’m usually the one offering it to him. You see, he’s “trying to be good.” Have I mentioned how much I hate associating food with good or bad behavior? Ugh. It’s food.
But anything with Oreos and this guy cannot resist. It’s like me with peanut butter cups. We all have that Achilles heel. Own it!
Anyway, because this man is such a decent human being and dedicated teacher, I made him cookies and cream fudge. I knew he couldn’t resist it, and you know what? Good. We all deserve to have our favorite treats on our birthdays. If anyone who knows me is reading this, that means I’d like you to make sure my cake has peanut butter cups and fudgy brownies worked in! Hint hint.
I should probably talk about this fudge, right? Listen, you know me by now. I can be a lazy baker. That should’ve been my blog name. The thing is, I don’t have time. I don’t! This week I’m teaching, collecting and grading 90 research papers, meeting my brothers for a sibling date, making sure my kids are clean and fed, bonding with my husband, working out, running errands, doing chores, and…baking. No, baking doesn’t come last on the list. It’s just that sometimes I need an easy recipe.
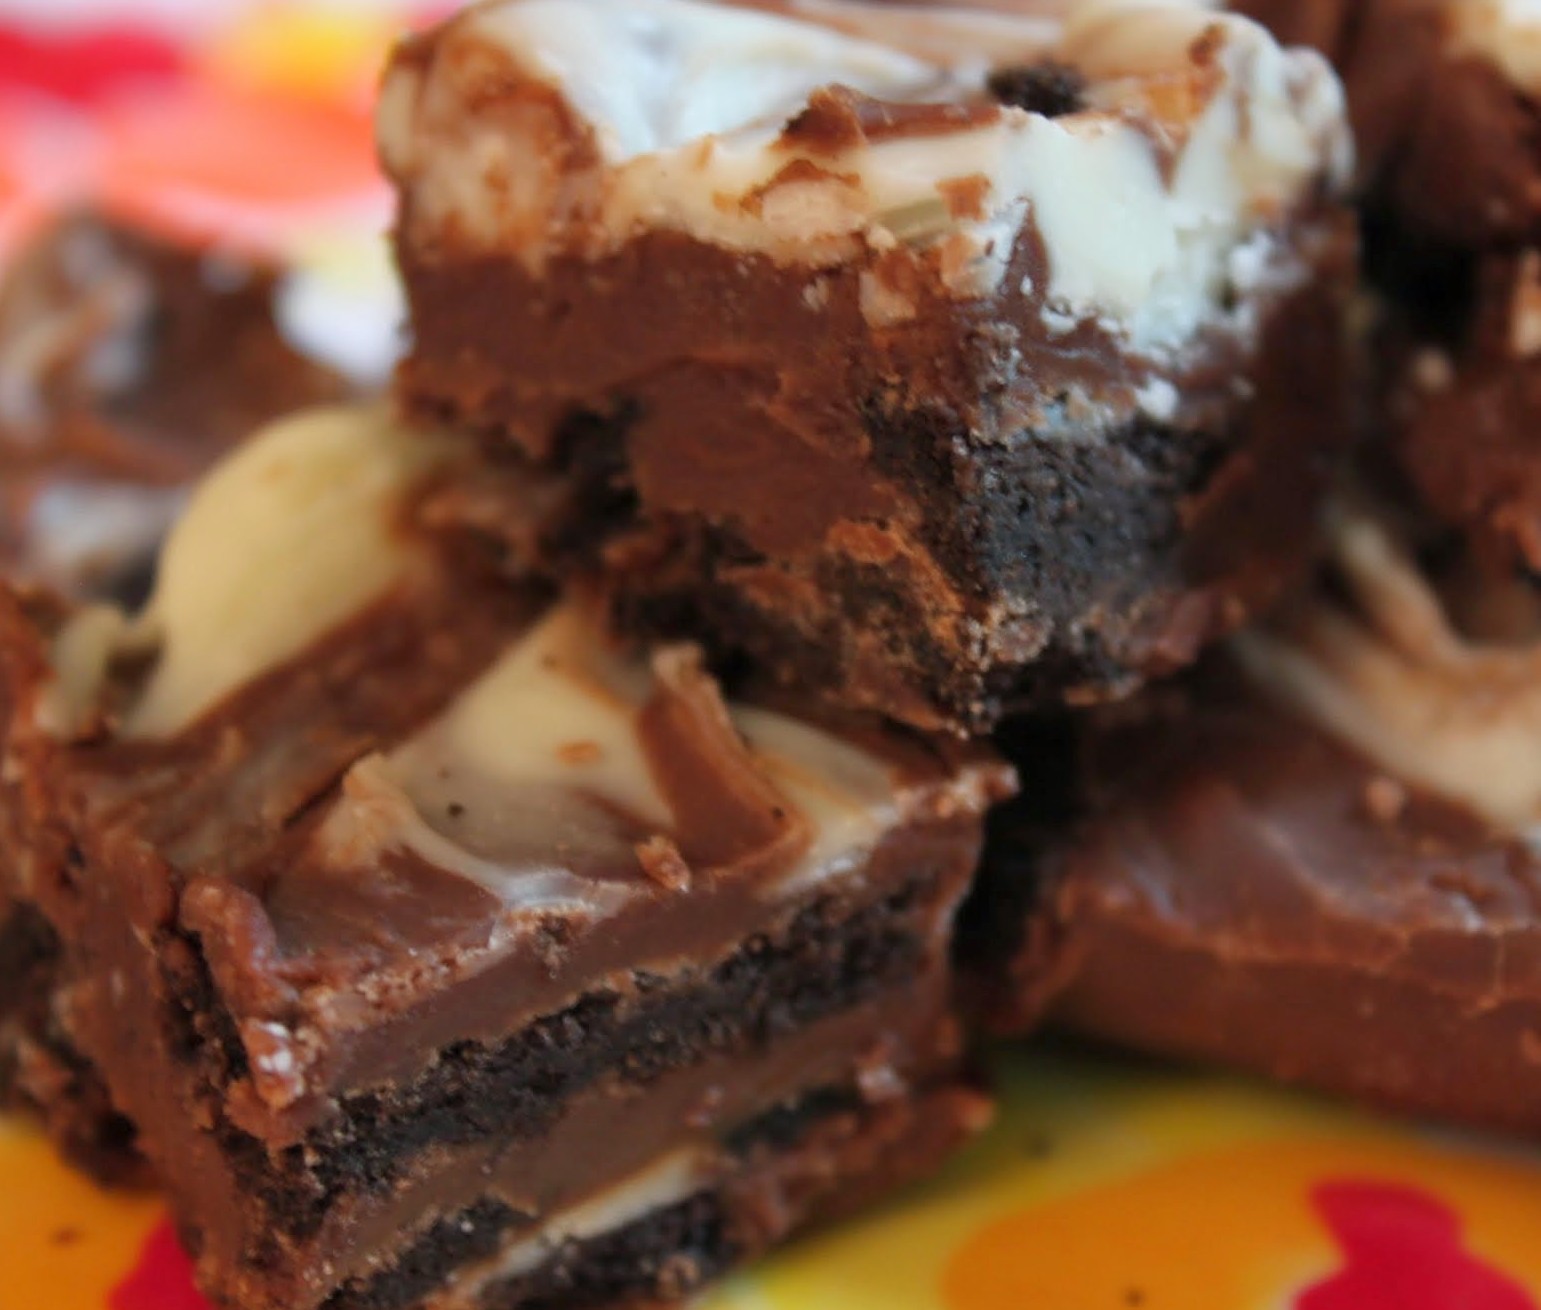
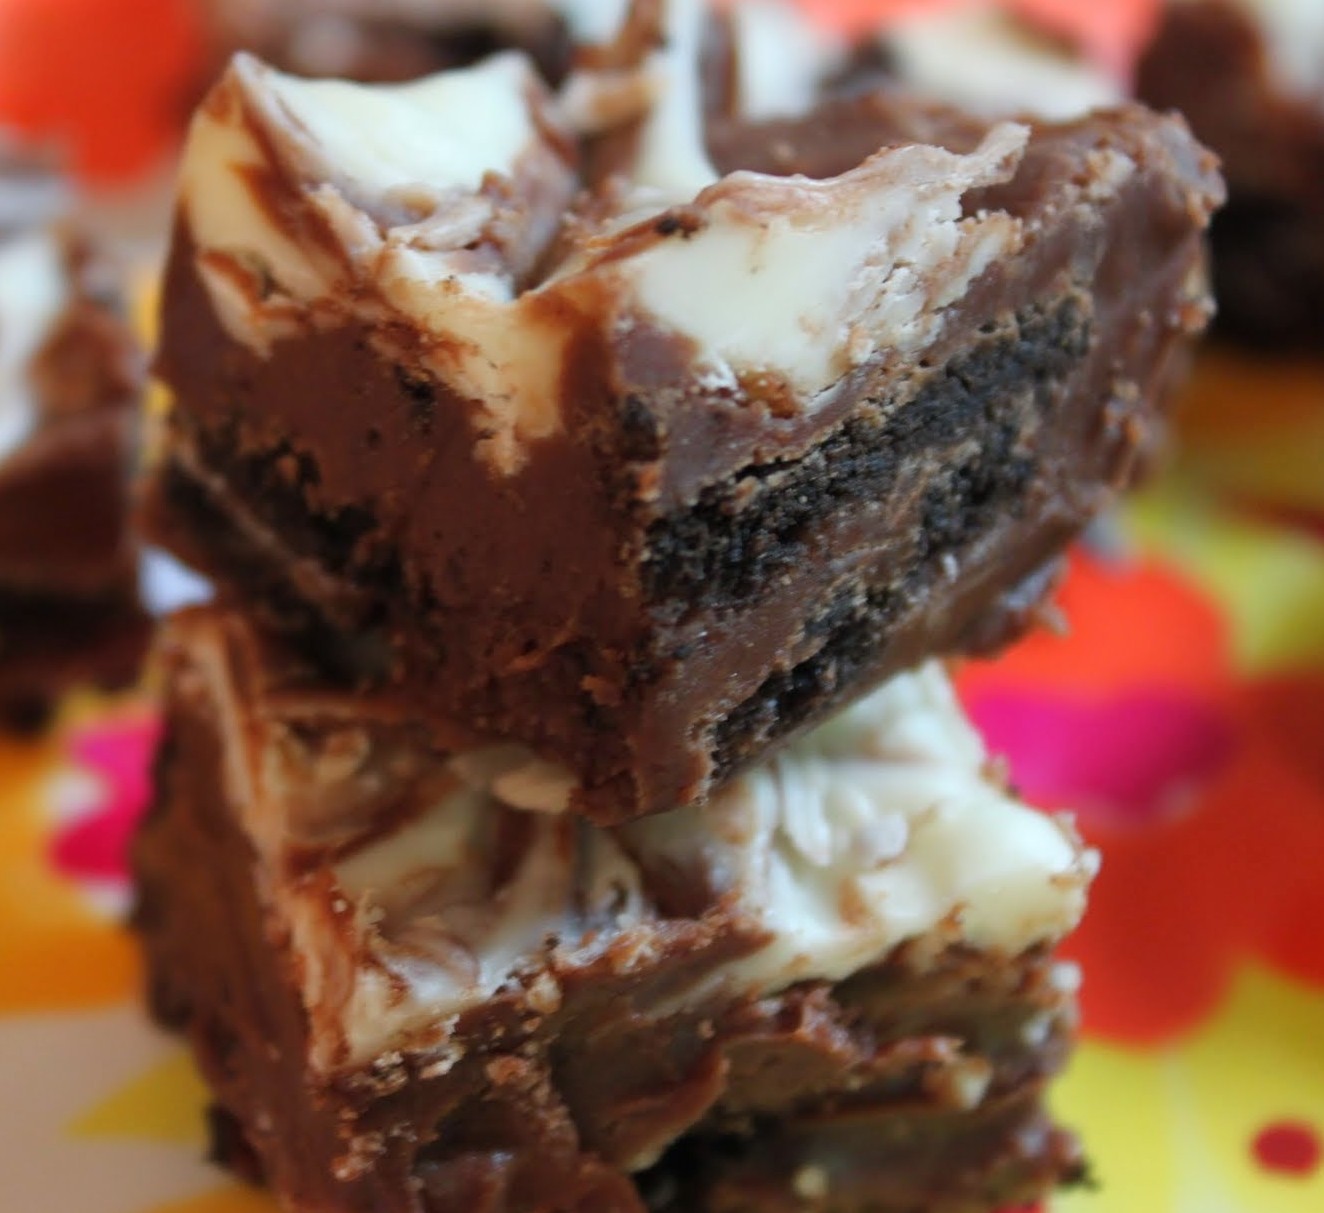
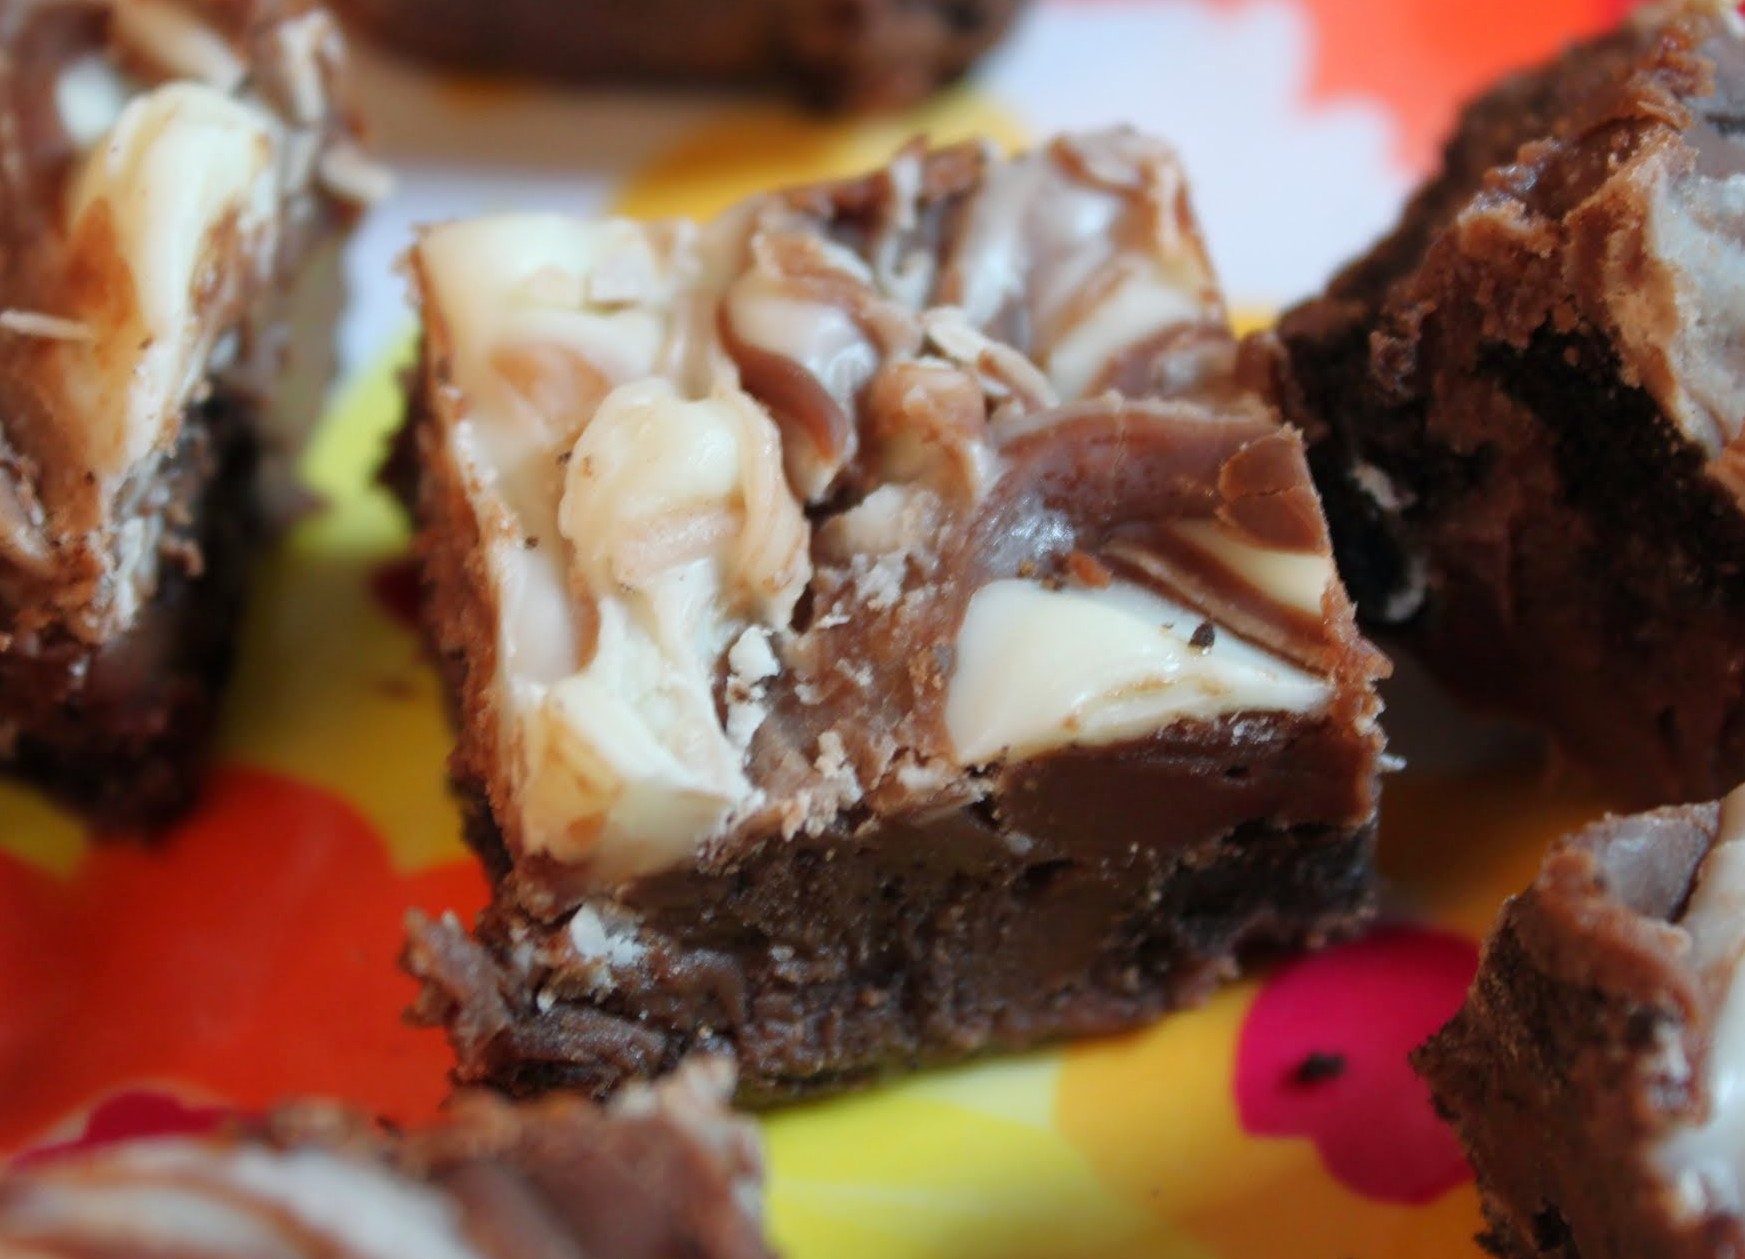
Remember my chocolate chip cookie fudge? Same base. You do it in the microwave! No candy thermometers, no stovetop, no oven. Just you and the little radioactive box, melting chocolate and making miracles happen.
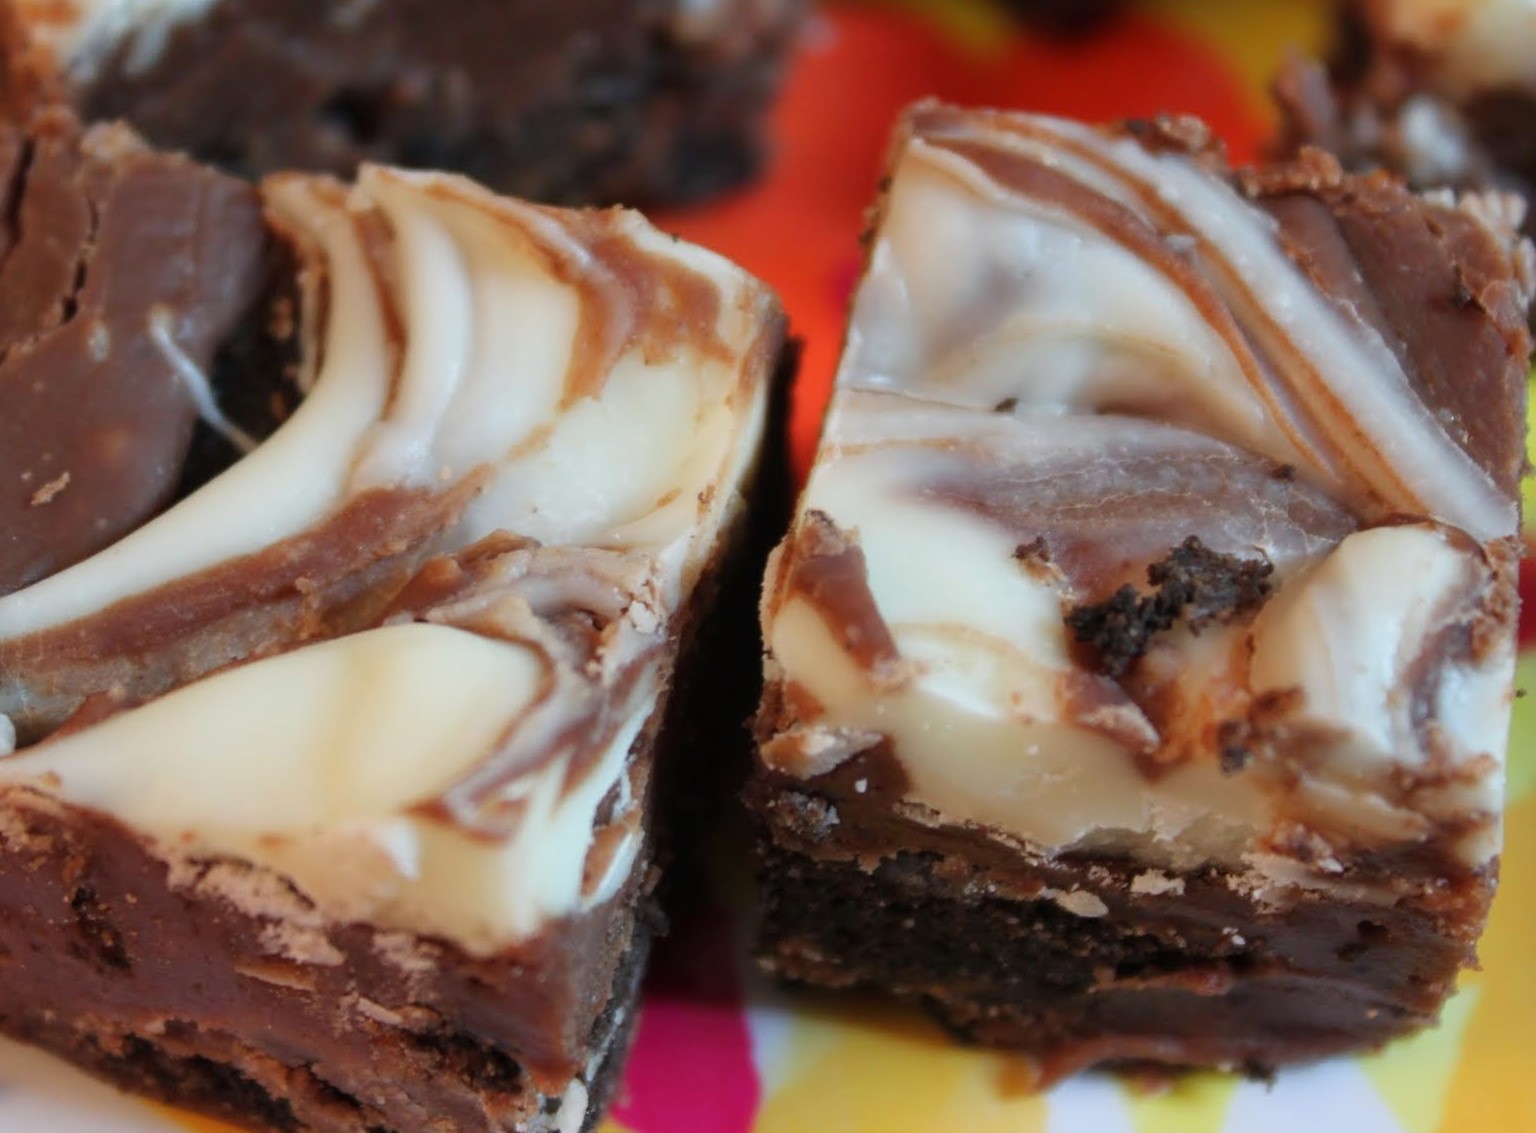
You make the base, stir in broken Oreos (eating some along the way, of course), swirl in some melted white chocolate, and bam! Fudge. Rich, creamy, fudge.
Don’t wait for a birthday to come around! This recipe comes together in less than five minutes. Wow your friends and make people everywhere love you.
And to my friend and colleague, happy birthday! You deserve it.
Ingredients:
- 12 oz. semi-sweet chocolate chips
- 8 oz. white chocolate chips
- 14-oz. can sweetened condensed milk (I used fat-free)
- 2 teaspoons vanilla
- 12 chocolate cream sandwich cookies (like Oreos), crumbled into pieces
Instructions:
Line an 8 x 8 pan with wax paper, using enough to let the paper hang over the sides. Set aside.
In a microwave-safe bowl, melt the semi-sweet chocolate chips and condensed milk for 2 and 1/2 minutes. Remove the bowl from the oven and stir the ingredients until smooth. Add the vanilla and stir again. Fold the Oreos into the fudge. Spread the mixture evenly into the prepared pan.
While you are stirring the fudge in the above steps, melt the white chocolate in the microwave in a smaller bowl for about 1 and 1/2 minutes.
Drop the white chocolate in spoonfuls over the fudge. Using a knife or offset spatula, swirl the white chocoalte gently into the fudge, but be careful not to swirl too much.
Put the fudge in the refrigerator and chill for about 2 hours until firm. Remove and let the fudge warm up a bit. Cut into small squares and store in an airtight container.
]]>
Is it just me or is there a very strong Nutella bandwagon out there? The people who have joined are fanatics. They put the stuff on everything. Kind of like how I am with peanut butter. I mean, I really like Nutella, but it’s a fondness and not a craze for me.
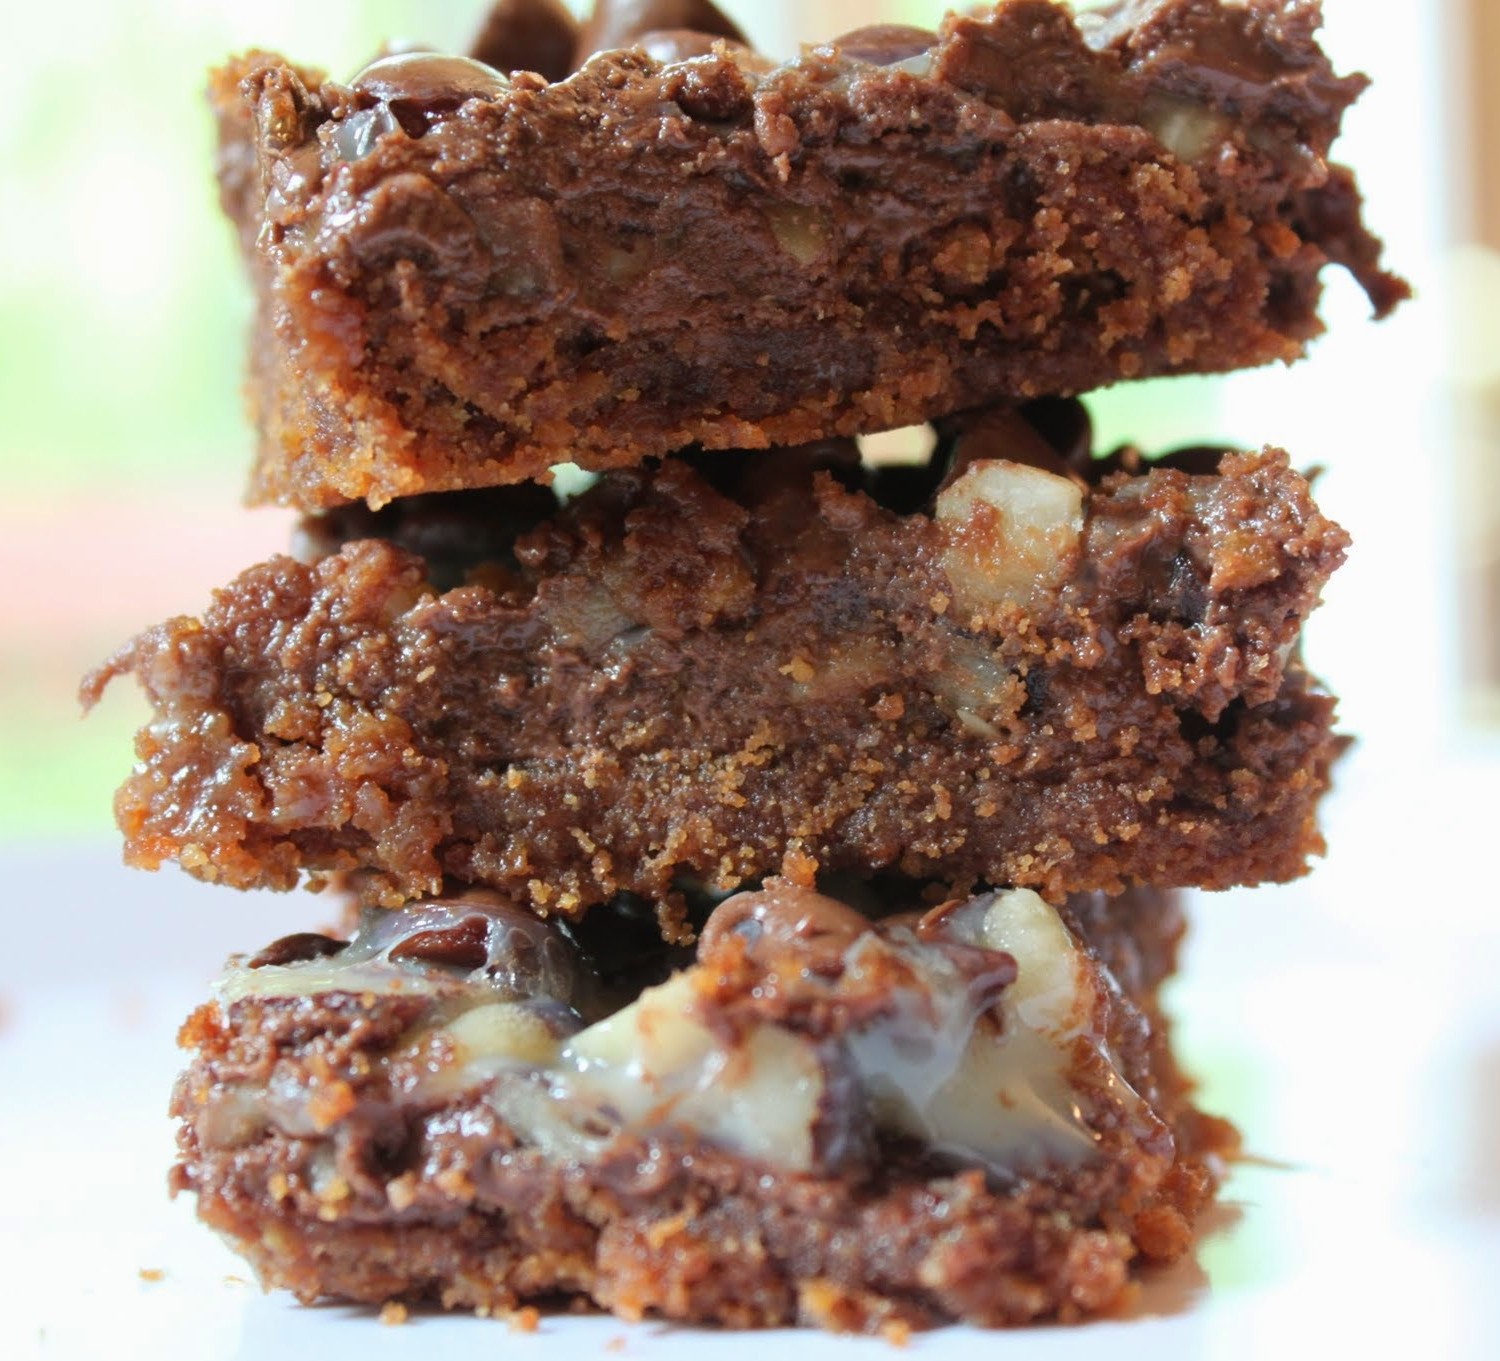
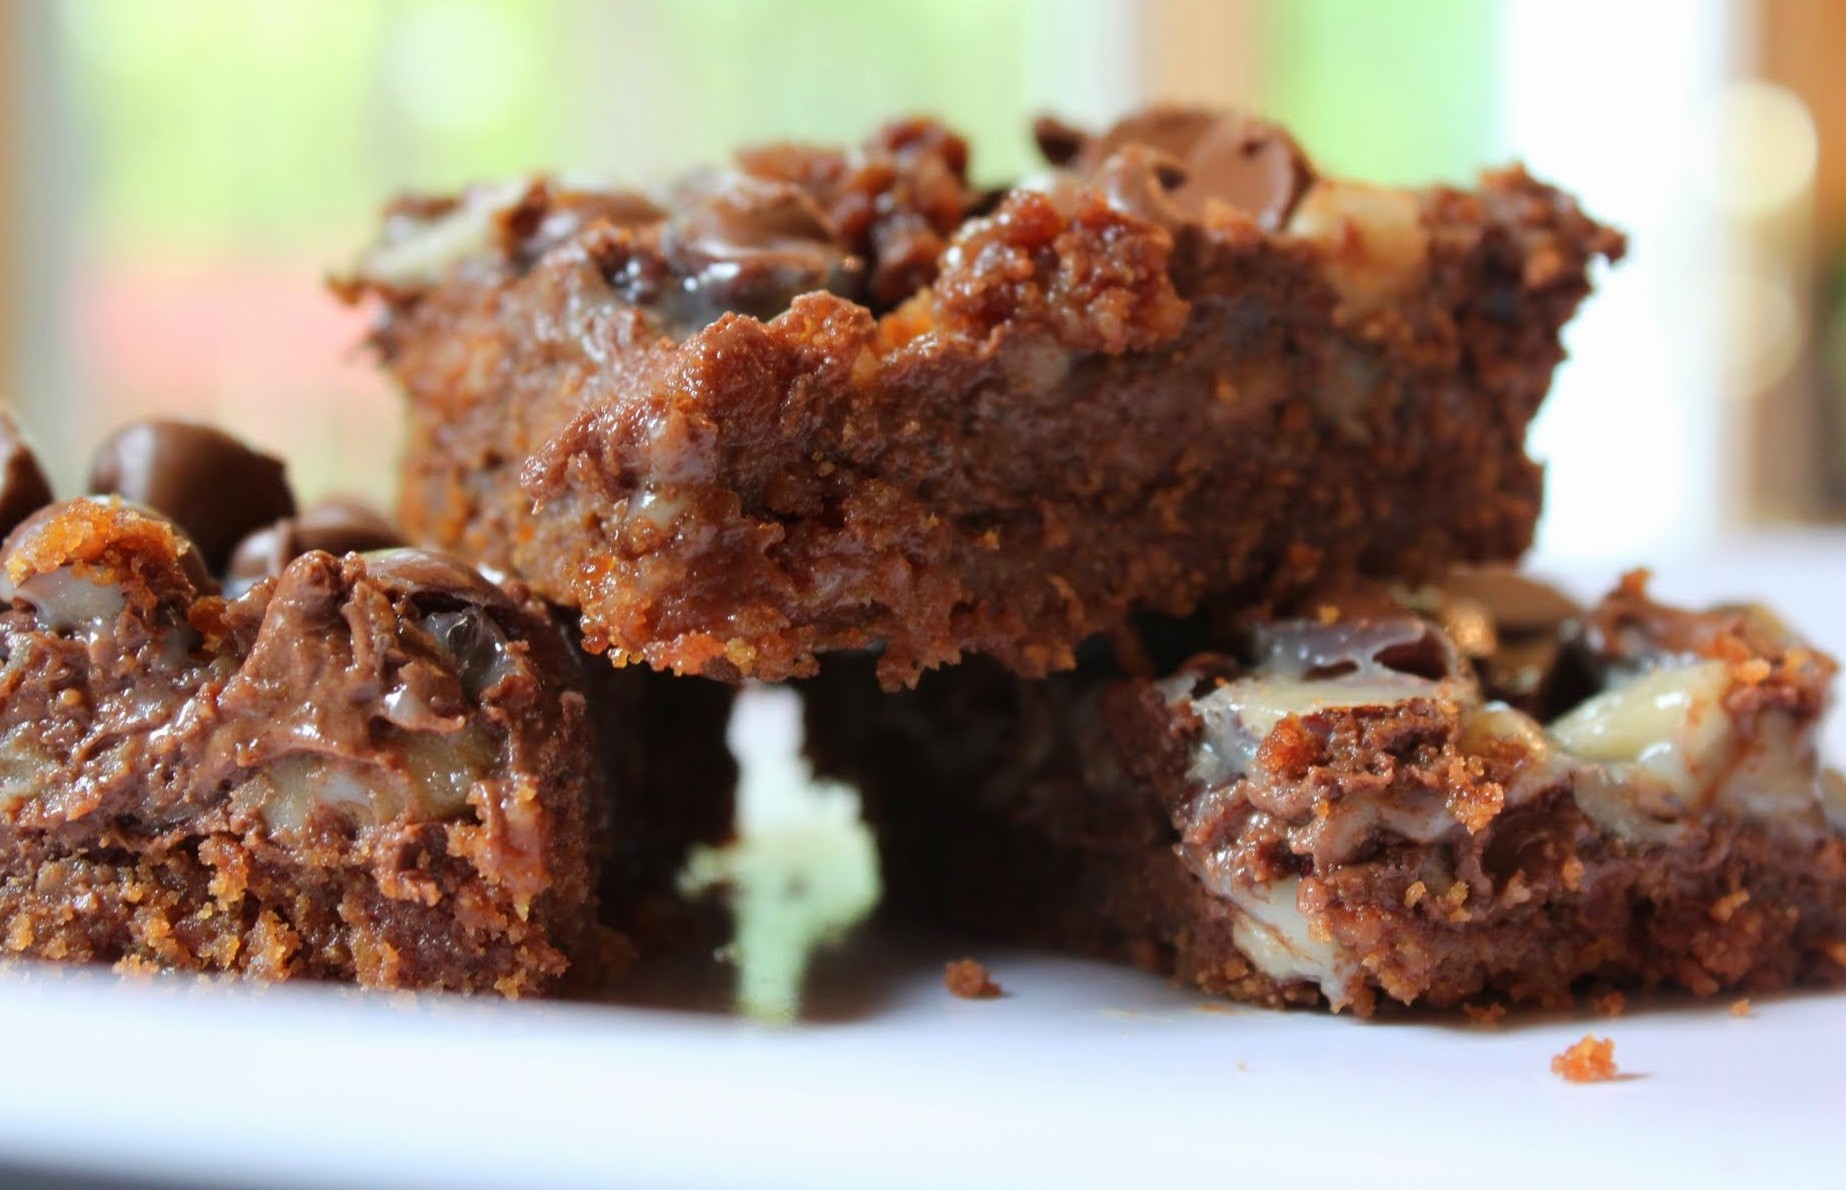
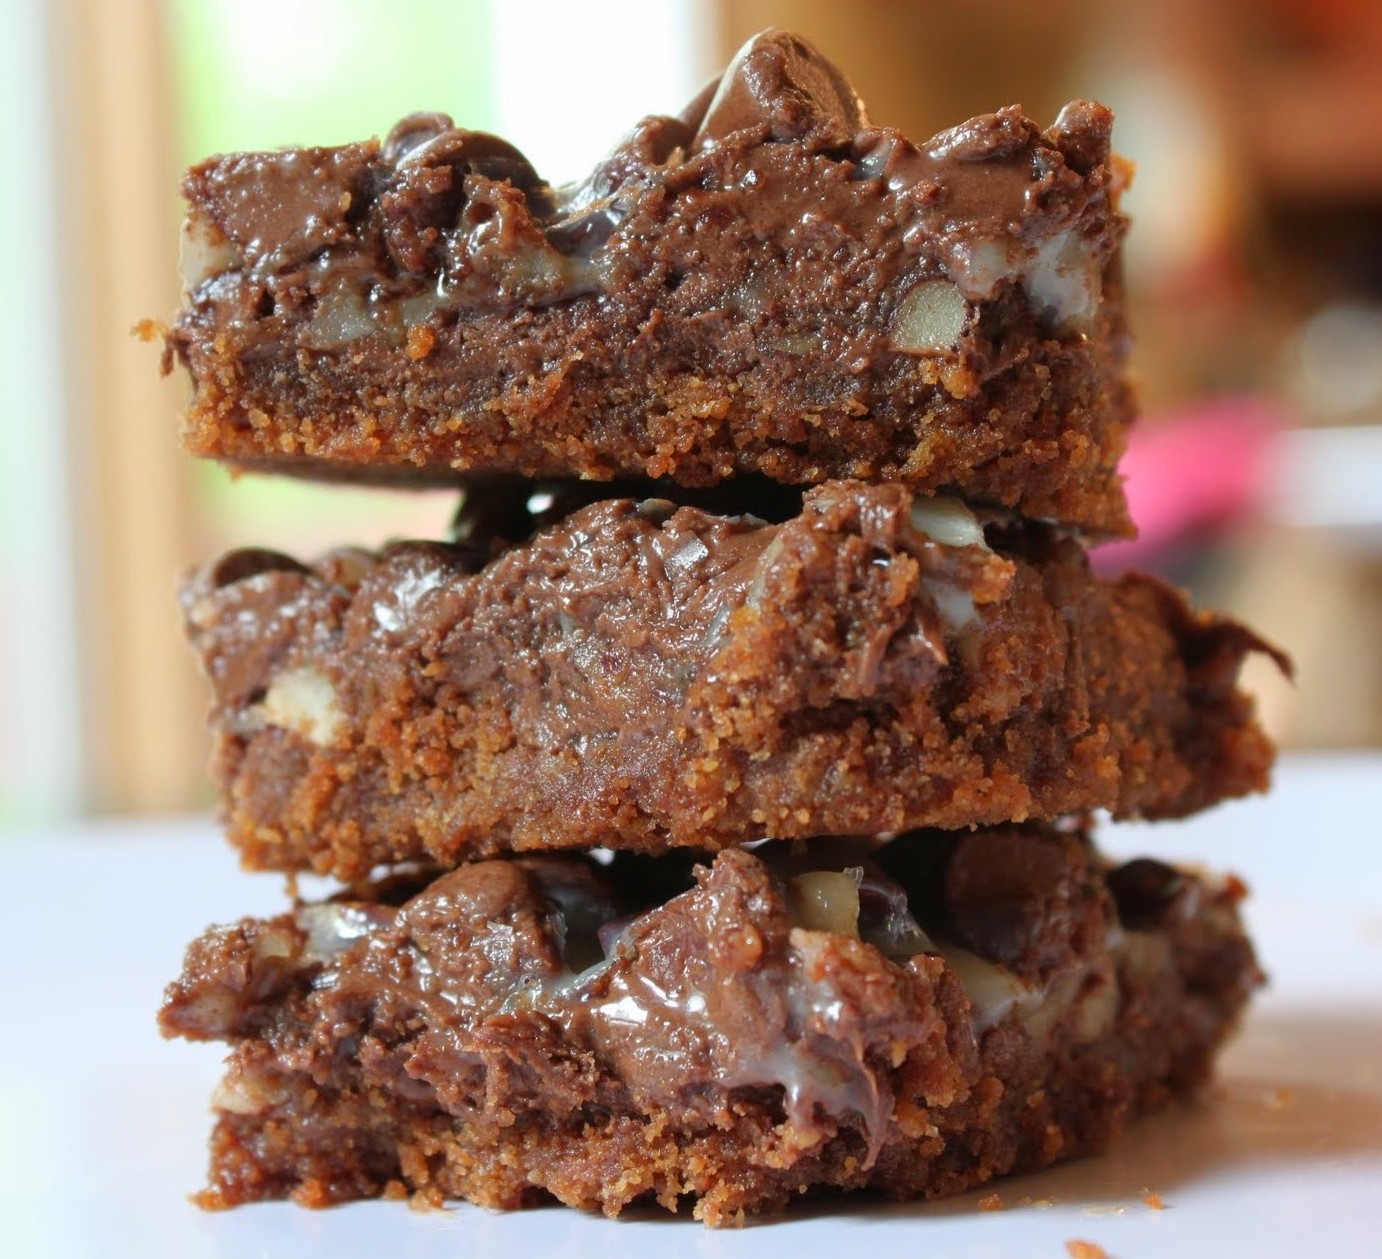
That said, I understand food loyalty. See the above comment about peanut butter. I put it in everything. So I wanted to make a recipe for you Nutella people out there, and this one’s a real doozy. It’s got two different layers that contain Nutella, plus hazelnuts and chocolate. You will fall out of your chairs, eat the whole pan and then not feel the slightest bit remorseful when that sugar crash hits. How’s that for a guarantee?
These bars are easy, gratifying, and literally bursting with Nutella. And like any magic bar, they are intense in the best way possible. I dare you to resist! You can’t. Ha.
How did I do this? Well, I’m here to share my secrets. It all begins by ignoring the instructions on the Nutella jar. You know where it says “Do not microwave?” Yep. I went there. It feels so good to be so baaaad. But don’t go crazy. Just heat it for 20 seconds or so and then stir it into the melted butter for your graham cracker base. I guarantee that the world will not explode, the bars will taste perfect, and nobody will know the sacrelige you just performed.
Not when the results are so much fun! They look kind of like brownies, I know. But they’re not. They’re gooey and hazelnutty and the top gets to be like caramel. Condensed milk, how I love thee!
If you get up right now and make these, they’ll be in your mouth before you know it. And for you Nutella people out there, let me know if this recipe fits the bill! Feedback, please!
Base:
- 1/3 cup unsalted butter
- 1/2 cup Nutella
- 1 cup graham cracker crumbs
- 1/3 cup firmly packed brown sugar
Topping:
- Nutella (remainder of a 13 oz. jar), gently melted
- 1 and 1/2 cups chopped hazelnuts
- 1 and 1/2 cups milk chocolate chips
- 14 oz. can sweetened condensed milk (I used fat-free)
Instructions:
Preheat the oven to 350. Coat a 9 x 13 pan with cooking spray.
In a microwave-safe bowl, melt the butter for 40 seconds. Then add the 1/2 cup of Nutella and microwave for another 20 seconds. Stir until well combined. Add the graham cracker crumbs and brown sugar, stirring again until the mixture is crumbly. Press the crumbs into the baking pan. Bake for 5-10 minutes until set and then remove from the oven.
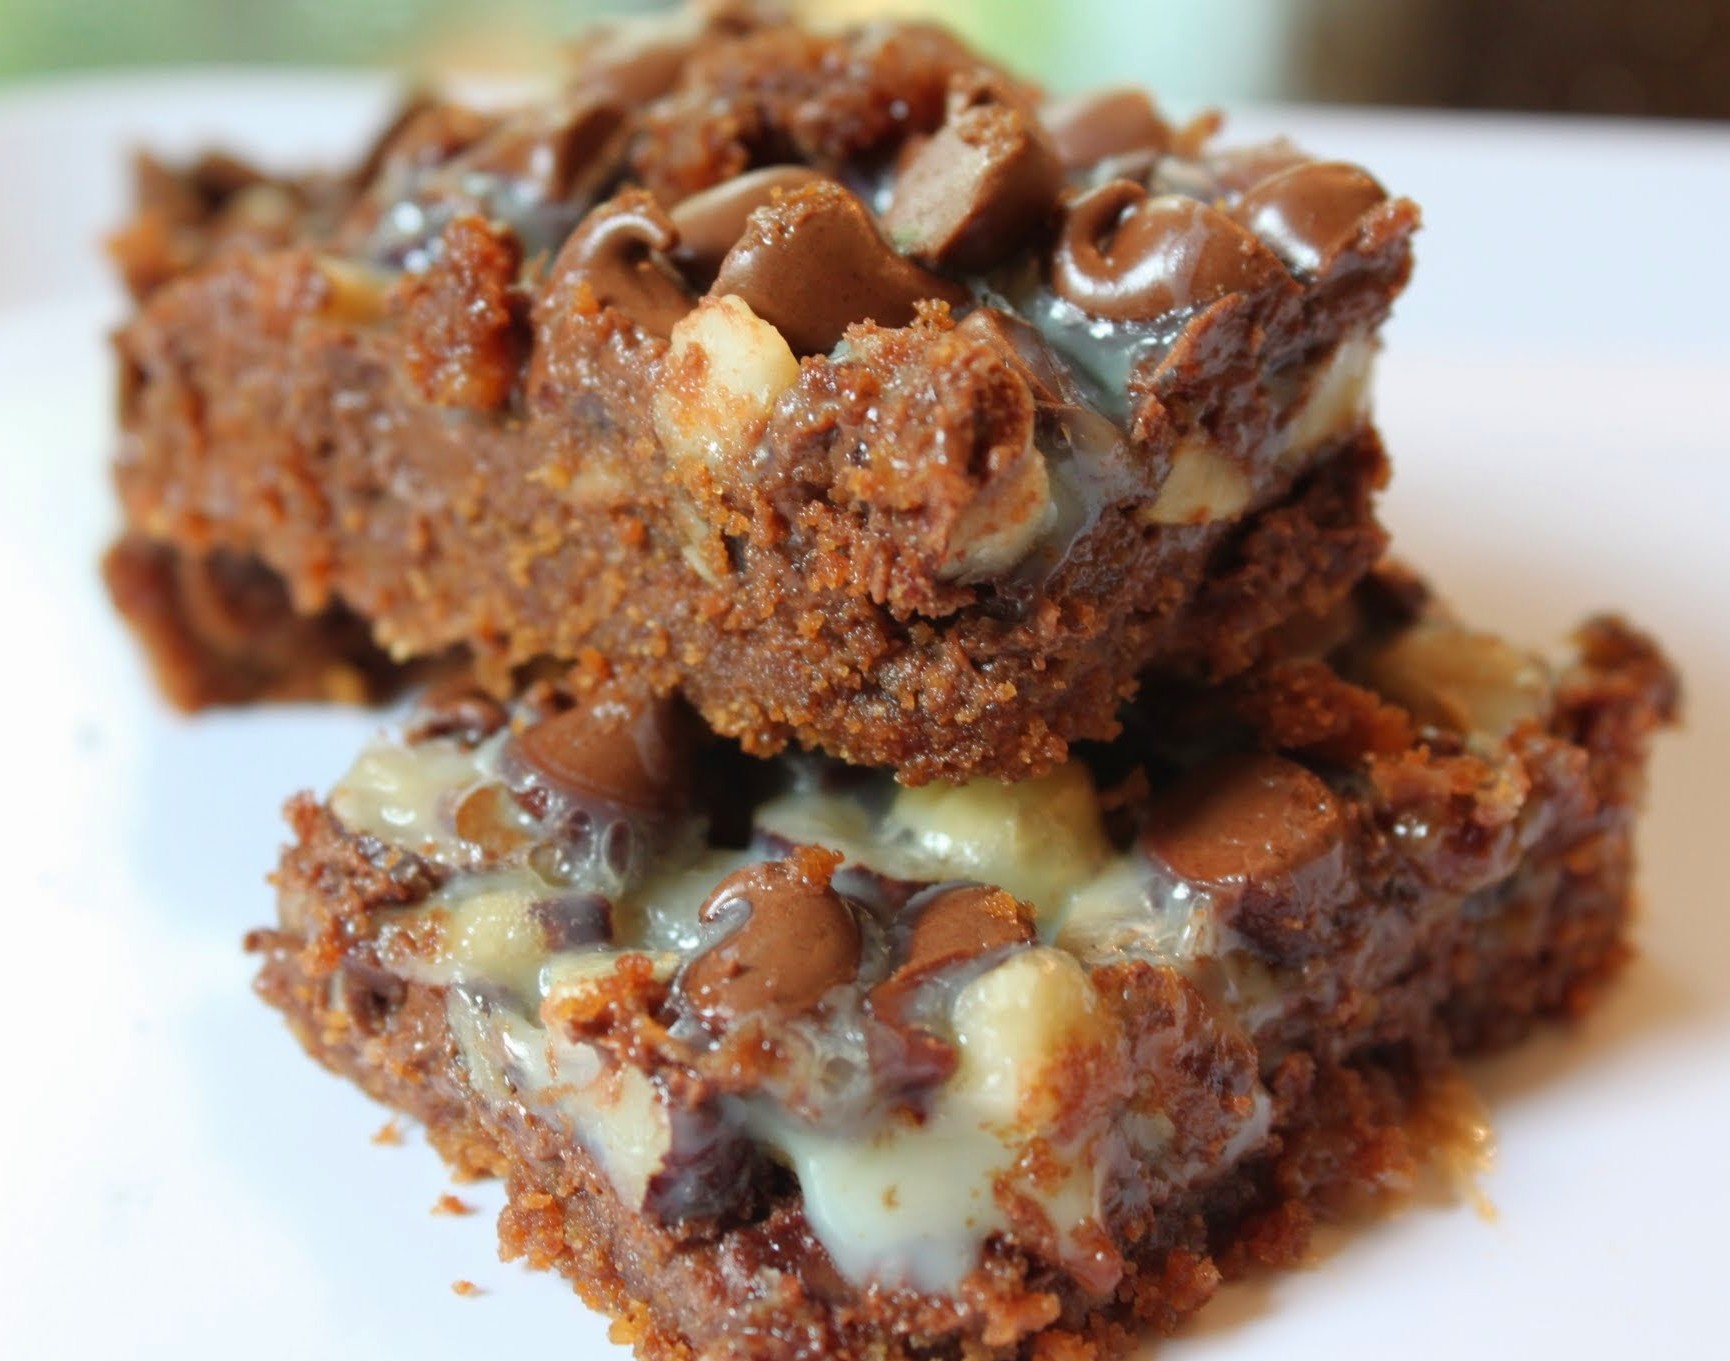
In a bowl, melt the remaining Nutella for about 20-25 seconds. Do not overheat! Spread the melted Nutella on the graham cracker crust, extending to the edges. Sprinkle the chopped hazelnuts evenly over the Nutella layer and then do the same with the chocolate chips. Pour the condensed milk over the pan.
Bake for 25 minutes. The top should be golden, but not too brown. Allow to cool and then cut into squares. You can store the bars in an airtight container for up to one week!
]]>I’m all about lime, all year long. But this time of year is special because it’s socially acceptable to like lime in May. In November, not so much. That doesn’t stop me from squirting lime juice onto everything all the time, from salads to fish to salsa. Mmm.
Key lime is even more fun. Those little limes are so cute! They come in a bag and they just look so happy that someone is loving them and using them in dessert. And boy, are they right. I don’t know what I’d do without those little suckers.
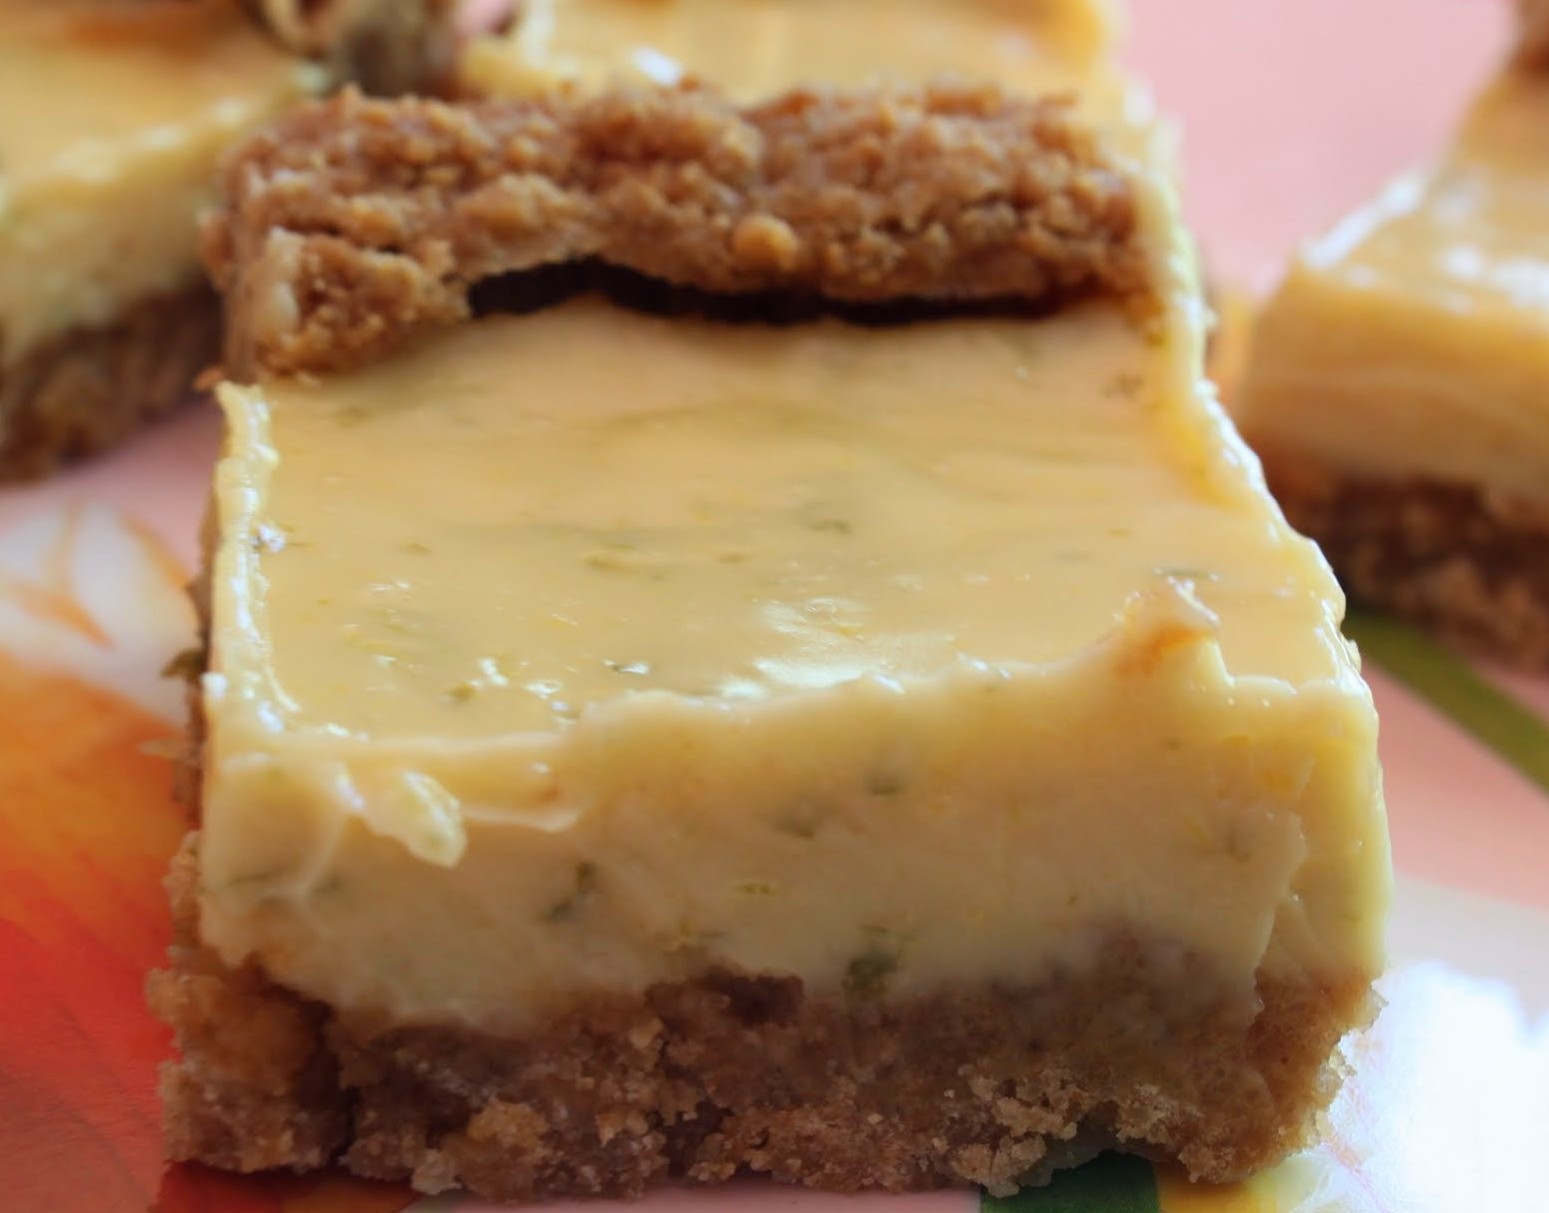
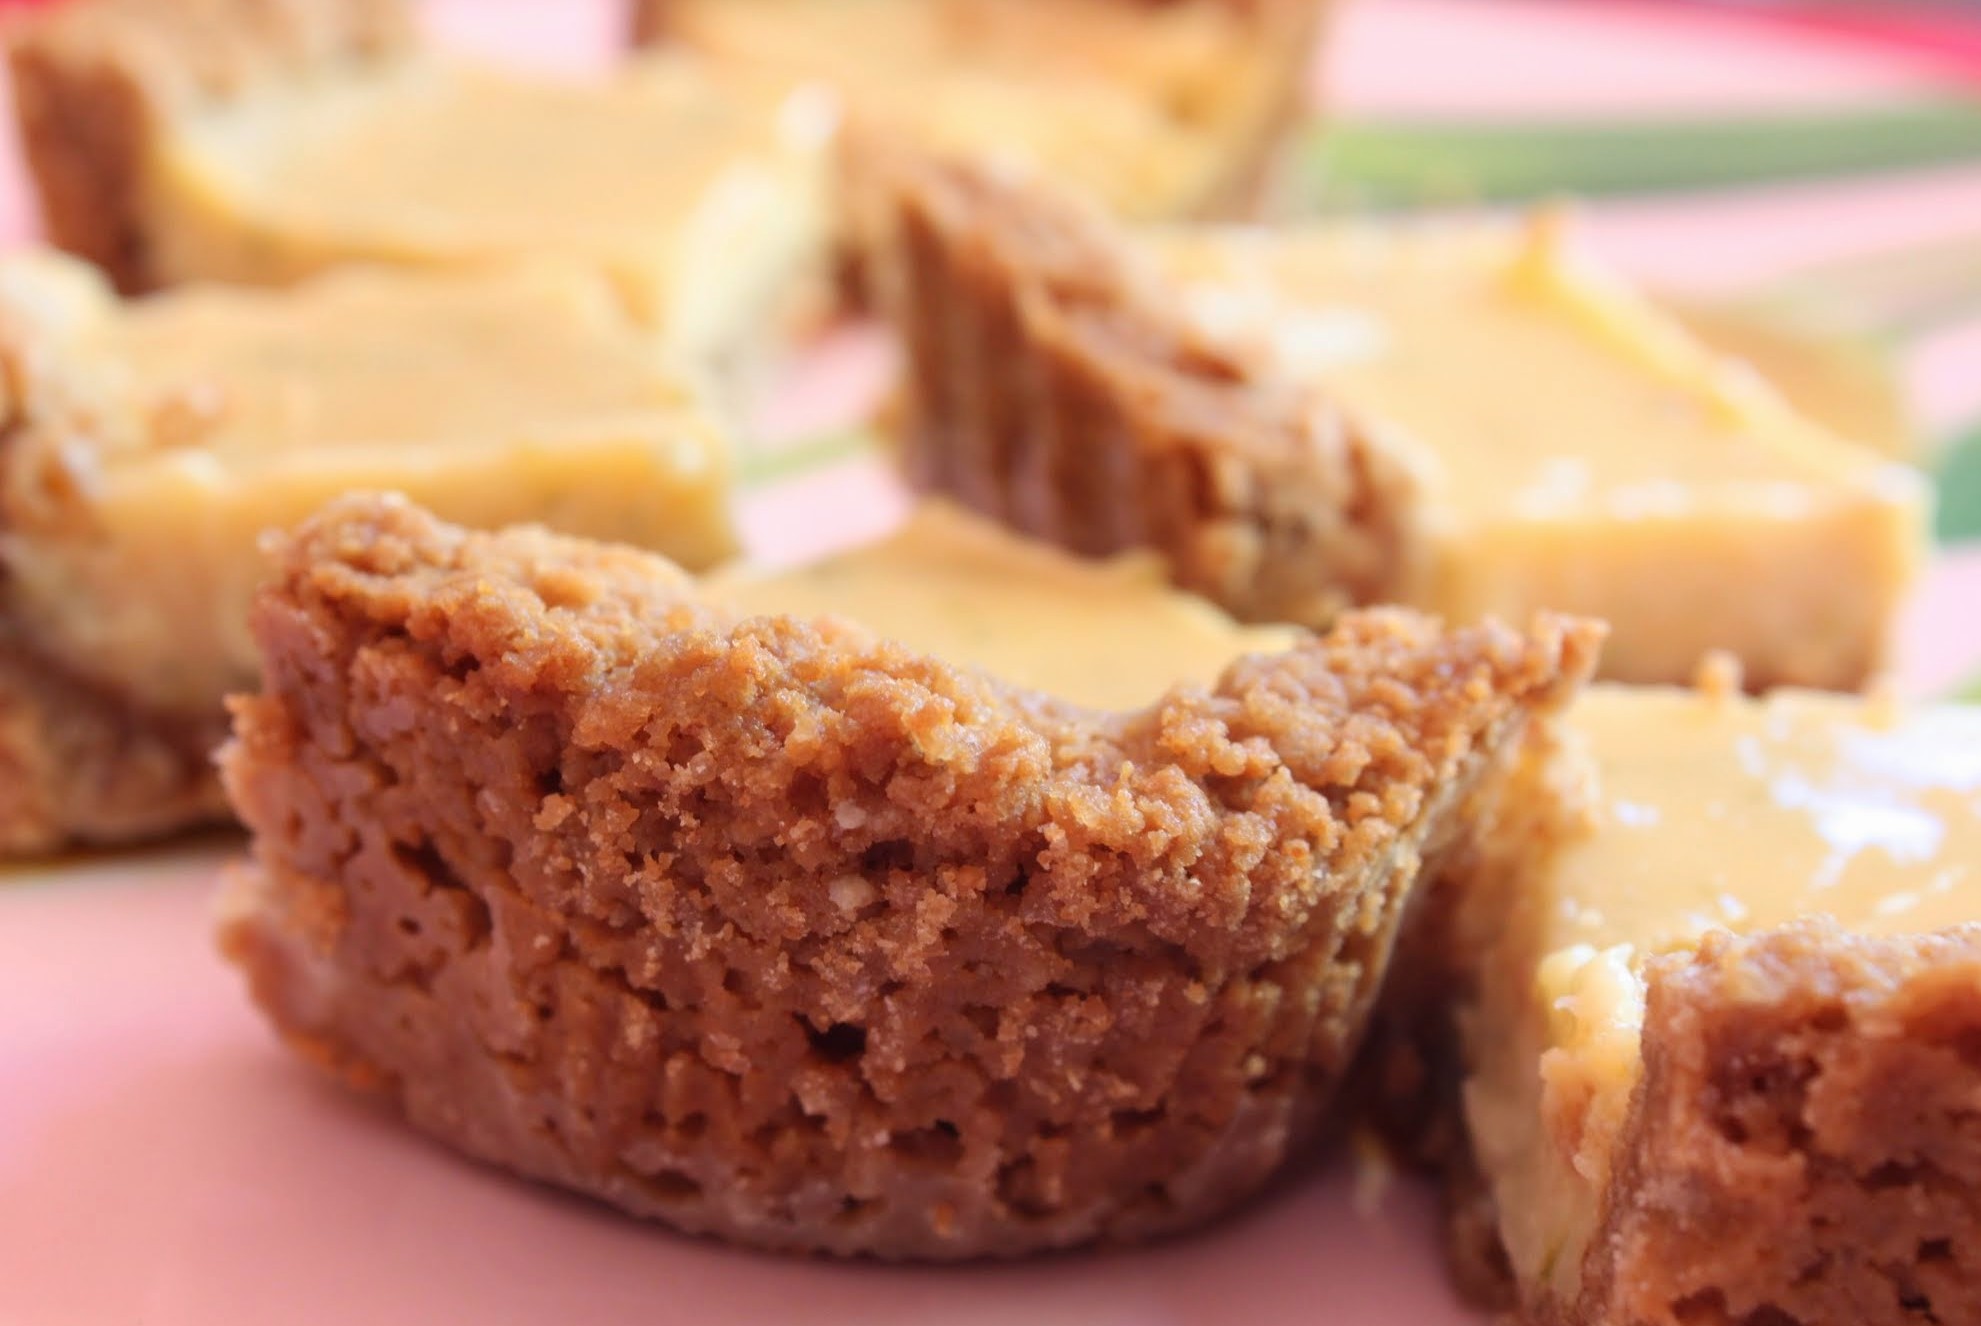
With them, the possibilities are endless. And as much as I love key lime pie, I love the bars even more. They’re essentially the same thing, but I’m big into bars because it’s totally okay to eat several in one sitting. There’s this odd thing in our culture where one slice of pie is supposedly enough. As if! But it’s cool to eat lots and lots of bars. So you can bet I’m making all of this joy in an 8 x 8 pan. Aw yeah.
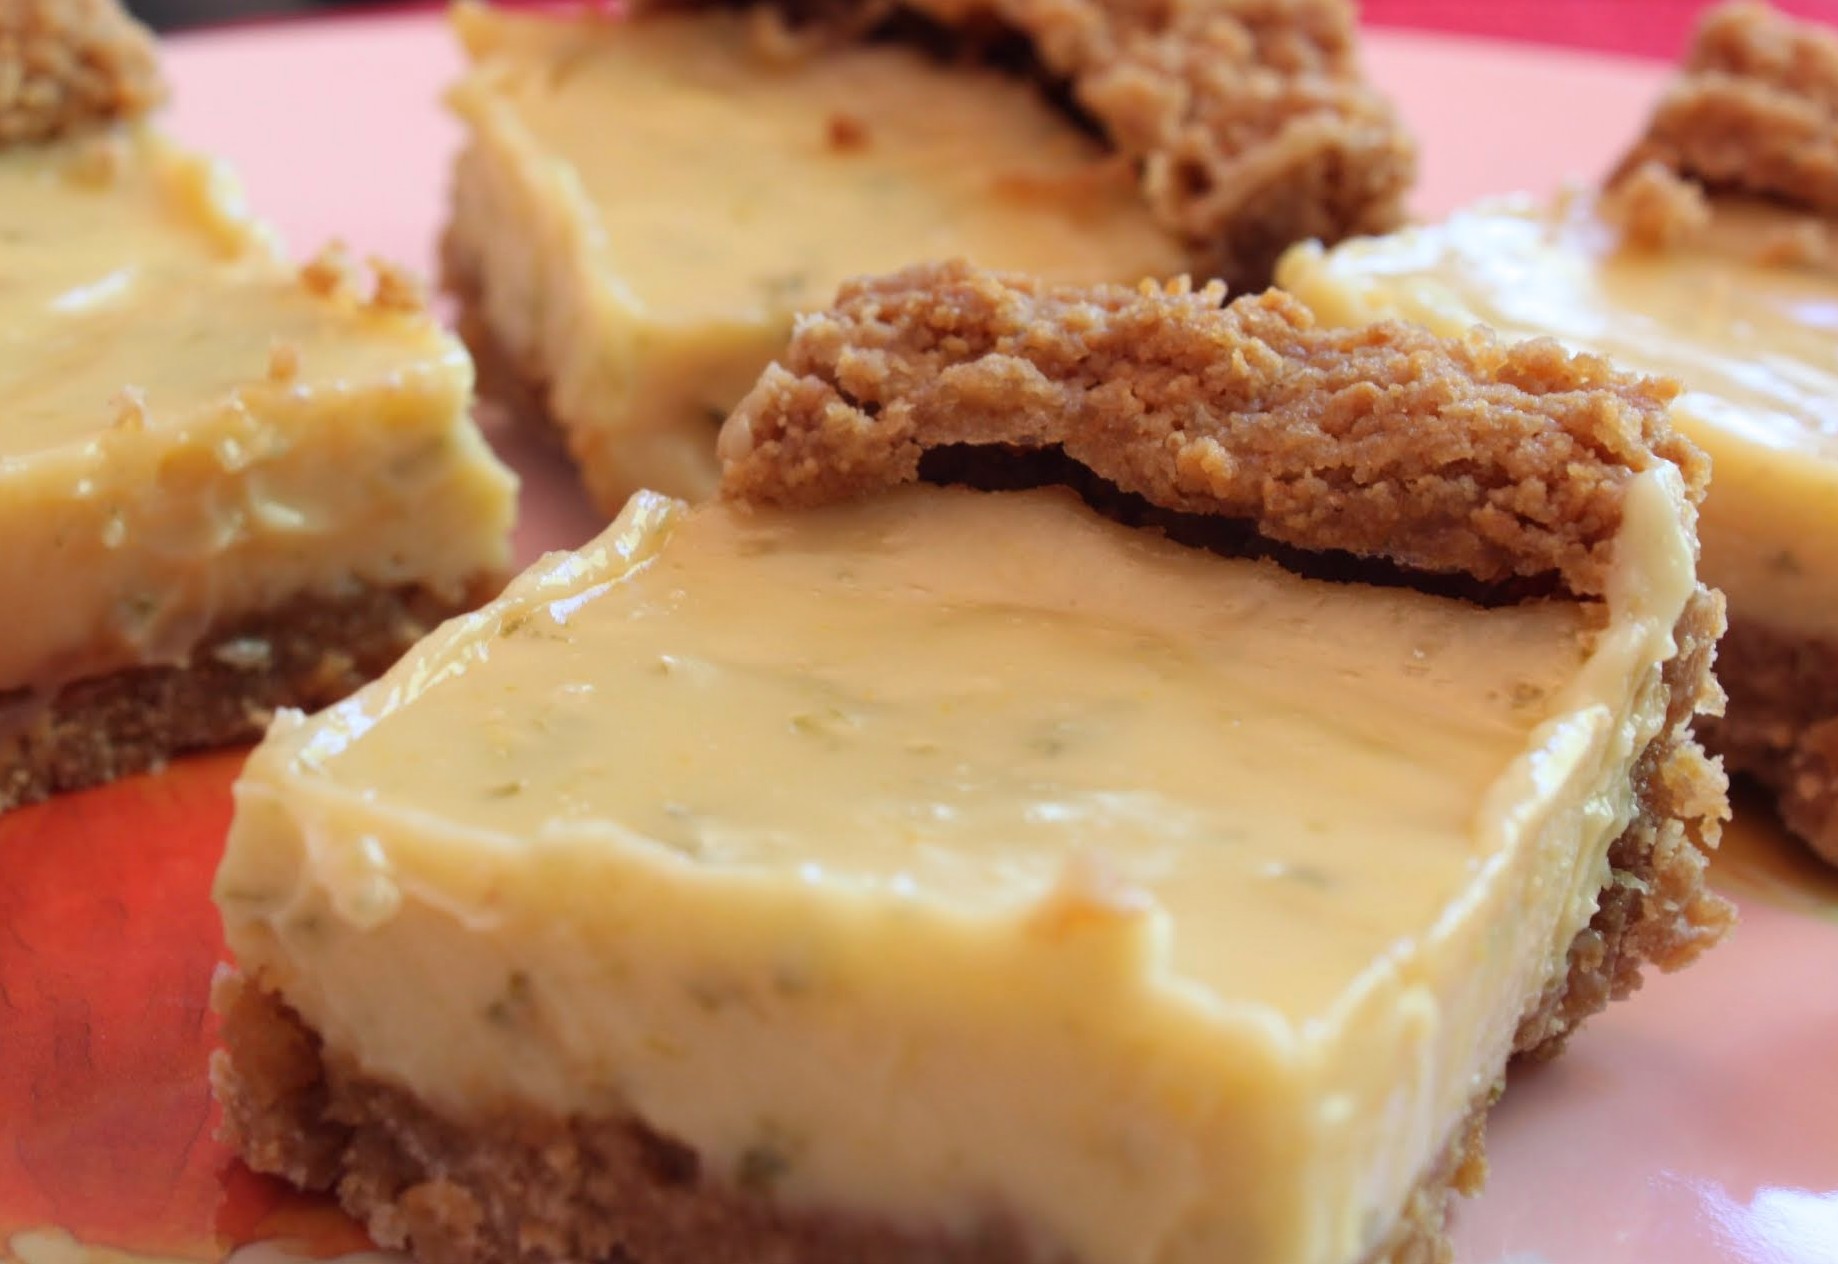
As usual, I like to kick my graham cracker crust up a notch by adding melted chocolate (white chocolate, in this case). It really adds some wonderful sweetness to the bar’s base, making the sharp tang of the lime even more distinct. If you’re into varying flavors in your dessert (salted caramel, anyone?), always melt some chocolate into your crust. And instead of using white sugar, use brown. It caramelizes the crust and makes it completely irresistible.
If you like your bars to be super tangy, just add more zest to taste. But don’t go overboard, because everyone has a limit. You want a good zing, but that’s about it.

This recipe is ridiculously simple. And it’s totally worth it. Eat up!
Crust:
- 1/3 cup unsalted butter
- 1/2 cup white chocolate chips
- 1/3 cup firmly packed brown sugar
- 1 cup graham cracker crumbs
Filling:
- 1-2 tablespoons key lime zest
- 1/2 cup key lime juice (you can use bottled)
- 2 egg yolks
- 14 oz. can sweetened condensed milk (I used fat-free)
Instructions:
Preheat the oven to 350. Coat an 8 x 8 pan with cooking spray and set aside.
In a microwave-safe bowl, melt the butter and white chocolate. Stir until smooth. Mix in the graham cracker crumbs and brown sugar until the crumbs are moist. Press the crumb mixture into the bottom and up the sides of the prepared pan, being sure that you pack the crust tightly with your fingers.
Bake for 5-10 minutes until set.
While the crust is baking, prepare the filling. Combine the zest, key lime juice, and egg yolks. Stir in the condensed milk and mix until thoroughly combined. Pour the filling into the crust and bake for 20-25 minutes until set.
Allow the bars to cool completely. Refrigerate for at least two hours (overnight is better). When you’re ready to serve, cut into squares!
]]>
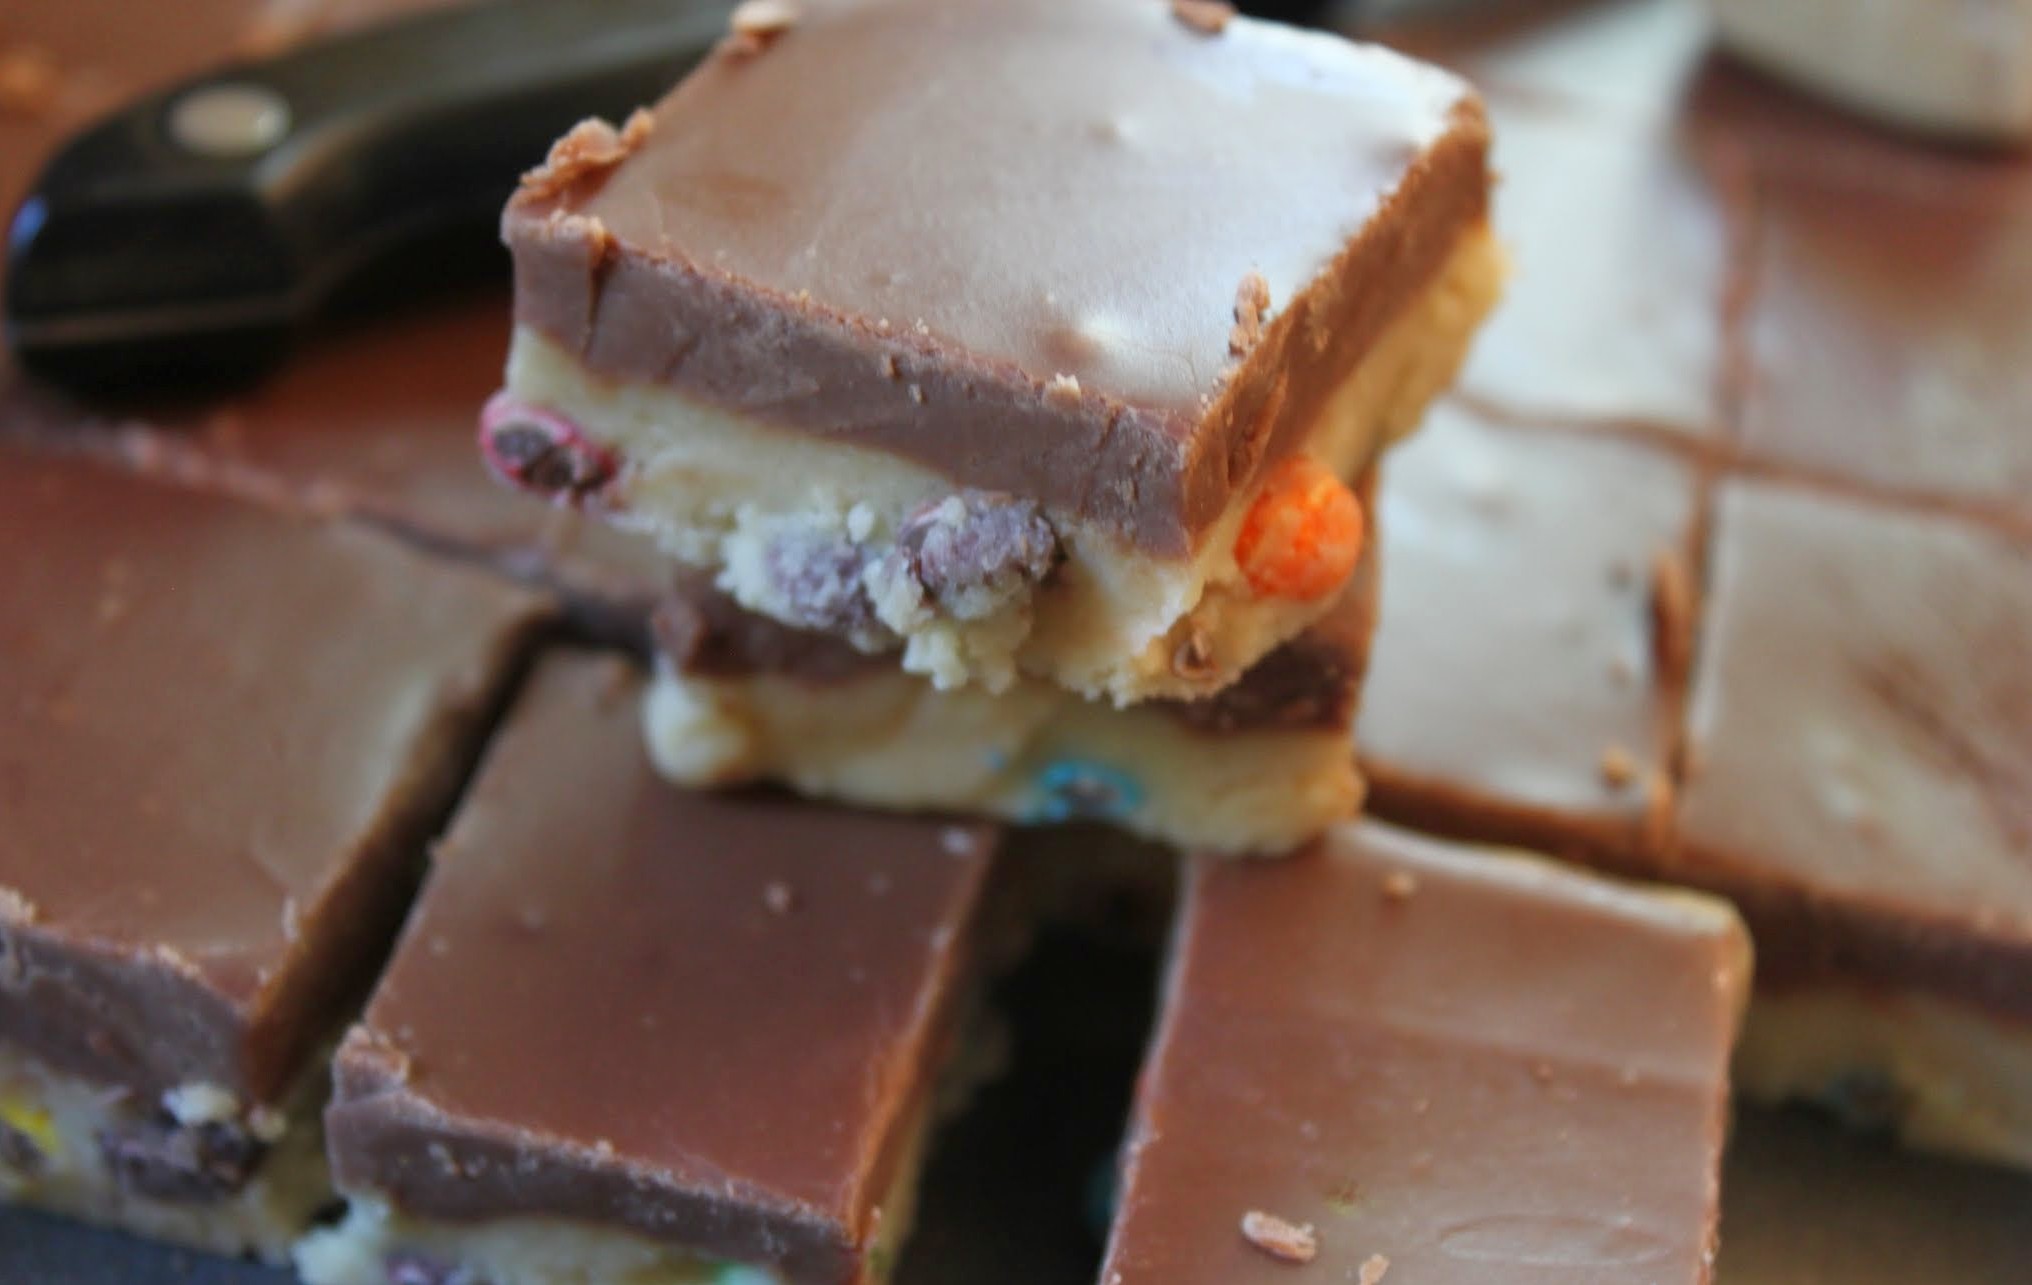
I know a lot of people aren’t afraid. But me, I live in fear. I get nervous around fire and water, I wash my hands obsessively during flu season, and I always wait for the walk sign before crossing the street. Eating raw cookie dough used to be absolutely taboo. Until, of course, everyone realized it was possible to have your dough and eat it, too. Just don’t put in the egg, add condensed milk, and you’re good to go!
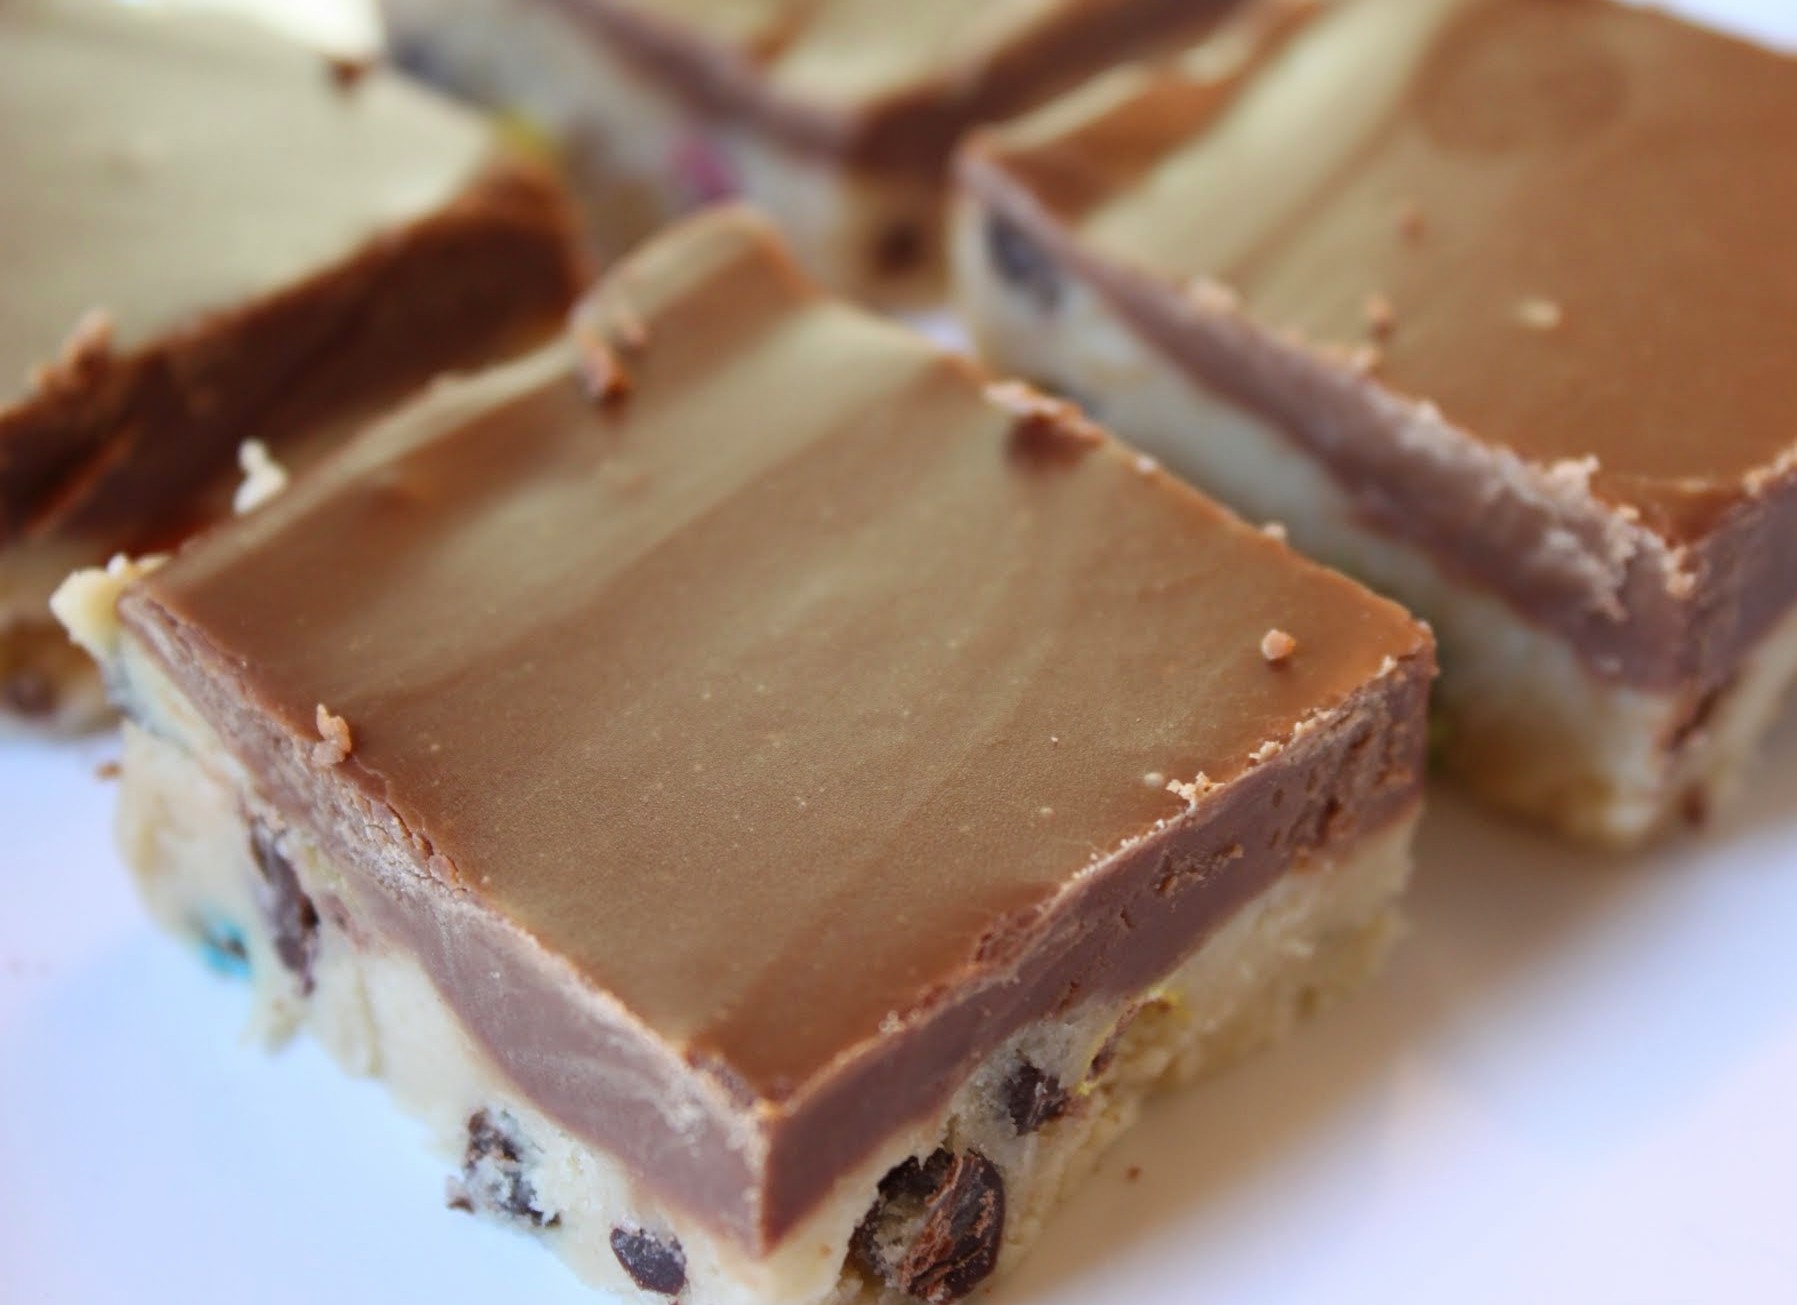
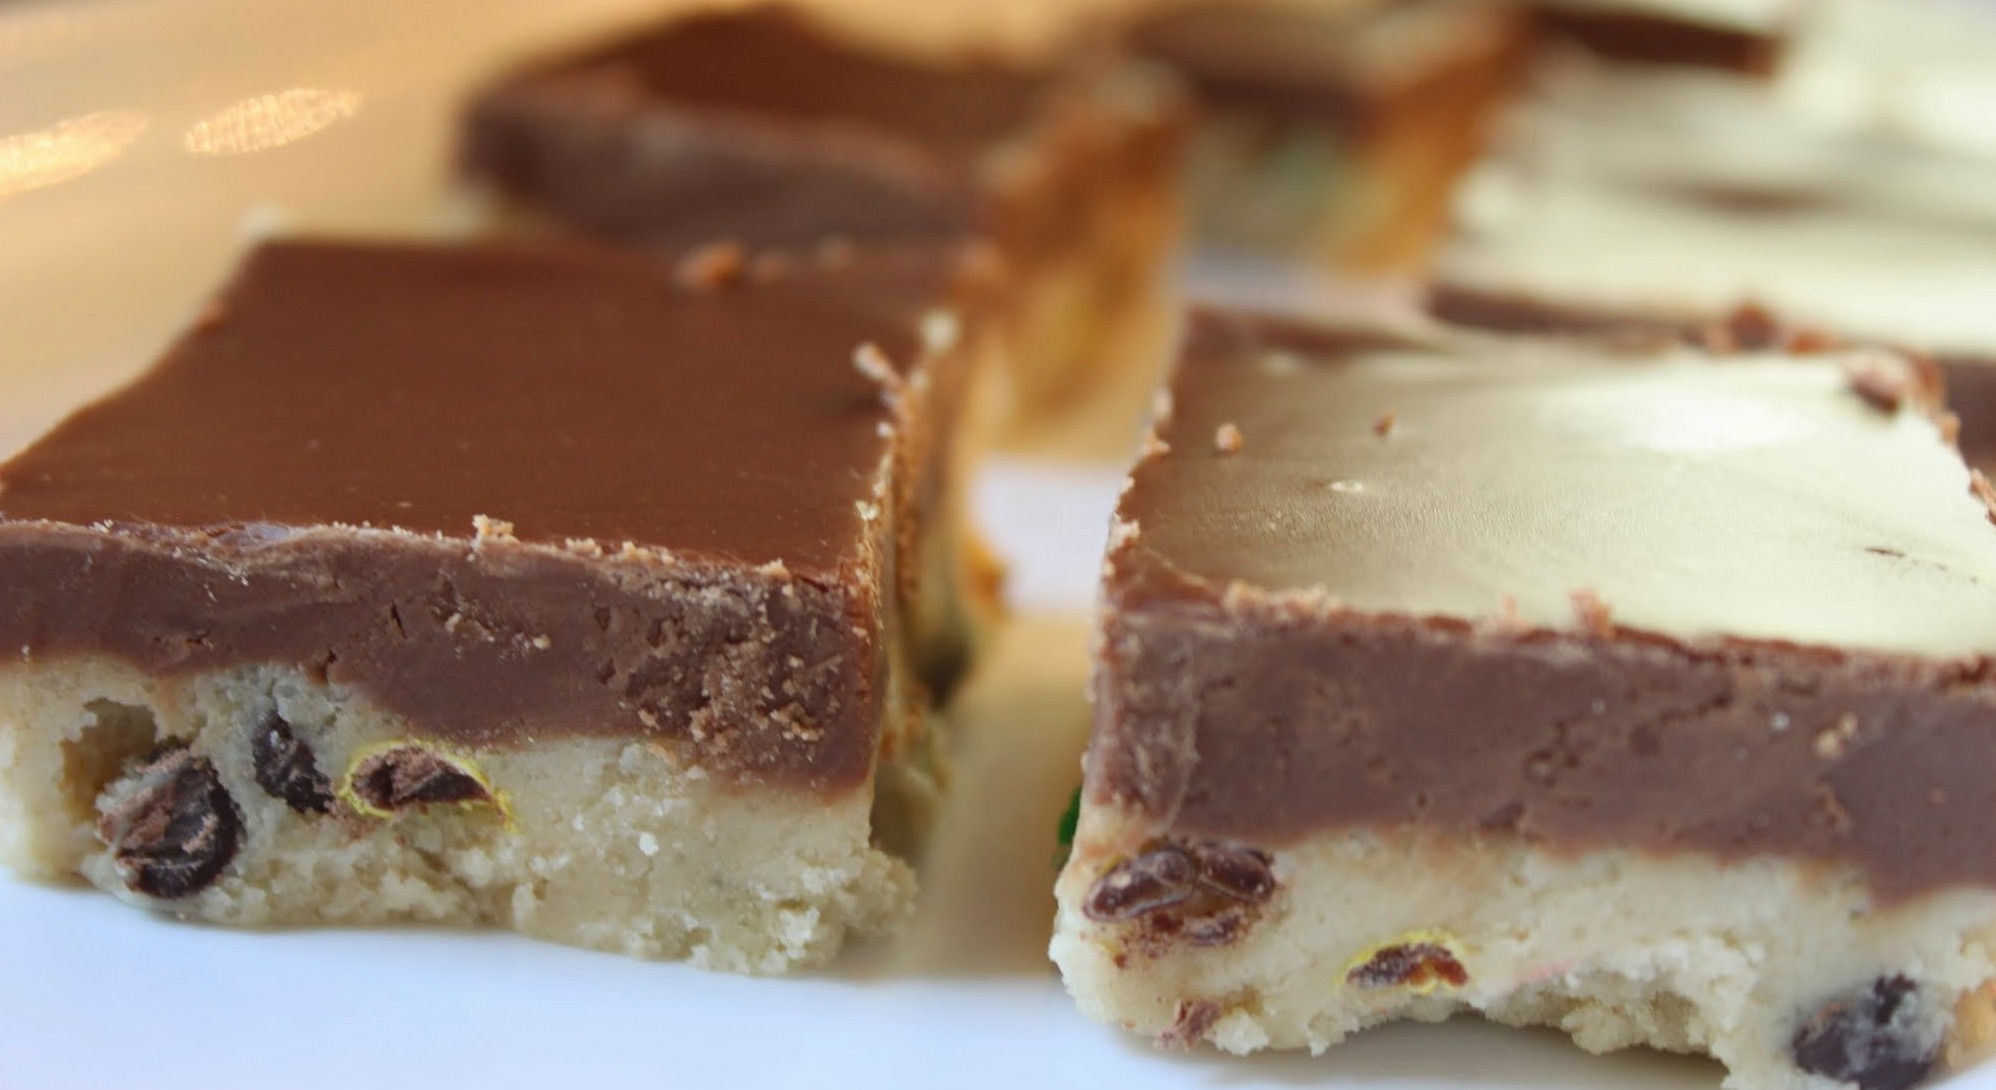
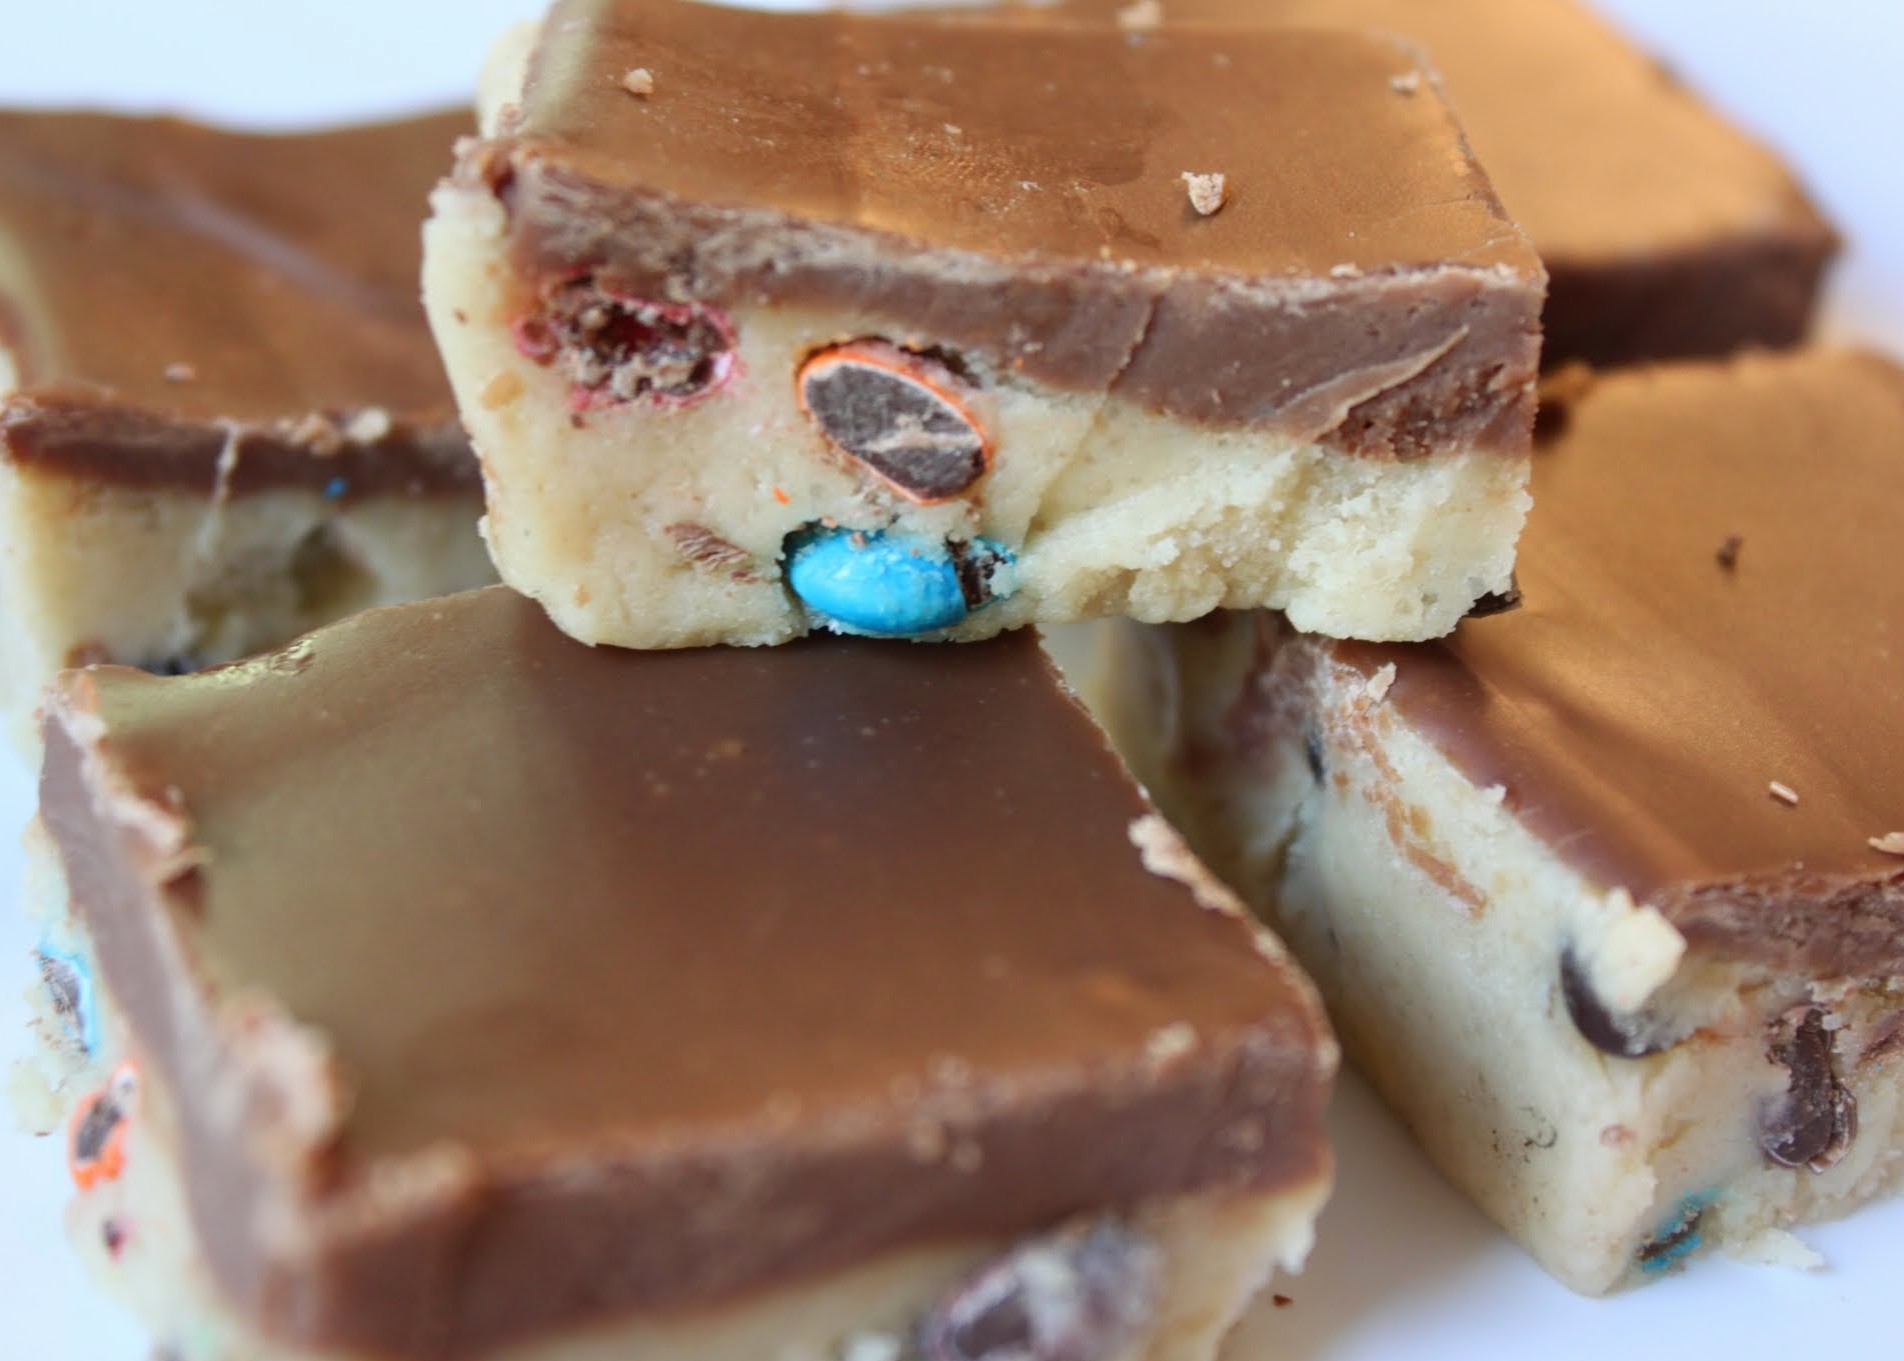
But my typical mindset when it comes to dessert is that more is better. Especially if fudge is involved. So on top of this M & M cookie dough base is a layer of thick, milk chocolate fudge. It complements the M & Ms and fulfills any chocolate fanatic’s dream. And as for adding fudge to cookie dough…why didn’t I think of this before? Happiness!
This recipe is also no-bake, which I know is a big thing for some of you. I’ve never minded turning on the oven, but if your oven is tricky or broken or you just don’t want to heat up your kitchen, these bars will do the trick!
And people will swear that they’re eating cookie dough. They will think they’re doing something illicit and wrong until you take that high away.
Unless you don’t like eating the raw dough (and who doesn’t), get going! The only risk is that you’ll eat all of the dough before you get to the stage where it becomes bars. Willpower. Patience, people!
Cookie Dough Layer:
- 1/2 cup butter, softened to room temperature
- 3/4 cup firmly packed brown sugar
- 1 teaspoon vanilla
- 2 and 1/4 cups flour
- 14 oz. can sweetened condensed milk (I used fat-free)
- 1/2 cup mini chocolate chips
- 1/2 cup mini M & Ms
Fudge Layer:
- 1 bag milk chocolate chips
- 14 oz. can sweetened condensed milk (I used fat-free)
- 2 teaspoons vanilla
Instructions:
In the bowl of a stand mixer, cream the butter and brown sugar until light and fluffy. Add in the vanilla and mix again. Pour in flour and condensed milk alternately, beating until thoroughly combined.
Stir in the mini chocolate chips and mini M & Ms. Press the mixture into the bottom of a 9 x 13-inch greased pan.
Next, make the fudge layer. Using a microwave-safe bowl, heat the condensed milk and chocolate chips for 2 minutes. Stir until smooth, add the vanilla, and stir again. Pour the fudge layer over the cookie dough layer, being sure to spread the fudge to the edges of the pan.
Refrigerate for 2 hours. When the fudge is firm, cut into small squares and serve!
]]>I did not try a Twix bar until I was in my late twenties. No joke. Not even a bite. And though there’s usually a reason for travesties like that, I have no real reason to offer. My parents never bought them, I always wanted other candy, and it just never occurred to me to actually eat a Twix bar.
So you can imagine my grief at all the wasted years when I finally tried one. It was such a surprise. Not to shame Rolos, but why hadn’t I tried this caramel (and cookie-infused) candy? Why? Why?!
I was even more upset when I found out there used to be peanut butter Twix out there. I vaguely remember them being in red packaging. But I haven’t see any of those in a while, and it’s not for a lack of looking. Oh, life is so short. We have to seize the day while we still can.
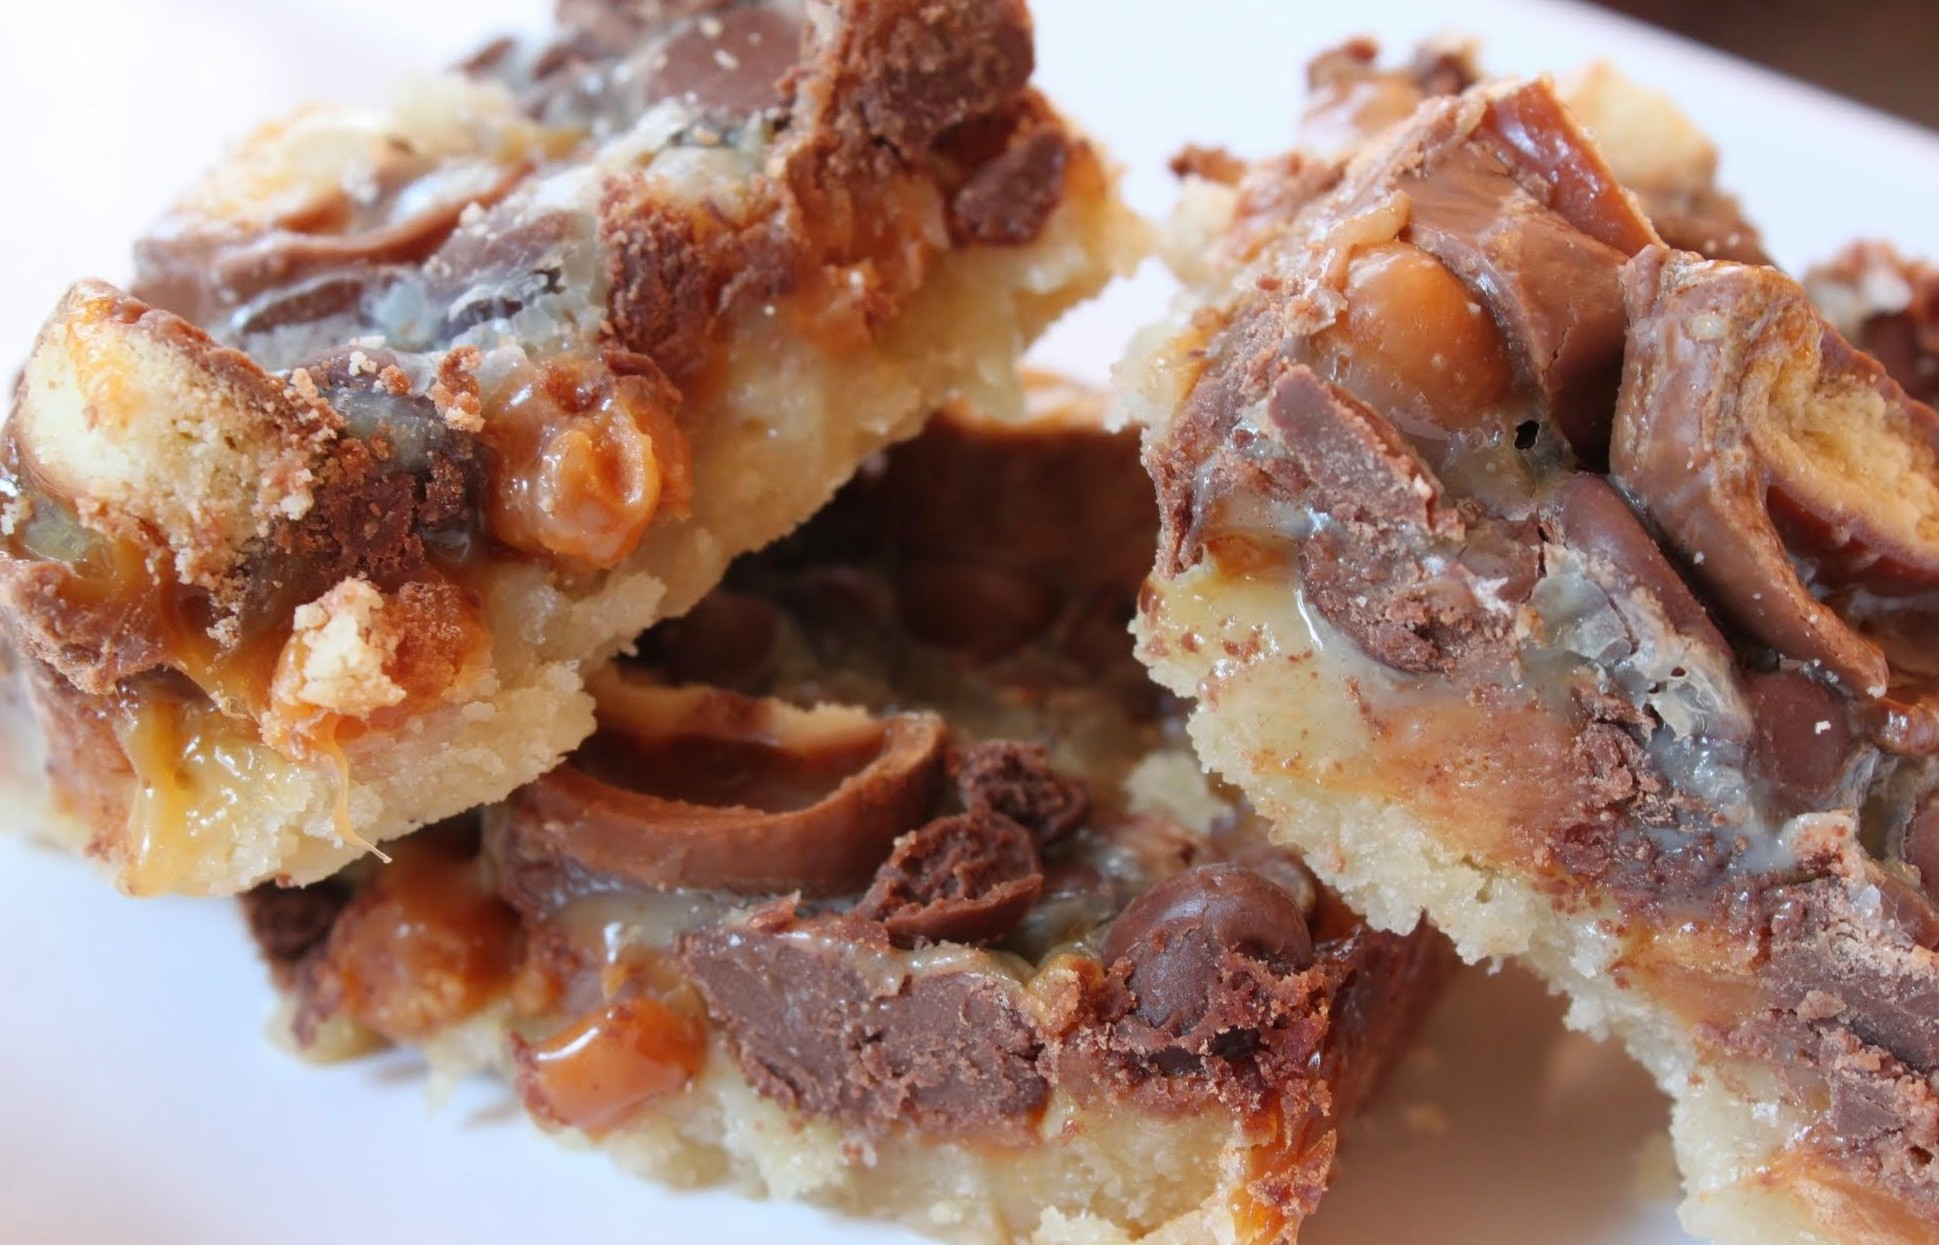
Which is why I decided to give Twix bars some long-delayed love. Magic bars are one of my favorite desserts. I inhale them with delight, vaguely aware that my blood sugar is shooting up past reasonable bounds, and then I stop caring and keep eating them. They’re just such a rewarding explosion of chewy and sweet.
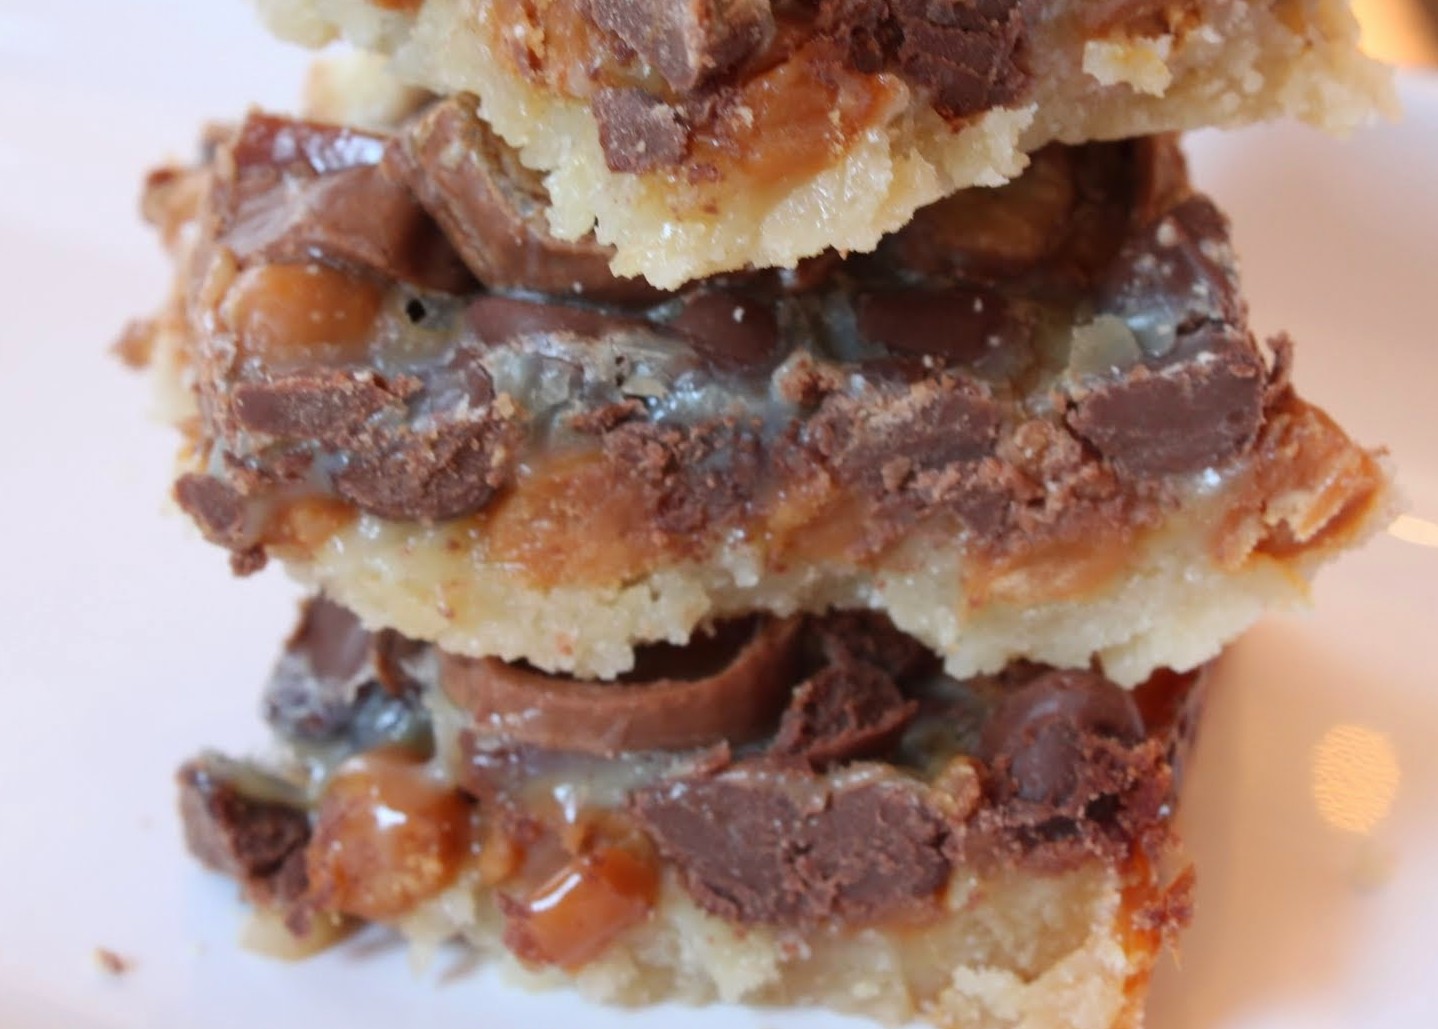
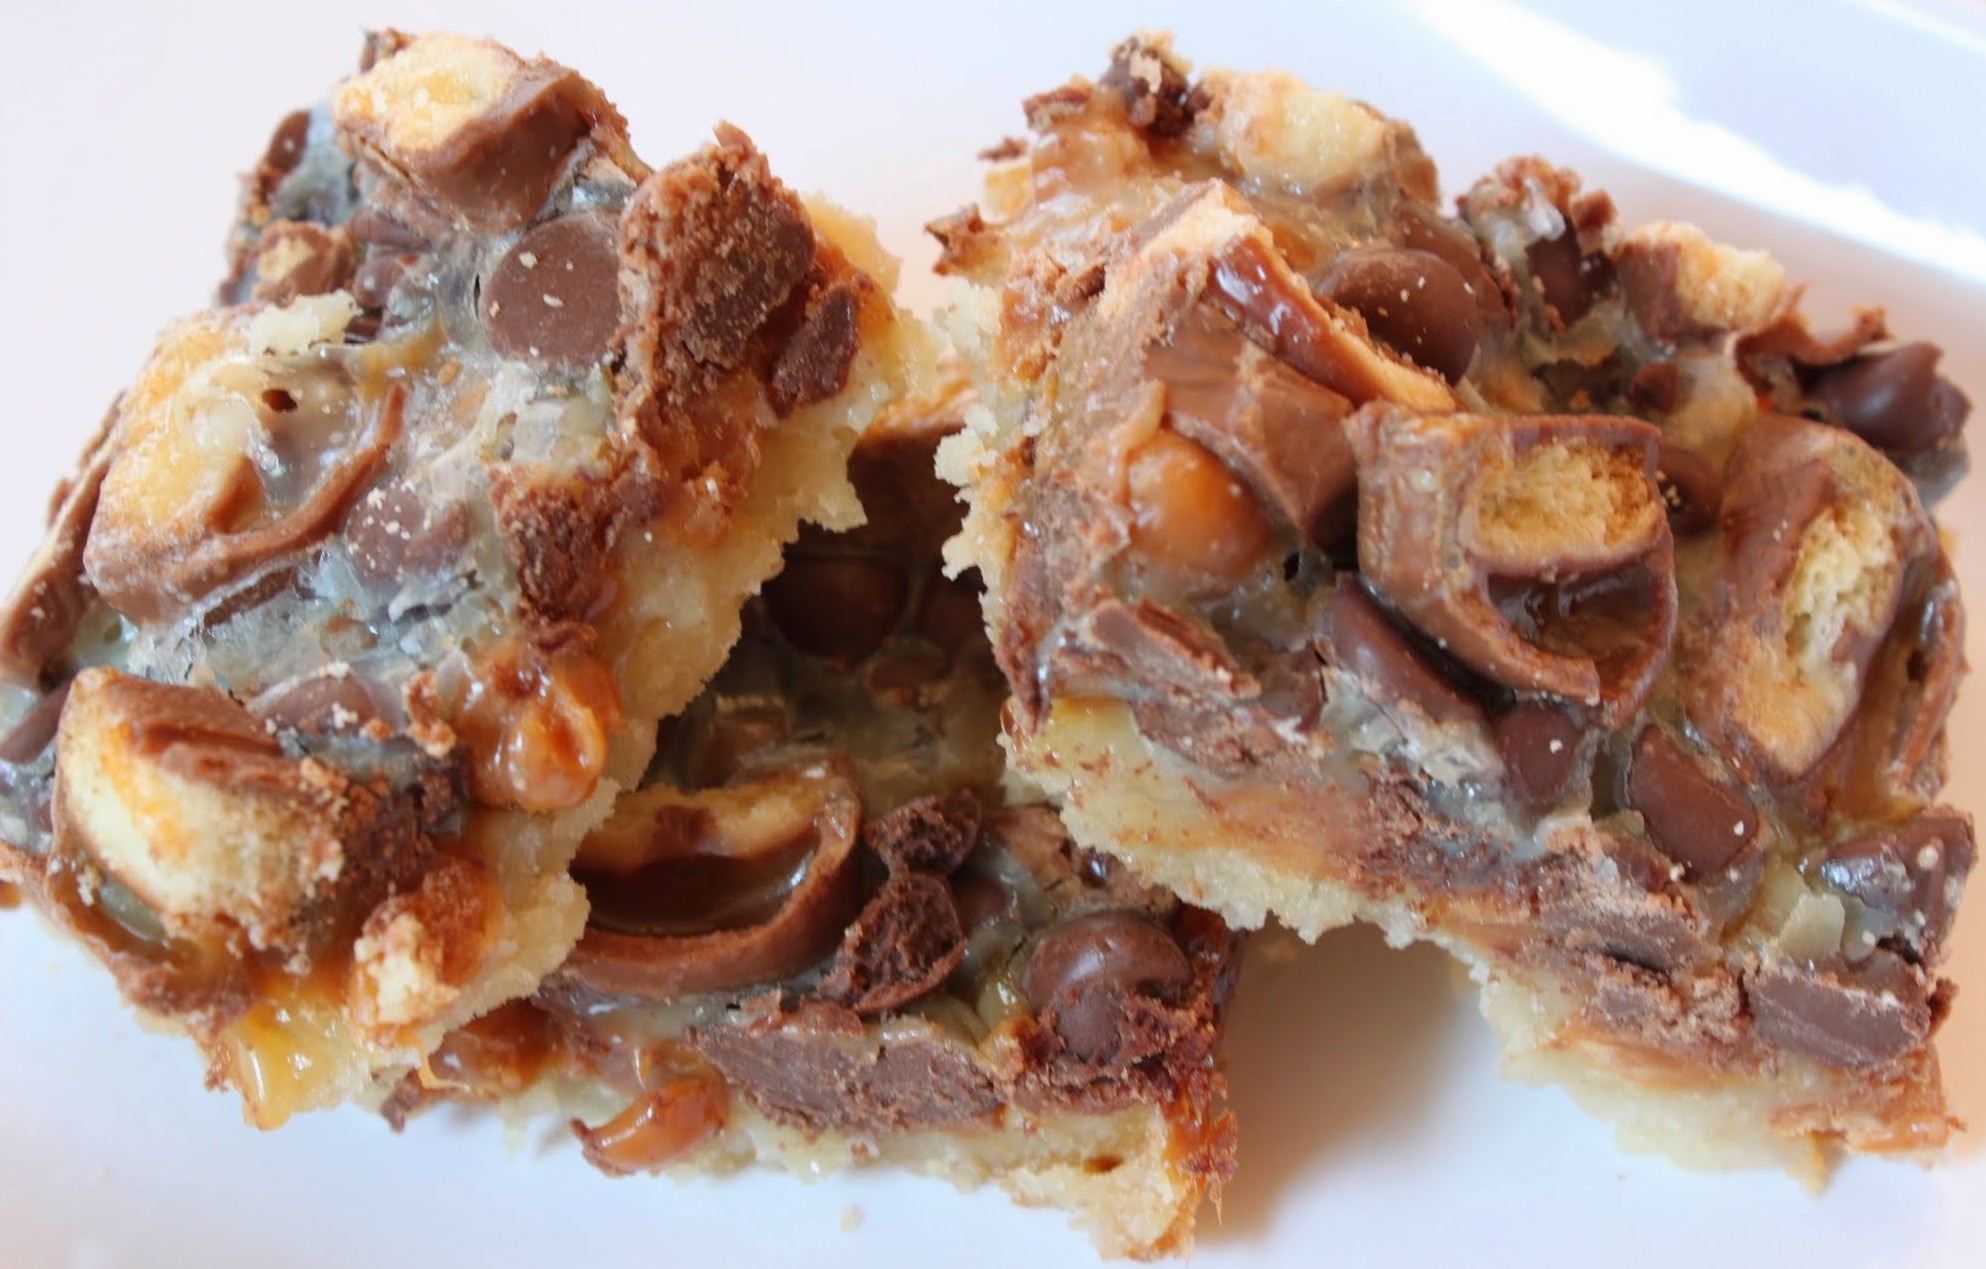
For these, I used refrigerated sugar cookie dough for the crust. I wanted a base that would be reminiscent of the cookie inside a Twix, and it paid off. Then I added milk chocolate chips, those lovely little caramel bits that Kraft makes, and chopped up fun-size Twix bars. Voila! Twix madness. Woohoo!

I gave these to some students, one of my most grateful test populations. They loved them and pronounced them, like, the best thing EVER. So if you put that into more perspective from being older, they’re pretty darn great. And so easy. Remember, I like easy. I have three kids and a full-time job. I need easy in my life!
This is a two-second recipe. Well, not two seconds. But it won’t take you long. If you start making them after work, they’ll be done by dinnertime!
Ingredients:
- 16 oz. refrigerated sugar cookie dough, not too cold
- 1 and 1/2 cups milk chocolate chips
- 1 package caramel bits or chopped caramels
- 15-16 chopped fun-size Twix bars
- 14 oz. (1 can) sweetened condensed milk (I used fat-free)
Instructions:
Preheat the oven to 350. Line a 9 x 13 pan with foil, using enough to let the foil hang over the sides of the pan. Spray with cooking spray.
Press the sugar cookie dough into the bottom of the pan. It will be sticky if it’s at room temperature, so don’t let it get too soft. Bake for 15 minutes until set and the edges are golden.
In the following order, sprinkle on the caramel bits, chocolate chips, and chopped Twix pieces, being sure to cover the surface evenly with all of the different elements. Drizzle the condensed milk over the top of the bars, covering the whole pan.
Bake the bars for 25-28 minutes until the edges are browned and the middle is fully cooked. Cut into small squares (they’re rich!) and serve or store in an airtight container for up to one week.
]]>
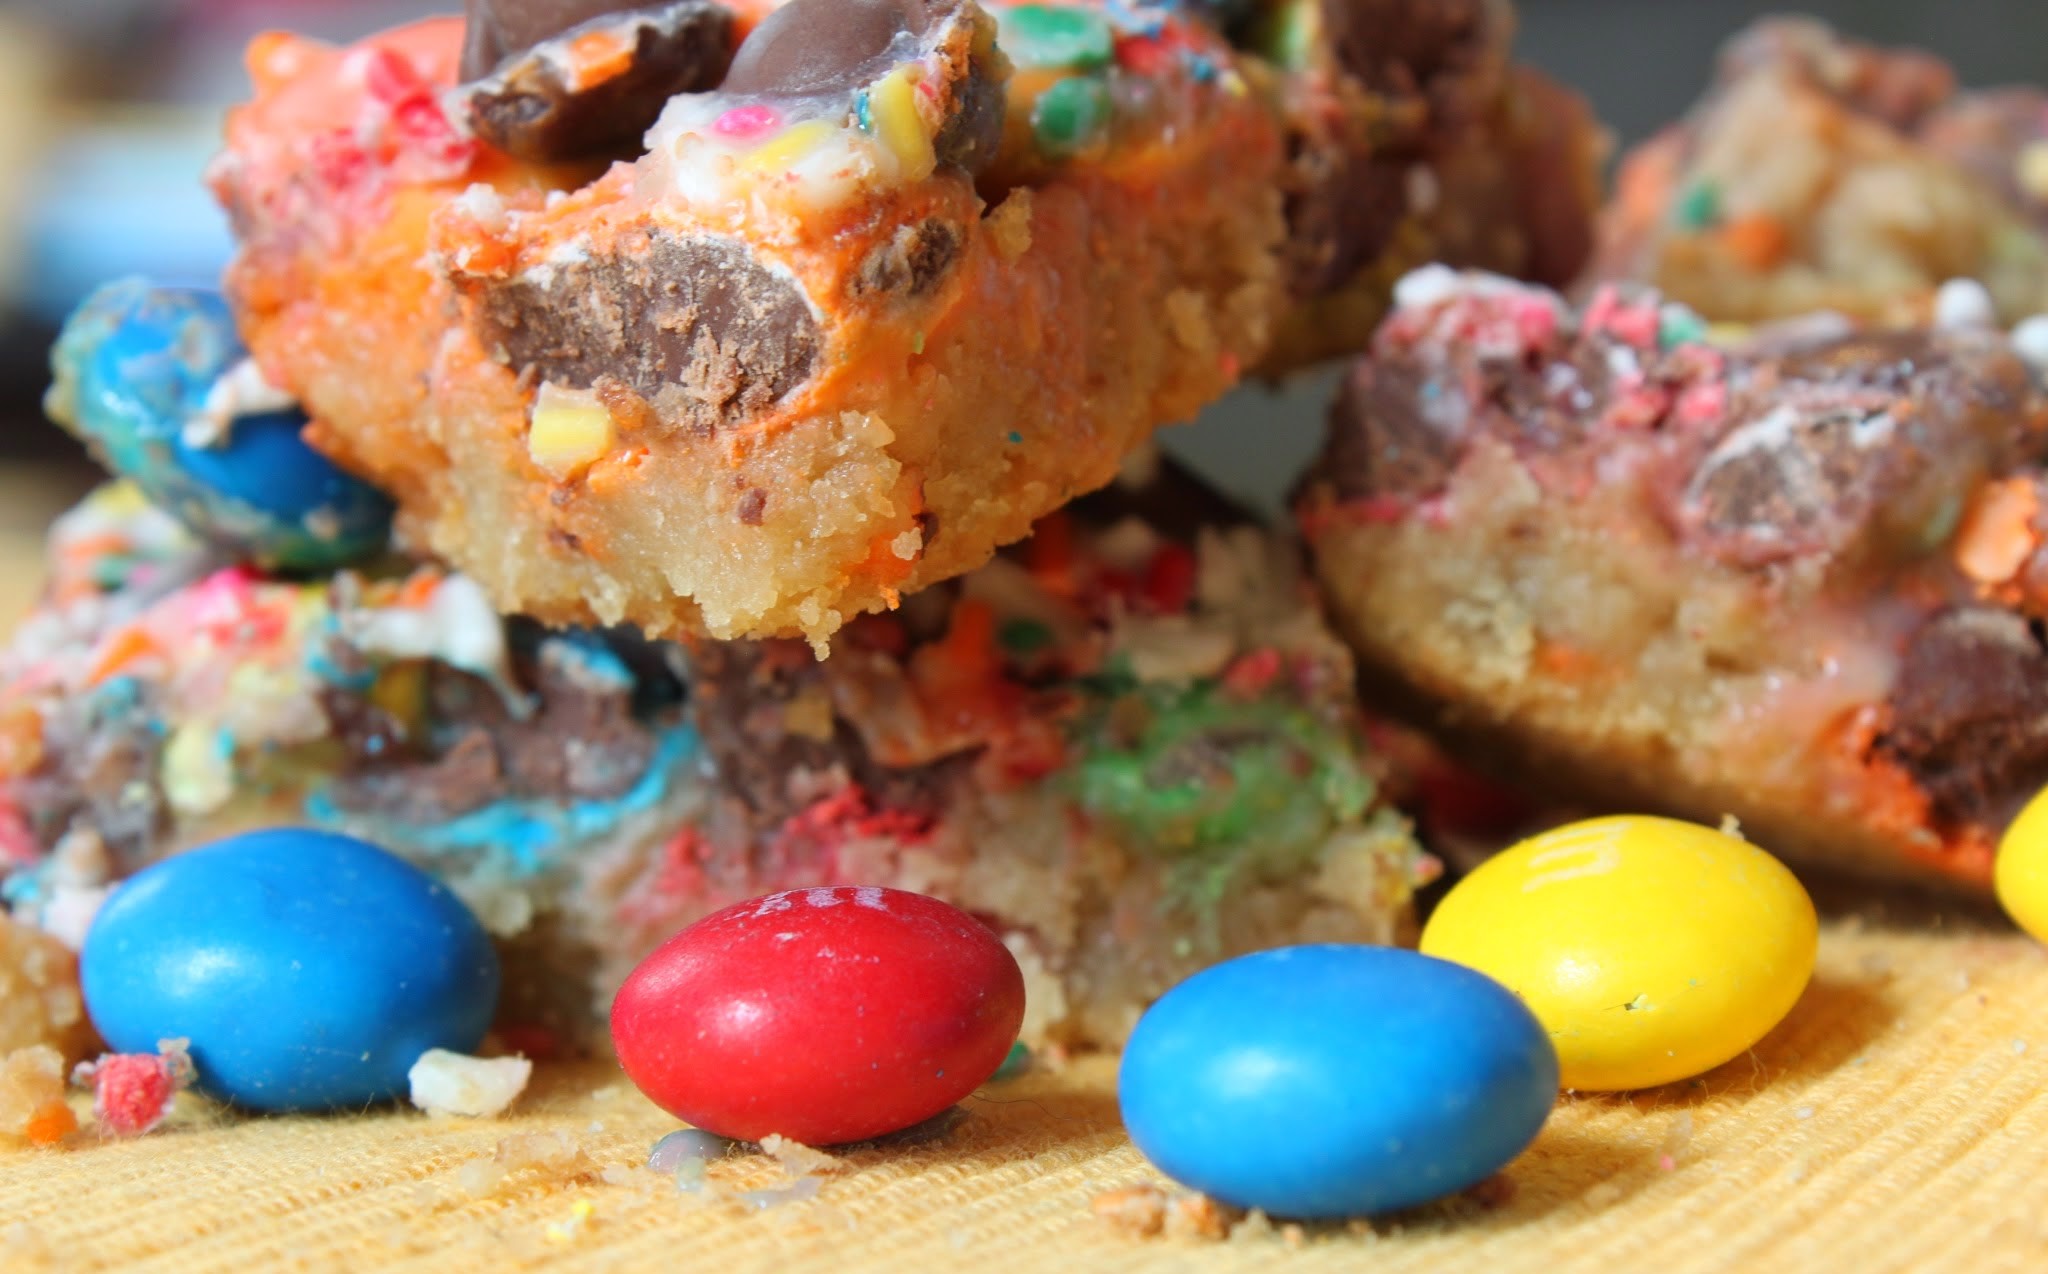
Sprinkles are really magical. I realized a few months back that if I put sprinkles on anything, my kids will eat it. While I’m tempted to test that theory on broccoli, that’s sort of gross. But my son, who pretends to hate chocolate, decided to eat these bars just because of the sprinkles.
See? Magic.
Which is appropriate, considering these are magic bars. The traditional magic bar has a graham cracker crust and then layers of goodness, like chocolate chips and nuts, finished off with a layer of condensed milk. While I don’t always like to mess with success, I’ve found that magic bars can be created in any flavor, anytime, which is why you will probably see a lot of them on this site.
For these bars, a few elements collided to get my thinking cap going. First of all, I’m a teacher, and I sometimes order fundraiser food from my students. One of my students was selling cookie dough, so a couple of months back I bought a batch of the M & M variety. It happened to arrive this week.
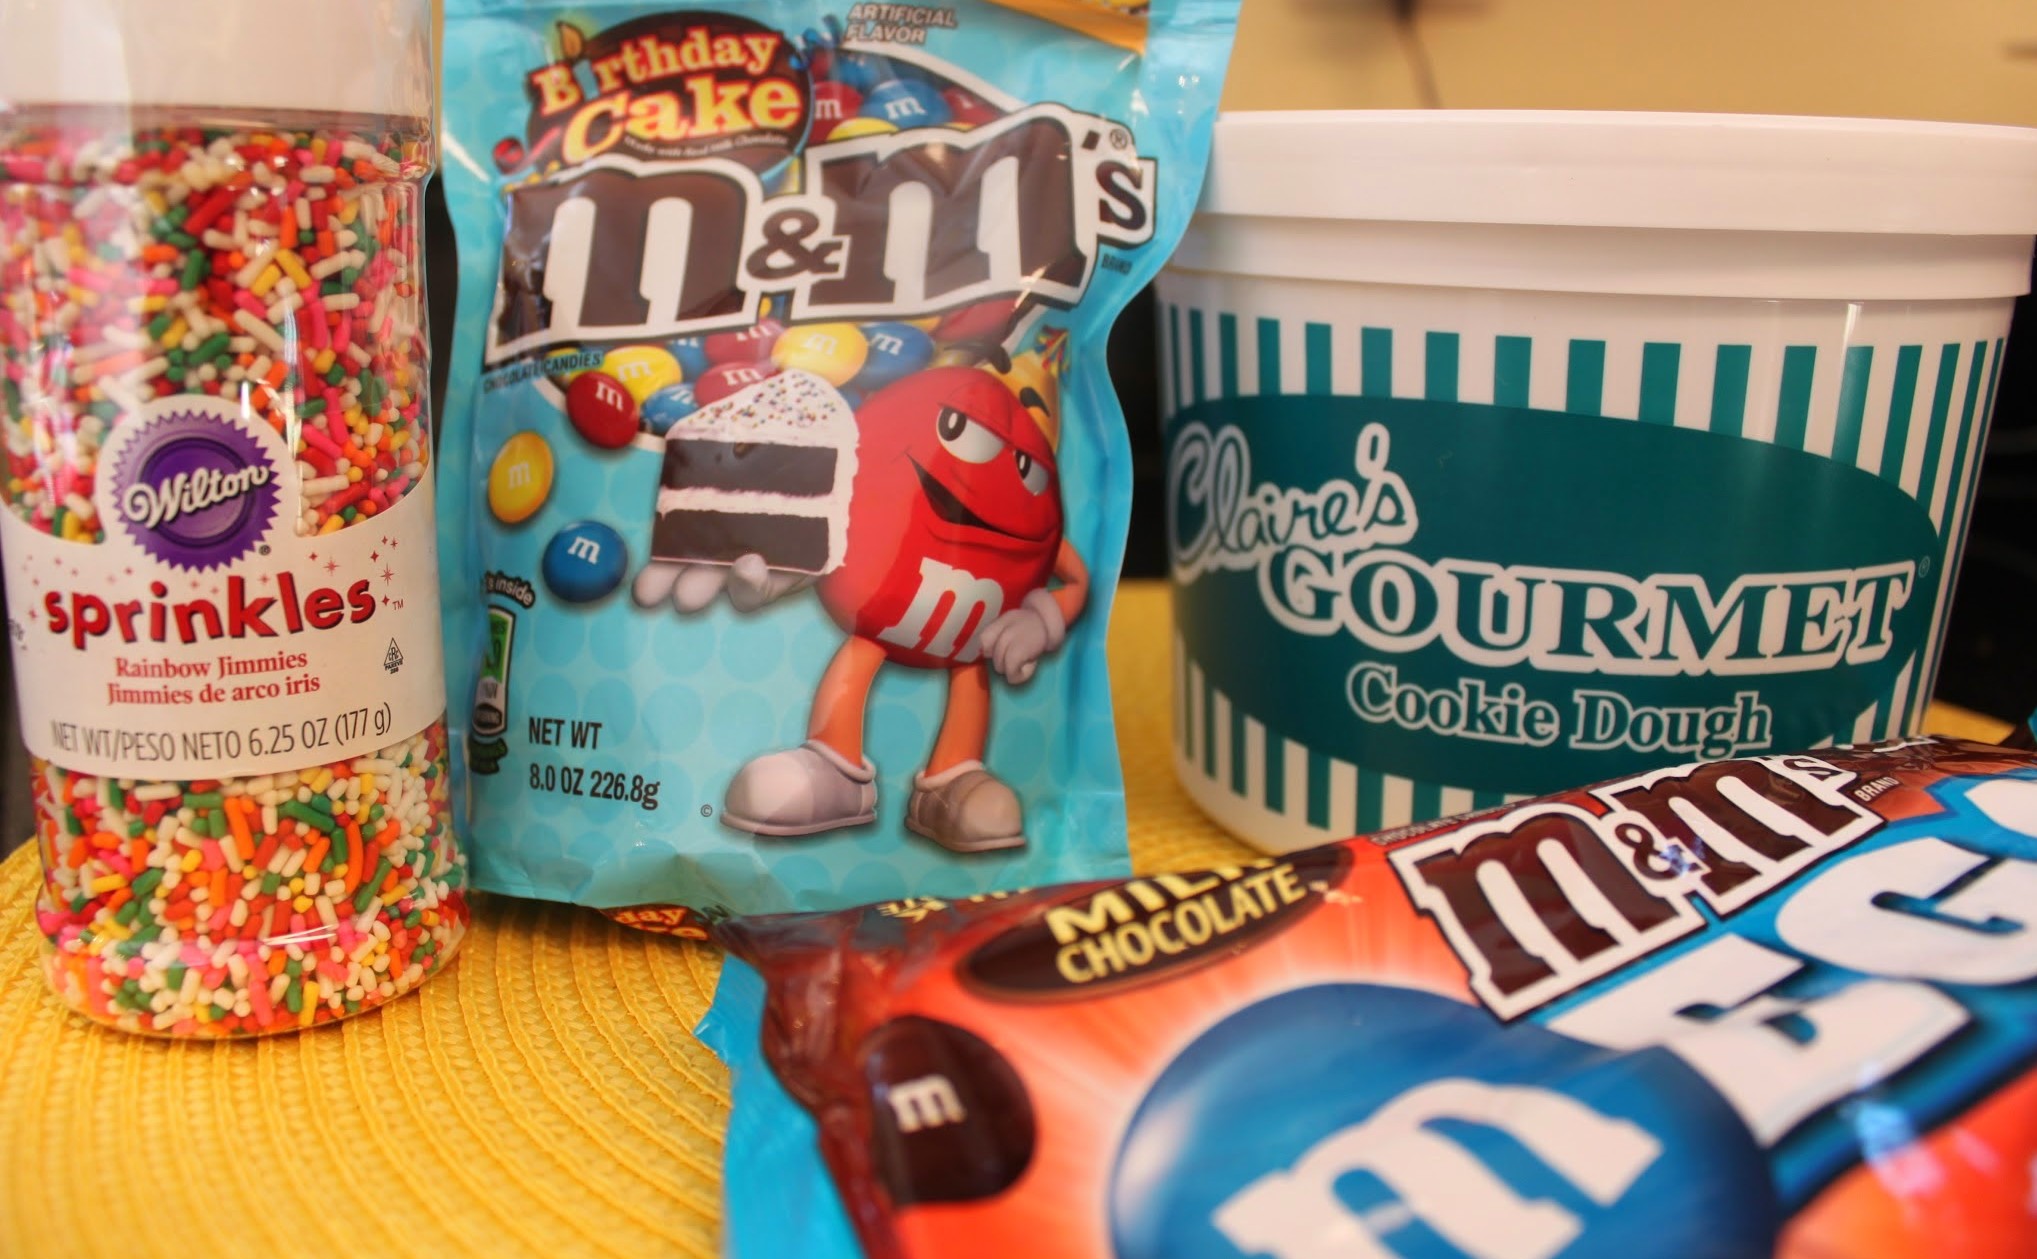
On that very day, I was in CVS replenishing my supply of Reese’s peanut butter eggs. They’re really the best, but that’s a different post for another day. As I was nearing the candy aisle, I spied something totally unexpected nestled among the bags: birthday cake-flavored M & Ms. I was dumbfounded. These exist?
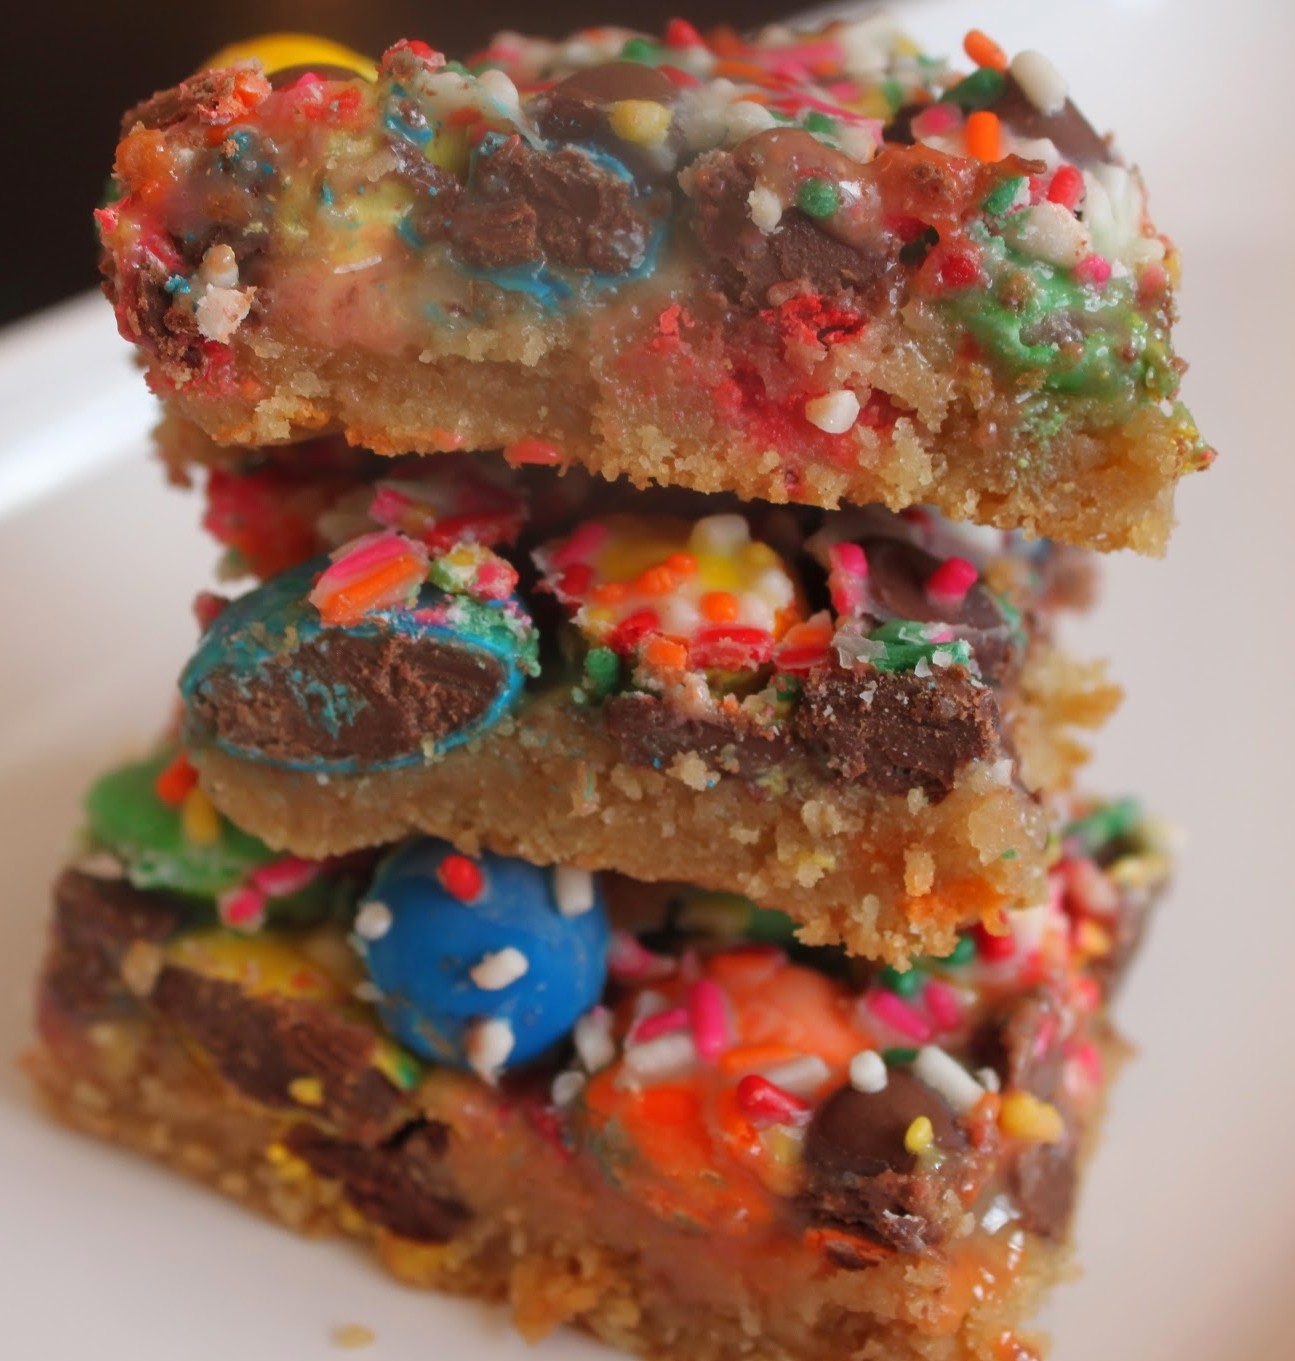
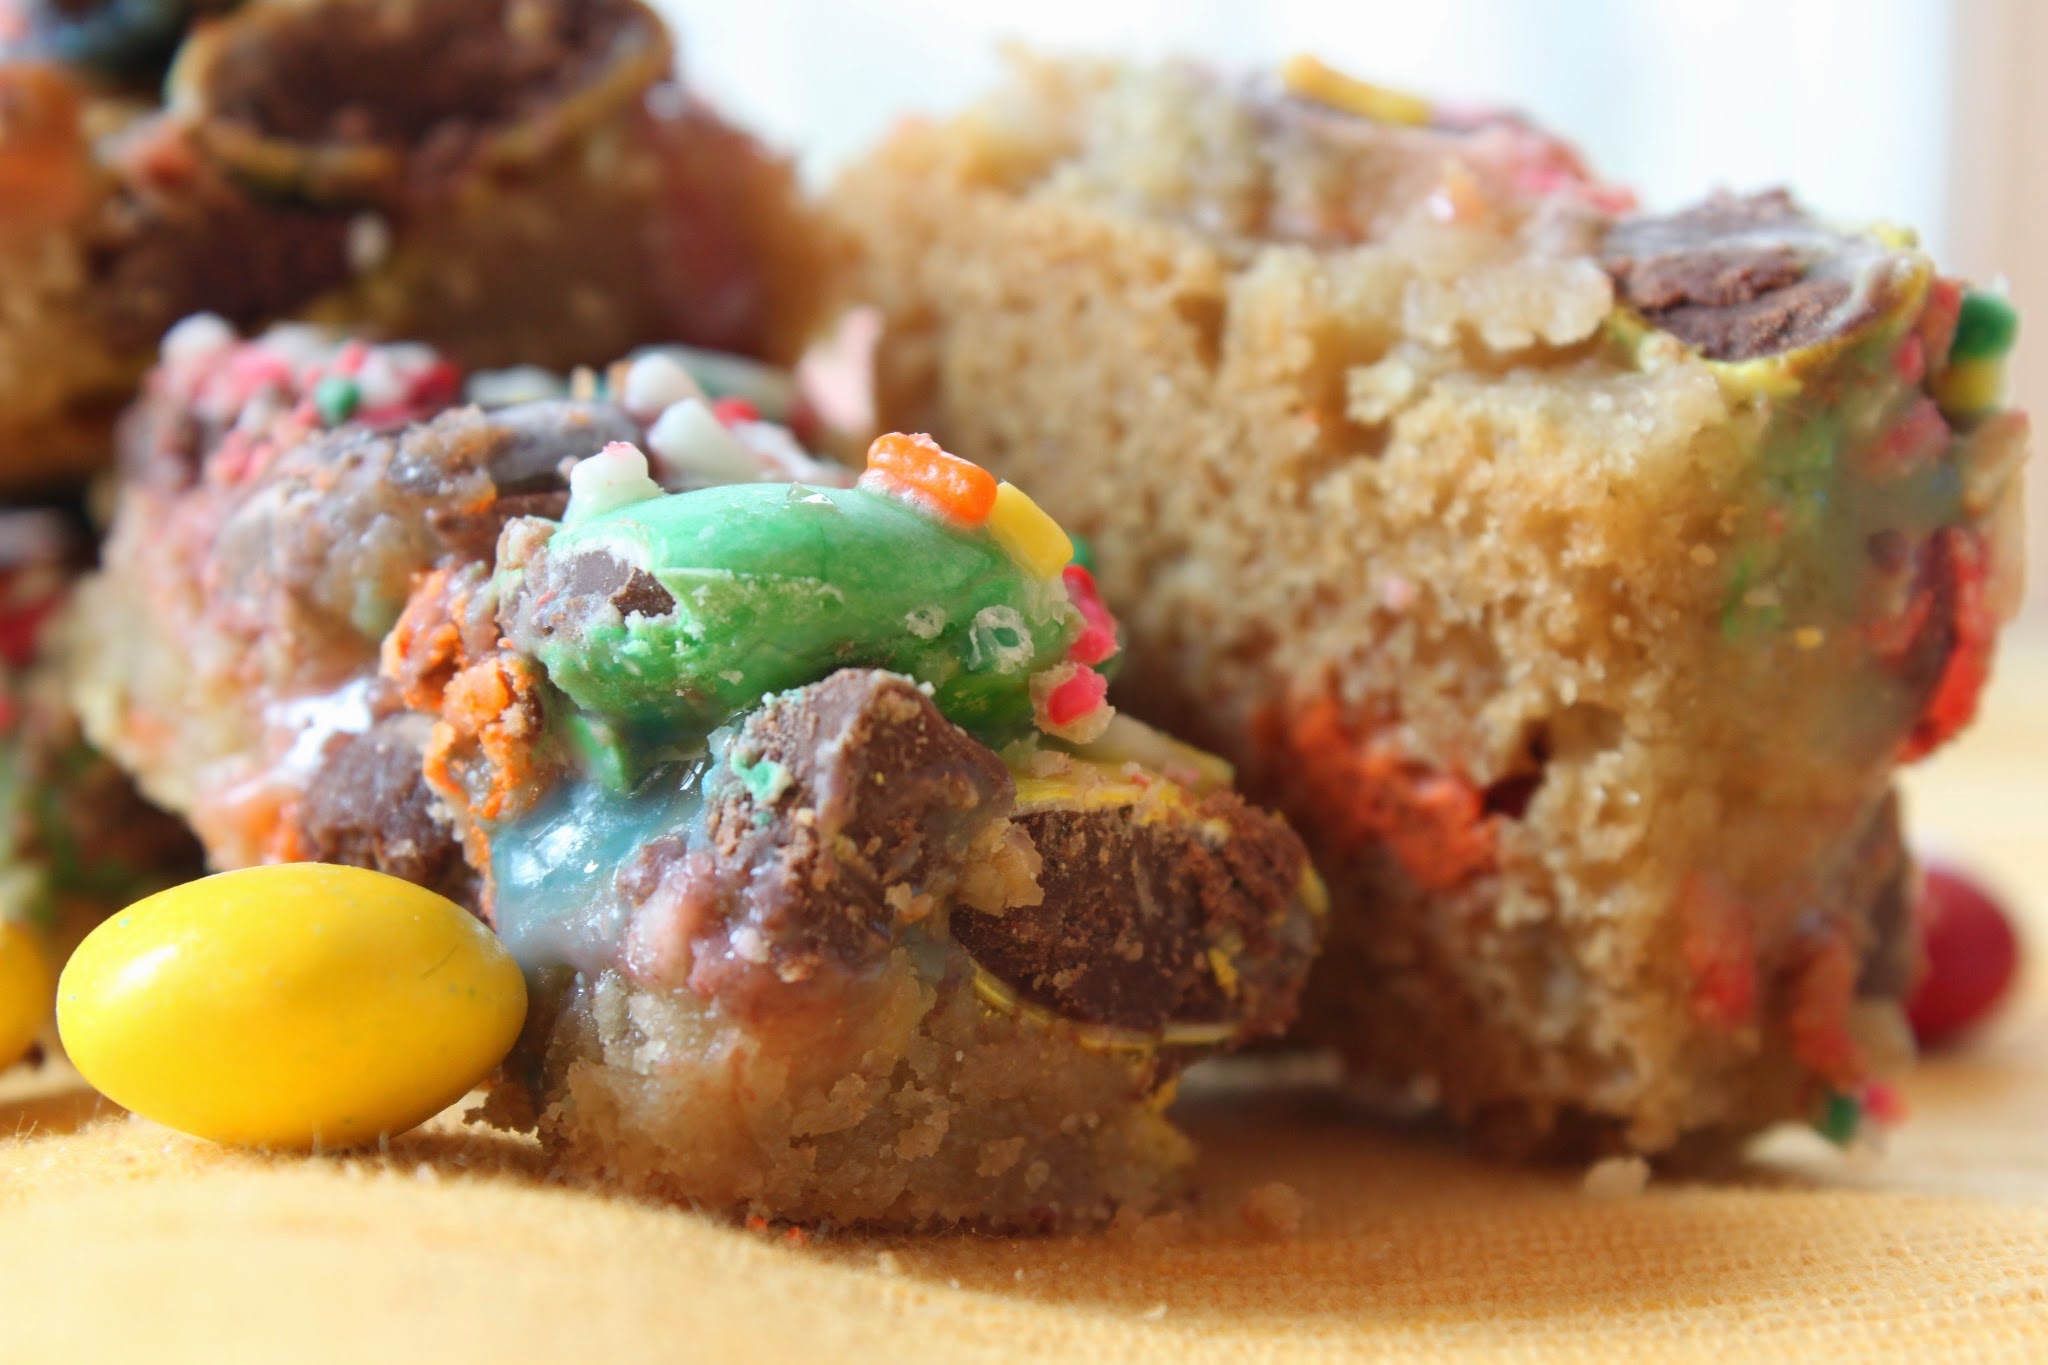
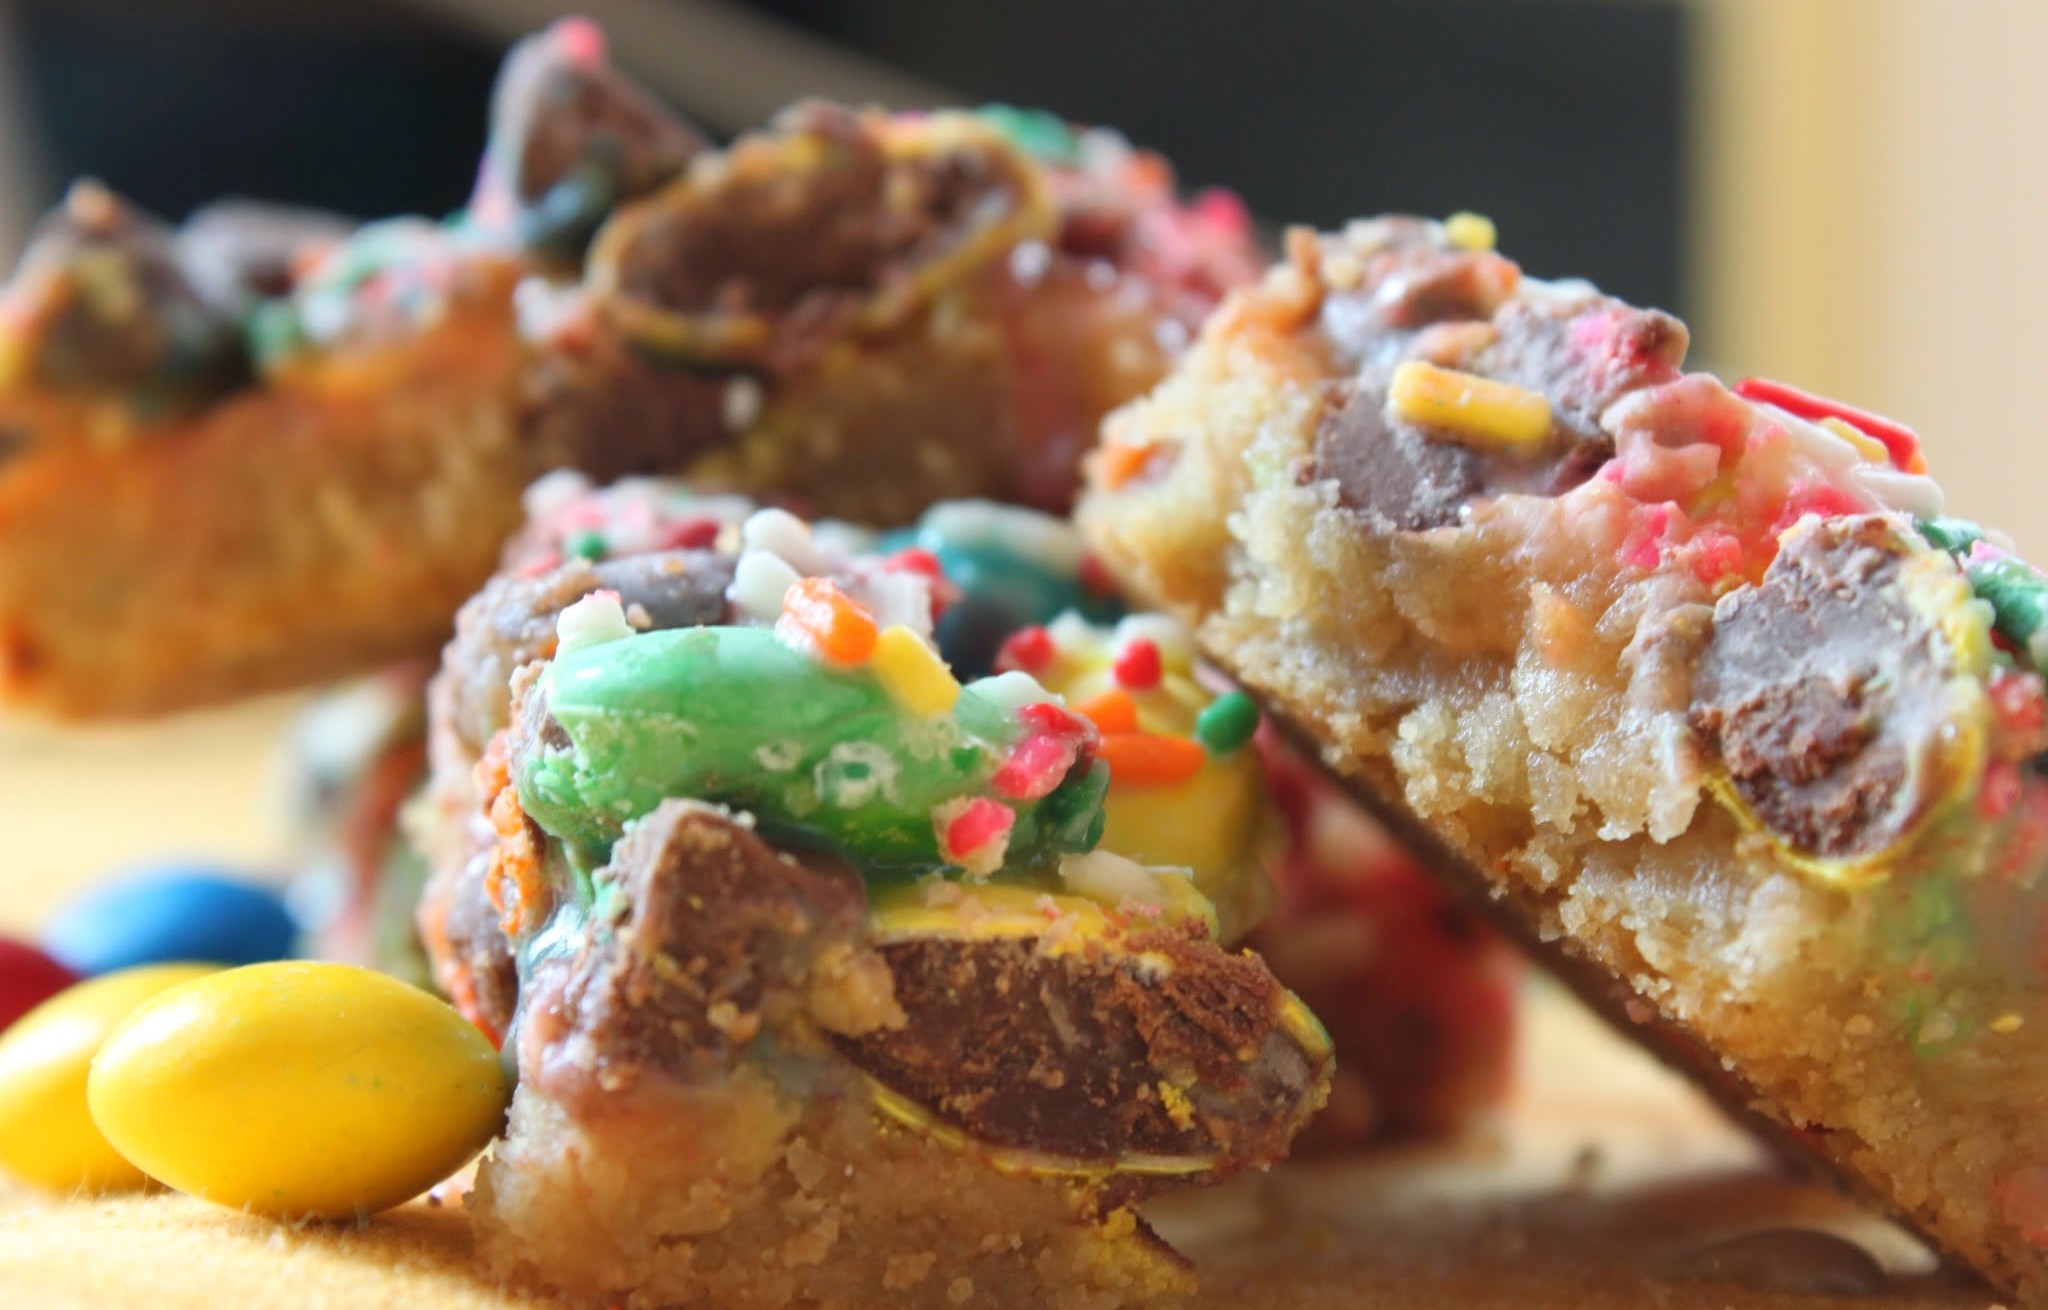
An idea was born in that moment. An M & M cookie crust, followed by M & Ms (I used the birthday cake and mega varieties), milk chocolate chips, condensed milk, and…wait for it…sprinkles! Voila, birthday cake magic bars! With M & Ms.
Sorry, I’m just so excited. It’s hard to contain myself.
Okay, on to practical concerns. If you don’t have access to M & M cookie dough and don’t feel like doing it from scratch, you can use chocolate chip cookie dough instead and mix in some mini M & Ms by hand. Not all of us have high school students selling us fundraiser products.
As for the toppings, feel free to play around. Use different flavors of M & Ms if you like. But don’t forget the sprinkles! No child on this planet will forgive you if you decide to go without. It’s just not cool.
Here’s how to bribe every kid (and who am I kidding, adult too) in a 17-mile radius.
Ingredients:
- 1/2 bucket (large, about 16 oz.) cookie dough, M & M or chocolate chip
- 1/2 cup mini M & Ms (optional, see post above)
- 1 snack-sized (8 oz.) bag birthday cake M & Ms
- 1 regular-sized bag Mega M & Ms
- 1 cup milk chocolate chips
- 1 can (14 oz.) sweetened condensed milk (I used fat-free)
- rainbow sprinkles to taste
Instructions:
Preheat the oven to 350. Spray a 9 x 13 pan with cooking spray.
Take the prepared cookie dough out of the refrigerator and bring it to room temperature. When it’s soft enough to work with, press the dough into the bottom of the pan, making sure the layer is even.
Note: if you’re using chocolate chip cookie dough, you can opt to mix the mini M & Ms into the dough.
Bake the bottom layer for 15 minutes. Remove it from the oven and let it cool slightly, about 10 minutes.
Taking care to cover the entire surface evenly, sprinkle on the birthday cake and Mega M & Ms, followed by the chocolate chips. Pour the condensed milk over the top, making sure that the entire pan is covered. Finally, shake on the rainbow sprinkles liberally, again being sure to get maximum coverage.
Put the bars back in the oven for 15-20 minutes until the edges are golden brown and the middle is set.
Allow to cool. Cut into squares and enjoy!
]]>