
MARKETICA_PREVIEW/00-marketica-preview-sale37.jpg
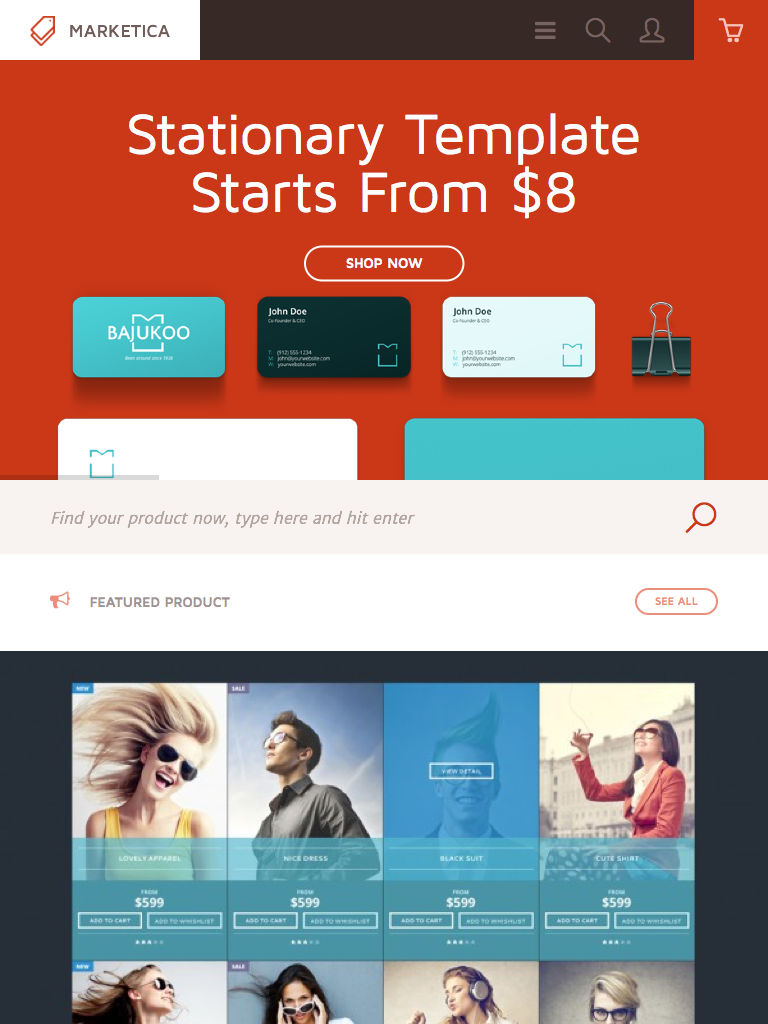
MARKETICA_PREVIEW/01_marketica2_homepage.png
MARKETICA_PREVIEW/02_marketica2_shop_page.png
MARKETICA_PREVIEW/03_marketica2_single_product_page.png
MARKETICA_PREVIEW/04_marketica2_cart_page.png
MARKETICA_PREVIEW/05_marketica2_checkout_page.png
MARKETICA_PREVIEW/06_marketica2_myaccount_login_page.png
MARKETICA_PREVIEW/07_marketica2_plan_and_pricing_page.png
MARKETICA_PREVIEW/08_marketica2_team_members_page.png
MARKETICA_PREVIEW/09_marketica2_contact_page_template.png
MARKETICA_PREVIEW/10_marketica2_blog_page.png
MARKETICA_PREVIEW/11_marketica2_blog_post_formats.png
MARKETICA_PREVIEW/12_marketica2_single_product_page.png
MARKETICA_PREVIEW/13_marketica2_theme_customizer.png
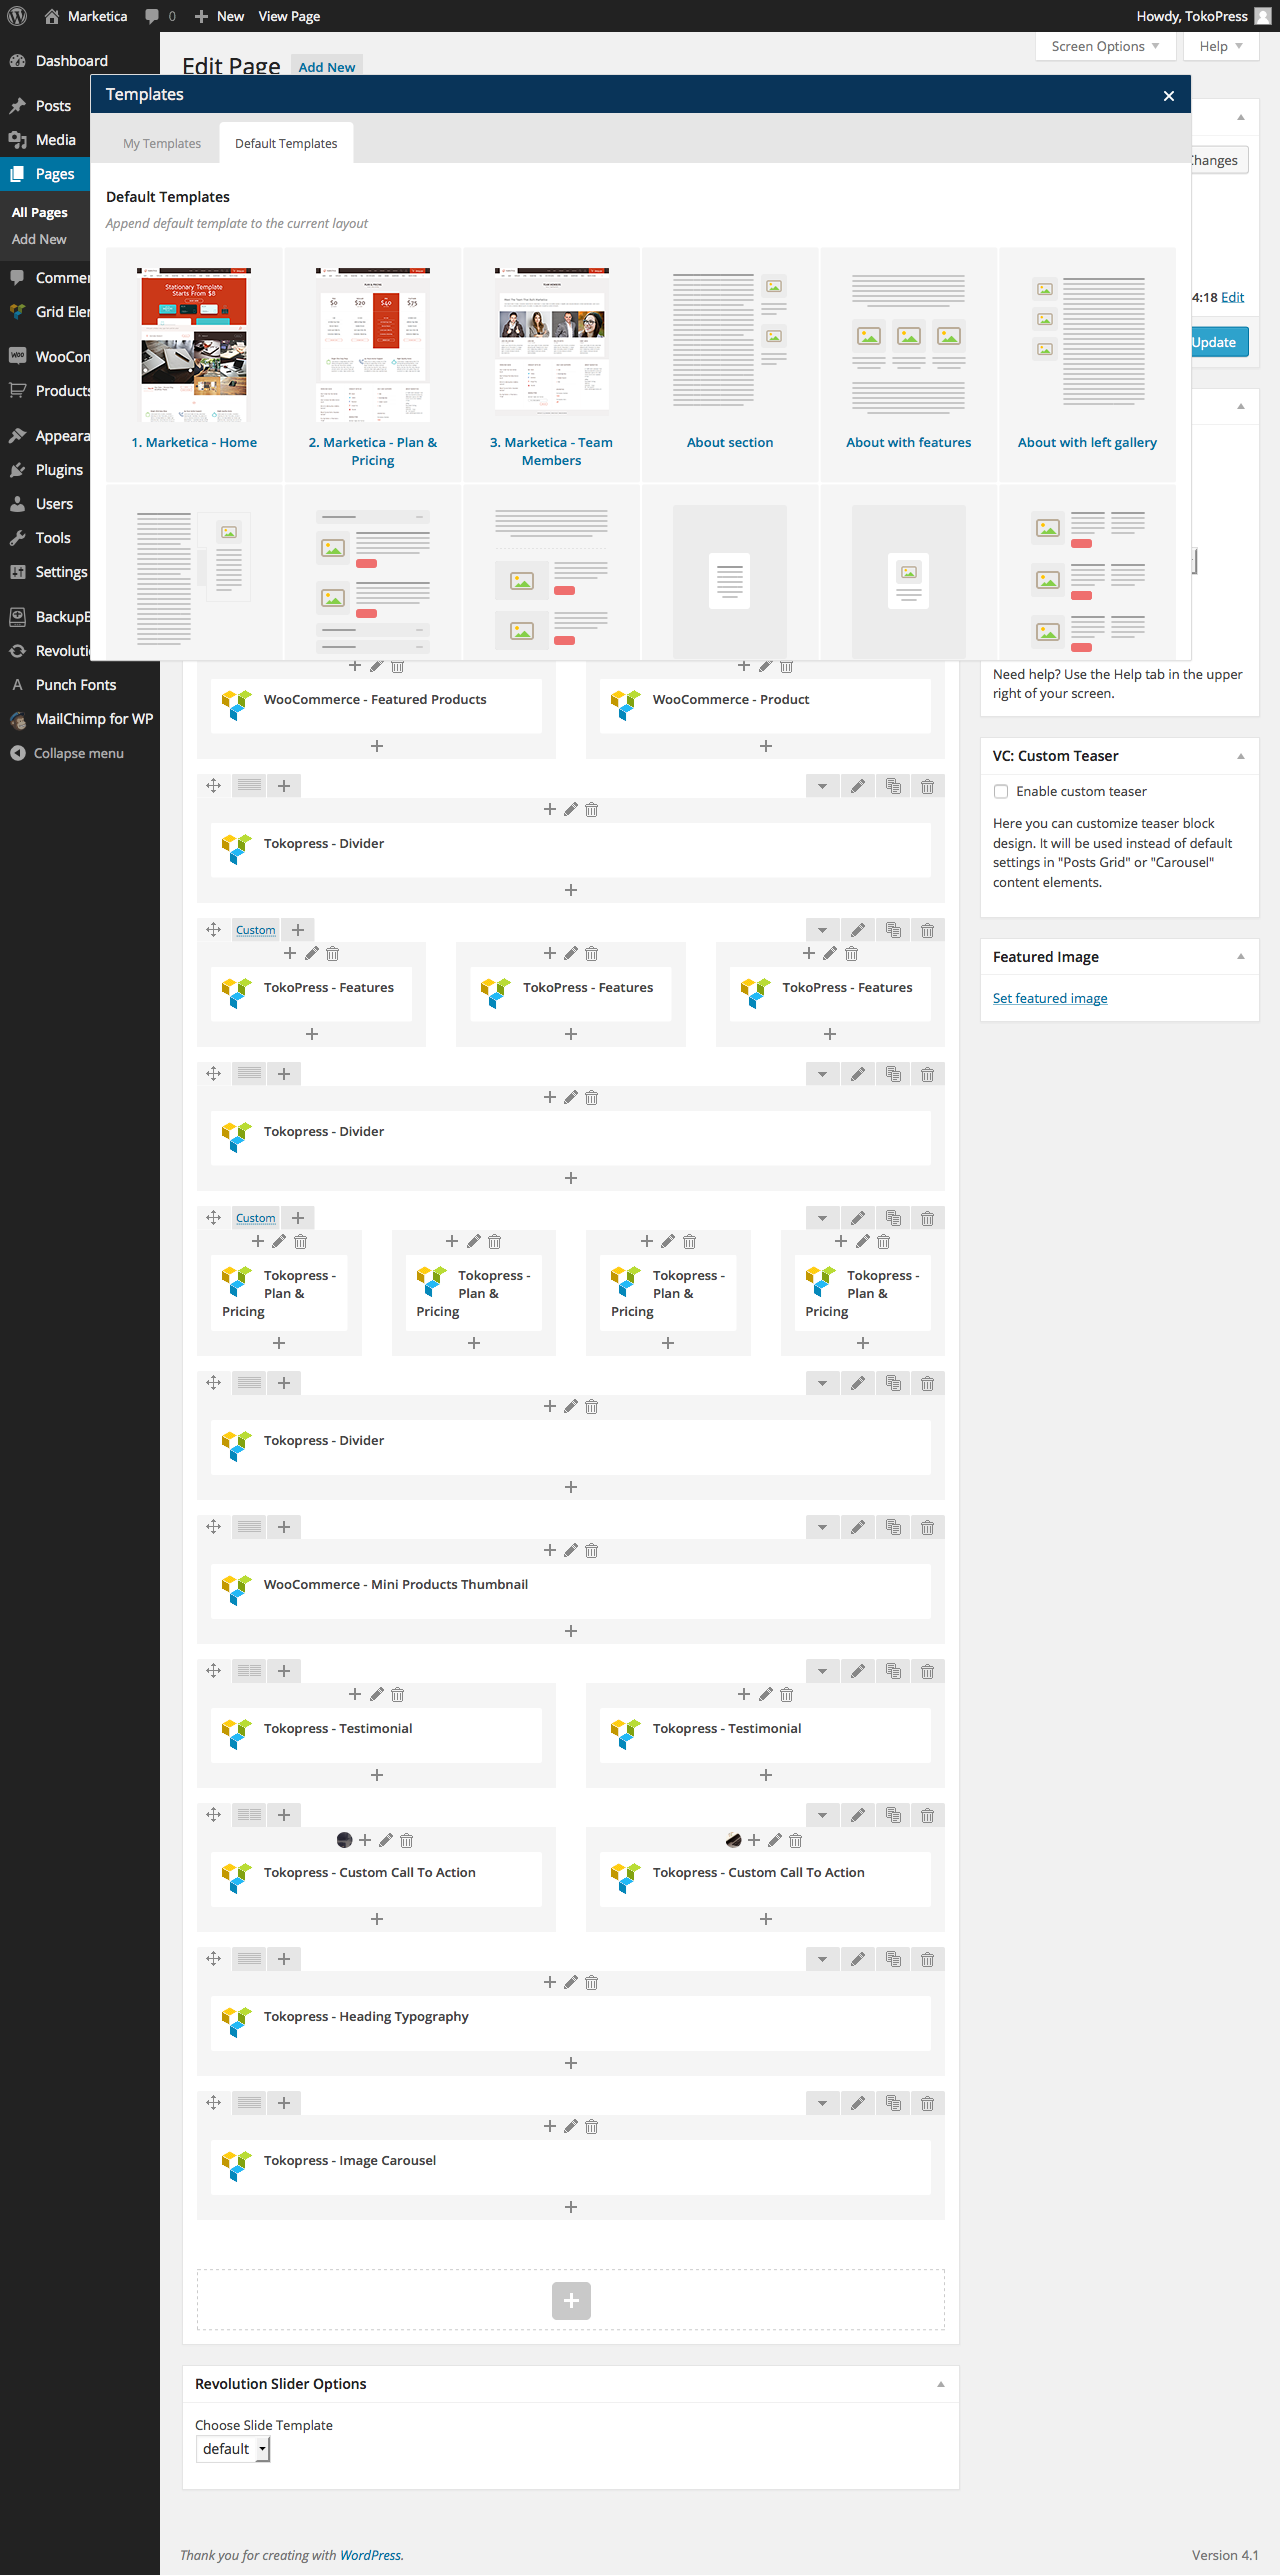
MARKETICA_PREVIEW/14_marketica2_visualcomposer_templates.png
MARKETICA_PREVIEW/15_marketica2_tablet_view.png
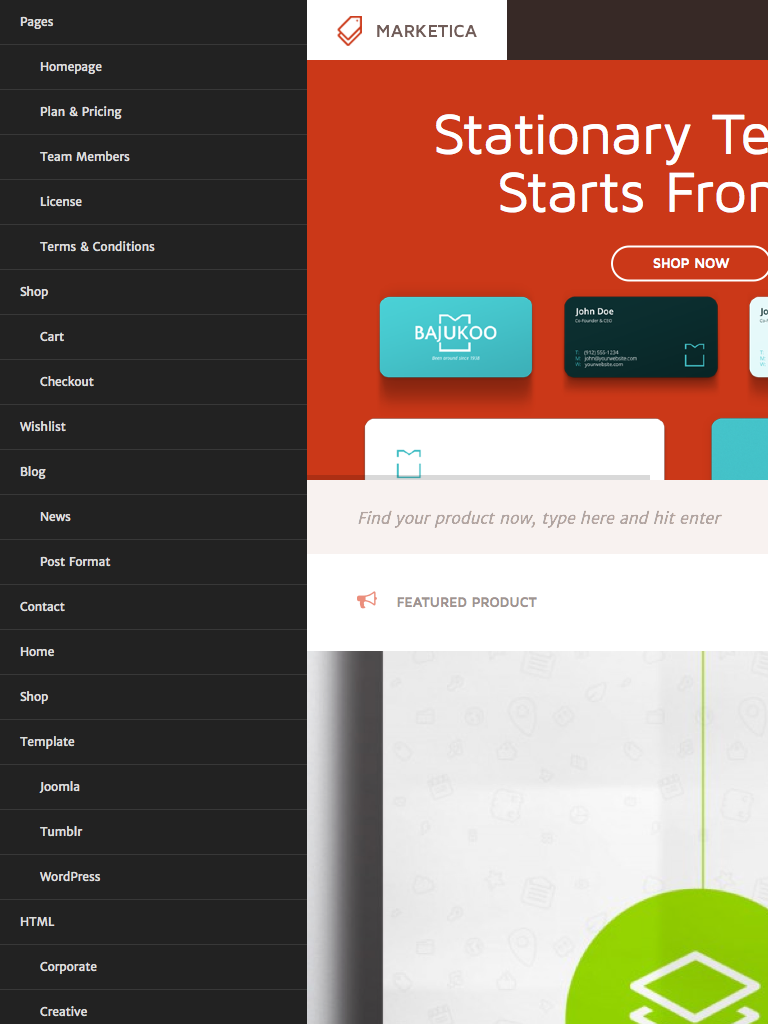
MARKETICA_PREVIEW/16_marketica2_tablet_view_offcanvas_menu.png
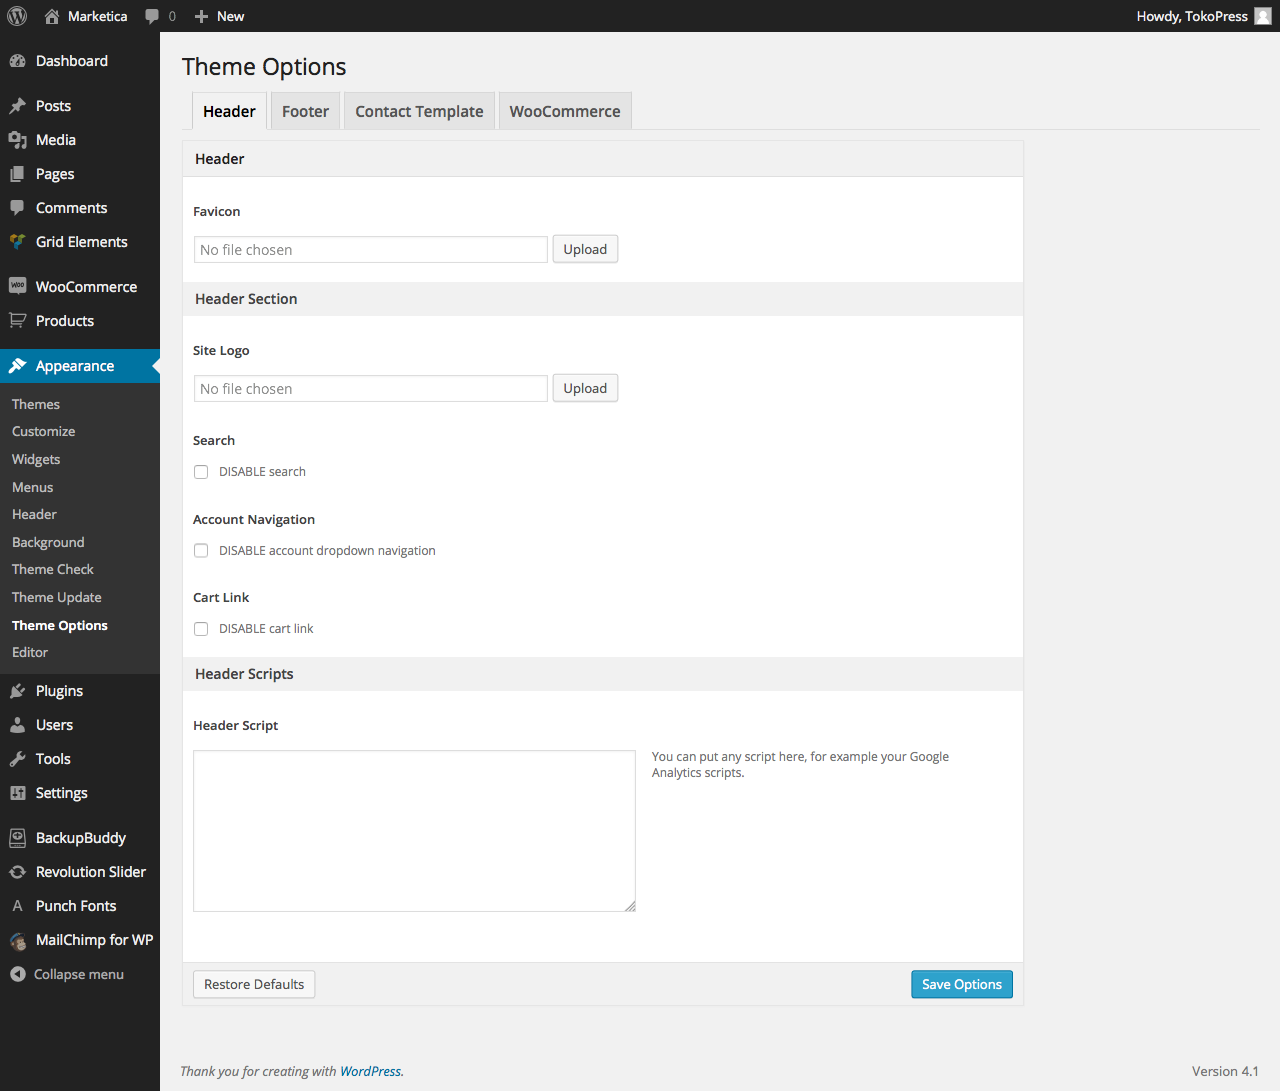
MARKETICA_PREVIEW/17_marketica2_themeoptions_header.png
MARKETICA_PREVIEW/18_marketica2_themeoptions_footer.png
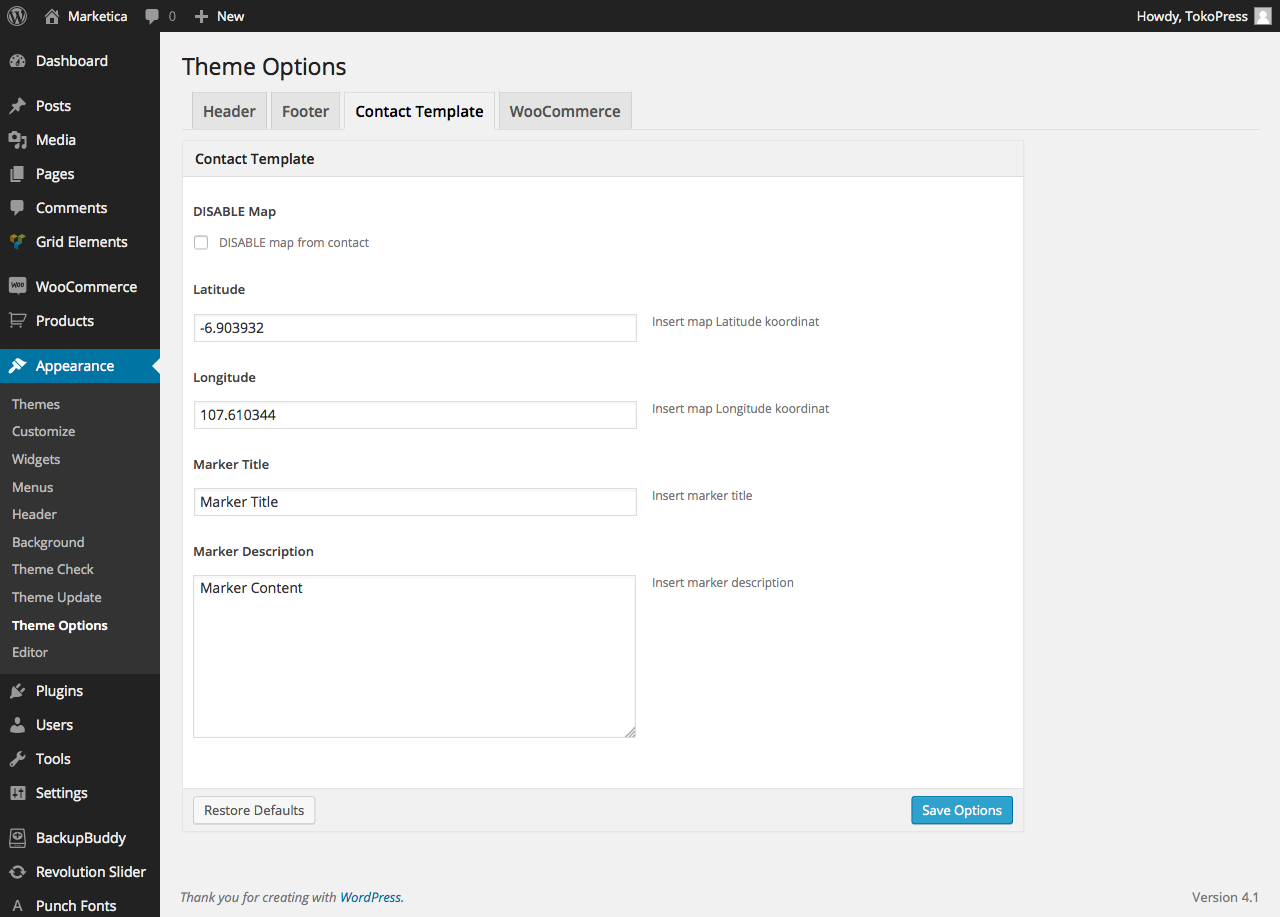
MARKETICA_PREVIEW/19_marketica2_themeoptions_contact.png
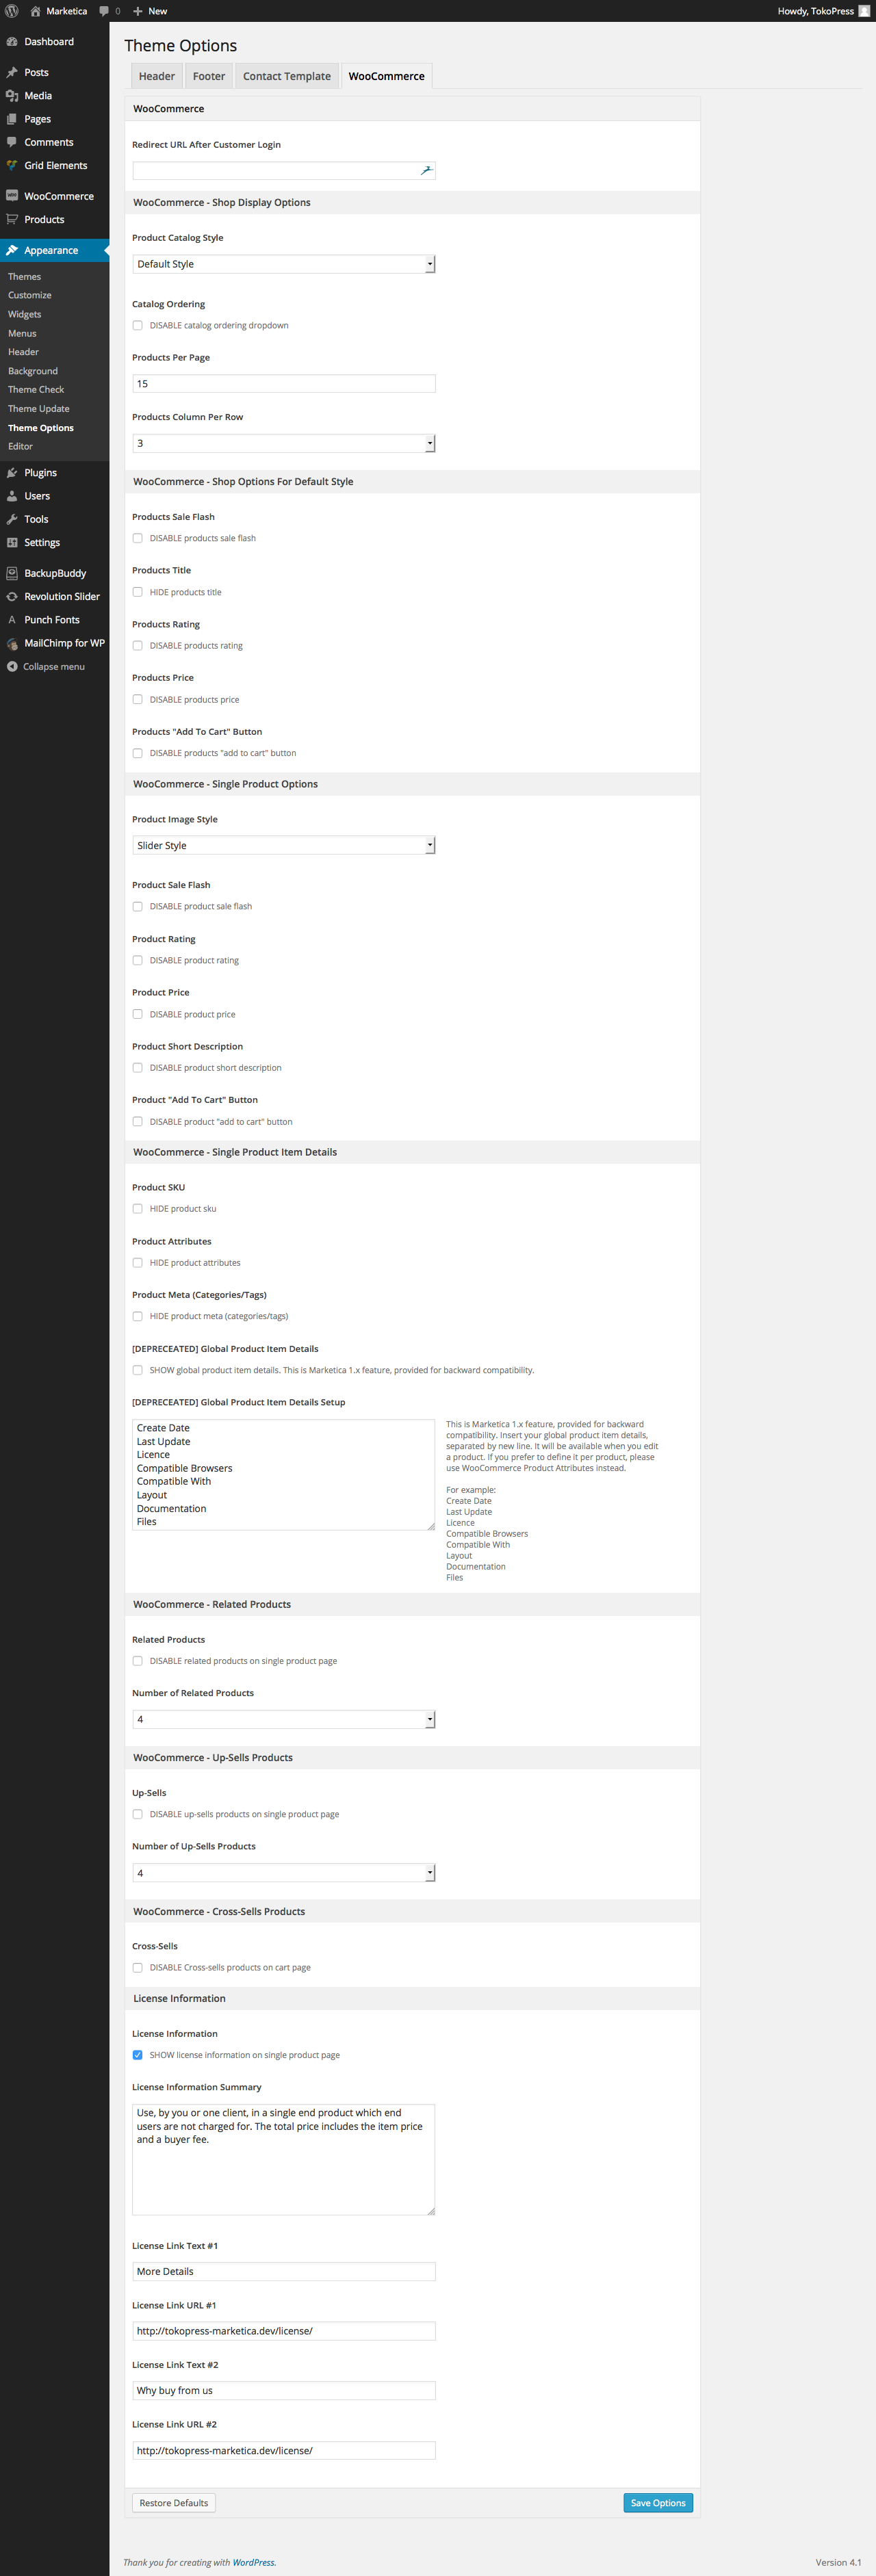
MARKETICA_PREVIEW/20_marketica2_themeoptions_woocommerce.png
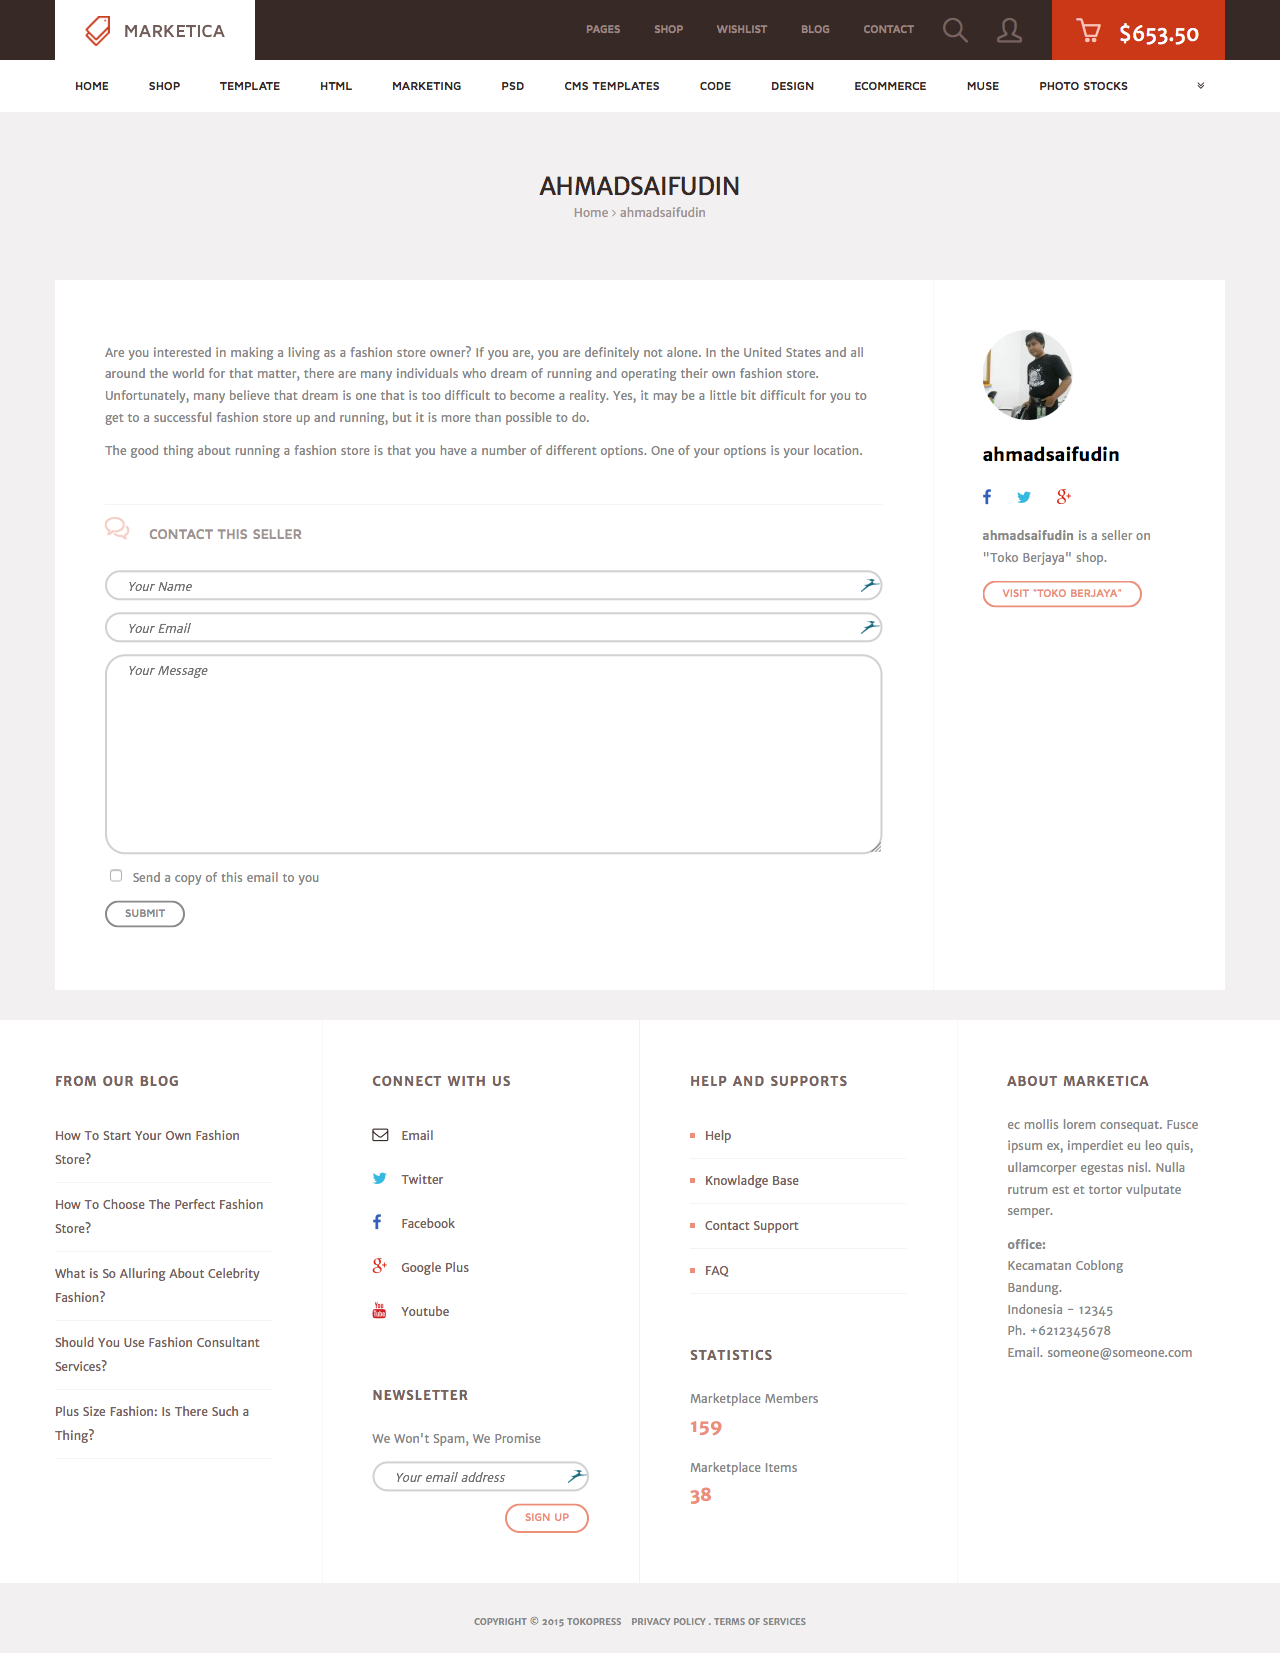
MARKETICA_PREVIEW/21_marketica2_wcvendors_user_page.png
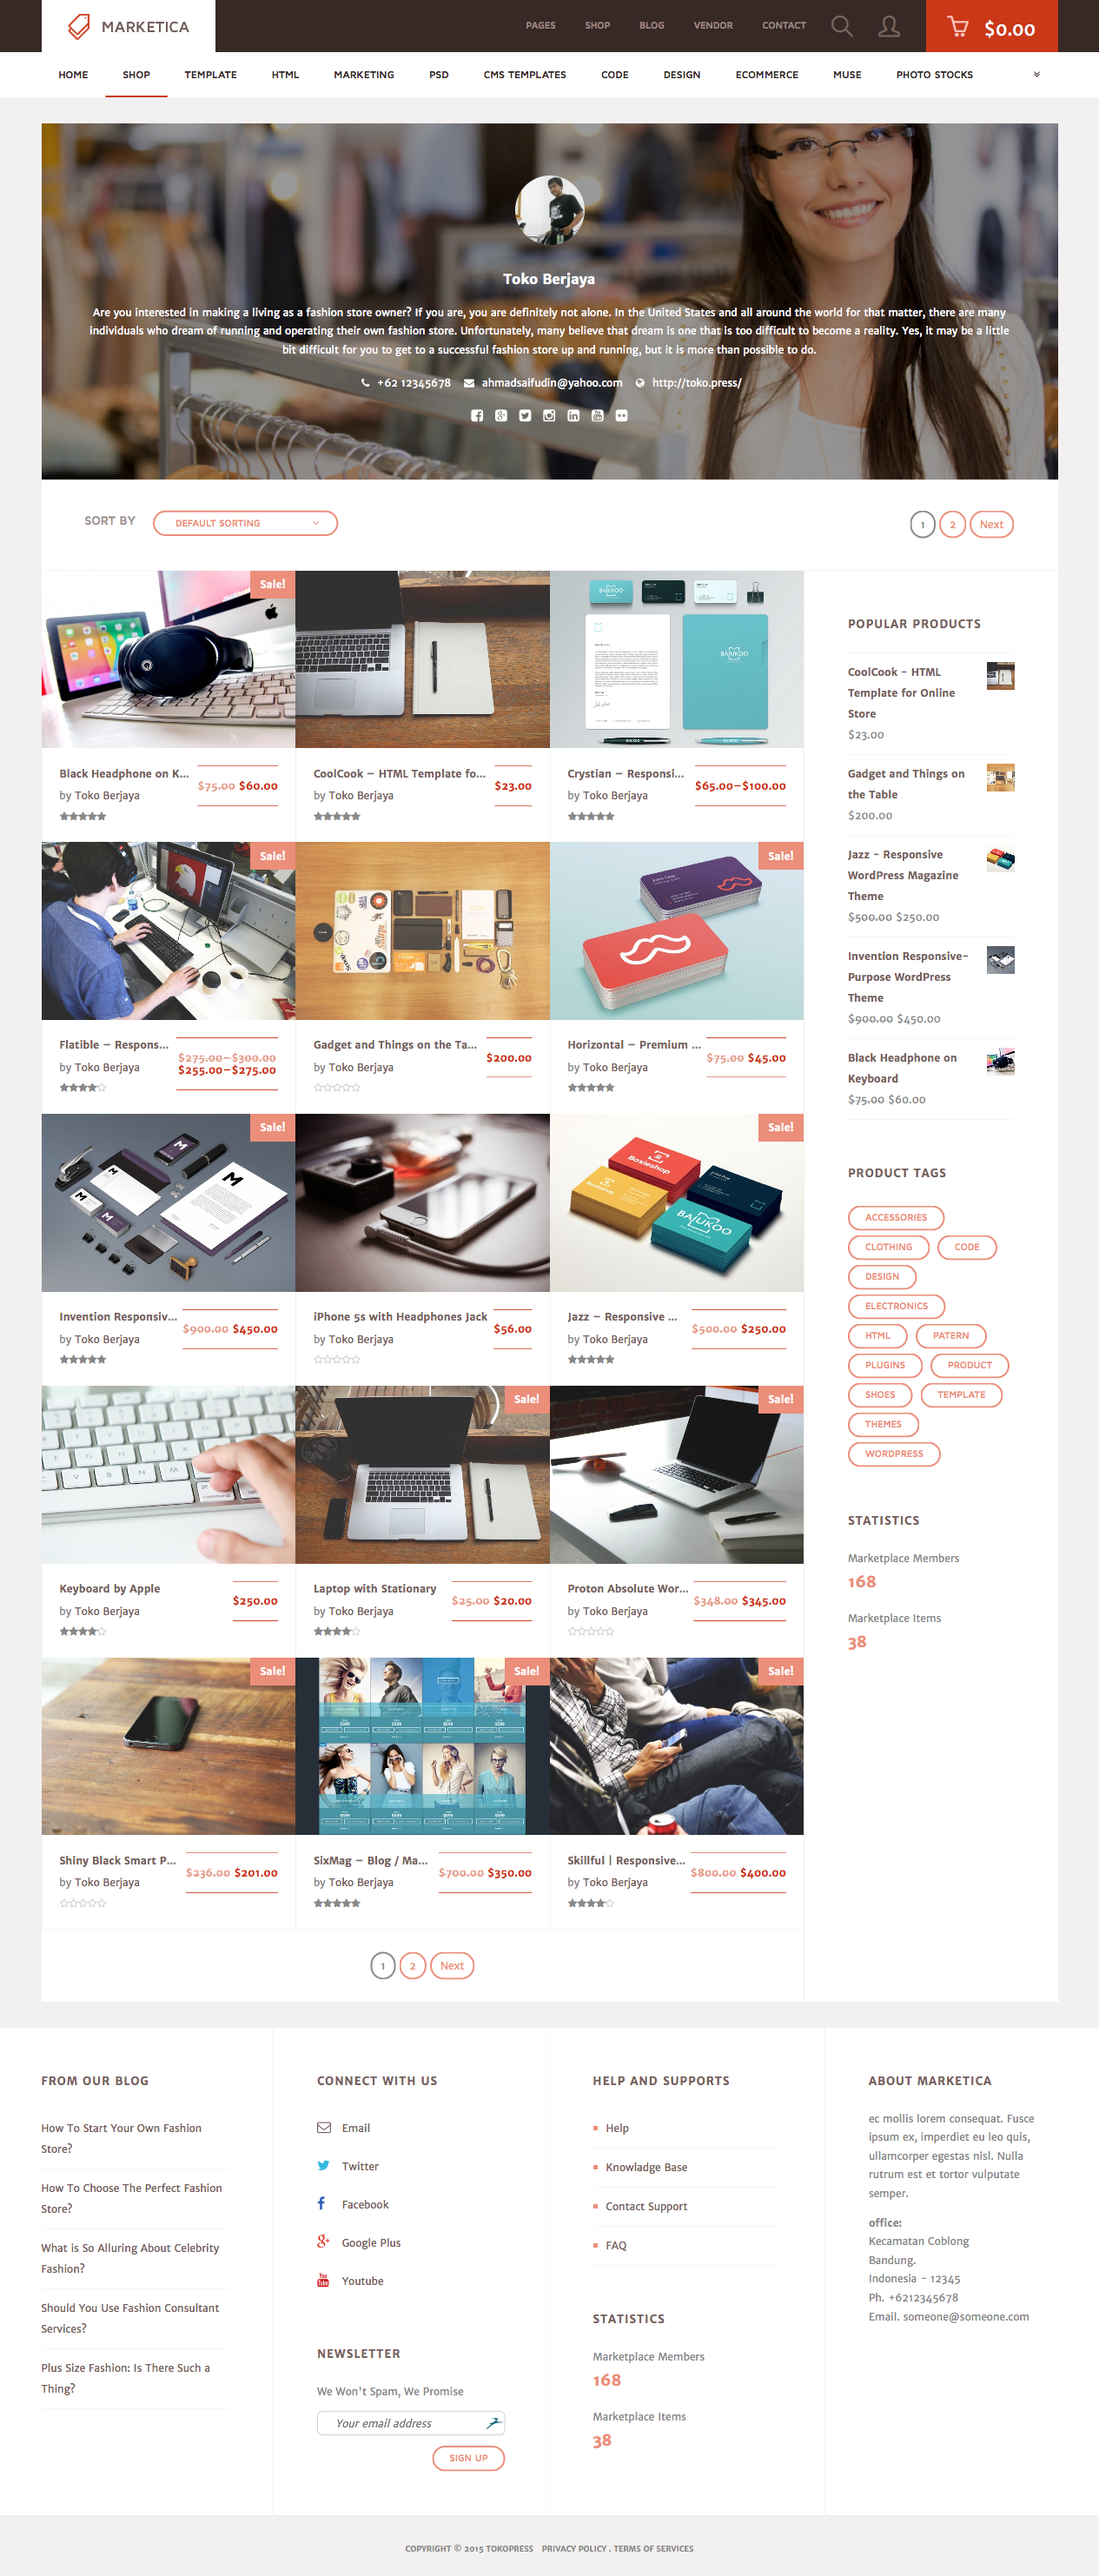
MARKETICA_PREVIEW/22_marketica2_wcvendors_vendor_page.png
MARKETICA_PREVIEW/23_marketica2_wcvendors_vendor_dashboard.png
MARKETICA_PREVIEW/24_marketica2_wcvendors_shop_settings.png
MARKETICA_PREVIEW/25_marketica2_dokan_vendor_store_page.png
MARKETICA_PREVIEW/26_marketica2_dokan_vendor_review_page.png
MARKETICA_PREVIEW/27_marketica2_dokan_vendor_dashboard_page.png
MARKETICA_PREVIEW/28_marketica2_dokan_vendor_dashboard_products_page.png
MARKETICA_PREVIEW/29_marketica2_dokan_vendor_dashboard_settings_page.png

Satu-satunya situs toto gacor yang dapat menghasilkan sensasi bermain paling optimal, HONDATOTO populer dan hadir sebagai salah satu situs toto gacor yang sangat cocok untuk diajak kerja sama dalam meraih hadiah undian togel hari ini. Angka bocoran hariannya bukan datang dari mesin generator melainkan hitungan yang sudah akurat menjadi alasan Anda bisa mendapatkan jackpot toto togel 4D dengan sangat prakis. Jadi gabung dan pasang berbagai kombinasi taruhan untuk memaksimalkan keuntungan withdrawal Anda..
